Last Updated on July 27, 2026 by Daniel Globe
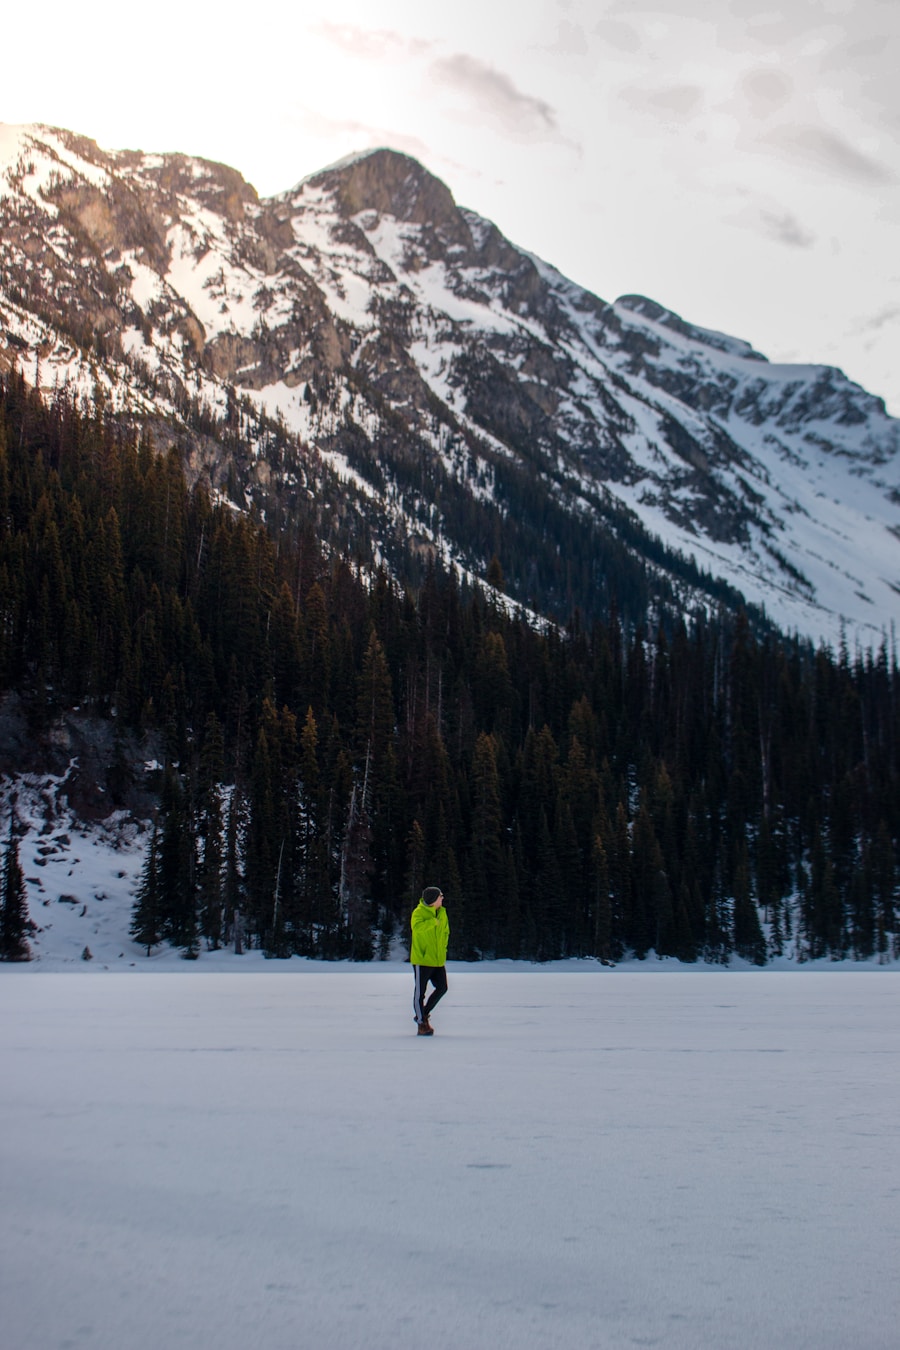
Winter hiking layers work best when they help you stay warm without trapping so much heat that you soak your clothes with sweat. Instead of relying on one heavy coat, use several layers that manage moisture, trap warm air, and block wind or precipitation. The key is adjusting those layers before you become too hot, wet, or cold.
Quick Answer
For winter hiking, wear a moisture-managing wool or synthetic base layer, add breathable insulation such as fleece or synthetic insulation, and carry a windproof or waterproof shell. Pack a warmer layer for rest stops, protect your hands, feet, head, and face, and add or remove clothing before you begin sweating heavily.
Key Takeaways
- Use a base layer for moisture management, a middle layer for insulation, and an outer shell for weather protection.
- Choose wool or synthetic fabrics instead of cotton for cold, wet conditions.
- Dress for your activity level as well as the forecast. A hard uphill climb may require fewer layers than a rest stop at the same temperature.
- Vent or remove clothing before heavy sweating makes your inner layers wet.
- Carry dry backup clothing and a warmer stop layer even when you do not need them at the trailhead.
At a Glance
| Time Required | About 5–10 minutes to plan before the hike, with adjustments throughout the day |
| Difficulty | Easy once you understand what each layer does |
| Gear Needed | Base layer, insulating layer, weather shell, hiking pants, socks, boots, hat, gloves or mittens, and dry backup clothing |
| Cost | Varies; existing wool or synthetic outdoor clothing can often be combined before buying specialized layers |
Disclosure: As an Amazon Associate I earn from qualifying purchases. Some links on this page are affiliate links, at no extra cost to you.
How the Winter Hiking Layering System Works
Layering lets you respond to changing weather and changing effort. The three basic parts are a base layer next to your skin, an insulating middle layer, and an outer shell. The National Park Service describes the same basic system: inner layers move moisture, middle layers provide insulation, and outer layers help protect against wind and precipitation.
You do not have to wear every layer all day. On a steep climb, you may hike comfortably in a base layer and light fleece. When you reach an exposed ridge, stop for lunch, or encounter snow and wind, you may need to add insulation and a shell quickly.
Pro Tip: Keep the layers you are most likely to add or remove near the top of your backpack. Waiting until you are already sweaty or shivering makes temperature management harder.
Choosing the Right Base Layer
The base layer sits next to your skin and helps move perspiration away from your body. Merino wool and synthetic fabrics such as polyester or nylon are common choices. Both can work well, so choose based on comfort, drying speed, durability, and the conditions you expect.
Merino wool is popular because it feels comfortable across a broad temperature range and tends to develop odors slowly during multi-day use. Synthetic layers often dry quickly and can be durable for high-output hiking.
Fit matters. A base layer should generally sit close enough to the skin to manage moisture without squeezing your body or restricting movement. For high-output hiking or relatively mild winter weather, a lightweight base layer may be enough. Colder conditions may call for midweight or heavier long underwear.
Note: A thicker base layer is not automatically better. If it makes you overheat and sweat heavily during a climb, a lighter base layer with adjustable insulation may keep you more comfortable.
Selecting the Proper Insulating Layer
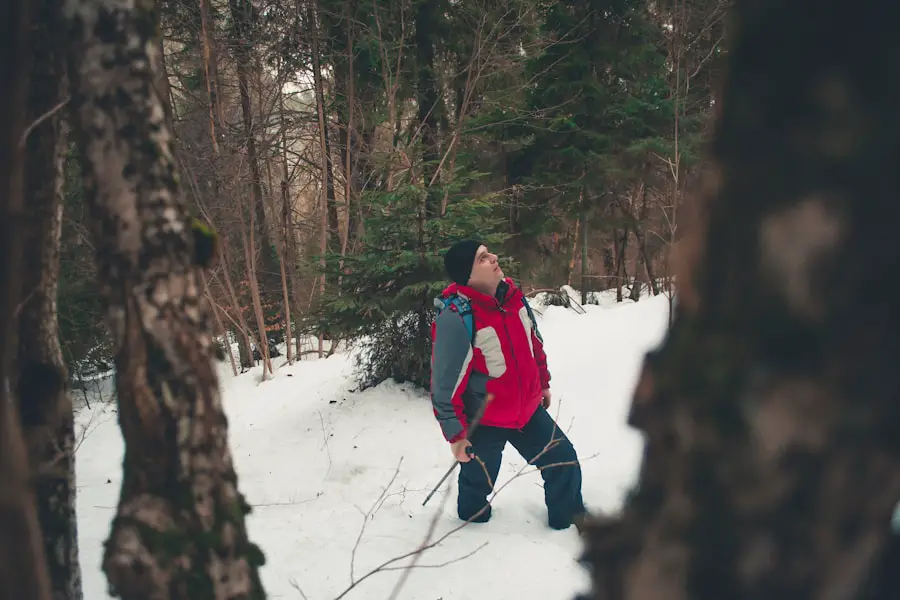
The insulating layer traps warm air around your body. Fleece, synthetic insulated jackets, and down jackets are all useful, but they work best in different situations.
Fleece breathes well and is convenient when you are moving hard. Synthetic insulated jackets generally retain more useful insulation when damp than down and dry relatively quickly. Down offers excellent warmth for its weight and packs small, but its insulating efficiency falls when it becomes wet.
Think about insulation in two categories. Your active insulation is what you can hike in without immediately overheating. Your stop layer is warmer insulation that you pull on during breaks, at exposed viewpoints, or when activity drops.
A thick down jacket can therefore be an excellent item to carry even when it would be far too warm to wear while climbing.
Finding the Perfect Outer Shell
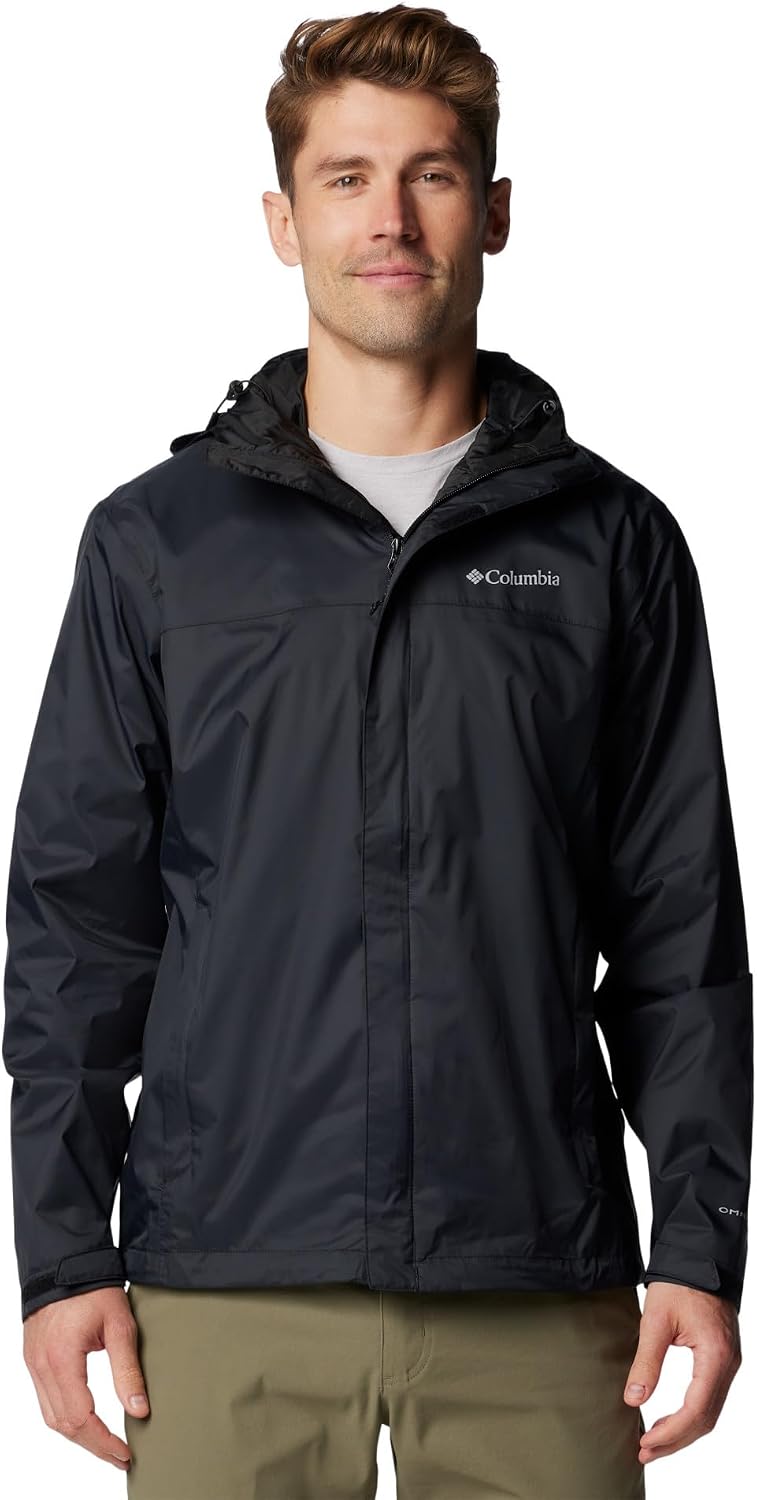
The shell protects you from wind, rain, sleet, and snow. For wet or severe conditions, a waterproof, windproof shell with sealed seams offers the greatest weather protection. In dry conditions, a more breathable wind shell or soft shell may be more comfortable during high-output movement.
Do not shop by membrane brand alone. GORE-TEX, eVent, DryVent, and other fabric families include different constructions and products. A single waterproofness or breathability number should not be assumed to describe every jacket carrying that brand.
| What to Check | What It Means | Why It Matters for Winter Hiking |
| Waterproof construction | Membrane or coating plus seam sealing designed to resist precipitation | Important for sustained snow, sleet, or rain |
| Breathability | Ability to move moisture vapor through the fabric | More important during strenuous uphill travel |
| Mechanical ventilation | Pit zips, front zipper, and venting pockets | Lets heat escape faster than fabric alone during hard exercise |
| Fit | Enough room for intended layers without excessive bulk | Allows movement and prevents insulation from being unnecessarily compressed |
| Hood, cuffs, and hem | Adjustable openings that help seal out wind and snow | Useful when conditions become exposed or stormy |
Waterproof and breathability figures also depend on the test being used. eVent’s explanation of MVTR testing, for example, notes that moisture-vapor performance is measured using defined laboratory procedures. Compare numbers most confidently when products use the same test method rather than assuming every brand’s published figure is directly interchangeable.
Layering Your Legs and Feet
Your upper body is only half of the system. In cold weather, start with wool or synthetic base-layer bottoms when conditions warrant them. Over those, wear hiking or soft-shell pants that provide the combination of mobility, wind resistance, and breathability you need.
Waterproof shell pants are valuable when you expect wet snow, rain, strong wind, or prolonged contact with snow. Full-length or side zippers can make them easier to put on over boots and can provide extra ventilation.
For your feet, choose wool or synthetic hiking socks and footwear suited to the conditions. Waterproof boots and gaiters can help keep snow and slush out. Make sure your sock-and-boot combination does not squeeze your toes. Excessively tight footwear can reduce comfort and makes it harder to keep your feet warm.
Considering Accessories for Added Warmth
Hats, gloves, mittens, neck gaiters, socks, and face protection can make a major difference because the head, ears, face, fingers, and toes may be directly exposed to cold and wind.
There is no need to rely on the old idea that a fixed, unusually large percentage of all body heat escapes through the head. The practical point is simpler: uncovered skin loses heat, so cover exposed areas when conditions require it.
Mittens are generally warmer than comparable gloves because your fingers share warmth. Gloves provide more dexterity. A useful system for very cold conditions is a thin liner or light glove for tasks plus an insulated mitten or weather-resistant shell for warmth.
A neck gaiter or face covering can protect exposed skin in strong wind. Sunglasses or goggles are also useful when bright snow, wind, or blowing ice reduces comfort and visibility.
Managing Moisture and Sweat
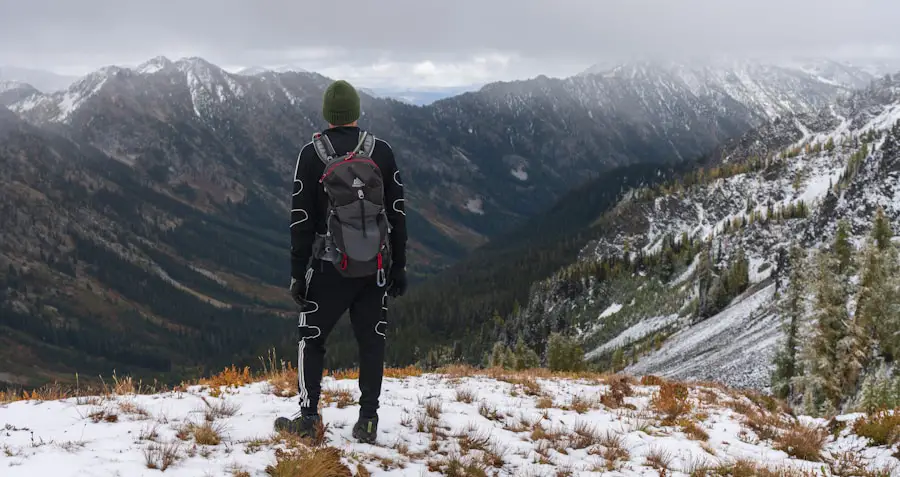
Moisture management is one of the most important parts of winter layering. Sweat that soaks your clothing can become a serious problem when your activity level drops. The CDC advises reducing excess sweating in very cold weather by removing layers when you become too warm.
Do not wait until your shirt is soaked. Open your front zipper, use pit zips, remove your hat or gloves temporarily, or take off an insulating layer as your effort increases. Add those items again when you slow down.
Hypothermia is not limited to extreme subzero weather. The CDC notes that it can occur at temperatures above 40°F when a person becomes chilled by rain, sweat, or cold-water exposure.
Pro Tip: At the start of a strenuous winter hike, it is often better to feel slightly cool than to be fully bundled and sweating within the first ten minutes. Keep warmer layers immediately accessible for stops.
How to Layer for Winter Hiking Step by Step
- Check the full forecast. Look at temperature, precipitation, wind, changing conditions, and the National Weather Service wind-chill information for exposed sections of your route.
- Start with a dry base layer. Choose wool or synthetic material appropriate for your expected effort and temperature.
- Add active insulation. Use fleece or another breathable insulating layer that keeps you comfortable without making you immediately overheat.
- Carry the right shell. A waterproof shell is appropriate when significant precipitation is possible; a more breathable wind-resistant layer may be enough for dry conditions.
- Pack a warmer stop layer. Bring enough insulation to stay warm when you are no longer generating climbing heat.
- Protect your extremities. Carry appropriate socks, gloves or mittens, a hat, and face or neck protection.
- Adjust early. Vent or remove layers as your effort rises and put them back on before you become chilled.
- Keep backup clothing dry. Store critical spare layers, gloves, and socks where snow or leaking water cannot soak them.
Examples for Different Winter Conditions
| Situation | Practical Approach |
| Hard uphill hiking | Light base layer plus breathable active insulation; vent or remove insulation as needed |
| Cold, dry, windy ridge | Base layer, insulation, and a wind-blocking outer layer; cover exposed skin |
| Wet snow or rain | Moisture-managing base layer, suitable insulation, waterproof shell, and weather-resistant leg and foot protection |
| Lunch or long rest stop | Immediately add your warmer stop layer before the heat generated by hiking disappears |
Note: There is no universal “wear these exact layers at 20°F” formula. Wind, sun, precipitation, pace, elevation, individual metabolism, trip length, and how easily you sweat can all change what feels comfortable.
Tips for Layering Effectively
Start with a moisture-managing base layer and avoid cotton as your primary cold-weather hiking fabric. Cotton absorbs water and can remain wet for a long time, which is one reason the National Park Service recommends wool or synthetic materials for winter conditions.
Check the forecast before leaving and consider how conditions may change at higher, windier, or more exposed points on the route. Pack for the coldest realistic part of the trip rather than only the conditions at the parking lot.
Carry an extra dry base layer, socks, gloves, and insulation when the consequences of getting wet are significant. Keep them protected from snow or leaking water inside your pack.
Avoid putting every layer on simply because you brought it. Layering works because clothing can be added, removed, and vented as conditions change.
Common Layering Mistakes
- Starting a steep climb while wearing all your insulation and quickly soaking it with sweat.
- Using cotton as the primary next-to-skin layer in cold, wet conditions.
- Bringing a waterproof shell but no warm insulation for rest stops.
- Leaving spare gloves, socks, or clothing unprotected inside a pack where they can become wet.
- Wearing boots, socks, or clothing so tightly that movement and comfort are restricted.
- Assuming “waterproof breathable” means you never need to open vents or adjust layers.
- Waiting until you are shivering before adding insulation.
Staying Safe and Comfortable on the Trail
Clothing is only one part of winter hiking safety. The National Park Service winter hiking guidance also recommends checking conditions, carrying adequate food and water, bringing navigation equipment rather than relying solely on cellular service, and using appropriate traction for snow and ice.
Check the National Weather Service winter weather information before heading into exposed terrain. Wind can increase heat loss from exposed skin, so calm temperatures at the trailhead may not describe conditions on a ridge.
Warning: Shivering, exhaustion, confusion, fumbling hands, memory problems, slurred speech, and drowsiness can be signs of hypothermia. Get the person into shelter if possible, remove wet clothing, begin safe rewarming, and seek emergency medical attention. Numb, pale, waxy, or unusually firm skin can signal frostbite and also requires prompt medical care.
Do not ignore persistent shivering or deteriorating coordination and judgment. The CDC considers hypothermia a medical emergency. Turning around early is safer than trying to solve a serious cold-weather problem farther from shelter.
A good winter layering system is therefore not about wearing the most clothing possible. It is about keeping enough dry insulation available, controlling sweat while moving, blocking wind and precipitation when necessary, and adjusting before discomfort develops into a safety problem.
If you’re planning a winter hiking trip, you may also be interested in learning about the best time to visit Niagara Falls. Check out this seasonal guide to help you plan around weather patterns and seasonal conditions at the falls.
Frequently Asked Questions
What is layering for winter hiking?
Layering for winter hiking means combining separate garments for moisture management, insulation, and weather protection so you can add, remove, or vent clothing as your activity level and the weather change.
Why is layering important for winter hiking?
Layering helps you avoid both excessive sweating and excessive cooling. You can remove or vent insulation while working hard and add warmth or weather protection when you stop or conditions worsen.
What are the three layers of clothing for winter hiking?
The traditional system uses a base layer next to the skin to manage moisture, a middle layer to provide insulation, and an outer shell to protect against wind and precipitation. You can also carry an additional warm stop layer for breaks.
What materials are best for each layer?
Merino wool and synthetics work well for base layers. Fleece, synthetic insulation, and down are common insulating choices. For the outer layer, choose wind-resistant or waterproof breathable construction according to the expected precipitation, wind, and activity level.
How should I adjust my layers while hiking?
Vent or remove clothing as soon as you become too warm rather than waiting until you are soaked with sweat. When you stop or enter colder and windier terrain, add insulation before you begin shivering.
What accessories are important for winter hiking?
Useful accessories include a warm hat, gloves or mittens, a neck or face covering, wool or synthetic socks, suitable winter footwear, and gaiters when deep or wet snow could enter your boots.
Should I wear cotton while winter hiking?
Cotton is a poor choice for primary cold-weather hiking layers because it absorbs moisture and dries slowly. Wool and synthetic fabrics are generally more suitable when staying warm and managing moisture matter.
How many layers do I need for winter hiking?
There is no fixed number for every hike. Carry enough clothing to manage moisture, provide insulation, and block expected weather, plus sufficient warmth for stops or emergencies. You may wear only two layers while moving and use additional layers when resting.
Sources
- U.S. National Park Service — Be Winter Ready for Your Adventure — layering, winter clothing, cotton, and spare dry clothing.
- U.S. National Park Service — Winter Hiking Tips — winter hiking preparation, traction, navigation, clothing, food, and water.
- CDC — Preventing Hypothermia — hypothermia risks, symptoms, and emergency response.
- National Weather Service — Winter Weather Safety — wind chill, frostbite, and cold-weather precautions.
- GORE-TEX — Product Technologies — current waterproof, windproof, and breathable product-family information.
- eVent Fabrics — What Is MVTR? — breathability measurements and testing context for waterproof-breathable fabrics.