
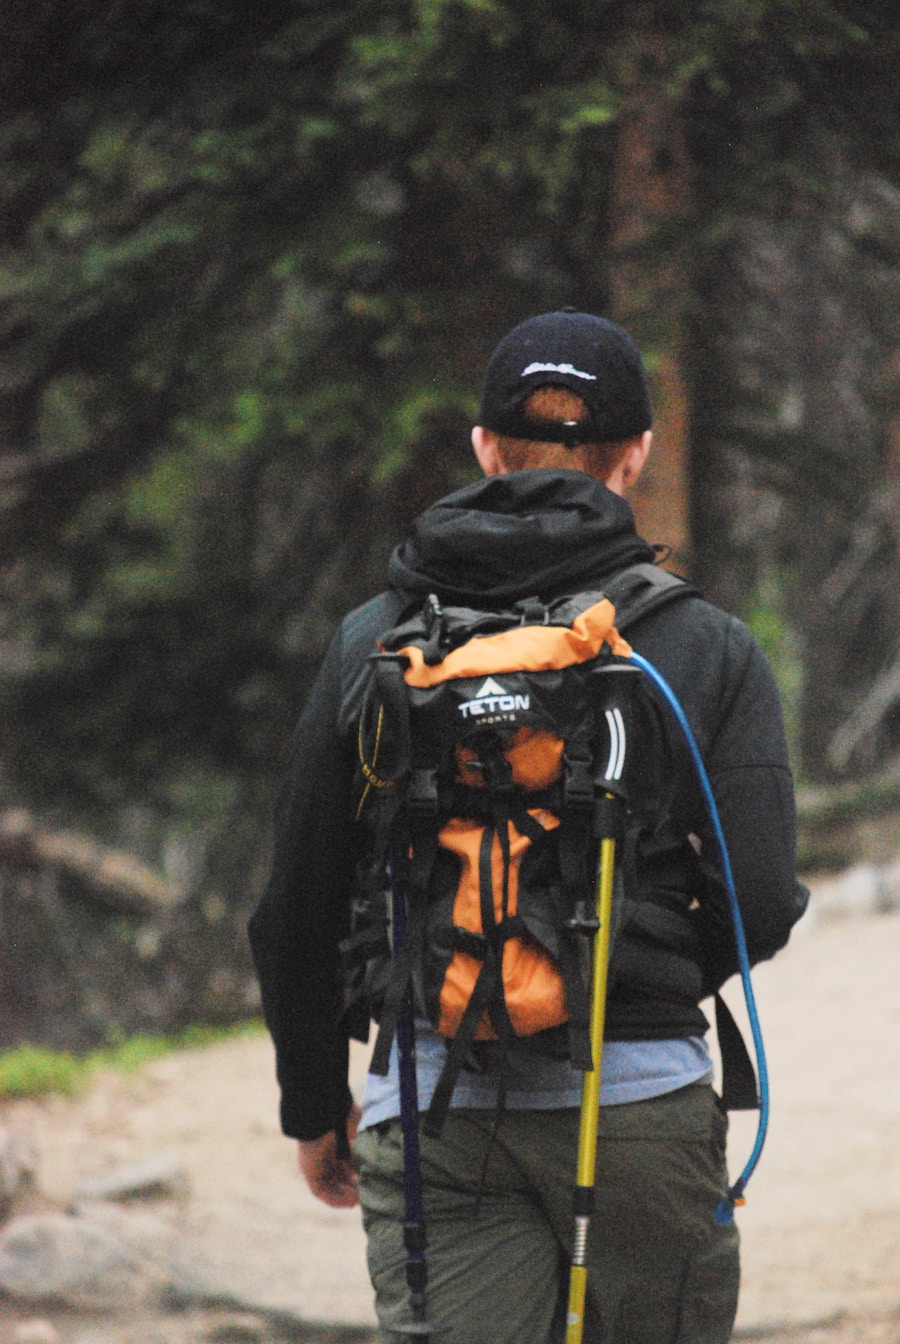
Last Updated on July 27, 2026 by Daniel Globe
Hiking poles work best when their length lets you stand naturally instead of reaching down or lifting your shoulders. On level ground, the most useful starting point is simple: hold the grips with the pole tips beside your feet and look for roughly a 90-degree bend at your elbows. From there, small adjustments can make climbing, descending, and traversing slopes more comfortable and controlled.
Quick Answer
For most hikers on level ground, trekking poles should be tall enough to create about a 90-degree bend at the elbows when the grips are held normally and the tips are beside the feet. For sustained hills, shorten adjustable poles about 5–10 cm uphill and lengthen them about 5–10 cm downhill.
Key Takeaways
- Start with your elbows bent to roughly 90 degrees when the pole tips rest on level ground beside your feet.
- Use height charts as a starting point, then confirm the fit with your actual body proportions and the specific manufacturer’s sizing guidance.
- For long climbs, shorten adjustable poles about 5–10 cm; for long descents, lengthen them about 5–10 cm.
- On traverses, the uphill-side pole can be shorter while the downhill-side pole can be longer.
- Correct sizing can improve comfort and control, but claims that poles universally reduce joint loading or increase endurance by a fixed percentage are not supported by the evidence.
- Keep adjustable-pole locks secure and never extend a pole beyond the manufacturer’s maximum-length mark.
At a Glance
| Time Required | About 2–5 minutes to set and test the length |
| Difficulty | Easy |
| Tools Needed | Trekking poles, hiking shoes, and a flat place to stand |
| Cost | $0 if you already own adjustable poles |
How Tall Should Hiking Poles Be?
For ordinary hiking on level or gently rolling ground, your trekking poles should place your forearms close to horizontal when you hold the grips naturally. That means your elbows are bent at about 90 degrees while the pole tips touch the ground near your feet. Both REI’s trekking-pole guidance and LEKI’s current hiking-pole guidance use this 90-degree position as the basic fitting rule.
For fixed-length trekking poles, the following REI chart is a useful starting point. Always check the sizing chart for the exact pole you are buying because brands and pole designs can differ.
| Hiker Height | Suggested Fixed Pole Length |
|---|---|
| Under 5 ft 1 in | 100 cm / 39 in |
| 5 ft 1 in to 5 ft 7 in | 110 cm / 43 in |
| 5 ft 8 in to 5 ft 11 in | 120 cm / 47 in |
| 6 ft and taller | 130 cm / 51 in |
Note: A height chart gets you close, but your arm length, shoes, grip design, posture, and personal comfort can shift the best setting slightly. The 90-degree elbow test and the pole manufacturer’s instructions should take priority over a generic chart.
Factors to Consider When Choosing Hiking Pole Length
Height and Arm Length
Your height is an important starting point because taller hikers generally need longer poles and shorter hikers generally need shorter poles. Height alone, however, does not describe your body proportions. Two people who are both 6 feet tall can have different arm lengths, torso lengths, and preferred hiking postures.
That is why the elbow-position test is more useful than relying only on a height chart. When the pole tips are on level ground and the grips are held normally, your forearms should be close to level without your shoulders lifting or your torso bending forward.
Terrain and Incline
The terrain can change the ideal working length. Your level-ground setting is the baseline, not a number you must keep for the entire hike. Adjustable poles are especially useful on routes with long climbs, descents, and side slopes.
For a sustained uphill section, a slightly shorter pole helps you plant the tips without lifting your shoulders. On a sustained downhill section, a slightly longer pole gives you more reach while helping you stay upright. REI recommends changes of roughly 5–10 cm in either direction for long climbs and descents.
Weight and Load
A heavy backpack does not automatically mean your trekking poles should be longer. Pole length should still be based primarily on comfortable arm position and terrain. A heavier load can, however, make secure locks, durable shafts, comfortable grips, and dependable pole plants more important because you may rely on the poles more for balance and support.
Research suggests poles can redistribute some work from the lower body to the upper body during loaded or uphill walking, but the effect varies by terrain, technique, pace, and study design. They should not be treated as a guaranteed way to reduce fatigue by a fixed percentage.
How to Measure for the Correct Hiking Pole Length
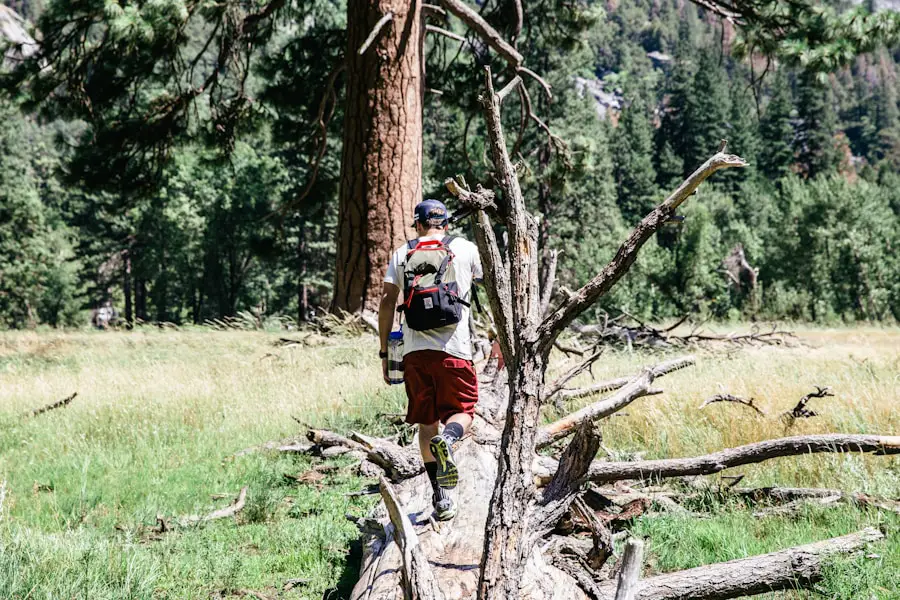
You can size adjustable hiking poles at home or at an outdoor store in a few minutes.
- Put on your hiking footwear. Stand on a flat, level surface in the shoes or boots you normally wear on the trail.
- Place the pole tips beside your feet. Keep the poles vertical rather than angling them far forward.
- Hold the grips naturally. Relax your shoulders and keep your upper arms close to your sides.
- Check your elbows. Adjust the pole length until your elbows form roughly a 90-degree angle and your forearms are close to horizontal.
- Lock each section securely. Follow the pole manufacturer’s markings and locking instructions.
- Walk for a minute or two. Fine-tune the setting if your shoulders feel raised, your wrists feel awkward, or you have to lean to plant the poles.
If you need an approximate measurement without holding a pole, standing upright with your elbow bent around 90 degrees and measuring from the ground to the level of your hand or wrist can give you a starting handle height. Testing the actual poles is more reliable because grip shapes and shaft designs differ.
Warning: Never extend an adjustable pole beyond the manufacturer’s maximum-extension mark. Check that every locking mechanism is secure before putting significant pressure on the pole. A loose or overextended section can slip or fail unexpectedly.
How to Set Multi-Section Adjustable Poles
With many three-section poles, it is useful to keep one adjustment near the middle of its usable range while using the other section to establish your normal hiking length. That leaves room for quick terrain adjustments. Follow the markings and instructions supplied with your specific model rather than assuming every section should be extended the same amount.
Benefits of Using the Correct Hiking Pole Length
| Benefit | What the Evidence Supports |
|---|---|
| Lower-Body Load Redistribution | Some downhill studies have found lower ground-reaction forces and knee-loading measures with poles, but the size of the effect varies and does not apply equally to every terrain or hiker. |
| Improved Stability | A pair of poles gives the hiker additional points of ground contact and can improve control on loose, uneven, muddy, or snowy terrain. There is no reliable universal “20%” improvement figure. |
| Effort Distribution | Poles involve the upper body and can redistribute effort, especially with loads or on slopes. Research does not support a universal 30% increase in endurance. |
| More Natural Posture | A suitable pole setting helps prevent the shoulders from being pushed upward or the hiker from reaching excessively toward the ground. |
Correctly sized trekking poles can make it easier to establish secure pole plants while keeping your shoulders and wrists in a comfortable position. This is especially useful on uneven terrain, where extra points of contact can help you react to rocks, roots, mud, snow, and changes in slope.
There is also evidence that poles can change lower-extremity loading. In a small 1999 laboratory study of eight men descending a 25-degree ramp, researchers reported reductions of about 12–25% in several ground-reaction and estimated knee-force or knee-moment measures when hiking poles were used. That finding is useful, but it should not be presented as a universal 25% reduction in knee and hip impact for every hiker. See the PubMed record for the downhill knee-force study.
Trekking poles can reduce some lower-extremity loading during downhill walking, but the effect depends on terrain and technique; they do not automatically reduce knee loading during every kind of walking.
That distinction matters because controlled research on level walking has found no reduction in knee compression simply from using hiking poles. The practical takeaway is to view poles as tools for balance, support, and load redistribution rather than as a guaranteed joint-protection device. The level-walking findings are summarized in this PubMed study on knee compression and hiking poles.
Consequences of Using the Wrong Hiking Pole Length
Poles that are noticeably too short can encourage you to reach downward or lean forward more than necessary. Over a long hike, that can make the upper back, shoulders, wrists, or arms uncomfortable and reduce the usefulness of each pole plant.
Poles that are too long can have the opposite effect. Your shoulders may rise every time you plant a pole, your elbows may remain excessively bent, and the grips can feel as though they are pushing your hands upward. That can make the poles awkward to swing and less efficient on steep or technical ground.
Current REI guidance specifically notes that improperly adjusted poles can cause distress to the arms, shoulders, back, and neck. The goal is therefore not to find one mathematically perfect number, but to find a neutral baseline setting that lets you move without reaching, shrugging, or altering your normal gait.
Pro Tip: Pay attention to your shoulders. If they rise every time you plant a pole, shorten it. If you repeatedly bend forward or reach for the ground, try a slightly longer setting.
Adjusting Hiking Pole Length for Different Terrains
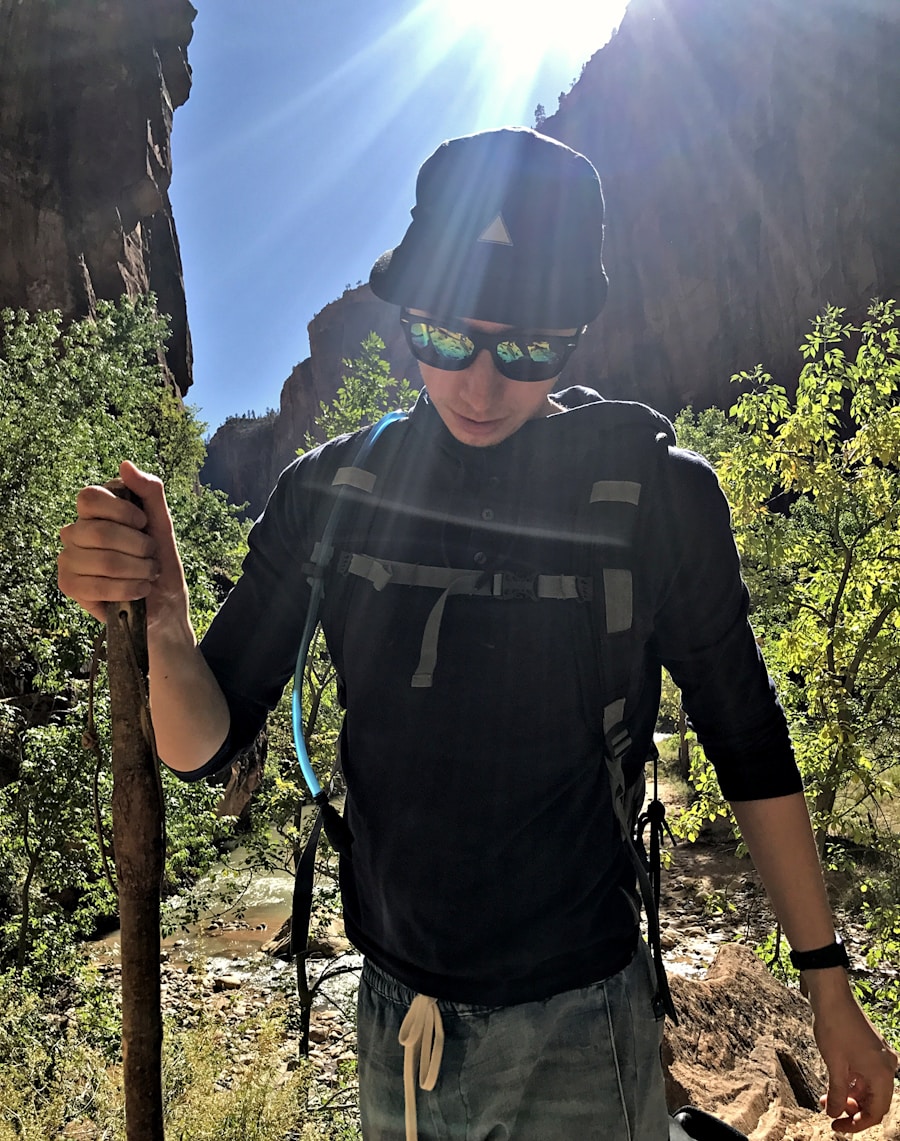
One of the main advantages of adjustable hiking poles is the ability to adapt them to the trail instead of forcing one setting to work everywhere.
| Terrain | Recommended Adjustment |
|---|---|
| Level or rolling trail | Use your normal 90-degree-elbow setting. |
| Long uphill section | Shorten each pole by about 5–10 cm. |
| Long downhill section | Lengthen each pole by about 5–10 cm. |
| Long side-hill traverse | Shorten the uphill-side pole and lengthen the downhill-side pole as needed. |
For uphill hiking, shortening the poles helps keep your shoulders from being forced upward and lets you plant the tips closer to your body. The steeper and more sustained the climb, the more useful a small reduction can become.
For long descents, extending the poles gives you more reach down the slope and can help you remain more upright. It does not literally lower your body’s center of gravity; the practical benefit is improved reach, posture, and balance while descending.
On a long traverse across a slope, keeping both poles at the same length can leave one arm reaching and the other crowded. Adjusting the uphill pole shorter and the downhill pole longer can restore a more even posture.
Tips for Selecting the Right Hiking Pole Length for Your Height
Your height is useful for narrowing the choices, but it should not be the only factor. For fixed-length poles, a current REI starting guide suggests 100 cm for hikers under 5 feet 1 inch, 110 cm for 5 feet 1 inch through 5 feet 7 inches, 120 cm for 5 feet 8 inches through 5 feet 11 inches, and 130 cm for hikers 6 feet and taller.
For adjustable poles, make sure the model’s usable range includes your normal setting with room left for terrain changes. REI recommends that hikers taller than about 6 feet choose an adjustable model with a maximum length of at least 51 inches, or about 130 cm. Hikers under 6 feet can generally shorten most standard adjustable trekking poles enough to obtain an appropriate fit, although checking the product’s stated range is still important.
Fixed-Length vs. Adjustable Hiking Poles
Fixed-length poles can be simple and light, but the manufacturer’s size chart becomes especially important because you cannot change the shaft length once you are on the trail. Choose a size that places your elbows near 90 degrees in your normal hiking stance.
Adjustable poles are more forgiving because you can fine-tune the baseline length and alter it for climbs, descents, and traverses. They are particularly useful if your trails include large elevation changes or if more than one person may use the poles.
Grip and Wrist-Strap Fit
Pole length is only part of the fit. The grip should sit comfortably in your hand without forcing your wrist into an awkward angle. With a conventional trekking-pole strap, REI recommends bringing your hand up through the bottom of the strap and then lowering it onto the grip. This lets the strap support the heel of the hand while allowing a lighter grip.
Adjust the strap so your hand naturally lands at the correct place on the grip. Some poles use left- and right-specific straps, so check their markings.
Note: Trekking poles are outdoor-sports equipment. If you need a cane or another mobility aid for a medical reason, use equipment designed or prescribed for that purpose rather than treating a trekking pole as a substitute.
Common Mistakes to Avoid When Choosing Hiking Pole Length
A common mistake is relying on height alone. Height charts are convenient, but arm length and body proportions vary. Always confirm the result by holding the poles and checking your elbow and shoulder position.
Another mistake is buying a fixed pole solely because a generic chart recommends that length without checking the specific manufacturer’s chart. Different designs can have different grip positions and size ranges.
Other mistakes include:
- Leaving the poles at one length for every type of terrain.
- Setting the poles so long that your shoulders rise with each plant.
- Setting the poles so short that you bend forward to reach the ground.
- Failing to tighten the locking mechanisms before hiking.
- Extending an adjustable section beyond its marked maximum.
- Assuming a heavier backpack automatically requires longer poles.
- Confusing trekking-pole sizing with Nordic walking, trail-running, snow-sport, or ski-pole sizing.
Testing the poles before a long hike is one of the easiest ways to catch these problems. Walk on level ground, climb and descend a short slope, and make small adjustments until the pole plants feel natural.
Trekking Poles vs. Poles for Other Activities
Do not assume one height rule applies to every pole sport. Nordic walking, trail running, skiing, mountaineering, and trekking can use different pole types, techniques, and manufacturer sizing systems. LEKI, for example, provides an activity-specific pole-length advisor rather than one universal measurement for every sport.
For snowshoeing, adjustable trekking poles are commonly useful because snow depth and terrain change, and larger snow baskets can help keep the tips from sinking. Ski pole length should be selected according to the skiing discipline and the manufacturer’s guidance rather than simply making a trekking pole longer.
The best hiking-pole length is therefore the one that gives you a neutral arm position on ordinary ground while leaving enough adjustment range for the terrain you expect. Start around a 90-degree elbow bend, test the setting while walking, and make small changes rather than forcing yourself to match a chart exactly.
If your hiking plans also involve international travel and you are organizing electronics for the trip, the existing travel guide on the best power banks for international travel covers portable charging options. That equipment does not affect trekking-pole sizing, but it may be useful when planning the rest of your travel kit.
Frequently Asked Questions
What are hiking poles?
Hiking poles, also called trekking poles, are lightweight poles normally used as a pair to add points of ground contact while walking on trails. Many models are adjustable so their length can be changed for different hikers or terrain.
Why are hiking poles important?
Trekking poles can improve stability by adding extra contact points with the ground, particularly on uneven, loose, muddy, or snowy trails. They also involve the upper body and can redistribute some effort and lower-extremity loading in certain hiking conditions.
How do I choose the right height for hiking poles?
Stand on level ground in your hiking footwear with the pole tips beside your feet. Hold the grips normally and adjust the poles until your elbows are bent roughly 90 degrees and your forearms are close to horizontal. Then walk briefly and fine-tune the setting for comfort.
What are the benefits of using properly sized hiking poles?
Proper sizing helps you plant the poles without excessive reaching or shoulder lifting. That can make the poles more comfortable and useful for balance. Research also suggests poles can reduce some lower-extremity forces during downhill hiking, although the effect is not the same on every terrain.
Can hiking poles be adjusted for different terrain?
Yes. For sustained climbs, shorten adjustable poles by about 5–10 cm from your normal setting. For sustained descents, lengthen them by about 5–10 cm. On a long traverse, shorten the uphill-side pole and lengthen the downhill-side pole as needed.
Are there specific considerations for choosing hiking poles for different activities?
Yes. Trekking, Nordic walking, trail running, skiing, and other pole sports can use different sizing systems and techniques. For snowshoeing, adjustable trekking poles with suitable snow baskets are useful, but ski-pole length should be selected for the specific skiing discipline rather than using a trekking-pole rule.
What trekking pole length is a good starting point for someone 6 feet tall?
For fixed-length trekking poles, REI’s current general chart suggests 130 cm, or about 51 inches, for hikers who are 6 feet tall or taller. Confirm the fit with the manufacturer’s chart and the 90-degree elbow test before buying.
Do trekking poles reduce stress on the knees?
They can reduce some knee-loading measures during downhill walking, but the evidence is not universal. A small downhill study found reductions in several knee-force and ground-reaction measures, while a separate level-walking study found no reduction in knee compression. Terrain and technique matter.
Sources
- REI — How to Choose Trekking Poles and Hiking Staffs — backs the 90-degree elbow rule, fixed-length size chart, adjustable-pole range guidance, and terrain adjustments.
- LEKI — Hiking Poles — manufacturer guidance for pole length, the 90-degree rule, and uphill/downhill adjustment.
- LEKI — Pole Length Advisor — backs activity-specific sizing and the recommendation to account for footwear and individual fit.
- PubMed — Knee Joint Forces During Downhill Walking With Hiking Poles — supports the terrain-specific discussion of reduced knee-loading measures during downhill walking.
- PubMed — Knee Compression During Level Walking With Hiking Poles — supports the caution that pole use does not always reduce knee loading.
- PubMed — Review of Trekking-Pole Biomechanical and Physiological Effects — provides broader research context on trekking-pole benefits and limitations.
