
Last Updated on July 28, 2026 by Mason Reed
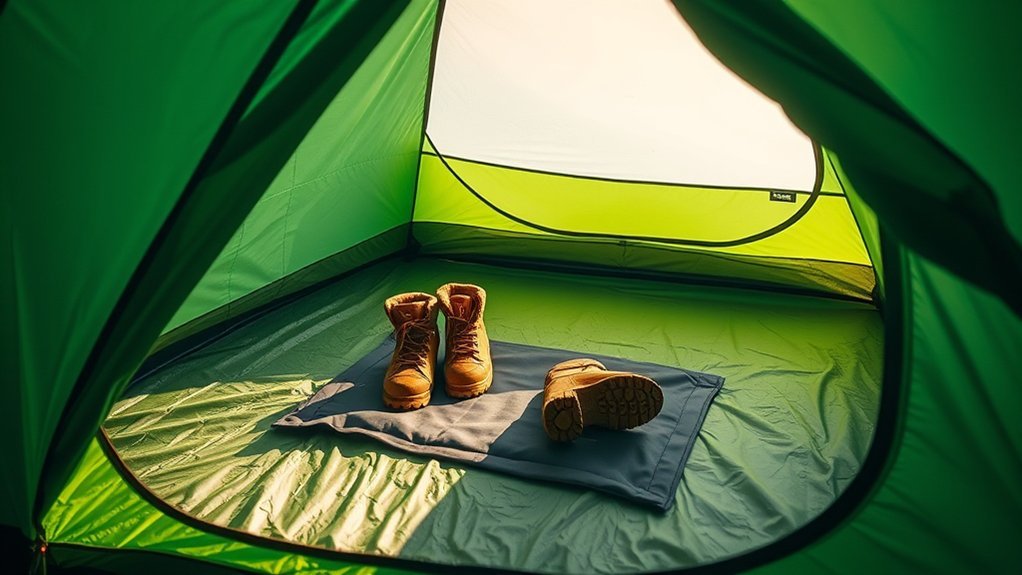
Muddy boots do not have to take over your tent. The easiest solution is to create a small transition zone at the entrance: knock off loose mud outside, step onto a washable mat or vestibule area, remove your footwear, then store it where it can stay contained without soaking your sleeping gear. The same system works for a solo backpacking tent or a family campsite.
Quick Answer
Keep muddy boots out of your tent by creating a clean-entry zone at the door. Brush off mud outside, step onto a waterproof mat, remove your boots before entering, and store them in the vestibule or another protected spot. Wet boots should be ventilated when possible instead of remaining sealed in a bag overnight.
Key Takeaways
- Create one fixed boot-removal spot at the tent entrance or inside the vestibule.
- Keep the tent footprint completely beneath the tent; use a separate mat for muddy footwear.
- Use a water-resistant boot sack for transport and mess containment, but ventilate wet boots when conditions allow.
- Remove insoles, loosen laces, and air-dry soaked boots away from campfires or other strong heat.
- Store footwear according to local wildlife rules rather than assuming outside or inside is always safer.
- Clean mud and plant debris from boot soles before moving to another campsite or trail.
At a Glance
| Time Required | About 2–5 minutes to set up at camp; a few seconds each time you enter |
| Difficulty | Easy |
| Tools Needed | Entry mat or small tarp, boot brush or cloth, and optional boot sack, mesh bag, tote, or shoe organizer |
| Cost | Usually nothing if you already carry a mat, tarp, sack, or storage tote; optional organizers add cost |
Disclosure: As an Amazon Associate I earn from qualifying purchases. Some links on this page are affiliate links, at no extra cost to you.
Designate a Specific Spot
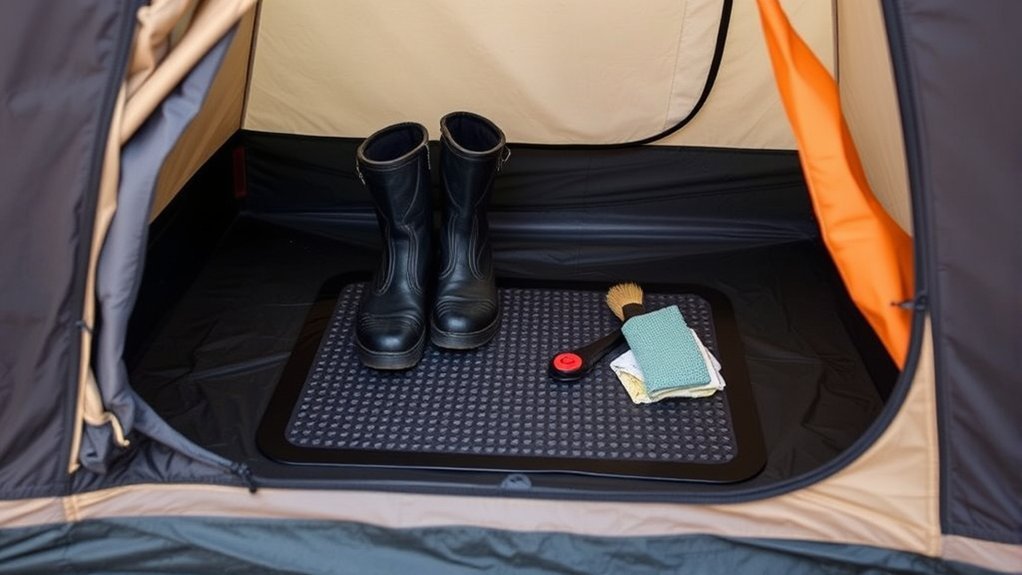
Pick one consistent place where footwear stops before anyone reaches the sleeping area. In a tent with a vestibule, that covered space is usually the most convenient transition zone because boots can remain outside the inner tent while staying relatively protected from rain. In a tent without a vestibule, use a small washable mat immediately outside the door.
Think of the entrance as three simple zones:
- Dirty zone: knock or brush loose mud from the soles outside.
- Transition zone: step onto the entry mat and remove the boots.
- Clean zone: enter the sleeping area in socks, camp slippers, or clean footwear.
A simple house rule—shoes off before stepping past the mat—goes a long way on multi-day trips. For family camping, give each person a defined boot spot so several pairs do not pile up in the doorway.
Use a Groundsheet or Tarp
A tent footprint and an entry mat solve two different problems. The footprint belongs underneath the tent, where it protects the floor from abrasion and dirty ground. The entry mat belongs at the doorway or in the vestibule, where it catches mud and drips from footwear.
Prevent Moisture Accumulation
A properly sized footprint helps keep the underside of your tent cleaner and protects the floor from rough ground. According to REI’s tent guidance, a footprint should not extend beyond the tent floor because exposed material can collect rainwater and direct it underneath the tent.
- Choose a durable, water-resistant or waterproof footprint for wet conditions.
- Keep every edge beneath the tent floor. If you use a larger generic tarp, fold the excess underneath.
- Shake off dirt and dry the footprint before long-term storage.
- Use a separate small mat or tarp section at the doorway rather than extending the footprint outward as a shoe platform.
Warning: Do not leave a groundsheet sticking out beyond the tent floor in rainy weather. Exposed edges can catch water and allow it to pool underneath the tent.
Enhance Tent Cleanliness
A footprint makes packing easier because dirt and grit collect on a replaceable ground cloth instead of directly on the tent floor. It also reduces abrasion from rough soil, small stones, and roots. Do not rely on a thin footprint for meaningful cold-ground insulation; your sleeping pad is the important insulating layer underneath you.
Store Boots in a Bag
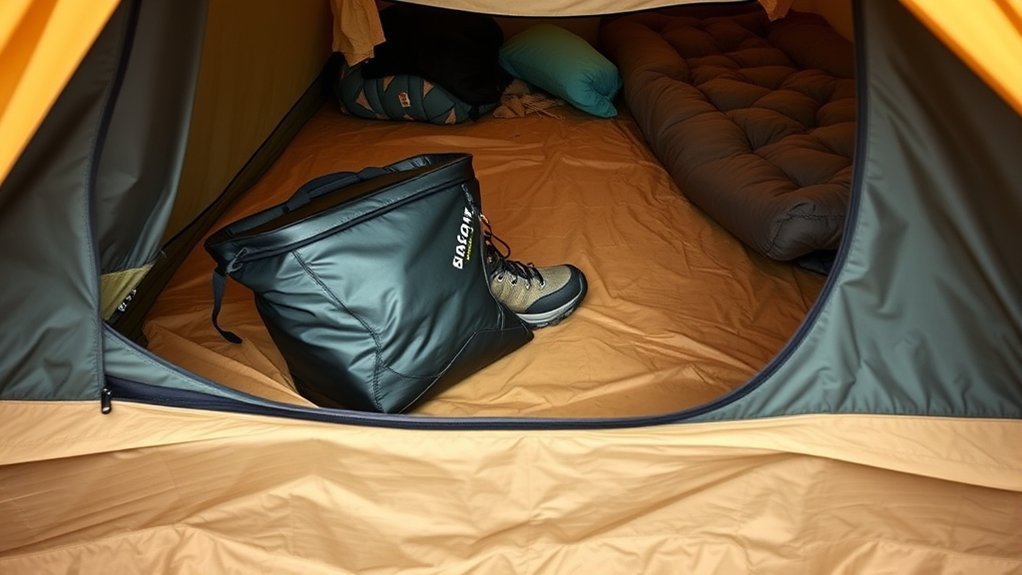
A boot bag is useful for containing mud during transport and for keeping dirty footwear away from clean clothing and sleeping gear. The important distinction is that containment and drying are not the same thing: a closed bag keeps dirt contained, while airflow helps wet boots dry.
Benefits of Boot Bags
- Contain dirt and mud: a dedicated sack separates dirty soles from clean clothing and bedding.
- Temporary odor containment: a closed sack can keep boot odor from spreading through other gear during transport, but drying the footwear is the better long-term odor strategy.
- Simple organization: one sack keeps both boots together and gives them a predictable storage spot.
- Easier packing: a washable or wipe-clean sack protects the inside of a vehicle or backpack from mud.
Choosing the Right Bag
Look for a durable bag that is large enough for your footwear and easy to clean. Water-resistant fabric is useful when the bag may sit on damp ground, while a zipper or drawcord makes it easy to open the bag for ventilation.
For comparison, the Onewind Boots Sack is currently specified as 1.1 oz ripstop nylon with a PU coating, weighs about 40 g (1.4 oz), and measures about 40 × 26 × 24 cm (15.7 × 10.2 × 9.5 in.) when unpacked. Those dimensions are more useful than marketing labels when deciding whether any bag will fit your particular boots.
Pro Tip: When boots are wet, loosen the laces, open the tongue, remove the insoles, and give everything airflow. LOWA’s boot-care guidance recommends removing insoles so they can dry separately and warns against using intense campfire heat to speed the process.
Create a Hanging Organizer
A shoe organizer near the entrance can keep footwear off the tent floor and free up valuable space, especially in larger family tents. Useful options include:
- Purpose-built exterior tent shoe organizers
- Mesh shoe bags that allow airflow
- Organizers mounted to a vehicle, canopy, or other suitable camp structure
- A compatible tent gear loft for lightweight items
Position the organizer close enough to the entrance that you can reach your footwear before stepping onto clean flooring. For damp boots, mesh or another ventilated design is preferable to a fully sealed compartment.
Note: Do not assume every tent loop or gear loft can support a pair of heavy, wet boots. Use only attachment points and organizers compatible with your tent, and keep bulky footwear low when in doubt.
Keep Shoes Off the Tent Floor
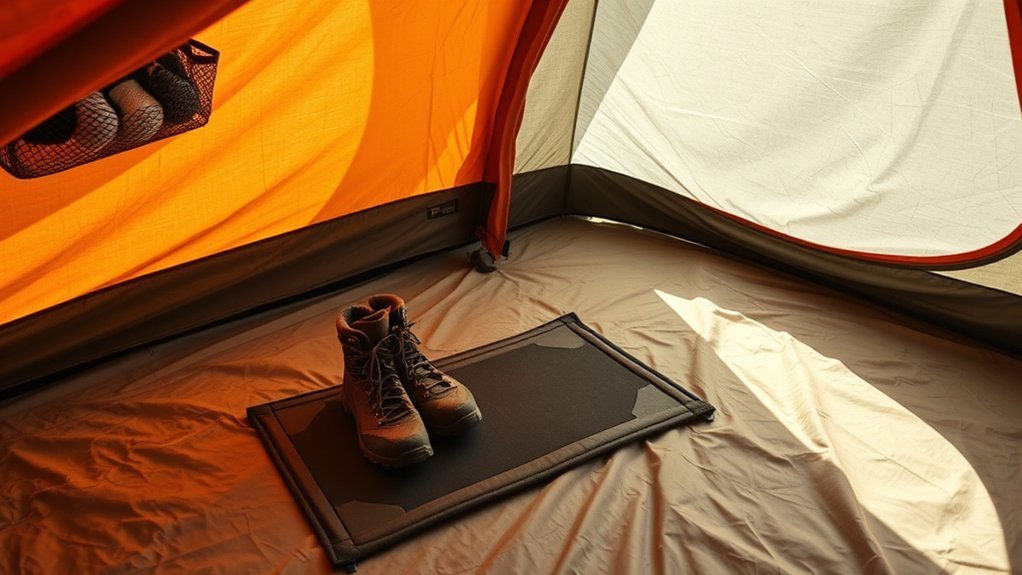
Keeping muddy footwear off the sleeping-area floor is one of the most effective ways to reduce grit and moisture inside the tent. In a backpacking tent, the vestibule usually provides the simplest storage spot. At a larger campsite, a washable mat, low shoe rack, slat platform, or storage tote can create a more organized mudroom outside the sleeping area.
Do not assume that leaving boots outdoors is always best, however. Wildlife conditions vary considerably between campsites. Channel Islands National Park, for example, advises campers to keep clothing and footwear inside a sealed tent because mice may enter campsites. In contrast, Big Bend National Park has documented bears investigating shoes inside tents.
Warning: Follow the wildlife and storage instructions for the campground or backcountry area you are actually visiting. An ordinary plastic tote or boot bag should not be treated as a bear-resistant or wildlife-proof container unless it is specifically approved for that purpose.
Use Waterproof Storage Solutions
Choose storage according to whether your immediate goal is containment, weather protection, or drying:
- Water-resistant boot sack: good for separating muddy footwear from other gear and transporting it without spreading dirt.
- Plastic bag or waterproof liner: useful as temporary emergency containment for very muddy or dripping boots, but open it when practical so wet footwear can dry.
- Lidded storage tote: convenient for several pairs of shoes at a car campsite, provided local wildlife rules allow that storage method.
- Mesh shoe bag: best when airflow and drying matter more than protection from rain.
- Vestibule: often the simplest compromise between weather protection, ventilation, and keeping boots outside the sleeping compartment.
Pair the storage method with a waterproof or washable entry mat so boots have a clean landing spot while you take them on and off.
Note: In freezing temperatures, wet boots left exposed overnight can become stiff or freeze. Protect them from precipitation and, when appropriate for the campsite, keep them in a vestibule or another sheltered location. Removable liners and insoles can be brought into a warmer protected space so they are easier to use the next morning.
Manage Moisture and Dirt
Removing footwear before entering handles the mud problem; drying the footwear handles the moisture problem. When boots come back soaked, use this routine:
- Knock off or brush away loose mud outside the tent.
- Remove the insoles or footbeds if the boot design allows it.
- Loosen the laces and pull the tongue open to increase airflow.
- Let the boots and insoles air-dry in a protected, ventilated location.
- Avoid placing leather or synthetic hiking boots directly beside a campfire, heater, or another intense heat source.
Cleaning the tread has another benefit when you travel between recreation areas. The National Park Service recommends removing dirt and plant material from shoes and boots and rinsing the soles when possible to help reduce the spread of invasive species.
Consider Size and Type of Boots
Footwear size and construction affect the best storage method. Tall hiking, hunting, ski, or work boots need more vertical space and may be too bulky for a small tent organizer. Lightweight sandals and camp shoes can fit in much smaller spaces.
- Use a boot sack or tote to contain heavily muddy footwear during transport.
- Keep bulky boots on a washable mat, low rack, platform, or in the vestibule rather than in your sleeping area.
- If you’re camping with several people, assign each camper a shoe position or bin so the doorway stays clear.
- Use temporary waterproof containment for dripping boots, then switch to ventilation when conditions allow.
- Keep slip-on camp shoes near the entrance for bathroom runs so you do not repeatedly lace up muddy hiking boots.
For a small backpacking tent, simplicity wins: one vestibule mat and a ventilated boot position may be all you need. At a family car campsite, bins, racks, and multiple mats can create a larger mudroom-style setup.
Establish a Clean Entry Routine
The cleanest tent is usually the one with a routine everyone can follow without thinking. Set the system up as soon as the tent is pitched rather than waiting until the first rainstorm.
Five-Step Clean-Entry System
- Set the boundary. Put a washable mat at the doorway or inside the vestibule.
- Brush first. Knock loose mud, seeds, gravel, and plant debris from the soles before stepping onto the mat.
- Remove footwear. Take boots off before crossing into the sleeping area.
- Contain or dry. Put merely dirty boots in their assigned storage spot; open up wet boots and remove the insoles so they can dry.
- Reset the area. Shake mud from the mat and move boots back to their assigned positions whenever the doorway becomes cluttered.
| Action | Purpose | Tips |
|---|---|---|
| Wipe or brush shoes on mat | Minimize dirt indoors | Keep the brush and mat within reach |
| Remove shoes outside the sleeping area | Maintain cleanliness | Use the same boundary for every camper |
| Use slip-on camp shoes | Quick access at night | Keep them in the cleanest accessible spot |
| Open and air wet boots | Speed drying and reduce trapped moisture | Remove insoles and avoid strong direct heat |
| Check local wildlife rules | Choose a safe overnight storage location | Park-specific instructions override generic advice |
Troubleshoot Common Boot Storage Problems
- Mud still reaches the tent floor: move the removal boundary farther outside and add a brush before the mat.
- The vestibule gets muddy: place a small removable mat beneath the boots and shake it clean away from the tent.
- Boots are still soaked in the morning: remove the insoles, open the tongues wider, and increase airflow rather than sealing them completely.
- Boots may freeze overnight: keep removable liners and insoles protected from freezing when practical and allowed by campsite rules.
- Animals investigate footwear: follow the area’s current ranger, campground, or food-storage instructions and move the boots to the recommended location.
- The tent is too small: prioritize the vestibule and keep only clean, dry essentials in the inner sleeping compartment.
Community Tips and Best Practices
The most practical camping systems rely on a few repeatable habits rather than one specialized product:
- Give every pair of shoes a fixed position instead of letting footwear migrate around camp.
- Use a washable mat as the dirty-to-clean boundary.
- Keep wet and muddy footwear away from sleeping bags, quilts, and dry clothing.
- Use water-resistant sacks primarily to contain mess during transport, not as permanent wet-boot storage.
- Keep lightweight slip-on shoes available for short nighttime trips.
- Shake or brush dried mud off before packing footwear into a vehicle or backpack.
A stool, low shoe rack, slat platform, exterior organizer, or vestibule can all work. The best choice is the one that keeps the entrance clear, protects the boots from the weather, gives wet footwear enough airflow, and fits the wildlife rules where you are camping.
Frequently Asked Questions
How can I prevent my boots from smelling in the tent?
Focus on drying rather than simply sealing the smell inside a bag. Remove the insoles, loosen the laces, open the tongues, and give the boots as much airflow as weather and wildlife conditions allow. Once the footwear is dry, a clean boot sack can keep it separated from the rest of your gear.
What type of bag is best for storing boots?
Choose a durable, easy-to-clean bag that comfortably fits both boots. Water-resistant fabric is useful for containing mud and protecting footwear from damp ground. For wet boots, choose a bag that can be opened for ventilation or switch to a mesh storage option once dripping water is no longer a concern.
Can I store wet boots inside the tent?
You can temporarily contain them in a waterproof liner or tray, but keep them away from sleeping bags and other dry gear. A vestibule is usually a better transition area when available. Wildlife rules vary by location, so follow campground-specific guidance when deciding whether boots should remain inside or outside overnight.
How do I clean my boots before storing them?
Knock off loose dirt and brush mud from the tread first. Rinse the soles when appropriate, then follow the boot manufacturer’s cleaning instructions for the upper material. Remove the insoles and let everything dry thoroughly before long-term storage. Use conditioners or waterproofing treatments only when they are suitable for your specific footwear.
What should I do if my tent has limited space?
Use the vestibule first if your tent has one. Otherwise, create a small shoe zone immediately outside the entrance and keep only clean items in the sleeping compartment. A compatible exterior organizer or lightweight shoe bag can also free floor space without hanging heavy boots from unsupported tent loops.
Can I leave hiking boots outside overnight?
Sometimes, but check the weather and local wildlife guidance first. Rain, dew, freezing temperatures, rodents, and larger wildlife can all change the best storage choice. A covered vestibule often provides useful weather protection, but park or campground instructions should take priority whenever wildlife is a concern.
Conclusion
Keeping a tent clean comes down to separating dirty footwear from the sleeping area and dealing with moisture correctly. Give boots one predictable spot, brush them before they reach the door, use a separate entry mat instead of extending the tent footprint, and ventilate wet footwear whenever conditions allow. Add the campsite’s weather and wildlife rules to that routine, and muddy boots become a small camp chore instead of an all-night mess.
Sources
- REI Co-op — What to Look for in a Camping Tent — tent-footprint sizing and rainwater guidance
- U.S. National Park Service — Invasive Species Prevention — cleaning dirt and plant material from boots and recreation gear
- LOWA Boots — Boot Care Guidance — removing insoles, air-drying footwear, and avoiding intense campfire heat
- Channel Islands National Park — Hantavirus Safety — location-specific guidance on keeping footwear protected from mice
- Big Bend National Park — Bear Activity in the Chisos — documented bear interest in shoes and the need for site-specific storage decisions
- Onewind Outdoors — Boots Sack Specifications — current material, dimensions, and weight for the example boot sack
