
Last Updated on July 27, 2026 by Daniel Globe
High-altitude hiking demands more than strong legs. As elevation rises, barometric pressure falls, which lowers the partial pressure of oxygen available with each breath. For an unacclimatized lowland hiker, altitude illness becomes a meaningful concern around 8,000 feet (about 2,450 meters), although symptoms can occur lower or higher depending on the person and the rate of ascent. Good training makes the physical work easier, but safe acclimatization still requires time at altitude.
Quick Answer
To train for high-altitude hiking, build aerobic endurance, leg and core strength, uphill and downhill durability, and comfort carrying your expected pack. Start several weeks ahead and progress gradually. Fitness makes hiking easier, but it does not prevent altitude sickness. A safe ascent schedule and proper acclimatization are separate and equally important.
Key Takeaways
- Build aerobic endurance with walking, hiking, cycling, swimming, running, stairs, or incline treadmill work.
- Train your legs and core with squats, lunges, step-ups, calf raises, hip-hinge movements, and controlled step-downs.
- Practice long hikes with the footwear and pack you expect to use, increasing the workload gradually.
- Do not confuse fitness with acclimatization. Even highly fit hikers can develop acute mountain sickness.
- Above about 9,850 feet (3,000 meters), manage sleeping-altitude gain conservatively and never continue higher when altitude symptoms are worsening.
At a Glance
| Time Required | About 6–12 weeks for meaningful hiking-specific preparation; the sample plan below uses 8 weeks. |
| Difficulty | Moderate; adjust the plan to your current fitness, health, route, pack weight, and hiking experience. |
| Tools Needed | Hiking shoes or boots, your planned backpack, local hills or stairs, and optional strength-training equipment. |
| Cost | Can be $0 if you already own hiking gear and use walking, hills, stairs, and body-weight exercises; gym access or extra equipment is optional. |
Note: This guide provides general educational information, not individual medical advice. People with heart or lung disease, a history of severe altitude illness, pregnancy, or an itinerary involving rapid ascent should discuss high-altitude travel with an appropriate healthcare professional.
What High Altitude Does to Your Body
At altitude, the percentage of oxygen in the air remains roughly the same, but lower atmospheric pressure means each breath supplies less oxygen pressure to the lungs. The body responds quickly by increasing ventilation, and heart rate may also rise as it works to deliver oxygen around the body.
According to the CDC Yellow Book guidance on high-altitude travel, the most important acute acclimatization changes occur during roughly the first three to five days after ascent. Longer stays can produce additional changes, including increased red-blood-cell production, but that is not the main reason a person feels better during the first few days.
At about 10,000 feet (3,050 meters), inspired oxygen partial pressure is only about 69% of its sea-level value, according to the CDC Yellow Book.
People vary considerably in how they respond. Acute mountain sickness (AMS) can cause headache, nausea, dizziness and fatigue. More dangerous forms of altitude illness include high-altitude cerebral edema (HACE) and high-altitude pulmonary edema (HAPE).
Training Helps Performance, Not Acclimatization
This distinction is essential. Better aerobic fitness can help you hike farther, climb more efficiently, carry a pack with less fatigue and recover better between hiking days. It does not make you immune to altitude illness.
The CDC specifically notes that training and physical fitness do not determine a person’s risk of altitude illness. A very fit runner can still develop AMS after going too high too quickly, while a less athletic person may tolerate the same elevation better.
Warning: Never use fitness as a reason to ignore headache, nausea, unusual fatigue, confusion, loss of coordination, breathlessness at rest, or other altitude symptoms. The correct response to worsening altitude illness is to stop ascending and, when necessary, descend.
Physical Training for High Altitude Hiking
Before choosing workouts, study the trip itself. Note the daily mileage, total elevation gain, maximum elevation, highest sleeping elevation, terrain, expected pack weight and whether you will hike hard on several consecutive days. Your training should gradually begin to resemble those demands.
Building Cardiovascular Endurance
Aerobic endurance is the foundation of hiking fitness. Brisk walking, hiking, running, cycling, rowing, swimming, an elliptical trainer and incline treadmill walking can all help. Most sessions should feel sustainable rather than maximal; a conversational pace is a useful way to keep easy and moderate workouts under control.
For general health, the CDC recommends adults get at least 150 minutes of moderate-intensity aerobic activity per week plus muscle-strengthening activity on at least two days. A demanding hiking trip may require substantially more hiking-specific endurance than that baseline, so build progressively from your current level.
Include one longer walking or hiking session each week. Extend its duration gradually until spending several hours on your feet feels normal rather than exceptional.
Incorporating Strength and Flexibility Training
Strong legs and a stable core make climbing, descending and carrying a backpack easier to control. Useful exercises include:
- Squats or sit-to-stands
- Forward and reverse lunges
- Step-ups
- Controlled step-downs
- Calf raises
- Hip hinges or deadlift variations
- Glute bridges
- Planks and other core-stability exercises
Two strength sessions per week work well for many hikers. Use loads and ranges of motion you can control with good form. Mobility work, stretching or yoga can be added where it helps you move comfortably, but flexibility alone does not prepare the body for a long climb.
Train for the Descent Too
Do not train only for uphill movement. Long descents place repeated braking demands on the quadriceps and can expose weak balance or tired knees. Controlled step-downs, downhill hiking and gradual practice on uneven ground help prepare for this part of the trip.
Simulating the Workload, Not the Oxygen Level
Hill repeats, stairs and incline treadmill sessions are useful because they reproduce the muscular and cardiovascular workload of climbing. They do not reproduce true high-altitude acclimatization when performed at low elevation.
If you live somewhere flat, stairs, stadium steps, a stair-climbing machine or an incline treadmill can still provide excellent hiking preparation. Focus on sustained climbing rather than turning every session into an all-out interval workout.
Practice With Your Backpack
Once your base fitness is established, use your actual hiking pack during some training walks. Start light and increase toward the load you expect to carry only as your feet, shoulders, hips and legs adapt comfortably.
Practice in the shoes, socks and clothing system you plan to use. Training is the safest time to discover rubbing, hot spots, poorly adjusted straps or an uncomfortable pack.
Pro Tip: The most specific workout for hiking is hiking. Gym sessions are valuable, but progressively longer walks on hills with your real footwear and pack give you practice with pacing, balance, fueling, foot comfort and gear at the same time.
Mental Preparation for High Altitude Hiking
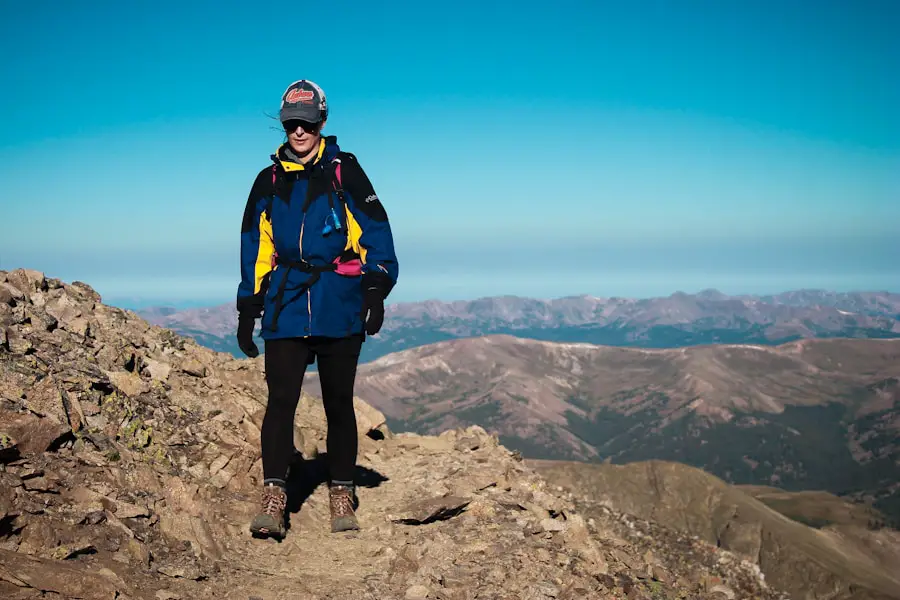
Mental preparation matters because long climbs, cold weather, fatigue and slow progress can affect decision-making. The goal is not to convince yourself to push through every difficulty. Good mountain judgment includes knowing when to slow down, rest, change plans or turn around.
Before the trip, visualize practical situations: climbing slowly for hours, managing bad weather, eating when your appetite is low, turning around before reaching a summit, or helping a partner who develops symptoms. Breaking a large objective into smaller checkpoints can make the day feel more manageable.
Mindfulness and controlled breathing may help you stay calm when effort feels high. However, breath-control exercises do not create altitude acclimatization or replace a safe ascent schedule.
Nutrition and Hydration for High Altitude Hiking
| Metric | Practical Recommendation |
|---|---|
| Water Intake | There is no universal 3–4 liter target. Drink regularly and adjust for temperature, exertion, sweat losses, food intake, trip length and personal needs. Avoid forced overdrinking. |
| Caloric Intake | Energy needs vary widely. Carry enough food to replace the substantial energy used during long or multi-day hikes instead of relying on a fixed 3,000–4,000 calorie rule. |
| Electrolyte Balance | Long, sweaty days may justify sodium and other electrolytes through normal food or an electrolyte drink. Needs depend on sweat rate and conditions. |
| Protein Consumption | Include adequate protein across meals and snacks to support recovery. There is no single altitude-specific protein target that applies to every recreational hiker. |
| Carbohydrate Intake | Carbohydrate-rich foods are useful fuel for prolonged climbing. Prioritize enough carbohydrate before and during demanding hiking rather than chasing one fixed percentage of daily calories. |
Altitude, cold and prolonged exercise can make meeting energy needs harder. A 2024 review of nutrition and hydration for mountaineers emphasizes adequate energy intake, carbohydrate availability, protein balance and individualized hydration rather than a single prescription for every person.
Choose foods you already know you can tolerate while exercising. Whole grains, rice, oats, potatoes, fruit, dried fruit, tortillas and similar carbohydrate-rich foods can support longer efforts. Add protein sources and energy-dense foods that travel well.
High altitude often brings dry air and increased respiratory water loss, so pay attention to hydration. At the same time, drinking excessive amounts of plain water does not prevent AMS and can create its own problems. Match fluid and electrolyte intake to the day’s actual conditions.
Iron is necessary for normal red-blood-cell production, but that does not mean every high-altitude hiker should take an iron supplement. Eat iron-containing foods as part of a balanced diet. People concerned about iron deficiency, particularly before prolonged altitude exposure, should have their status assessed rather than self-prescribing high-dose iron.
Gear and Equipment for High Altitude Hiking
High-altitude conditions can change quickly, so clothing should work as a system. A moisture-managing base layer, insulating layer and windproof or waterproof outer layer make it easier to adjust as temperature, precipitation and wind change.
Wear footwear appropriate for the terrain and already broken in through training. Trekking poles are optional, but many hikers find them useful for balance and for reducing some of the workload felt during long climbs and descents.
The National Park Service Ten Essentials provide a useful packing framework:
- Navigation, including map, compass or GPS as appropriate
- Sun protection, including sunglasses, sunscreen and a hat
- Insulation and extra clothing
- Illumination such as a headlamp
- First-aid supplies
- Fire-starting equipment where appropriate and legal
- Repair tools and supplies
- Extra food
- Water and a way to treat additional water when necessary
- Emergency shelter
A reliable backpack should distribute the load comfortably. For remote routes, a satellite messenger or personal locator beacon can add an important communication option where cell service is unavailable, but it does not replace route planning or self-sufficiency.
Safety Considerations for High Altitude Hiking
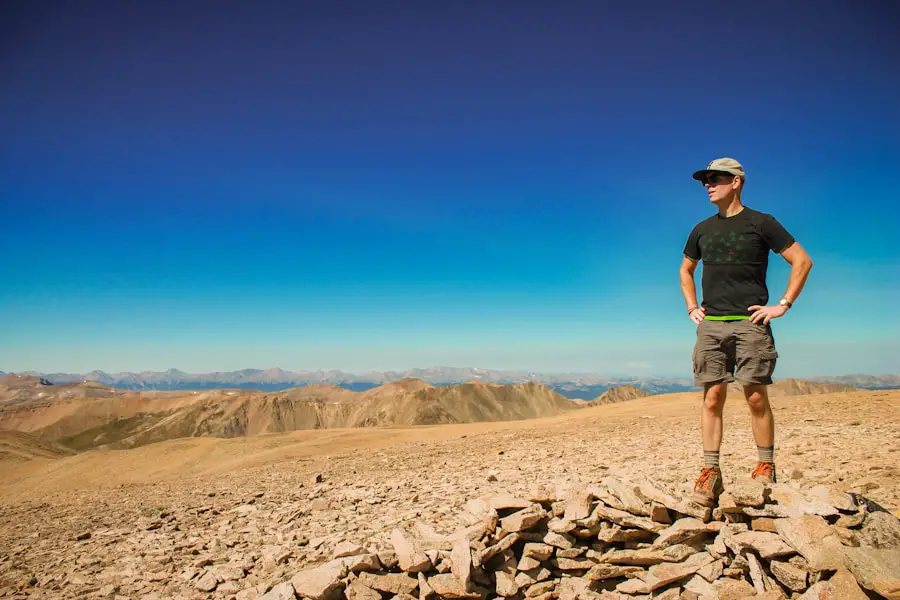
Altitude illness can affect healthy and experienced hikers. The most important rules are to recognize symptoms early, stop going higher when illness develops, and descend when symptoms worsen.
| Condition | Warning Signs | What to Do |
|---|---|---|
| AMS | Headache with symptoms such as nausea, dizziness or unusual fatigue after gaining altitude. | Do not ascend higher. Rest and monitor. Descend if symptoms worsen or fail to improve. |
| HACE | Confusion, unusual drowsiness, altered behavior, or loss of balance and coordination. | Medical emergency. Begin urgent descent and seek emergency care. Oxygen may help if available. |
| HAPE | Marked loss of exercise ability, cough, chest congestion or shortness of breath at rest. | Medical emergency. Minimize exertion, descend urgently and obtain medical care. Use oxygen if available. |
Warning: Confusion, loss of coordination, severe deterioration, or breathlessness at rest at altitude can indicate life-threatening HACE or HAPE. Do not wait for the person to “sleep it off.” Begin descent and seek emergency medical help.
The Wilderness Medical Society’s 2024 acute altitude illness guidelines provide evidence-based recommendations for prevention and treatment of AMS, HACE and HAPE.
Altitude is only one mountain hazard. Check the route and current forecast before leaving, establish a turn-around time, carry navigation and emergency equipment, and tell someone where you are going and when you expect to return. Prepare for cold, intense sun, thunderstorms, snow, rockfall or other hazards relevant to the destination.
Altitude Acclimatization Techniques
Acclimatization means giving the body time to adapt to hypobaric hypoxia. It cannot be replaced by being exceptionally fit.
Current CDC guidance recommends avoiding a direct jump from low altitude to a sleeping altitude above roughly 9,000 feet (2,750 meters) in one day when possible. Once above about 9,850 feet (3,000 meters), increase sleeping altitude by no more than about 1,600 feet (500 meters) per day and add an extra acclimatization day for each additional 3,300 feet (1,000 meters) of sleeping-altitude gain.
This distinction between daytime elevation and sleeping elevation matters. Hiking higher during the day and returning to sleep lower generally produces less hypoxic stress than sleeping at the day’s highest point.
The CDC also advises keeping exercise mild during the first 48 hours after arriving at high altitude and avoiding alcohol during that initial period. If your schedule allows, spending two or more nights above roughly 9,000 feet within the two weeks before the trip can provide useful pre-acclimatization.
Pro Tip: When comparing itineraries, look at where you will sleep each night, not only the summit elevation. A slower sleeping-altitude progression is one of the most useful ways to reduce altitude-illness risk.
Prescription acetazolamide can speed acclimatization and may be appropriate when rapid ascent cannot be avoided or when a person’s altitude-illness history places them at higher risk. Discuss medication with a healthcare professional before departure rather than experimenting with it for the first time on the mountain.
Supplemental oxygen can be valuable in treating serious altitude illness, but it does not make an unsafe ascent schedule safe. In remote settings, descent remains central to the management of severe altitude illness.
Training Programs for High Altitude Hiking
The best program depends on your current fitness and the trip. The sample below is designed as an adaptable eight-week framework for an otherwise healthy adult who already performs some regular activity. Someone starting from inactivity may need longer.
| Weeks | Training Focus |
|---|---|
| 1–2 | Build consistency. Do 3 moderate aerobic sessions of about 30–45 minutes, 2 strength sessions, and one easy longer walk or hike. Keep at least one full recovery day. |
| 3–4 | Increase aerobic sessions toward 40–60 minutes. Add hills, stairs or incline walking. Extend the long hike and begin carrying a light pack. |
| 5–6 | Make training more trip-specific. Continue 2 strength sessions, use longer climbs, practice descents, increase long-hike duration, and gradually work toward the pack you expect to carry. |
| 7 | Complete your most trip-specific week. Include a long hilly hike and, for a multi-day trek, consider an easier walk the following day to practice moving on tired legs. |
| 8 | Taper. Reduce overall workload, keep easy movement in the schedule, avoid exhausting last-minute workouts, and arrive at the trip rested. |
Example Training Week
- Monday: Rest or easy mobility work
- Tuesday: Moderate aerobic training plus short core work
- Wednesday: Strength training
- Thursday: Hills, stairs or incline walking
- Friday: Rest or easy aerobic recovery
- Saturday: Long hike with progressive elevation gain and pack practice
- Sunday: Strength training or an easy walk; later in the plan, an easy second hiking day may be useful for multi-day-trip preparation
Progress is more useful than punishment. Increase duration, elevation gain and pack load gradually rather than increasing everything at once. Persistent joint pain, unusual fatigue or declining performance are reasons to back off and recover rather than forcing another hard session.
How to Monitor Progress
Instead of judging readiness only by speed, track practical markers: how long you can climb at a sustainable pace, how you recover the next day, whether your feet remain comfortable, how your knees tolerate descents, and whether the expected pack still feels manageable after several hours.
Timed hikes can be useful, but racing every training hike is unnecessary. High-altitude hiking generally rewards steady pacing and energy management more than short bursts of speed.
If you are planning a high-altitude hiking trip, complete the safety essentials before adding optional extras. Compact binoculars can be enjoyable for scenery and wildlife viewing, and practical travel gifts can improve comfort, but neither replaces navigation, insulation, water, food or emergency equipment. For optional optics, see this guide to compact binoculars for hiking.
Love travel? Join Our Facebook Community For More Tips.
Frequently Asked Questions
What is high altitude hiking?
For altitude-illness planning, elevations around 8,000 feet (2,450–2,500 meters) and above are a useful practical threshold because unacclimatized travelers can begin developing AMS at roughly these elevations. Risk generally increases with higher sleeping altitude and faster ascent.
Why is training important for high altitude hiking?
Training improves aerobic endurance, leg and core strength, hiking durability, balance and the ability to carry a pack. Those improvements make the physical work easier, but they do not create full altitude acclimatization or prevent altitude sickness.
What are good exercises for high altitude hiking?
Use a combination of sustained aerobic work, long walks or hikes, hills or stairs, and strength exercises such as squats, lunges, step-ups, controlled step-downs, calf raises, hip hinges and core-stability work. Practice with your hiking pack as the trip approaches.
How should I adjust my training routine for high altitude hiking?
Gradually increase hiking duration, elevation gain and pack-specific practice while maintaining recovery days. Build most sessions around sustainable aerobic work, include strength about twice per week where appropriate, and reduce training volume during the final week so you arrive rested.
Can I train for high altitude hiking if I live at sea level?
Yes. Sea-level training can build excellent hiking fitness through walking, running, cycling, stairs, incline treadmill work, strength training and progressively longer hikes. What it cannot fully reproduce is altitude acclimatization, so your itinerary still needs enough time for safe adjustment after arrival.
Does being very fit prevent altitude sickness?
No. The CDC states that physical fitness does not determine a person’s risk of altitude illness. Fit hikers may perform better on the trail, but they must follow the same acclimatization and symptom-response principles as everyone else.
What are some tips for acclimatizing to high altitude?
Ascend gradually, pay particular attention to sleeping altitude, keep activity mild during the first couple of days at altitude, avoid going higher when symptoms develop, and add acclimatization days to the itinerary. Recent exposure to altitude before the main trip may also help.
Are there specific dietary considerations for high altitude hiking?
Eat enough total food to support the workload, include carbohydrate-rich foods for sustained exercise, obtain adequate protein, and drink according to conditions and individual needs. Iron-containing foods are useful as part of a balanced diet, but iron supplements should not be taken routinely without evidence of low iron stores or professional advice.
Sources
- CDC Yellow Book: High-Altitude Travel and Altitude Illness — altitude physiology, illness risk, acclimatization, ascent guidance and treatment principles.
- Wilderness Medical Society Clinical Practice Guidelines for Acute Altitude Illness: 2024 Update — evidence-based AMS, HACE and HAPE prevention and treatment.
- CDC Physical Activity Guidelines for Adults — baseline aerobic and muscle-strengthening recommendations.
- National Park Service: Ten Essentials — basic hiking and emergency-equipment categories.
- Nutrition, Hydration and Supplementation Considerations for Mountaineers in High-Altitude Conditions — current review of high-altitude nutrition, hydration and micronutrient considerations.
