
Last Updated on September 10, 2026 by Daniel Globe
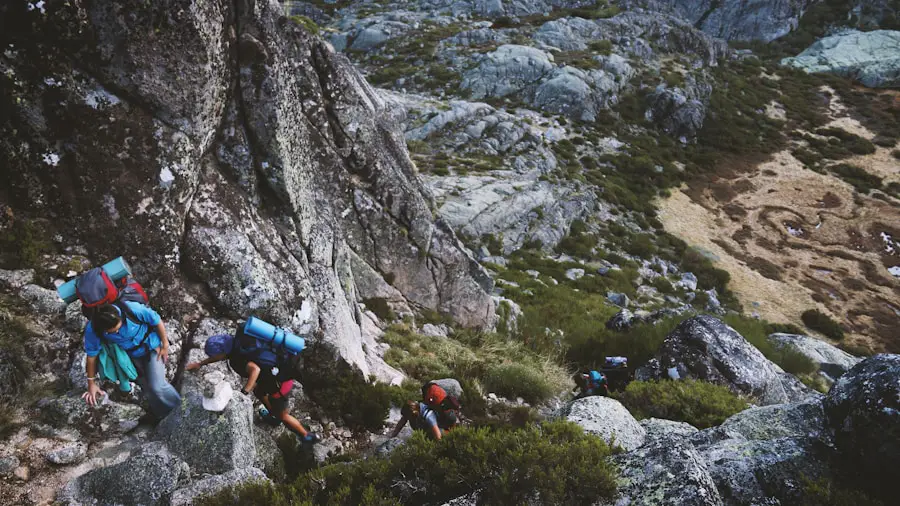
Scrambling hiking sits between ordinary hiking and technical rock climbing. A scramble takes you onto rocky terrain where you may need your hands for balance, upward movement, or both. The challenge can range from simple boulder hopping to exposed mountain terrain where a slip could have severe consequences, so choosing the right route and knowing when to turn back matter just as much as fitness.
Quick Answer
Scrambling hiking is hands-on travel over rocky terrain that falls between hiking and technical climbing. Easier scrambles may need only good footwear, navigation skills, and careful movement. Harder routes can involve major exposure, loose rock, route-finding, helmets, or climbing equipment. Start easy, check conditions, and never climb terrain you cannot confidently descend.
Key Takeaways
- Scrambling involves hands-on movement over rocky terrain and can be much more consequential than normal trail hiking.
- Scrambling grades are not universal. U.S. terrain classes and UK-style Grade 1–3 systems describe difficulty differently.
- Good footwear, navigation tools, weather protection, water, food, a first-aid kit, and emergency supplies form the basic kit.
- Helmets, ropes, harnesses, and climbing protection depend on the route and should only be used with the skills needed to use them correctly.
- Wet rock, loose holds, exposure, poor route-finding, fatigue, lightning, snow, and ice can turn an otherwise manageable scramble into a serious outing.
At a Glance
| Time Required | Route-dependent: from a short practice session to a full mountain day |
| Difficulty | Easy hands-on terrain through highly exposed advanced scrambling; beginners should start on low-consequence routes |
| Tools Needed | Grippy footwear, navigation tools, water, food, layers, headlamp, first-aid kit, emergency supplies; helmet or technical gear when the route requires it |
| Cost | Varies with park fees, permits, equipment, travel, and optional professional instruction |
Disclosure: As an Amazon Associate I earn from qualifying purchases. Some links on this page are affiliate links, at no extra cost to you.
What Is Scrambling Hiking?
Scrambling is often described as the gray area between hill walking and rock climbing. You still travel under your own power, but steeper sections may require your hands for balance, pulling, pushing, or stabilizing yourself. The terrain may include slabs, boulders, ridges, gullies, ledges, and short rock steps.
The activity has long overlapped with hill walking and mountaineering rather than having one clear historical starting point. Today, guidebooks and land managers commonly separate scrambling from ordinary hiking because the movement skills, route-finding demands, and consequences of a fall can be very different.
The National Park Service scrambling guidance for Joshua Tree describes scrambling as movement over 2nd-, 3rd-, and 4th-class rocky terrain. Hiking is generally concentrated on easier terrain, while 5th-class terrain marks the beginning of technical rock climbing.
Understanding Scrambling Grades and Classes
One of the most important things to understand is that there is no single worldwide scrambling grade. Always check what grading system your guidebook, website, or local climbing organization is using.
| System | General Meaning |
| U.S. terrain classes | Class 2 can involve occasional hand use; Class 3 involves more sustained scrambling; Class 4 is steeper and more exposed and may carry severe consequences in a fall. Exact descriptions vary by source. |
| UK-style Grade 1 | Generally straightforward for experienced hill walkers, with occasional use of the hands and usually modest technical difficulty. |
| UK-style Grade 2 | More sustained hand use, greater exposure, and potentially difficult retreat. |
| UK-style Grade 3 / 3(S) | Advanced scrambling with steep or highly exposed sections. Rock-climbing moves and rope protection may be appropriate for some parties. |
Mountaineering Scotland emphasizes that scrambling grades are approximate, are normally based on dry summer conditions, and can become much more serious when the rock is wet, icy, or otherwise unfavorable.
Warning: A low technical grade does not mean a route is safe. Exposure, loose rock, poor route-finding, weather, fatigue, and a difficult retreat can make seemingly easy scrambling dangerous. Scrambling can result in serious injury or death, and this guide is not a substitute for hands-on instruction.
The most useful question before moving upward is not simply “Can I climb this?” but “Can I safely reverse these moves if the route ahead is blocked?”
Essential Gear for Scrambling Hiking
The right equipment depends on the route, weather, remoteness, and difficulty. Basic scrambling gear starts with the same emergency preparation needed for a serious hike, then adds route-specific equipment where necessary.
Footwear
Choose sturdy footwear with dependable traction. Hiking boots can work well on long approaches, rough trails, and loose terrain. Approach shoes with sticky rubber often provide better feel and grip on dry rock. Fit and familiarity matter more than simply choosing the stiffest boot available.
Pack and Emergency Essentials
A well-fitted backpack should carry water, food, extra clothing, navigation tools, a headlamp, first-aid supplies, and emergency equipment. The National Park Service Ten Essentials provide a useful baseline for trip preparation.
- Map plus compass or another navigation method you know how to use
- Downloaded offline route information or GPS as a supplement, not your only plan
- Water and extra food
- Warm and waterproof layers appropriate for the forecast
- Headlamp with reliable power
- First-aid supplies and personal medication
- Sun protection
- Emergency shelter appropriate to the location
- Whistle or another signaling method
Helmet, Gloves, and Trekking Poles
A climbing helmet can be a sensible addition where rockfall, loose terrain, overhead parties, or a head-impact hazard exists. Gloves may protect hands from abrasive rock, but they should not prevent you from feeling whether a hold is secure.
Trekking poles can improve balance on the hiking approach. Once the route requires sustained hand use, stow them securely so both hands are available. NPS guidance for 3rd-class scrambling at Joshua Tree specifically notes that free hands may be vital.
When a Rope or Climbing Protection Enters the Picture
A harness, rope, slings, cams, nuts, or other protection are not universal scrambling essentials. They become relevant only when the route and your risk-management plan call for technical protection.
Using a rope safely requires much more than owning one. Anchors, belaying, short-pitching, rope management, protection placement, and emergency retreat are technical skills. If your intended route requires those systems and you do not already know how to use them correctly, learn from a qualified instructor or experienced professional before attempting the route.
Pro Tip: Practice scrambling movement on low-angle rock where a slip has minor consequences. Being able to climb a move is not enough; practice reversing it smoothly before progressing to exposed terrain.
Safety Tips for Scrambling Hiking
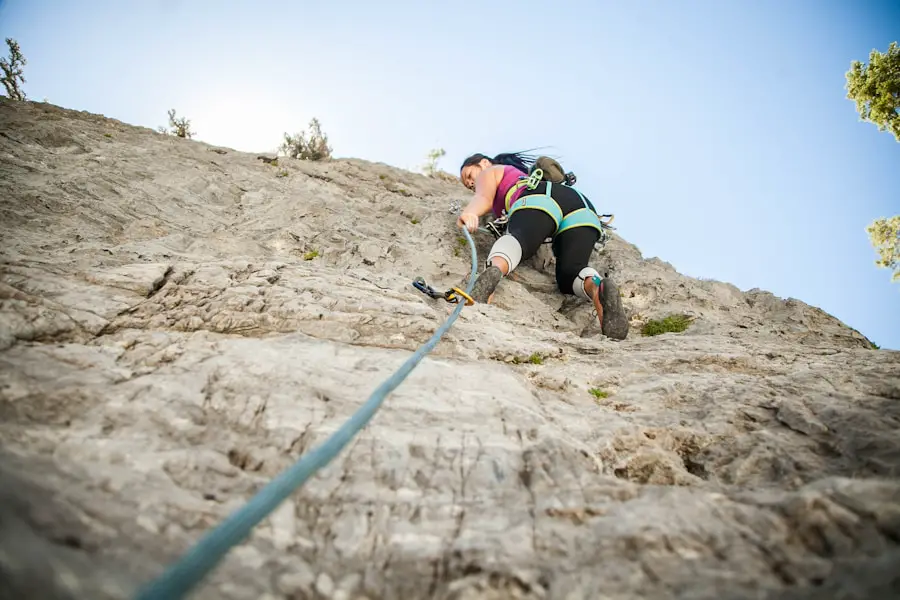
Safety starts with an honest assessment of your experience, fitness, comfort with exposure, and ability to reverse difficult moves. Research the exact route before leaving and check current weather, closures, permits, and route conditions.
Use Secure Movement
Move deliberately rather than rushing. On hands-on terrain, try to maintain three secure points of contact while moving the fourth limb. Place your feet carefully and avoid relying on arm strength when a balanced stance will work.
Before committing your weight, check questionable handholds and footholds. Loose blocks, flakes, gravel, moss, sand, and wet rock can all reduce security. Avoid pulling outward on suspicious rocks that could detach.
Manage Loose Rock and Group Spacing
Loose rock is one of the defining hazards of many scrambles. Avoid standing directly below another person in a gully or steep line where dislodged stones could fall toward you. Give each person enough room to finish a loose section before the next person enters it.
If a rock is accidentally knocked loose and people are below, warn them immediately. Helmets can reduce some head-injury risk, but they do not make rockfall safe.
Think About the Descent Before the Ascent
Many moves feel easier going up than coming down because footholds are harder to see from above. Pause before a steep step and identify how you would reverse it. Never continue merely because the upward move is possible.
Fatigue also makes descending more dangerous. Save enough time, concentration, food, and water for the return journey rather than treating the summit as the end of the day.
Stay on Route
Going off route can quickly turn moderate scrambling into much harder climbing. If the terrain suddenly seems far steeper or more exposed than the guide description, stop and reassess rather than assuming you must continue upward.
Retrace your steps to the last known point if necessary. Do not shortcut blindly through unfamiliar cliffs or gullies.
Watch Weather Closely
Wet rock can lose traction, while snow or ice can completely change the equipment and skills a route requires. Exposed ridges and summits also increase your vulnerability during thunderstorms.
The National Weather Service warns that no place outdoors is safe when thunderstorms are nearby. If you hear thunder, leave elevated terrain and move toward safe shelter as quickly as conditions allow.
Use the Buddy System and Leave a Trip Plan
Scrambling with a suitable partner provides another set of eyes for navigation and allows teammates to watch one another on difficult sections. Discuss pace, route decisions, turnaround points, and comfort with exposure before the difficult terrain begins.
Tell a responsible person where you are going, your route, who is with you, and when you expect to return. Do not assume your phone will have service in mountain or canyon terrain.
Note: A turnaround is a successful safety decision, not a failed summit attempt. Turn back when weather, route conditions, fatigue, navigation uncertainty, or exposure exceeds the level you planned for.
Choosing the Right Scrambling Hiking Route
Selecting an appropriate scrambling route is fundamental to having a safe and enjoyable experience. Match the route to the least-experienced person in your group, not the strongest. Beginners should start on routes with limited exposure, easy retreat options, clear route descriptions, and terrain that allows them to practice using their hands without severe fall consequences.
Read more than the headline grade. A route description should tell you about exposure, rock quality, navigation, descent difficulty, seasonal conditions, length, elevation, and whether a rope is commonly used.
| Route | Character | Distance | Elevation Gain | Important Access Note |
| Angels Landing, Zion National Park | Exposed, chain-assisted hiking rather than a standard graded scramble; significant drop-offs | 5.4 miles round trip | 1,488 ft | Permit required for Angels Landing; check current Zion conditions before departure |
| Half Dome, Yosemite National Park | Extremely strenuous hike ending with a steep, cable-assisted ascent; not a conventional free scramble | About 14–16 miles round trip, depending on route | About 4,800 ft | Permit required when the cables are up; do not attempt the cables when wet or during storms |
| Longs Peak Keyhole Route, Rocky Mountain National Park | Serious mountaineering route with sustained scrambling, loose rock, narrow ledges, route-finding, and potentially fatal exposure | About 15 miles round trip | About 5,000+ ft | NPS calls the Keyhole Route a climb, not a hike; check current mountain conditions before attempting it |
These routes illustrate why generic labels such as “difficult” are not enough. Angels Landing and Half Dome use fixed aids and have permit systems, while Longs Peak’s Keyhole Route is a serious mountain climb involving scrambling. They should not be treated as interchangeable examples of one standardized grade.
Weather and season also matter. A dry summer scramble can become a mountaineering objective when covered by snow or ice. Rock type matters too: rough granite, polished slabs, loose sedimentary rock, and wet coastal stone can provide very different traction and stability.
The Physical and Mental Benefits of Scrambling Hiking
Scrambling can challenge the whole body. Stepping onto irregular rock develops balance and coordination, while uphill movement works the legs and cardiovascular system. Hands-on sections can also involve the core, shoulders, and arms as you stabilize yourself and move around obstacles.
Because every foot placement and route choice demands attention, scrambling can also be mentally absorbing. Many people find that sustained focus outdoors provides a welcome break from everyday distractions and creates a strong sense of accomplishment.
Outdoor recreation may support general well-being and stress relief, but scrambling should not be presented as a treatment for anxiety, depression, or another medical condition. Its benefits depend on the individual, the route, and whether the experience remains within a manageable level of risk and stress.
Exploring Scrambling Hiking in Different Terrains
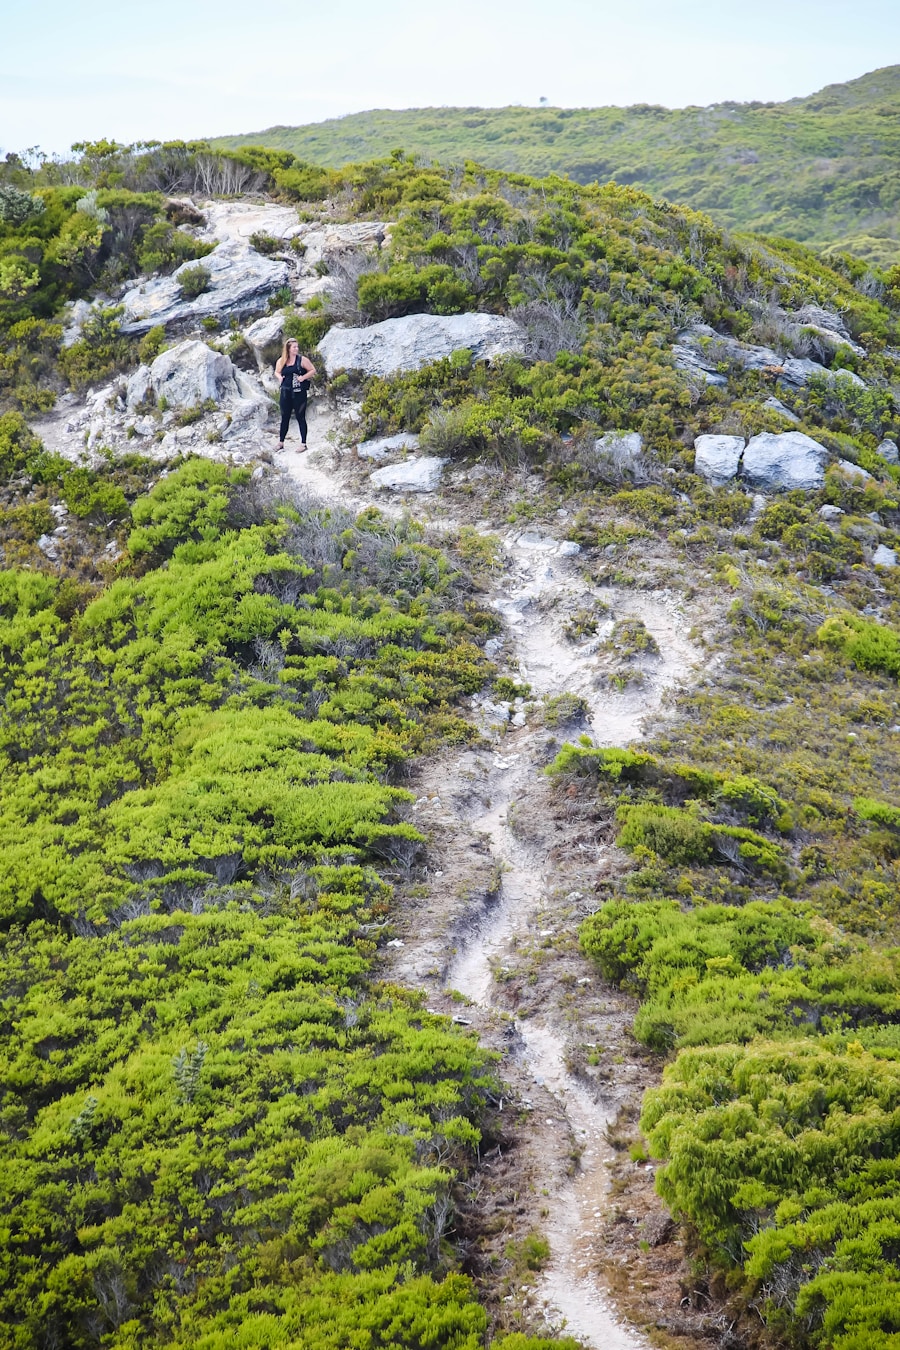
Scrambling looks very different from one landscape to another. In mountain regions such as the Rockies or Alps, routes may cross granite slabs, talus, narrow ridges, gullies, and broken cliffs. Higher elevations introduce additional concerns such as rapid weather changes, strong wind, cold, lightning, snow, ice, and reduced oxygen.
Coastal scrambling can involve cliffs, rocky shorelines, loose gravel, algae-covered rock, tides, and waves. A section that is straightforward when dry may become unsafe when wet or cut off by rising water. Check tide information and local access rules before committing to coastal terrain.
Sandstone, limestone, and other rock types can present their own hazards. Some rock becomes fragile when wet, while highly traveled surfaces may be polished and slippery. Local guidebooks and land-management guidance are more useful than assuming one movement technique works on every type of rock.
How to Prepare for a Scrambling Hiking Adventure
Preparation is more than checking the mileage. Before setting out, research the entire route, including the descent and any escape options. Read current land-manager notices and recent condition reports where available.
Before You Leave
- Check the route grade and grading system. Confirm what the published rating actually means.
- Read the full route description. Look for exposure, loose rock, navigation problems, difficult descent sections, and technical gear recommendations.
- Check weather and recent conditions. Pay special attention to rain, snow, ice, wind, extreme heat, lightning, and water levels.
- Confirm permits and closures. National parks and other managed areas may require advance permits or temporarily close routes.
- Set a turnaround time. Base it on daylight, weather, the slowest member of the group, and the expected descent time.
- Pack for an unexpected delay. Carry enough food, water, clothing, light, navigation equipment, and emergency supplies to handle a slower-than-planned return.
- Leave a trip plan. Tell someone your route, group, expected return time, and what they should do if you do not check in.
Build the Right Skills First
Regular hiking develops endurance, but scrambling adds balance, footwork, route-finding, and confidence on rock. Practice on low-consequence terrain before attempting exposed ridges or steep gullies.
Rock-climbing or bouldering instruction can improve movement skills, while navigation practice helps you identify the correct line when trails disappear. If a scramble commonly requires rope protection, abseiling, or technical anchors, obtain appropriate instruction rather than learning those systems for the first time during the outing.
Know Your Turnaround Triggers
Turn around when the rock is wetter or icier than expected, the route is harder to reverse than anticipated, someone in the group is uncomfortable with the exposure, navigation is uncertain, thunderstorms threaten, daylight is running short, or fatigue is affecting movement.
Continuing because you are already close to the top is not a good reason to accept a hazard that you would have rejected earlier in the day.
Finding Scrambling Hiking Communities and Resources
Local hiking, mountaineering, and climbing organizations can be valuable places to develop scrambling skills with more experienced partners. Look for organizations that offer structured skills days, navigation instruction, scrambling courses, or qualified professional guiding rather than relying only on informal social-media advice.
Resources such as Mountaineering Scotland’s scrambling training materials cover planning, footwear, rope considerations, route reading, and movement techniques. In the United States, National Park Service route pages are particularly useful for current access restrictions, permits, hazards, and local conditions.
Online forums and social groups can still help with trip ideas and recent observations, but treat user reports as supplemental information. Weather, closures, rockfall, snow, and trail damage may change after someone posts a report, so verify critical conditions through the responsible land-management agency whenever possible.
If you enjoy scrambling hiking, you may also be interested in discovering tent camping spots for your next outdoor trip. Because campground access and seasonal conditions can change, confirm current information before traveling.
Love travel? Join Our Facebook Community For More Tips.
Frequently Asked Questions
What is scrambling hiking?
Scrambling hiking is hands-on travel over steep or rocky terrain that falls between ordinary hiking and technical rock climbing. You may use your hands for balance, stability, or upward movement, and the consequences of a fall can vary from minor to severe depending on the terrain.
What skills are required for scrambling hiking?
Useful skills include balance, precise foot placement, route-finding, navigation, three-point-contact movement, assessing loose rock, downclimbing, weather judgment, and knowing when to retreat. Harder scrambles may also require technical climbing and rope skills.
What equipment is needed for scrambling hiking?
For easier scrambling, start with grippy footwear, navigation tools, water, food, suitable clothing, a headlamp, first-aid supplies, and emergency essentials. A helmet may be appropriate for loose or exposed terrain. A rope, harness, cams, nuts, or other climbing equipment are route-dependent and should only be used by people trained in the necessary techniques.
What are the risks associated with scrambling hiking?
Major risks include falls, rockfall, loose holds, getting off route, difficult retreat, wet or icy rock, lightning, changing weather, fatigue, dehydration, and delays in reaching help. Exposure can make an otherwise easy climbing move extremely consequential.
Where can I go scrambling hiking?
Scrambling is common in rocky and mountainous regions worldwide, including the Scottish Highlands, England’s Lake District, the Rocky Mountains, the Sierra Nevada, and the Alps and Dolomites. Always use local route descriptions because grades, access rules, permits, rock quality, and seasonal hazards vary by destination.
Is scrambling harder than hiking?
Usually, yes. Scrambling adds hands-on movement, steeper terrain, route-finding, and often greater exposure. An easy scramble may be only a small step beyond rough hiking, while an advanced scramble can approach technical rock climbing in difficulty and consequences.
Do I need a rope for scrambling?
Not for every scramble. Easier routes are commonly completed without ropes. More exposed or technically difficult terrain may justify rope protection, but using a rope safely requires appropriate anchors, belaying, protection, and rope-management skills. Do not carry a rope as a substitute for training.
Sources
- National Park Service — Joshua Tree Scrambling — scrambling definition, terrain classes, footwear, three-point contact, poles, helmets, and general safety.
- Mountaineering Scotland — Scrambling — UK-style scrambling grades, exposure, route seriousness, and changing-condition cautions.
- National Weather Service — Lightning Safety Tips — thunderstorm and exposed-terrain safety.
- Zion National Park — Angels Landing Permits & Hiking — current distance, elevation gain, preparation, and permit requirements.
- Yosemite National Park — Half Dome Day Hike — distance, elevation gain, cable hazards, preparation, and permit information.
- Rocky Mountain National Park — Longs Peak Keyhole Route — scrambling hazards, exposure, weather, route-finding, and seriousness of the climb.

