
Last Updated on July 27, 2026 by Mason Reed
Getting your walking staff length right matters more than the brand or price tag. A properly fitted staff or trekking pole keeps your wrist and shoulder in a comfortable position and gives you a more useful support point on the trail. The key is not a universal number — it is where your hand sits when the tip is on the ground.
Quick Answer
Set a walking staff or trekking pole so that, on flat ground with the tip beside your foot, your elbow bends about 90 degrees. For adjustable poles, use that fit test instead of a universal adult length. On long climbs, shorten 5–10 cm (2–4 in); on long descents, lengthen 5–10 cm.
Key Takeaways
- The best general fit is about a 90-degree elbow bend with the tip on the ground near your foot.
- Do not rely on one universal adult, child, or senior length; body proportions and the pole design matter.
- For fixed-length trekking poles, REI’s current reference sizes are 100, 110, 120, and 130 cm depending on height.
- Shorten adjustable poles about 5–10 cm for long climbs and lengthen them 5–10 cm for long descents.
- A hiking staff is trail equipment, not a substitute for a medical cane or other mobility aid designed to bear body weight.
At a Glance
| Time Required | About 2–5 minutes |
| Difficulty | Easy |
| Tools Needed | Walking staff or trekking pole, hiking shoes, optional tape measure |
| Cost | $0 to size equipment you already own |
Disclosure: As an Amazon Associate I earn from qualifying purchases. Some links on this page are affiliate links, at no extra cost to you.
How Long Should a Walking Staff Be?
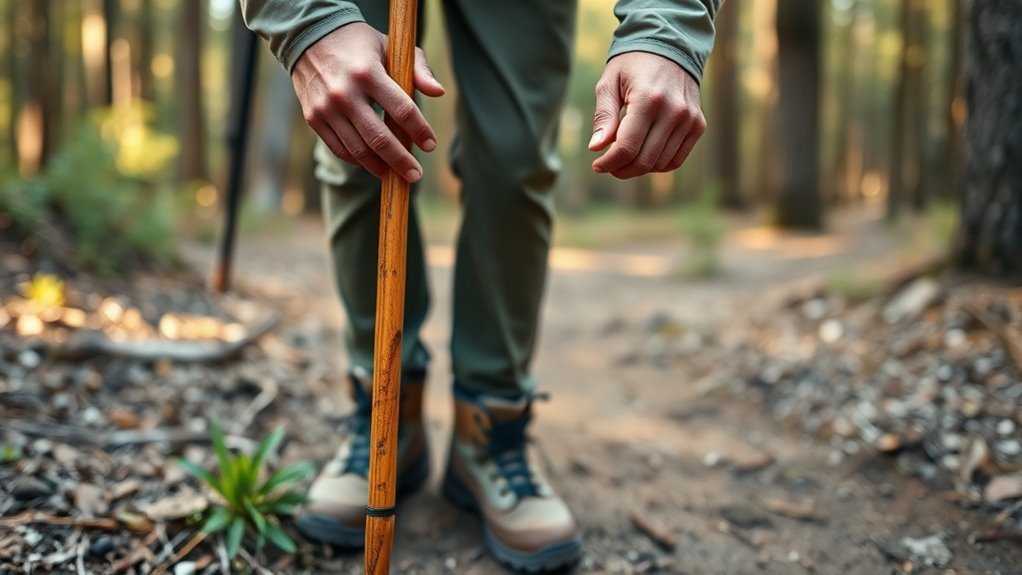
The most reliable starting point is the method recommended by REI for trekking poles and hiking staffs: stand naturally on flat ground with the tip beside your foot and hold the grip. Your elbow should bend at roughly 90 degrees.
If your shoulder rises or your hand sits noticeably above a comfortable elbow position, the staff is probably too long. If you have to reach downward, straighten your arm, or lean toward the staff, it may be too short.
There is no single correct length for every adult. An adjustable staff is best sized with the live elbow test. For fixed-length trekking poles, use a height chart as a starting point and then follow the manufacturer’s model-specific sizing instructions.
If you are taller than about 6 feet, REI recommends choosing an adjustable trekking pole or hiking staff with a maximum length of at least 51 inches.
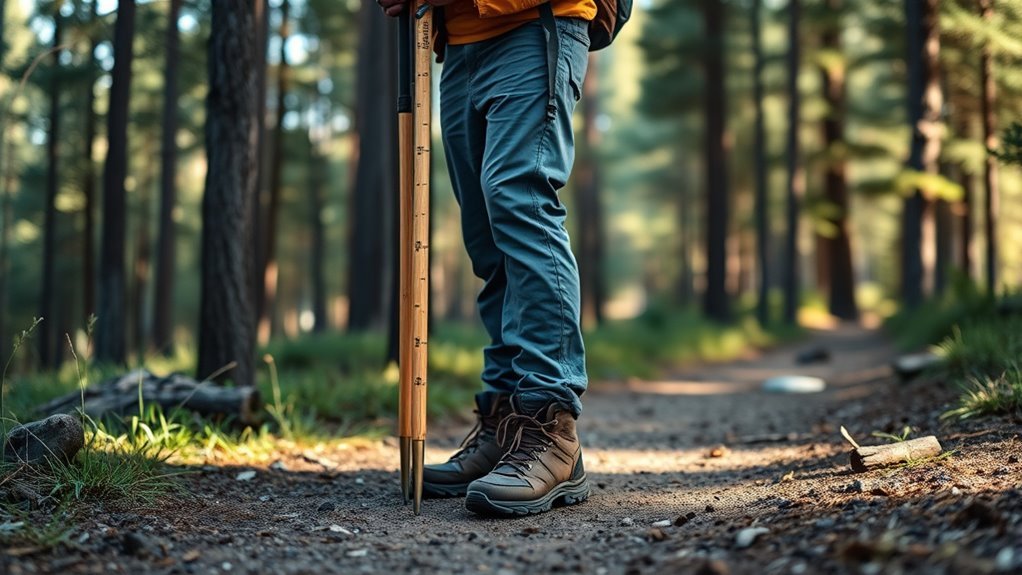
Pro Tip: If you are sizing a long wooden staff that extends above your hand, measure the height of the point where you actually grip it. The top of the shaft can be higher than your elbow without making the working grip too high.
Use Elbow-to-Floor as a Baseline
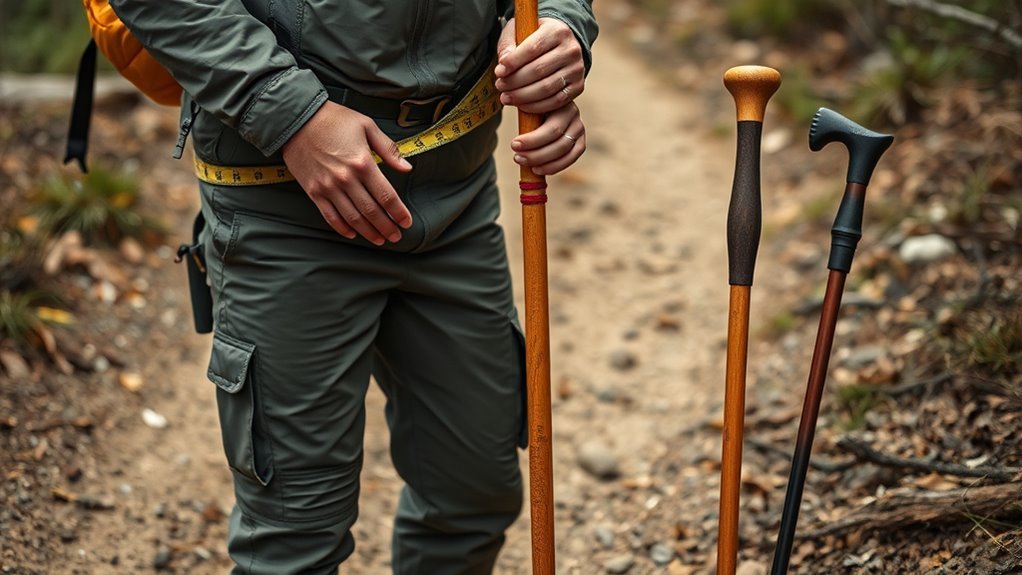
An elbow-to-floor measurement can help narrow your options before you try a staff, but it should not replace the hands-on fit test. Stand in the shoes you normally hike in, keep your shoulders relaxed, and note the approximate height of your elbow from the ground.
Elbow-to-Floor Method
Stand naturally rather than forcing your shoulders back or locking your elbow. Measure from the floor to roughly elbow height while wearing your normal trail footwear. That gives you a preliminary grip-height range to test.
Then place the staff tip on the ground beside your foot and grip it normally. Your real-world elbow angle matters more than the tape-measure number because arm length, hand size, grip shape, posture, and footwear all affect fit.
Ideal Staff Height
The ideal grip height lets your wrist remain fairly neutral while your elbow stays near 90 degrees on level ground. You should not need to shrug your shoulder, lean sideways, or lock your arm straight to reach the handle.
For long climbs and descents, the ideal setting changes temporarily. Do not simply make a pole longer because terrain is steep. Shorten it for sustained climbs and lengthen it for sustained descents.
Comfort and Adjustments
After finding your baseline, walk for several minutes rather than judging the staff while standing still. Pay attention to your wrist, shoulder and posture.
- Too long: your shoulder may feel lifted, your elbow may be excessively bent, or the grip may push into your palm from above.
- Too short: you may reach downward, lean toward the staff, or straighten your elbow too much.
- Good fit: your hand feels relaxed, your wrist stays near neutral, and the pole plants without forcing your shoulder up or down.
Grip material also affects comfort. A correctly sized pole can still feel tiring if the grip is too large, slippery, hard or poorly shaped for your hand.
Match Staff Length to Your Height
Your height is useful when choosing a fixed-length trekking pole, but it is less important than the 90-degree elbow test for adjustable equipment. REI currently gives the following fixed-pole starting points:
Fixed-Length Trekking Pole Reference
| Under 5’1″ | 100 cm (about 39 in) |
| 5’1″–5’7″ | 110 cm (about 43 in) |
| 5’8″–5’11” | 120 cm (about 47 in) |
| 6′ and taller | 130 cm (about 51 in) |
| Children / very short users | Use the 90-degree fit test and a youth-specific or adjustable model rather than relying on age alone |
These figures are starting points for fixed trekking poles, not universal dimensions for every walking stick. Always check the manufacturer’s sizing chart when a fixed product is offered in specific sizes.
Elbow-to-Floor Measure
If you want to narrow your options before trying poles, measure approximately from the floor to your elbow while standing naturally. Treat that number only as a trial grip height.
- Put on your normal hiking footwear.
- Place the staff or pole tip beside your foot on level ground.
- Grip the handle normally without raising your shoulder.
- Check for roughly a 90-degree bend at the elbow.
- Walk several steps and make a small adjustment if your wrist or shoulder feels forced.
Height-Based Staff Sizing
Height charts work best for fixed-length trekking poles. With an adjustable walking staff, your actual elbow position is more useful because two people of the same height can have different arm and torso proportions.
The same rule applies to seniors: age does not create a different hiking-pole sizing formula. Fit the equipment to the person’s body and intended use. Children should also be fitted individually rather than assigned a universal 100 cm length.
Terrain Length Adjustments
Once your normal setting is established, adjust the staff as the terrain changes. REI’s trekking-pole guidance recommends the following approach for longer sections:
- Uphill: shorten adjustable poles by about 5–10 cm (2–4 in) for more secure plants and less shoulder strain.
- Downhill: lengthen them by about 5–10 cm (2–4 in) to help keep your body more upright.
- Traverses: shorten the uphill-side pole and lengthen the downhill-side pole as needed for comfort and balance.
Note: You do not need to change length for every small rise or dip. The standard 90-degree setting works for most general hiking; larger adjustments are mainly useful on sustained climbs, descents and traverses.
Adjust for Hills and Uneven Trails
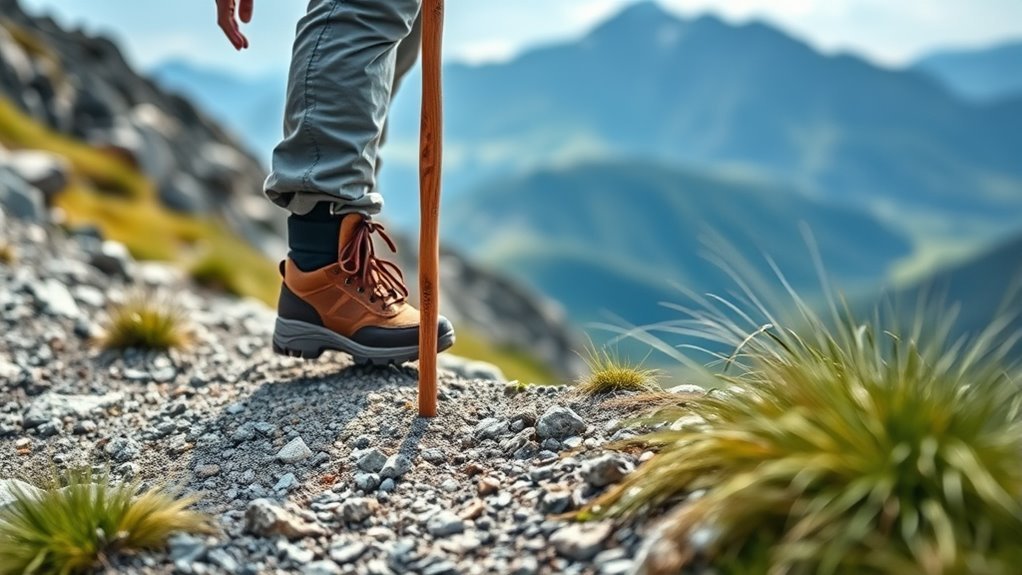
On hills and irregular surfaces, changing the length can make pole placement easier and keep your shoulders in a more natural position.
For a long climb, shorten an adjustable pole or pair by about 5–10 cm. The steeper the sustained climb, the more you may need to shorten within the safe adjustment range of the pole.
For a long descent, lengthen the pole or poles about 5–10 cm. This makes it easier to plant them farther down the slope without bending excessively at the waist.
On a sustained side slope, use a shorter setting uphill and a longer setting downhill. Return both poles to your baseline setting when you reach flatter terrain.
For sustained terrain changes, remember the simple rule: shorter uphill, longer downhill, normal 90-degree setting on flat ground.
Warning: A hiking staff or trekking pole is not a substitute for a medical cane, walker, brace or forearm crutch designed to support body weight. If you need a mobility aid because of an injury, disability, pain or balance problem, use equipment intended and properly fitted for that purpose.
Choose the Right Staff for Your Use
Length is only part of the decision. The type of pole should match the terrain and the kind of support you want.
Staff Type and Terrain
According to REI, trekking poles are used as a pair and are useful for stability on varied terrain and while backpacking. A hiking staff is a single pole and is generally best suited to relatively flat terrain when you are carrying little or no load.
- Choose adjustable trekking poles for frequent steep climbs, descents and side slopes.
- Choose a single hiking staff for simpler trails where one extra contact point is enough.
- For fixed-length equipment, follow the model-specific sizing chart.
- For children, fit the grip to the child rather than choosing solely from age.
Some hiking staffs also include a camera-mount thread beneath the grip so the staff can double as a monopod.
Height and Handle Fit
Once the shaft length is right, check the handle. Some trekking poles use ergonomic grips with a corrective angle that helps the wrist sit comfortably. The exact shape matters more than any single angle specification.
Try the grip with a relaxed hand. You should not need to squeeze hard to keep control of the pole.
If the pole has a wrist strap, slide your hand up through the bottom of the strap and then settle your hand onto the grip. This lets the strap support part of the load without forcing you to clench the handle. The Washington Trails Association gives the same basic strap and sizing guidance.
Also check adjustable locks before every hike. Each section should close securely without slipping, and no section should be extended beyond the manufacturer’s marked safe limit.
Set the Grip Height for Comfort
With the staff tip beside your foot on level ground, hold the grip naturally and check your elbow. Roughly 90 degrees is the standard starting position.
- Put on the shoes you normally hike in.
- Stand upright on level ground.
- Place the tip close to your foot.
- Relax your shoulder and grip the handle normally.
- Adjust until the elbow sits close to 90 degrees.
- Walk for a minute or two and make small changes based on comfort.
A broom handle can help you estimate grip height before buying. If you are testing a long traditional wooden staff, mark the point where your hand naturally settles rather than judging the staff only by its total height.
Compare Wood, Metal, and Carbon Fiber
Material changes how a staff feels, how much it weighs, and how it behaves when loaded. There is no universally best material.
| Material | Main trade-off | Best fit |
| Wood | Traditional feel; generally heavier and often fixed length | Casual walking and hikers who prefer a traditional staff |
| Aluminum | Durable and usually less expensive; heavier than comparable carbon models and may bend under overload | Mixed terrain and frequent use |
| Carbon / composite | Lighter and can reduce vibration, but generally costs more and can break rather than bend under severe stress | Long-distance hikes where low weight matters |
REI and the Washington Trails Association both describe aluminum as the heavier, durable option and carbon/composite as lighter but generally more vulnerable to breakage. Your normal terrain should decide which trade-off matters more.
Avoid Common Sizing Mistakes
Even a good staff feels awkward when it is fitted badly. The most common mistake is choosing from total body height alone without actually holding the equipment.
- Do not assume every adult in the same height range needs the same adjustable setting.
- Do not use the old 115–135 cm “most adults” rule as a substitute for the 90-degree fit check.
- Do not assign children or seniors a length based solely on age.
- Do not lengthen a pole for a sustained climb; shorten it.
- Do not exceed the marked adjustment limit on a telescoping section.
- Do not ignore shoulder, wrist or back discomfort just because the height chart says the pole should fit.
Borrowed equipment should be readjusted for the current user rather than left at someone else’s setting.
Test the Fit Before You Buy
If possible, handle the staff or trekking poles before buying. Stand on level ground with the tip near your foot and confirm that your elbow rests near 90 degrees without lifting your shoulder.
A height chart gets you close; the final test is how naturally your hand, elbow, wrist and shoulder line up when the tip is on the ground.
Walk with the pole instead of testing it only while standing. Try a short incline and decline if the store or testing area allows it. On an adjustable model, confirm that you can shorten it for climbs and lengthen it for descents without difficulty.
Also compare grip diameter, strap comfort, weight and locking controls. A pole that technically fits but is awkward to adjust may become frustrating on variable terrain.
Find the Walking Staff That Feels Right
Once the basic length is correct, compare your final choices for comfort and control.
- Verify the 90-degree baseline fit on level ground.
- Walk long enough to see whether your wrist and shoulder remain relaxed.
- Test the adjustment system if you expect hills.
- Check that the grip works with both bare hands and any gloves you normally wear.
- Make sure the staff provides stability without encouraging you to lean heavily on it.
If the staff plants naturally, the grip remains comfortable and you do not have to alter your posture to reach it, you have probably found a useful fit.
Frequently Asked Questions
How do you measure a walking staff?
Put the tip on level ground beside your foot and hold the grip naturally. Adjust the grip height until your elbow bends at roughly 90 degrees without lifting your shoulder. An elbow-to-floor measurement can give you a rough starting point, but the hands-on fit test is more important.
What height should walking poles be for seniors?
Seniors use the same general hiking-pole fit rule as other adults: with the tip beside the foot on level ground, the elbow should be near 90 degrees. Age alone does not determine pole length. Anyone who needs a weight-bearing mobility aid should use a properly fitted medical device rather than relying on a trekking pole.
How do you properly use a walking staff?
Hold the staff with a relaxed grip and plant it where it provides a stable extra contact point without forcing you to lean toward it. On an adjustable staff, use your normal 90-degree setting on level ground, shorten it for sustained climbs and lengthen it for sustained descents.
How high should a walking staff be?
The working grip should normally be high enough to leave your elbow at about a 90-degree bend when the tip is beside your foot on flat ground. A traditional staff may extend above that grip point, so total shaft height is not always the same as functional grip height.
How long should a fixed trekking pole be for my height?
REI’s general fixed-pole reference is 100 cm below 5’1″, 110 cm from 5’1″ to 5’7″, 120 cm from 5’8″ to 5’11”, and 130 cm at 6 feet and taller. Always check the specific manufacturer’s chart before buying a fixed-length model.
Should a walking staff be longer uphill or downhill?
For adjustable equipment, do the opposite: shorten the pole about 5–10 cm for sustained climbs and lengthen it about 5–10 cm for sustained descents. On long traverses, the uphill-side pole can be shorter and the downhill-side pole longer.
Conclusion
The simplest way to choose the right walking staff length is to forget about one universal adult measurement and start with your own body. On flat ground, place the tip beside your foot and aim for roughly a 90-degree elbow bend with a relaxed shoulder and neutral wrist.
Use height charts mainly for fixed-length trekking poles. With adjustable equipment, shorten the setting 5–10 cm for sustained climbs and lengthen it 5–10 cm for sustained descents. Most importantly, test the staff while walking: the right length should improve stability without forcing your wrist, shoulder or back into an awkward position.
Sources
- REI Expert Advice: How to Choose Trekking Poles and Hiking Staffs — backs the 90-degree sizing method, fixed-length reference chart, tall-user guidance, staff-versus-pole distinction and material trade-offs.
- REI Expert Advice: How to Use Trekking Poles and Hiking Staffs — backs uphill, downhill and traverse adjustments, wrist-strap technique and the distinction between trekking equipment and weight-bearing mobility aids.
- Washington Trails Association: Stability and Strength — Choosing the Right Trekking Poles — backs 90-degree sizing, 5–10 cm uphill adjustment, downhill lengthening, materials and strap use.
