
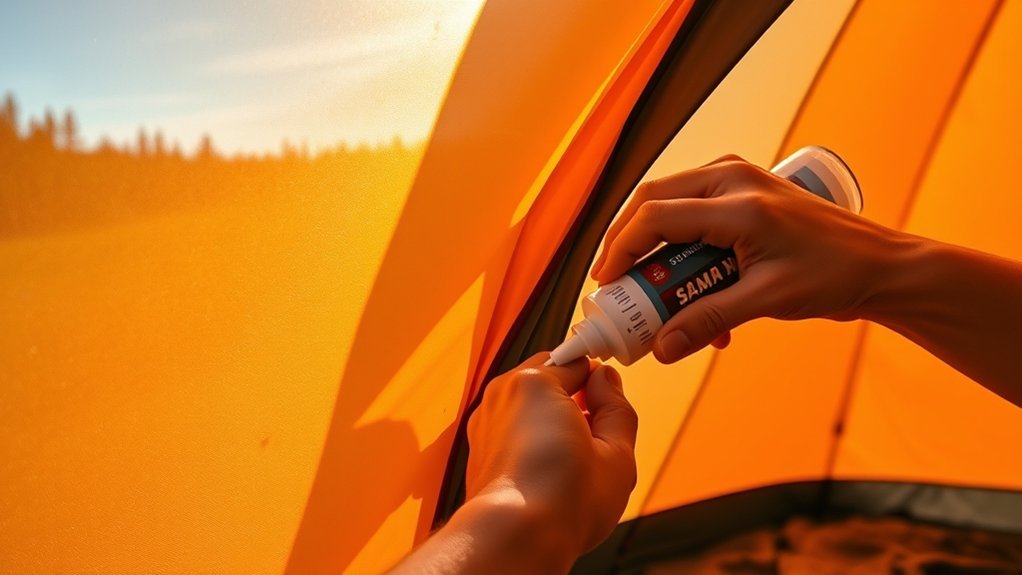
Last Updated on July 30, 2026 by Mason Reed
Seam sealing keeps rain from following stitch holes into your tent, but the job only works when the sealant matches the fabric coating. Before applying anything, identify whether the shelter is silicone-treated, polyurethane-coated, or factory seam-taped, then follow the tent and sealant manufacturers’ directions.
Quick Answer
Pitch the clean, dry tent under tension, choose a seam sealer made for its coating, and apply a thin, continuous film over the required seams. Let it cure for the full time on the product label—typically 2 to 12 hours—then inspect and water-test the shelter before your trip.
Key Takeaways
- Use silicone seam sealer only on silicone-treated fabrics such as silnylon or silpoly.
- Use a compatible urethane or water-based seam sealer on polyurethane-coated nylon or polyester.
- Do not assume every new tent needs sealing; many factory-taped tents are ready for rain.
- Cure time, application side, temperature, and cleanup method vary by product, so the label and tent manual take priority.
At a Glance
| Time Required | About 20–45 minutes to apply, plus the label’s full cure time—commonly 2–12 hours |
| Difficulty | Easy to moderate |
| Tools Needed | Correct seam sealer, applicator brush or optional needle-free syringe, clean rag, approved cleaner, gloves, and a drop cloth |
| Cost | Usually about $10–$20 if you already have basic cleaning supplies |
Disclosure: As an Amazon Associate I earn from qualifying purchases. Some links on this page are affiliate links, at no extra cost to you.
Materials Needed for Seam Sealing
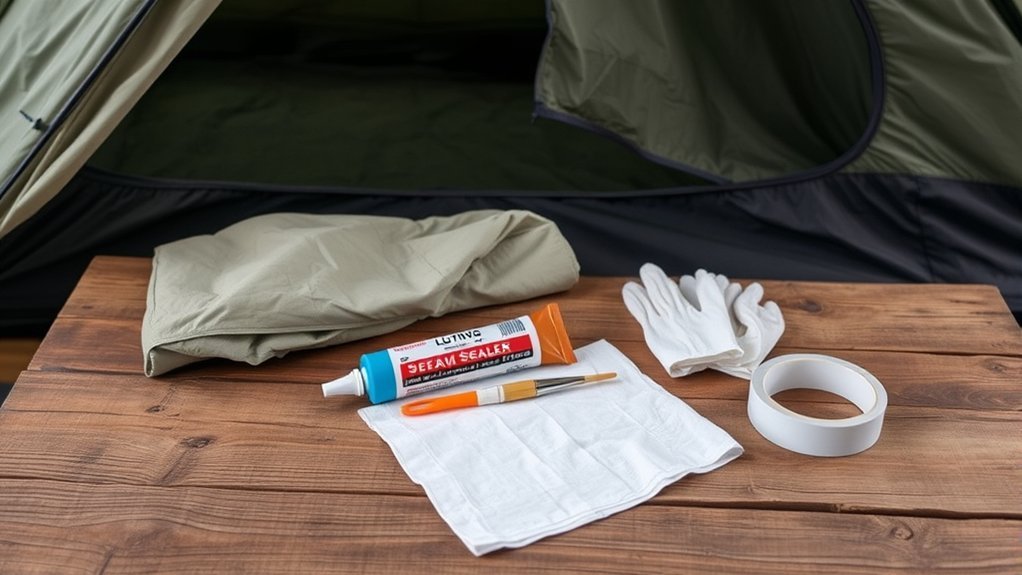
Start with the tent’s care instructions or product page. The most important supply is not the brush or syringe—it is a sealant that will bond to the shelter’s coating.
| Tent fabric or seam condition | What to use |
|---|---|
| Silicone-treated nylon or polyester, often called silnylon or silpoly | A silicone seam sealer made for silicone-treated fabric, such as the type described by GEAR AID |
| Polyurethane-coated nylon or polyester | A compatible urethane or water-based seam sealer; silicone sealer will not bond correctly |
| Factory seam tape that is intact and not leaking | Usually no treatment; inspect and follow the tent maker’s instructions |
| Peeling seam tape or a localized leak | Remove only loose tape as directed, leave sound tape in place, and spot-seal with a compatible product |
You will also need a clean rag or non-abrasive sponge, the cleaner approved by the tent or sealant maker, a small applicator brush, disposable gloves, paper towels, and a drop cloth. A curved-tip, needle-free syringe is optional. It is especially useful for laying a narrow bead on some silicone shelters, including certain 3F UL GEAR Lanshan Pro models.
Warning: Do not treat acetone as a universal tent cleaner. Use only the cleaner and cleanup method approved for both the fabric and the sealant. Work in a well-ventilated area, keep products away from flames and heat, and follow every label warning.
Importance of Seam Sealing
Needle holes and stitched joins can create paths for water when they are not taped or sealed. A thin, compatible sealant fills those paths while remaining flexible as the tent is pitched, packed, and exposed to changing weather.
Prevents Water Intrusion
Not every tent arrives in the same condition. Many mainstream tents have factory-applied seam tape, while some silicone-coated ultralight shelters require the owner to seal selected seams. For example, 3F UL GEAR’s Lanshan Pro instructions identify specific seam lines and reinforcement areas that need treatment, while its taped non-Pro models do not use the same process.
| Issue | Likely impact | Correct response |
|---|---|---|
| Untaped stitch holes | Drips or damp lines during rain | Apply the correct seam sealer in a thin, continuous film |
| Peeling seam tape | Water can pass through exposed stitching | Remove loose sections only and reseal as directed |
| Wrong sealant chemistry | Poor adhesion, peeling, or continued leaks | Confirm the coating before applying a product |
| Packing before full cure | Sticking, smearing, or an incomplete seal | Leave the tent open and undisturbed for the full label time |
Enhances Tent Longevity
Repairing failed seams can extend the useful life of a shelter by stopping small leaks before they become trip-ending problems. Seam sealing does not replace all waterproofing care, though. A worn polyurethane coating may need recoating, and a rainfly that no longer beads water may need a separate durable water-repellent treatment. REI separates seam sealing, coating repair, and DWR renewal because each solves a different problem.
Note: Water inside a tent is not always a seam leak. Condensation can drip from the canopy even when seams are sound. Check ventilation and moisture sources before coating every seam.
Preparation Before Sealing

Choose a dry, sheltered, brightly lit workspace where the tent can remain pitched or spread out until the sealant has fully cured. Pitching the shelter under normal tension opens the stitch holes and helps the cured bead flex correctly during later use.
- Identify the coating. Check the manual, product page, fabric label, or manufacturer support. Do not guess from the fabric name alone.
- Inspect every seam. Mark leaks, missed stitching, peeling tape, guy-out points, zipper tracks, and floor-perimeter seams that the manufacturer says to treat.
- Remove only failed material. Gently lift loose or flaking tape, but leave firmly bonded tape in place unless the tent maker directs otherwise.
- Clean the treatment area. Use a rag and the approved cleaner. If rubbing alcohol is permitted, apply it lightly to the seam rather than soaking the surrounding coating.
- Let the fabric dry completely. Sealant will not bond reliably to a wet or dirty seam.
- Check conditions. Many GEAR AID seam sealers specify application between 60°F and 100°F, but the product label remains the final authority.
Pro Tip: Use small pieces of painter’s tape or removable notes to mark seams that need treatment. Remove the markers as each seam is finished so you can see what remains.
Application Process
Apply only as much sealant as needed to bridge the stitching and needle holes. A thin, even film cures more predictably, adds less weight, and is less likely to stay tacky than a thick glob.
Tent Preparation Steps
Arrange the rainfly or tent body so the target seam is flat, visible, and under normal tension. For many conventional tents, the underside of the fly and the inner side of the tent body provide the best access. Some shelters use a different method. A Lanshan Pro, for example, may require a narrow exterior bead and treatment on both sides of certain reinforcement areas. Follow the model-specific seam map rather than sealing every line automatically.
Sealer Application Techniques
- Start at a high point and work downward so you do not brush against wet sealant.
- Lay a narrow bead directly over the stitching with the tube, included applicator, or optional needle-free syringe.
- Use a small brush to spread the material into a smooth film that covers the thread and needle holes.
- Pay close attention to stress points, guy-out attachments, pole clips, zipper ends, and seam intersections identified by the manufacturer.
- Wipe accidental drips while they are fresh using the cleanup method on the product label.
- Inspect the seam from several angles under bright light and fill any pinholes or skipped spots.
Do not automatically seal both sides. Extra material adds weight and may not improve performance. Treat both sides only where the tent maker or sealant instructions call for it.
Curing and Cleanup Tips
Cure time is product-specific. GEAR AID Seam Grip SIL lists a 3–6 hour cure time for silicone-treated fabric. Seam Grip WP lists 8–12 hours, while the company’s fast-cure water-based sealer lists 2 hours. Temperature, humidity, film thickness, and airflow can change the real drying time.
- Keep treated surfaces separated while they cure.
- Do not fold, stuff, or expose the tent to rain until the sealant is fully dry.
- Maintain ventilation and keep the work area away from flames, sparks, heaters, and smoking materials.
- If the cured product remains slightly tacky, use only the manufacturer-approved remedy.
- Close and store leftover sealant exactly as directed on its label.
Post-Sealing Care
After the label’s cure time has passed, inspect every treated seam. Look for gaps, bubbles, lifted edges, thick uncured spots, or places where the fabric touched itself. Apply a second thin coat only where coverage is incomplete and allow that repair to cure fully.
Before relying on the tent in remote weather, pitch it and test it with a gentle, rain-like spray. Avoid a pressure nozzle, which can force water through areas that ordinary rain would not. Check the inside for damp stitch lines, especially around tie-outs, zipper ends, corners, and floor seams.
Store the tent only when it is completely dry. Keep it loose in a cool, dry place rather than compressed for months in a damp or hot location. Periodic inspection matters more than sealing on a fixed calendar.
Efficiency of the Seam Sealing Process
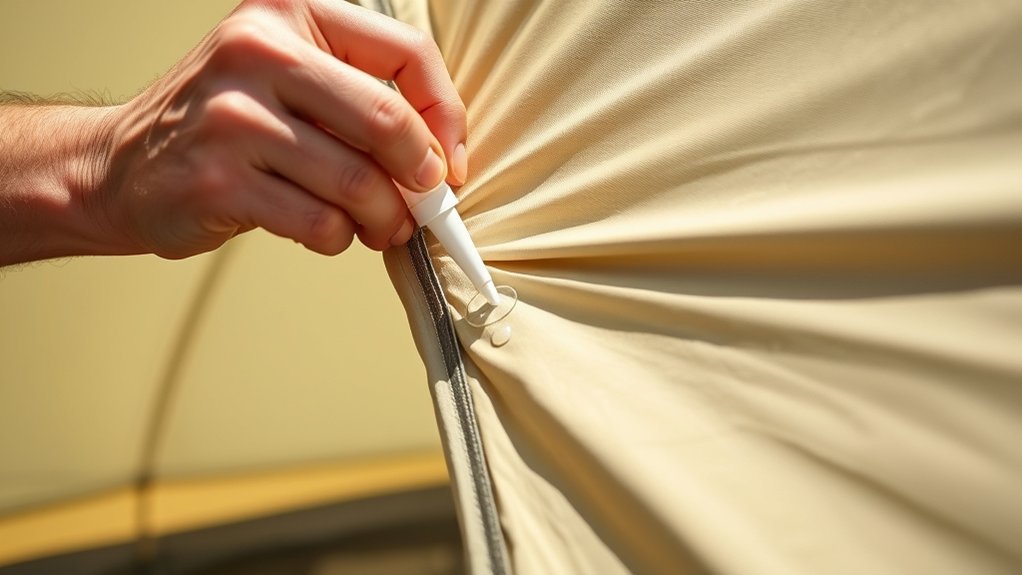
Most small tents can be treated in about 20–45 minutes once they are clean, dry, and pitched, but cure time is much longer than application time. Work in sections instead of trying to cover the whole shelter at once.
- Read the model-specific seam map before opening the tube.
- Prepare all seams before applying any sealant.
- Use a narrow bead and spread it immediately.
- Finish one panel or seam group at a time.
- Keep a clean rag and drop cloth within reach.
- Plan enough space and time for the tent to remain open through the full cure.
Community Tips and Maintenance Records
Seam-sealing results vary with fabric, product, weather, and technique. Keep a simple maintenance note with the tent model, sealant used, application date, temperature, cure time, and any leaks found during testing. Sharing those details with other owners is more useful than a general thumbs-up because it helps them compare like-for-like repairs.
Future waterproofing checks should separate seam leaks from condensation, worn fabric coatings, damaged zippers, and failing DWR. That record makes later troubleshooting faster and helps you decide whether to spot-seal, recoat, or replace a worn component.
Frequently Asked Questions
How often should I seam seal my tent?
Inspect the seams before a wet-weather trip and during seasonal maintenance. Reseal when you find a leak, cracked or peeling sealant, exposed stitching, or failing seam tape. A sound factory-taped tent does not need automatic resealing every season.
Can I use any type of adhesive for seam sealing?
No. Silicone-treated fabrics need a silicone seam sealer, while polyurethane-coated fabrics need a compatible urethane or water-based product. General household adhesives may not bond, flex, or weather correctly.
Is seam sealing necessary for a waterproof tent?
It depends on the construction. Many new tents have factory-taped seams and need no extra treatment. Untaped silicone shelters and tents with damaged tape or leaking stitches may need sealing. Check the manufacturer’s instructions before applying anything.
What should I do if the sealer dries unevenly?
First, give it the full cure time. If gaps remain, clean the area as directed and add a thin coat only where coverage is missing. Do not bury wet, contaminated, or peeling sealant under a thick new layer.
Can I seam seal a tent in humid weather?
You can work in humid conditions if the fabric stays clean and dry and the product label allows it. Humidity affects different formulas in different ways, so protect the tent from dew or rain and allow extra time whenever the sealant is not fully dry.
Which side of a tent seam should I seal?
Follow the tent maker’s directions. Many conventional rainflies are sealed on the underside and tent bodies on the inside. Some silicone shelters use an exterior bead, and certain reinforced areas may need treatment on both sides.
How can I tell whether my tent is silnylon or polyurethane-coated?
Check the specification sheet, care label, owner’s manual, or manufacturer support. Do not rely only on appearance. A nylon or polyester base fabric can have different coatings, and the coating determines which sealer will bond.
Conclusion
Seam sealing is a simple repair when you treat it as a material-matching job rather than a one-product-fits-all task. Identify the coating, clean and tension the shelter, apply a thin compatible film, and give it the full labeled cure time. A careful inspection and water test at home can prevent a wet surprise on the trail.
Sources
- GEAR AID: Seam Grip SIL Silicone Sealant — silicone-fabric compatibility, application temperature, coverage, and cure time
- GEAR AID: Seam Grip WP Sealant — urethane compatibility, application conditions, safety notice, and cure time
- GEAR AID: How to Waterproof and Seam Seal a Tent — preparation, thin-film application, and product-dependent curing
- REI Co-op: How to Waterproof a Tent — seam-tape inspection, cleaning, application location, coating repair, and DWR distinctions
- 3F UL GEAR: How to Seam Seal a Lanshan Pro Tent — model-specific syringe method and seam locations
- Big Agnes: Seasonal Tent Maintenance — factory seam taping, spot sealing, resealing triggers, and dry storage
