
Last Updated on July 30, 2026 by Mason Reed
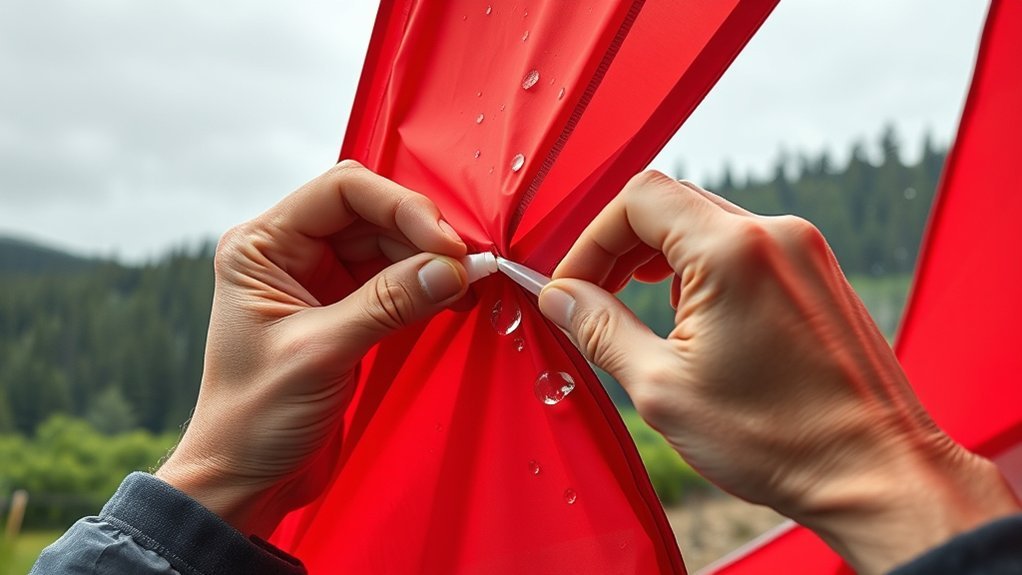
A leaking tent seam does not always mean the tent is finished. In many cases, the fix is a careful cleaning and a thin coat of the correct seam sealant. The key is matching the product to the tent’s coating, removing loose tape without damaging the fabric, sealing the correct side of the seam, and allowing the repair to cure fully before you fold or test the tent.
Quick Answer
Pitch the clean, dry tent so the leaking seam is taut. Confirm whether the fabric has a polyurethane or silicone coating, choose a compatible sealant, remove only loose seam tape, and brush on a thin coat over the stitching and beneath fabric folds. Keep the repair level and cure it for the time listed on the product.
Key Takeaways
- Do not assume every leak needs Seam Grip WP. Silicone-treated tents require a silicone-compatible sealant.
- Current Seam Grip WP instructions call for a thin coat on the inside of the tent seam, across taut stitching, and under fabric folds.
- Seam Grip WP normally cures in 8–12 hours; Seam Grip SIL normally cures in 3–6 hours under the listed application conditions.
- A widespread sticky, peeling, or foul-smelling coating may indicate coating failure rather than one repairable seam leak.
At a Glance
| Time Required | About 30–60 minutes of active work, plus 3–24 hours of curing time depending on the sealant and tent maker’s directions |
| Difficulty | Easy to moderate |
| Tools Needed | Compatible seam sealant, disposable gloves, clean lint-free cloths, isopropyl alcohol, small applicator brush, and optional painter’s tape |
| Cost | Low: usually one tube of compatible sealant plus basic cleaning supplies |
Disclosure: As an Amazon Associate I earn from qualifying purchases. Some links on this page are affiliate links, at no extra cost to you.
Common Causes of Tent Seam Leakage
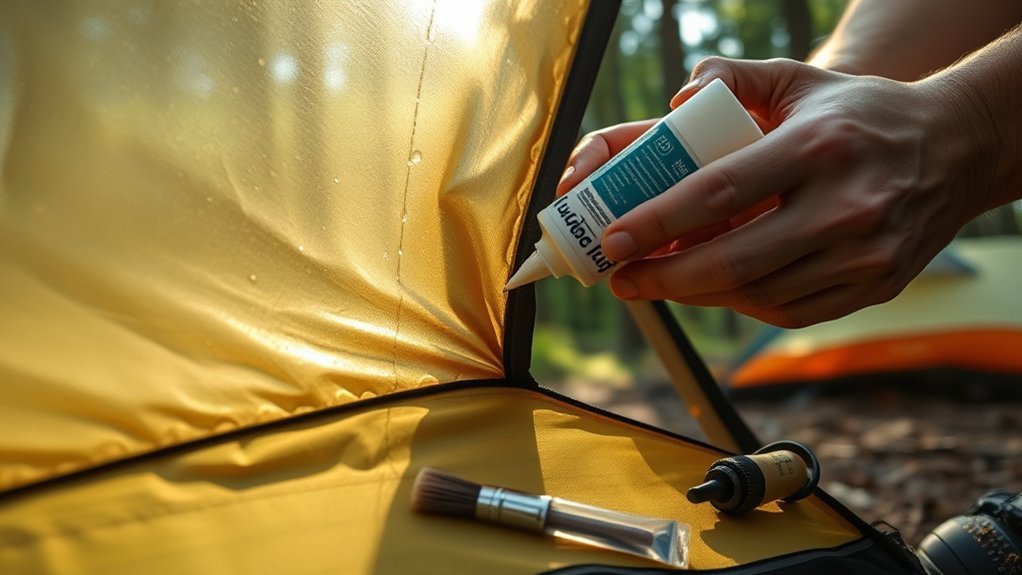
Tent seams can leak when needle holes, folded fabric, or worn seam tape give water a path through the rainfly, tent body, or floor. The most common causes include:
- Peeling or flaking seam tape: Factory tape can loosen after years of use, moisture exposure, heat, or coating breakdown.
- Dirt, body oils, or old adhesive: Contamination can prevent new sealant from bonding evenly.
- A missed or worn spot: High-stress areas near pole clips, corners, tie-outs, and vestibule attachments often fail first.
- The wrong repair product: Urethane sealant does not bond correctly to silicone-treated fabric, while silicone sealant is intended only for silicone-treated fabric.
- Wider coating failure: A sticky, foul-smelling, or extensively peeling floor or fly may need recoating, professional repair, or replacement rather than simple spot sealing.
Make Sure the Seam Is Really Leaking
Water inside a tent can also come from condensation, a puncture, water pooling on an exposed groundsheet, or a worn waterproof coating away from the seam. Pitch the tent, identify where the first droplet appears, and trace it upward. A leak that follows a stitched line points to a seam problem. Moisture spread across a large fabric panel suggests a coating or water-repellency issue instead.
Note: A new factory-taped tent should not normally need immediate seam sealing. Check the warranty and contact the tent manufacturer before altering a new shelter, because an unnecessary or incorrect repair may affect warranty coverage.
Choose the Right Tent Seam Sealant
“Seam Grip” is a product family, not one universal formula. Check the tent label, manual, product page, or manufacturer support information before opening a tube. When the material is unclear, test a small hidden area first.
| Tent Fabric or Coating | Suitable Product | What to Know |
|---|---|---|
| Nylon, polyester, canvas, vinyl, and many polyurethane-coated fabrics | Seam Grip WP or the tent maker’s recommended urethane-compatible sealer | A 1-ounce tube is rated for about 12 feet of seam at a 1/4-inch width. It does not work on silicone-treated fabric. |
| Silnylon, silpoly, or other silicone-treated fabric | Seam Grip SIL or another manufacturer-approved silicone sealer | A 1.5-ounce tube is rated for about 24 feet of seam at a 1/4-inch width and is intended only for silicone-treated fabrics. |
| Unknown, mixed, proprietary, or laminated material | The exact product specified by the tent manufacturer | Do not guess. Some tents combine silicone and polyurethane treatments or use fabrics that need brand-specific repair advice. |
Warning: Wear disposable gloves, work in a well-ventilated area, and follow the sealant label. Do not use Seam Grip WP on silicone-treated or silnylon fabric. Keep uncured sealant away from zipper teeth, mesh, and surfaces that should not be bonded.
Step-by-Step Tent Seam Repair Process
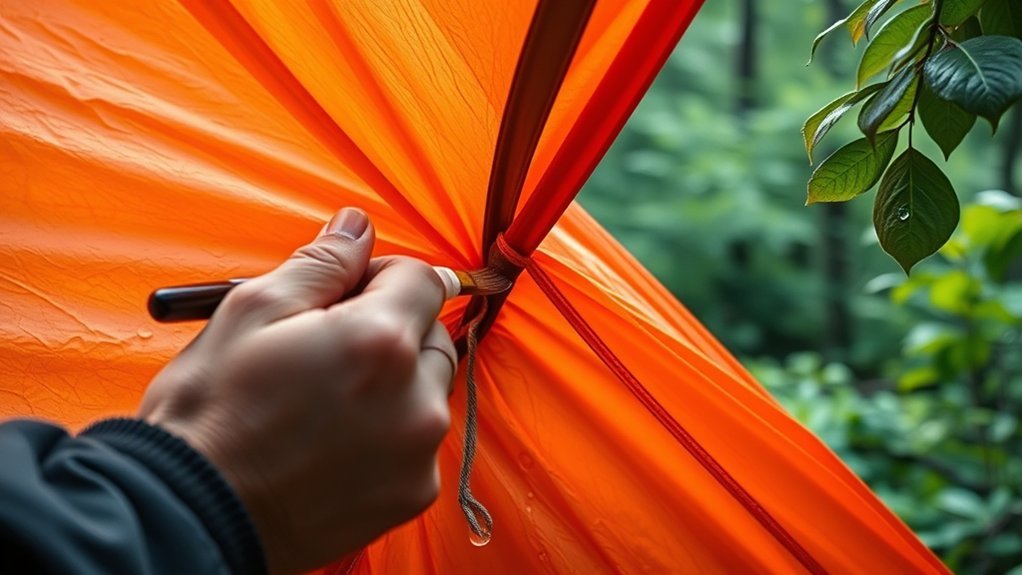
1. Find and Mark the Leak
Pitch the tent in a shaded, dry place. If the leak is not obvious, use a gentle spray of water on one small area at a time while someone watches from inside. Do not use a pressure washer or a hard jet that could force water through otherwise sound fabric. Mark the leaking section with removable painter’s tape, then let the tent dry completely.
2. Check the Seam Tape and Fabric Coating
Look for lifted tape edges, flakes, gaps, pinholes, sticky coating, or fabric damage. If only a short section is lifting, remove the loose material that comes away without force. If tape is peeling along most of the tent, consult the manufacturer before stripping it. Extensive tape failure often appears with aging waterproof coatings and may require a larger repair.
3. Clean and Dry the Repair Area
Brush away loose dirt. Then wipe the seam with a lint-free cloth lightly dampened with isopropyl alcohol, as directed in the current Seam Grip WP repair guide. Allow the alcohol to evaporate and make sure the fabric is fully dry. Do not soak coated fabric or use bleach, harsh detergent, a washing machine, or a clothes dryer.
4. Keep the Seam Taut and Level
A properly pitched tent keeps the stitching open and stable while you work. For a removable rainfly, you can also lay the fly flat with the underside facing up, provided the seam remains smooth rather than wrinkled. Protect the floor below the repair from drips.
5. Apply a Thin, Even Coat
For Seam Grip WP, the current package instructions say to seal the seam from inside the tent, brushing the product across the taut stitching and under fabric folds. On a rainfly, this usually means the underside. Use the supplied brush or a small disposable paintbrush. Cover the needle holes and extend the sealant slightly beyond the stitched line, but avoid a thick bead.
Do not automatically coat both sides. One complete coat on the manufacturer-recommended side is usually cleaner, lighter, and easier to cure. Apply a second side only when the tent maker or product instructions specifically call for it.
6. Let the Sealant Cure Completely
Keep the treated seam level and separated from other fabric. Seam Grip WP lists an 8–12 hour cure time at an application temperature of 60–100°F and above 40% relative humidity. Seam Grip SIL lists a 3–6 hour cure time at 60–100°F. Cooler, drier, thicker, or poorly ventilated applications can take longer, and some tent manufacturers advise allowing up to 24 hours. Follow the longest applicable instruction before folding the tent.
7. Test the Repair
After the sealant has fully cured, pitch the tent and use a gentle hose spray or watering can to wet the repaired area. Check from inside for droplets. Let the tent dry completely before storage, even when the test shows no leak.
Pro Tip: Seal a few inches beyond the visible leak in each direction. Water can travel along stitching before it drips inside, so the entry point may sit slightly above or beside the wet spot you first noticed.
Why Curing Time Matters
Curing changes liquid sealant into a flexible waterproof bond. Folding the tent too early can make treated surfaces stick together, smear the repair, or leave thin spots over the needle holes. A glossy finish alone does not prove the seam is watertight; the sealant must reach its stated cure time and pass a gentle water test.
The right cure time comes from the exact product label—not a universal 48-hour rule.
| Sealant | Listed Cure Time | Application Conditions |
|---|---|---|
| Seam Grip WP | 8–12 hours | 60–100°F and above 40% relative humidity |
| Seam Grip SIL | 3–6 hours | 60–100°F |
| Other sealants | Varies by formula | Follow the package and tent manufacturer’s instructions |
A slight surface tack can be normal with freshly cured Seam Grip WP. The current repair guide says it may fade with use and can be reduced with a talc-free powder. Do not use powder to hide liquid, stringy, or easily smeared sealant; those signs mean the repair needs more curing time.
Tent Seam Repair Troubleshooting
The Seam Still Leaks
Let the tent dry, then inspect for a missed needle hole, a gap under a fabric fold, or a nearby puncture. Confirm that the sealant matches the coating. If the repaired line is dry but the surrounding panel wets through, the larger waterproof coating or water-repellent finish may need attention.
The Sealant Peels Off
Peeling soon after application usually points to contamination, an incompatible sealant, or a surface that was not fully dry. Remove only the loose failed material, clean the area again, and use the formula specified for the fabric.
The Repair Stays Wet or Smears
Move the tent to the product’s approved temperature range and improve airflow. Thick applications take longer than thin films. Keep fabric surfaces apart and do not pack the tent until the sealant is stable.
The Tent Is Wet but No Leak Is Visible
Condensation often forms broadly on the inner wall or roof, especially during cool, humid nights with limited ventilation. Increase airflow through vents and doors when conditions allow. Seam sealer will not correct condensation.
The Seam Is Torn or the Fabric Is Delaminating
A torn structural seam, a large area of coating delamination, or fabric that tears with light pressure needs more than liquid sealant. Contact the tent maker or a professional outdoor-gear repair service. Replacement may be safer when the shelter’s structural fabric is badly weakened.
Tips for Prolonging Tent Life
Regular care reduces seam stress and slows the breakdown of waterproof coatings. Use the following maintenance habits before and after each trip:
| Action | Best Practice |
|---|---|
| Tent Storage | Store the tent completely dry in a cool, temperature-controlled place. Avoid hot attics, damp basements, and garages with large temperature or humidity swings. |
| Cleaning | Shake out dirt after trips. Hand-clean when needed with cold or lukewarm water, a non-abrasive sponge, and a tent-safe cleaner or mild non-detergent soap. |
| Seam Inspection | Check tape edges, high-stress corners, tie-outs, floor seams, and rainfly attachments before a wet-weather trip. |
| Seam Sealing | Spot-seal actual leaks with a compatible product. Do not add thick layers to sound factory-taped seams without a reason. |
| Ground Protection | Use a fitted footprint or tuck a generic groundsheet fully beneath the tent so it cannot collect rainwater. |
| Sun Exposure | Limit long periods in direct sunlight because ultraviolet exposure weakens tent fabric and waterproof coatings over time. |
REI’s tent-care guidance stresses complete drying before storage, gentle hand cleaning, and avoiding machine washing or drying. Big Agnes also recommends clean, dry, temperature-controlled storage and spot sealing when seams begin to leak.
Frequently Asked Questions
Can I use Seam Grip on other outdoor gear?
Yes. Seam Grip WP is marketed for compatible tents, tarps, awnings, backpacks, rain gear, and other outdoor fabrics. The surface must be clean and dry, and the product still has to match the material. Use Seam Grip SIL only on silicone-treated fabric.
How do I know if my tent seams need repair?
Look for droplets that follow a stitched line, visible pinholes, peeling tape, gaps beneath folds, or dampness that returns in the same spot during a gentle water test. Moisture spread evenly across a wall may be condensation or coating failure rather than a seam leak.
Is Seam Grip WP safe for every tent material?
No. Seam Grip WP adheres to nylon, canvas, vinyl, polyester, and many other non-silicone fabrics, but the manufacturer says it will not work on silicone-treated fabric or silnylon. Silicone-treated tents need Seam Grip SIL or another approved silicone sealer.
Can I apply tent seam sealer in cold weather?
Do not apply these products below their listed range. Seam Grip WP and Seam Grip SIL currently specify 60–100°F for application, and WP also specifies humidity above 40%. Once fully cured, both products have a much wider use-temperature range.
How long does Seam Grip last after application?
A compatible, well-prepared repair can be long-lasting, but there is no universal service-life number. Sun exposure, abrasion, storage conditions, coating age, and seam stress all affect durability. Inspect the repair before wet-weather trips and reseal only when wear or leakage returns.
Should I seal the inside or outside of a tent seam?
Follow the tent and sealant instructions. The current Seam Grip WP guide directs users to seal inside the tent and brush beneath folds; for a rainfly, manufacturers commonly describe applying urethane sealant to the underside. Do not coat both sides unless the instructions call for it.
Do I need to remove old seam tape first?
Remove tape that is already loose, flaking, or detached so the new sealant reaches a stable surface. Do not aggressively scrape sound tape or the waterproof coating. When most tape is failing, ask the tent manufacturer whether full removal, professional repair, or replacement is the better option.
Is seam sealing the same as restoring the tent’s DWR?
No. Seam sealer blocks water at stitching and folds. A durable water-repellent treatment helps water bead and roll off the fabric surface. A tent may need one treatment, both treatments, or neither, depending on where the water enters.
Conclusion
A reliable tent seam repair starts with diagnosis, not a thick coat of glue. Confirm that the water is entering through a seam, identify the fabric treatment, and use the correct urethane- or silicone-compatible product. Clean the area, keep the stitching taut, apply a thin coat on the instructed side, and allow the full cure time before testing or packing. Regular drying, careful storage, and early spot repairs can prevent a small leak from becoming a larger coating or fabric failure.
Sources
- GEAR AID — Seam Grip WP Sealant — compatibility, coverage, curing time, application conditions, and storage.
- GEAR AID — Seam Grip WP Repair Guide — surface preparation, seam application, curing, tack, cleanup, and tube storage.
- GEAR AID — Seam Grip SIL Silicone Sealant — silicone-fabric compatibility, coverage, application temperature, and cure time.
- Big Agnes — Seasonal Tent Maintenance — factory seam tape, peeling-tape guidance, waterproofing, and storage.
- REI Co-op — Tent Care Basics — cleaning, drying, UV exposure, footprints, and storage.
- NEMO Equipment — How to Re-Waterproof Your Gear — underside seam sealing and the difference between seam repair and wider waterproofing care.
