
Last Updated on July 28, 2026 by Mason Reed
A dry run before your trip can save you from a soaked sleeping bag at 2 a.m. Testing your tent’s waterproofing at home only takes about an hour, and it tells you exactly where your gear needs attention before the weather does.
Quick Answer
Set up your tent fully assembled in a dry, ventilated area, then spray it evenly with a garden hose for 10–15 minutes, focusing on the seams, rainfly, and floor. Check inside for damp spots or pooling. If water gets through, clean and dry the area, then treat it with a fabric water repellent and a seam sealer before your next trip.
Key Takeaways
- Inspect and clean your tent before testing — dirt and residue can throw off results.
- Fully assemble the tent, including the rainfly, and simulate rain with a hose for 10–15 minutes.
- Seams, the rainfly, and the floor are the most common leak points — check them first.
- Verify fabric type before applying sealants: Silnylon requires silicone-based sealers, while PU-coated fabrics need urethane-based formulas.
- Let the tent dry completely before storing it — trapped moisture causes mildew and breaks down waterproof coatings.
- Re-test after any repair, and check your tent’s waterproofing at least once a year or after heavy use.
Disclosure: As an Amazon Associate I earn from qualifying purchases. Some links on this page are affiliate links, at no extra cost to you.
Why Testing Tent Waterproofing Is Important
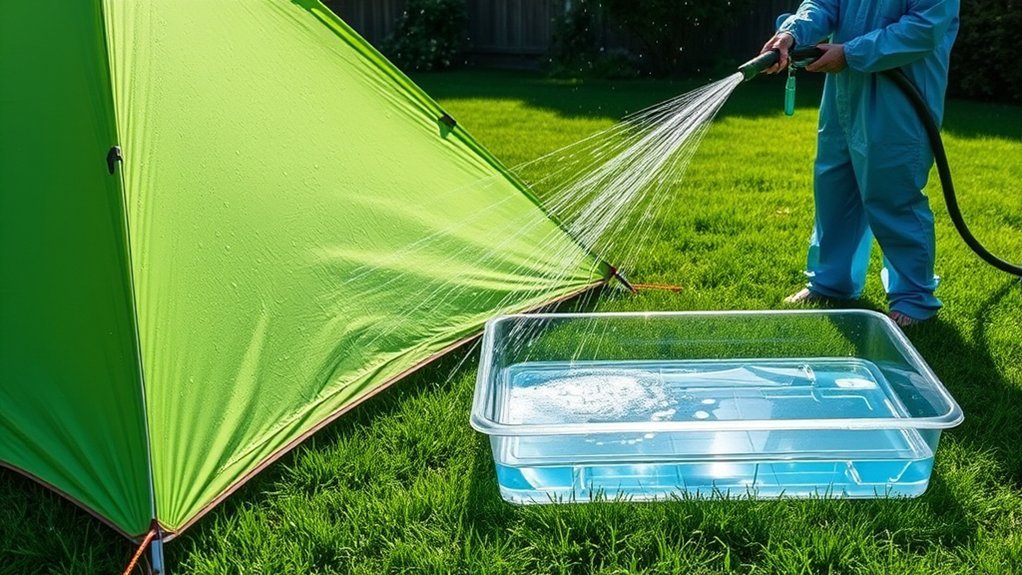
When you’re preparing for a camping trip, testing your tent’s waterproofing at home lets you catch leaks or weak spots before you’re relying on that fabric in a real storm. Factory coatings (durable water repellent, or DWR) and seam tapes degrade over time due to UV exposure, friction, dirt, and age. Regular testing tells you whether your existing waterproofing is still doing its job, or whether it’s time to reapply.
A quick test at home also protects the rest of your gear — a sleeping bag or pack that gets soaked overnight can ruin a trip fast and lead to hypothermia in cold conditions. Knowing your tent’s condition ahead of time means you can budget for simple repairs instead of finding out the hard way in the backcountry.
Preparing Your Tent for Testing
Before testing your tent’s waterproofing, start with a thorough inspection to check for any damage that could affect the results. Then clean the tent with mild soap and a soft sponge to remove dirt that might interfere with the test, and let it dry completely before you begin.
Tent Inspection Checklist
Start by checking the tent material for visible damage — tears, thinning spots, or flaking waterproof coating — since these are the spots most likely to leak. Focus on the rainfly, tent floor, and seams, where water most often gets in. Then do a simple spot check: pour a little water over the fabric and watch whether it beads up or soaks through. That gives you a fast read on how well the waterproofing is holding up. Plan on doing this kind of check at least once a year, or any time you notice damp gear after a trip.
Cleaning for Testing
Set the tent up in a well-ventilated area so it can be properly cleaned and dried. Use a mild, non-detergent soap (or specialized outdoor gear cleaner) with a soft sponge or cloth to gently clean the fabric — dirt and debris left behind can keep waterproofing treatments from bonding properly. Rinse thoroughly with a low-pressure hose to remove all soap residue, since leftover soap disrupts surface tension and interferes with waterproofing performance. Make sure the tent is completely dry before testing; trapped moisture will skew your results.
Note: Test in moderate, dry conditions if you can — roughly 60–100°F with low humidity. Waterproofing sprays and sealants need warmth and low moisture in the air to cure properly, and testing on a humid day can cause condensation inside the tent that looks like a leak.
Setting Up Your Tent for the Test
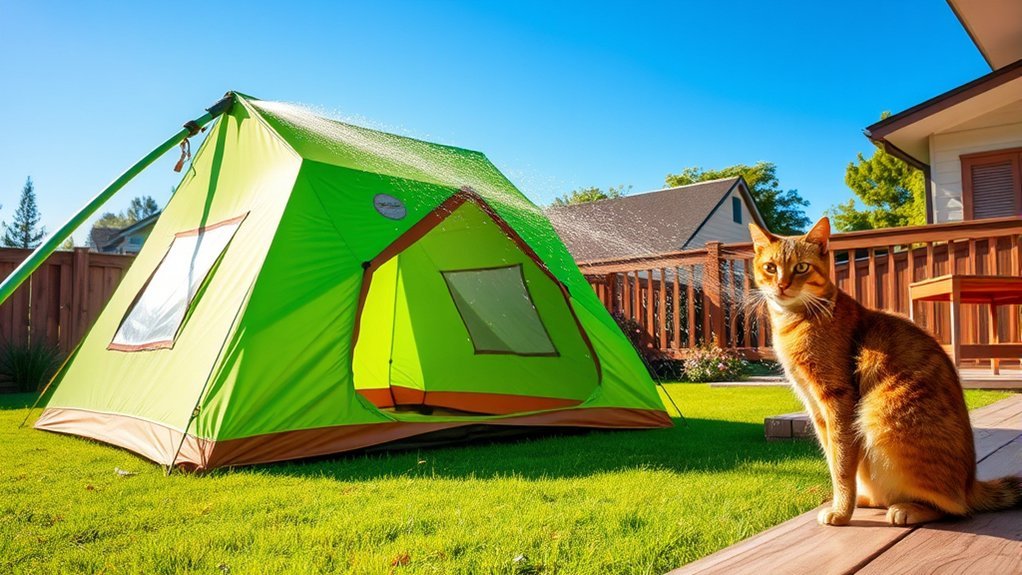
Set the tent up in a well-ventilated spot, ideally outdoors on a lawn or driveway, or in a spacious garage that can handle runoff. Fully assemble it, including the rainfly and guylines, so the fabric is held at proper tension just as it would be in real camping conditions. Slack fabric pools water artificially and leads to false leak reports. Use a flat, dry surface — that keeps outside water from pooling underneath and throwing off your results.
At a Glance
| Time Required | 30–60 minutes for the test; add 8–12 hours if reapplying seam sealer |
| Difficulty | Easy |
| Tools Needed | Garden hose, mild non-detergent soap, soft sponge, flashlight (for checking the interior) |
| Cost | Free to test; $10–$20 for waterproofing spray or seam sealer if repairs are needed |
Simulating Rain With a Garden Hose
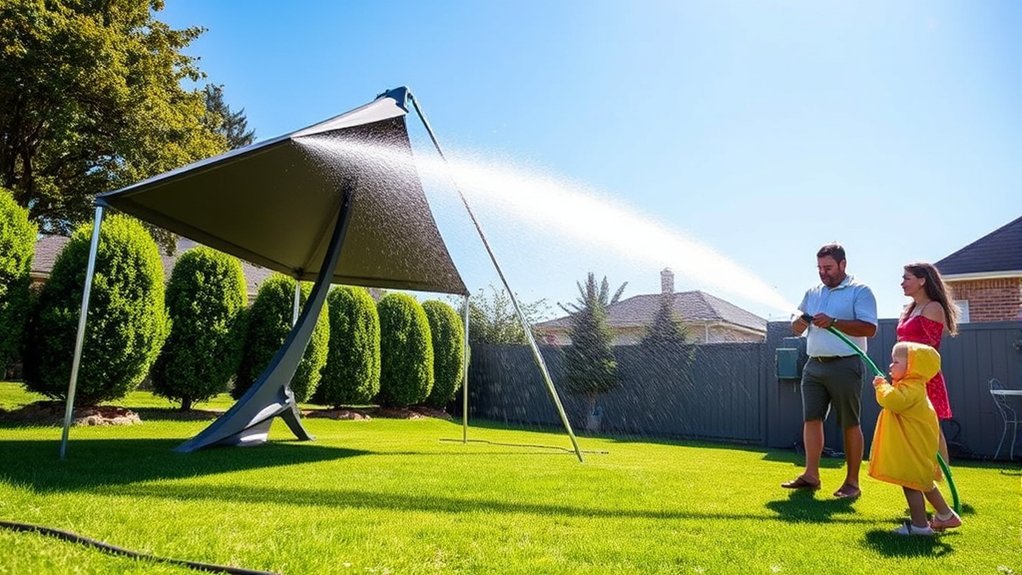
Simulating rain with a garden hose is simple, but a few details make the difference between a useful test and a misleading one. Set the tent up in a well-drained area and make sure it’s completely dry to start. Spray evenly from the top down for 10–15 minutes to mimic steady rainfall, paying extra attention to the rainfly and seams, since those areas are most prone to leaks. Hold the nozzle upward so the water falls naturally onto the fly rather than blasting it at high pressure.
| Area Tested | Expected Outcome | Action if Failure |
|---|---|---|
| Rainfly | Water beads and rolls off | Reapply DWR spray |
| Tent Floor | No pooling or damp soaking | Check ground tarp / re-coat floor |
| Seams | Zero water penetration | Peel old tape & reseal seams |
| Attachment Points | Dry to the touch inside | Reinforce stitching & seal |
| Overall Tent | No signs of internal seepage | Consider fabric restoration or replacement |
After spraying, go inside with a flashlight and check closely for any signs of weakness before moving on.
Inspecting Seams and Vulnerable Areas
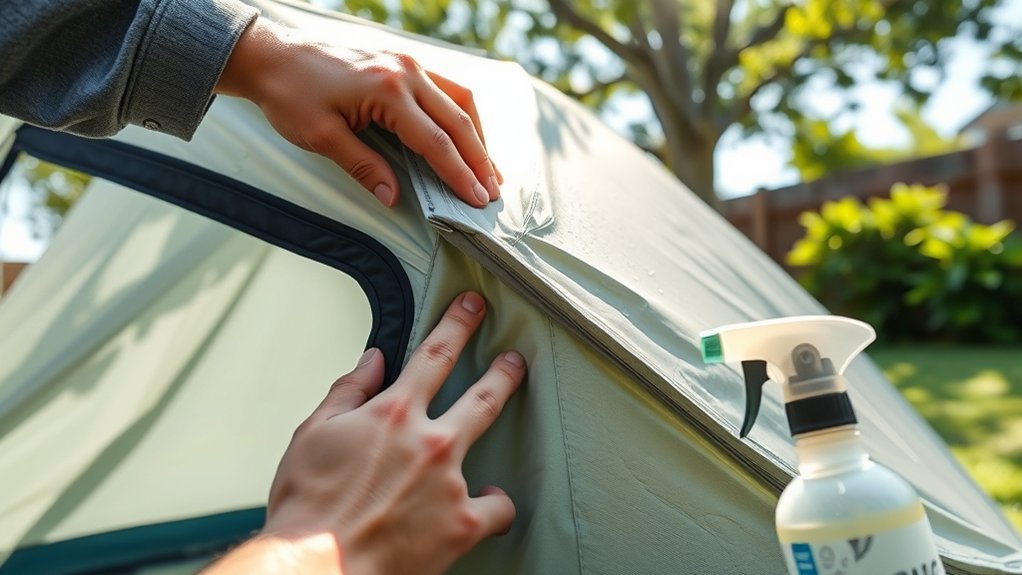
It’s easy to focus on the tent’s overall structure, but the seams and other small vulnerable spots are where leaks usually start. Look closely for flaking seam tape or sealant — that’s a common entry point for water. Pour water directly over the seams and other vulnerable areas to check for leaks specifically there. Make sure seam sealer is applied evenly over the stitching, since even tiny needle holes can let water through. Don’t skip the toggles, guy-out points, and attachment areas either — they’re easy to overlook but just as prone to leaks. While you’re at it, check the rainfly and floor for any thinning material or damage that could compromise the waterproofing.
Checking for Water Leakage Inside the Tent
Start with a visual check of the fabric and seams for wear or damage. Then run a water bead test on the rainfly: if the water beads and rolls off, the tent is still doing its job; if it soaks in, you likely have a problem. Finally, look inside for damp spots or pooling that would point to an active leak.
Visual Inspection Method
Set the tent up in a dry area, fully erected with all seams sealed. Spray water evenly over the tent with a hose or watering can, focusing on seams, the rainfly, and other vulnerable areas. While you do this, crawl inside with a bright flashlight and keep an eye on the interior for damp spots or drips, especially around seams, corners, and door zippers. Water that beads and rolls off means the coating is still working; water that soaks in means it’s time to re-treat. Run this check after cleaning and re-waterproofing so you know the treatment actually worked.
Water Bead Test
The water bead test is a fast way to gauge your tent’s waterproofing. Set up the tent in a dry area and pour water over the fabric. Beading means the waterproofing (DWR) is still effective; seeping through means it’s time to re-waterproof. Pay close attention to seams and any worn areas, since those are the most vulnerable spots.
| Test Result | Action Required | Next Testing Frequency |
|---|---|---|
| Water beads up | No action needed | 12–24 months |
| Water seeps through | Re-waterproof tent fabric | Immediately |
| Wet spots found at seams | Inspect seams, apply seam sealer | 12 months |
Evaluating the Effectiveness of Waterproofing
Start with the same simple water test: pour water over the fabric and watch whether it beads and rolls off. If it seeps in or the fabric absorbs moisture (darkening in color), the durable water repellent (DWR) is failing and it’s time to reapply. Pay special attention to seams and anywhere fabric panels meet, since those are the most common leak points. Testing every 12–24 months, or any time you notice damp gear, helps you catch issues early before they turn into a soaked tent mid-trip. After re-waterproofing, spray the tent at a 45-degree angle with a hose to simulate wind-driven rain and see how it holds up.
What to Do if Your Tent Leaks
If your tent fails the water test, act before you pack it away. Inspect it for thinning material, tears, or flaking coating, paying close attention to the rainfly, floor, and seams — the usual points of entry for water.
Clean the affected areas with mild soap and water, then let them dry completely. Once dry, apply a waterproofing product made for tent fabric, spreading it evenly and thoroughly. For seams that need extra protection, use a dedicated seam sealer.
Pro Tip: A fabric water repellent spray and a seam sealer do different jobs — the spray restores the fabric’s water-shedding coating (DWR), while a sealer specifically plugs stitch holes along seams. Most tents that leak need both, not just one.
Warning: Urethane seam sealants like Gear Aid’s Seam Grip WP contain toluene and carry a California Prop 65 warning for reproductive harm. Apply in a well-ventilated area, avoid skin contact, and keep it away from children and pets while it cures.
Once treated, retest with another water simulation to confirm the leak is fixed and the tent is ready for your next trip.
Fabric Types: Silnylon vs. Polyurethane (PU) Coatings
Not all tent fabrics are waterproofed the same way. Understanding your tent’s fabric composition is critical before buying repair products, as using the wrong sealant will result in poor adhesion and chemical peeling:
* Polyurethane (PU) Coated Polyester/Nylon: The most common fabric used in consumer tents. It features a waterproof coating on the inside and a DWR spray on the outside. Requires urethane-based sealants like Gear Aid Seam Grip WP.
* Silnylon / Silpoly (Silicone-Coated): Common in lightweight and backpacking tents. Silicone is infused directly into the fibers, creating a slick, highly durable waterproof barrier. Urethane sealers will not stick to silicone. You must use a silicone-based seam sealer such as Gear Aid Seam Grip SIL (formerly Sil-Net).
Tips for Maintaining Tent Waterproofing
Inspect your tent every 12–24 months for signs of wear, such as thinning material or flaking coating. If you spot issues, it’s time to re-waterproof. Clean the tent with mild, non-detergent soap and let it dry completely before applying any treatment — this ensures proper adhesion.
When you’re ready to waterproof, apply a fabric water repellent spray such as Scotchgard Heavy Duty Water Shield evenly to the tent fly and seams, following the manufacturer’s instructions; it typically dries overnight at room temperature and normal humidity. Seal the seams separately with a product compatible with your fabric type. Let everything cure fully (8–12 hours minimum), then re-test by pouring water over the surface to confirm it beads rather than soaks in.
A dry tent isn’t luck — it’s the result of an hour of testing before you ever leave the driveway.
Preparing for Your Next Camping Adventure
Before your next trip, inspect the tent for wear, checking for thinning material or tears. Run a water test to see if water beads up or seeps through. Clean with mild soap before applying any waterproof treatment, since a clean surface helps it bond properly. Make sure the tent is fully dry before you pack it away — storing it damp encourages mildew and breaks down the waterproof coating over time.
| Task | Purpose | Frequency |
|---|---|---|
| Inspect tent | Identify wear and loose seam tape | Before each trip |
| Water test | Check waterproofing integrity | Annually or before major trips |
| Clean tent | Remove dirt before DWR application | As needed |
| Apply waterproof spray | Enhance rain protection and DWR bead performance | As needed |
| Schedule maintenance | Ensure long-term longevity | Annually |
Frequently Asked Questions
Can I test my tent’s waterproofing indoors?
Yes. Set the tent up fully assembled in a controlled indoor space like a garage, simulate rain with a hose or watering can, and check for leaks the same way you would outdoors. Just make sure the area drains well or can handle the water runoff.
How often should I test my tent for leaks?
Test at least once a year, especially after extended storage or heavy use. Regular checks catch small problems before they turn into a wet night in the backcountry.
What materials can improve my tent’s waterproofing?
A fabric water repellent spray restores the outer coating (DWR) that makes water bead and roll off, while a seam sealer specifically plugs the stitch holes along seams. Most leaking tents need both treatments.
Is there a specific temperature for testing waterproofing?
There’s no exact required testing temperature, but moderate conditions — roughly 60–100°F with low humidity — give the most reliable results and provide the range required for waterproofing sprays and sealants to cure properly.
Can I use a spray bottle instead of a garden hose?
You can, but it’s less effective for a thorough test since it’s harder to cover the whole tent evenly and generate sustained rain pressure. If it’s your only option, take extra time to soak the seams, rainfly, and floor thoroughly.
Conclusion
An hour spent testing your tent at home beats finding out it leaks in the middle of a midnight storm. Regular checks and prompt repairs mean fewer wet surprises on your next trip. Take the time to inspect, test, and treat your tent now, and you’ll be ready to head out with full confidence that you’ll stay dry. Happy camping!
Sources
- Scotchgard Heavy Duty Water Shield — 3M/Scotchgard — product specs, fabric compatibility, and application guidance
- How to Use Scotchgard Heavy Duty Water Shield — 3M — dry time and application FAQs
- Seam Grip WP Seam Sealant and Adhesive — Gear Aid — cure time, fabric compatibility, and safety information
- Seam Grip SIL Silicone Seam Sealant — Gear Aid — specifications for silnylon fabric compatibility
