
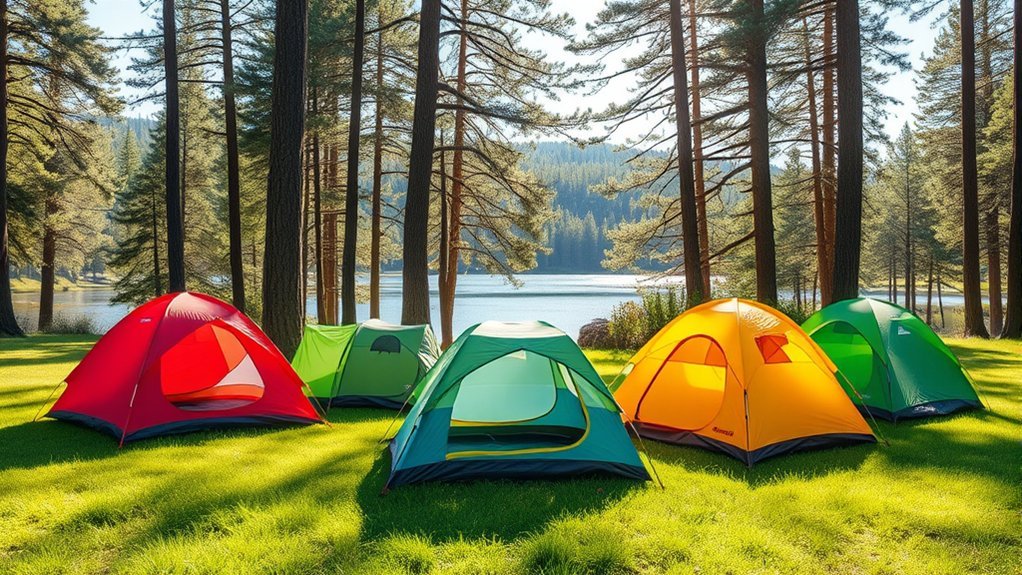
Last Updated on July 30, 2026 by Mason Reed
Choosing the right camping tent comes down to where you will camp, how you will transport it, how many people must sleep inside, and what weather you may face. Instead of shopping by capacity or price alone, compare the tent’s actual floor dimensions, weight, weather protection, setup style, ventilation, and storage space.
Quick Answer
Choose a camping tent that matches your transportation method, group size, sleeping-pad dimensions, and worst likely weather. Car campers can prioritize comfort and standing room, while backpackers should balance packed weight with durability. Check floor measurements, rainfly coverage, ventilation, doors, vestibules, pole strength, packed size, and setup requirements before buying.
Key Takeaways
- Match the tent to your camping style first; a roomy campground tent and a lightweight backpacking shelter solve different problems.
- Capacity labels are approximate. Compare the floor length and width with your sleeping pads, occupants, pets, and indoor gear.
- A three-season tent suits most mild-weather trips, while snow, exposed terrain, and severe wind may require a stronger model.
- Compare packed weight, packed size, rainfly coverage, ventilation, vestibules, doors, poles, and ease of setup—not price alone.
- Pitch the tent at home before the return period ends so you can check its fit, condition, instructions, and included parts.
At a Glance
| Time Required | About 20–30 minutes to define your needs and compare specifications |
| Difficulty | Easy, once you know the trip type, group size, and likely weather |
| Tools Needed | Trip plan, sleeping-pad measurements, tape measure, and product specifications |
| Cost | Comparison is free; tent prices vary by capacity, materials, weight, weather resistance, and included equipment |
Disclosure: As an Amazon Associate I earn from qualifying purchases. Some links on this page are affiliate links, at no extra cost to you.
Determine Your Camping Style and Needs

Start with the way you plan to camp. Your transportation method determines how much weight and bulk you can reasonably carry, while the destination determines how much weather protection you need.
- Car camping: Prioritize floor space, standing height, vertical walls, large doors, ventilation, and easy access. Weight matters less when the campsite is close to your vehicle.
- Backpacking: Balance packed weight, packed volume, durability, weather protection, and interior room. A lighter tent can reduce effort on the trail, but extremely light materials may require more careful handling.
- Bikepacking or paddling: Check the packed dimensions as closely as the weight. A tent may be light but too long or bulky for a handlebar bag, pannier, hatch, or dry bag.
- Basecamp or extended stays: Look for strong poles, dependable zippers, useful vestibules, room to organize equipment, and enough height to remain comfortable during bad weather.
- Glamping, festivals, or family trips: Fast setup, privacy dividers, standing room, electrical-cord access, and multiple doors may matter more than minimum weight.
Also consider your experience level and how often you camp. A first-time camper may value color-coded poles and a simple freestanding design. A frequent backpacker may accept a more demanding pitch in exchange for lower weight. Use REI’s camping-tent selection guidance as a starting point, but always check the limits and setup instructions for the exact model you are considering.
Pro Tip: Write down your most demanding realistic trip—not your easiest one. A tent that works for that combination of occupants, wind, rain, temperature, and transport will usually cover your milder trips too.
Create a Trip Profile Before Shopping
Before comparing models, answer these questions:
- Will the tent travel in a vehicle, backpack, bicycle bag, canoe, or kayak?
- How far must you carry it?
- How many adults, children, pets, and sleeping pads must fit?
- Will backpacks and shoes remain outside in a vestibule or inside the sleeping area?
- What is the lowest expected temperature?
- Could the trip involve heavy rain, snow, exposed wind, blowing sand, or hot and humid weather?
- Will you camp on soft soil, sand, rock platforms, snow, wooden pads, or established campground surfaces?
- Do you need enough height to sit, kneel, or stand comfortably?
- Will one person need to pitch the tent alone?
This trip profile prevents you from paying for features you will not use while overlooking the ones that affect comfort and safety.
Assess Tent Capacity and Comfort
Tent capacity labels are useful for narrowing your options, but they are not a guarantee of comfort. A two-person model may provide only enough floor space for two closely placed sleeping pads, with little room left for clothing or equipment.
Sizing up by one place is often helpful for car campers, larger sleepers, pets, broad pads, or people who dislike a tight interior. Backpackers may choose a closer fit to reduce weight. The best approach is to compare the tent’s listed floor dimensions with the length and width of every sleeping pad you plan to use.
Check Floor Length, Width, and Shape
Do not compare floor area alone. A tapered backpacking tent may be wide at the shoulders but narrow at the feet. That shape saves weight, yet it may not fit two rectangular wide pads. Tall sleepers should also check whether sloping walls reduce usable length near the head and feet.
When possible, arrange your sleeping pads on the floor at home and measure the combined footprint. Compare that measurement with the manufacturer’s floor diagram rather than relying only on the person rating.
Compare Peak Height and Wall Angle
Peak height tells you the maximum height at one point, not how spacious the entire tent feels. Steeper or nearly vertical walls create more usable shoulder and head room than sharply sloping walls with the same listed peak height.
Cabin-style tents often provide better standing room for car camping. Lower dome or tunnel tents may handle wind more efficiently and pack smaller. If changing clothes inside matters, check where the peak occurs and whether you can sit, kneel, or stand where you need to.
Evaluate Doors and Vestibules
A vestibule is the covered area between the tent body and rainfly. It can hold shoes, packs, and wet equipment without placing those items in the sleeping area. Check the vestibule’s shape and usable volume rather than relying on a square-foot figure alone.
Two doors are especially useful for two or more occupants because one person can leave without climbing over another. Larger doors also help families, broad-shouldered campers, and anyone with limited mobility.
A tent’s person rating describes how many sleepers may fit—not how comfortably they, their pets, and their equipment will fit.
Consider Weather Conditions and Tent Seasons
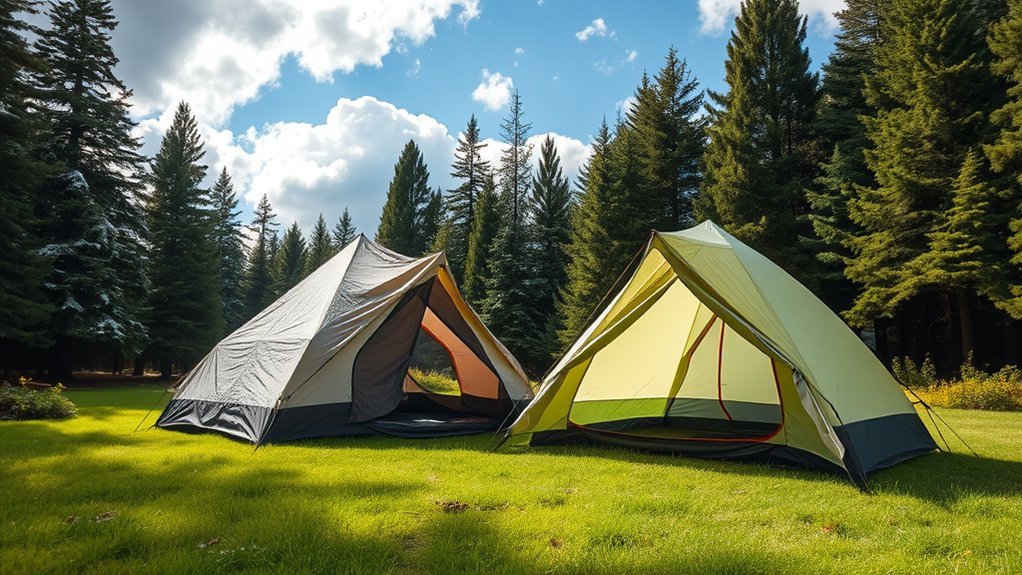
Season categories are broad descriptions of construction and intended use. They are not temperature ratings, waterproofness guarantees, or promises that a tent will survive every storm.
- Warm-weather or minimal shelters: These prioritize airflow and low weight. Check their fly coverage carefully before relying on them in wind-driven rain.
- Three-season tents: These are designed mainly for spring, summer, and fall conditions. They typically combine mesh ventilation with a rainfly and are appropriate for many ordinary camping trips. They are not intended for heavy snow loads or sustained extreme wind.
- Extended-season or three-plus-season tents: These often use more fabric, less mesh, and additional pole support. They can provide more protection during exposed shoulder-season trips without the full weight of a mountaineering tent.
- Four-season or mountaineering tents: These generally use stronger pole structures, more solid fabric, and shapes that shed snow and resist wind. They can be warmer because they reduce airflow, but the sleeping pad and sleeping bag—not the tent—provide most of your insulation.
Note: A stronger tent does not replace a properly rated sleeping pad and sleeping bag. Tent season, sleeping-bag temperature rating, and sleeping-pad insulation are separate parts of the shelter system.
Inspect Rain and Wind Protection
For frequent rain, look for a full-coverage rainfly, protected doors, taped or sealed seams, a raised bathtub-style floor, useful vents, secure pole attachments, and enough guyline points to stabilize the shelter. A partial fly may provide excellent airflow in fair weather but less protection from wind-driven rain.
Wind performance depends on the tent’s shape, pole structure, fabric tension, stakes, guylines, soil, pitch quality, and orientation. A low-profile dome, tunnel, or geodesic design may perform better in exposed terrain than a tall cabin tent. However, every model has limits, and marketing categories are not a substitute for the manufacturer’s instructions.
Choose a Safer Campsite
Select a legal site on an established or durable surface whenever possible, following Leave No Trace guidance for camping on durable surfaces. Avoid dry drainage channels, depressions that may collect water, unstable slopes, exposed ridges, loose rock, and visibly damaged or dead branches overhead.
Orient the tent so its strongest or narrowest end faces the expected wind, unless the manufacturer directs otherwise. Keep the entrance from facing directly into wind-driven rain, and do not allow the footprint or groundsheet to extend beyond the tent floor, where it can collect water.
Warning: A tent does not provide reliable lightning protection. When thunder is heard, follow National Weather Service lightning guidance and move to a substantial building or hard-topped vehicle when one is available. Leave areas threatened by flash flooding, falling trees, damaging wind, wildfire, or other evacuation hazards.
Explore Different Tent Designs and Features
The best tent architecture depends on the space, weight, weather resistance, and setup method you need. Design names can overlap, so examine the actual pole layout and pitch rather than relying only on the product category.
- Dome tents: Curved poles create a stable, familiar shape with a relatively simple pitch. Dome designs range from light backpacking shelters to large campground tents.
- Cabin tents: Tall, straighter walls provide generous standing and living space. Their height and broad sides can make them more vulnerable to strong wind.
- Tunnel tents: Parallel arches can create an efficient space-to-weight ratio. They usually require careful staking and should be oriented correctly in wind.
- Geodesic and semi-geodesic tents: Multiple pole crossings create a supported structure for exposed conditions. The added poles usually increase weight, price, and setup time.
- Trekking-pole tents: These use one or more trekking poles instead of dedicated tent poles. They can reduce carried weight but generally depend on accurate staking and tension.
- Hybrid tents: These combine design features to balance room, strength, setup, and weight.
Freestanding, Semi-Freestanding, or Non-Freestanding
A freestanding tent supports its basic shape with poles before it is staked. It is easy to reposition, although it must still be staked and guyed when wind is possible.
A semi-freestanding tent supports most of its structure with poles but needs stakes to create full interior space. A non-freestanding tent relies on stakes, trekking poles, or external supports and careful tension. These shelters can be light, but they may be harder to pitch on rock, wooden platforms, loose sand, or frozen ground.
Compare Weight, Packed Size, and Durability
Backpackers should compare weight carefully, but there is no universal cutoff that makes a tent “ultralight.” A one-person shelter and a four-person shelter cannot be judged by the same total-weight target.
Manufacturers may publish several different figures:
- Packed or packaged weight: Usually includes the tent body, fly, poles, stakes, stuff sacks, and other supplied components.
- Minimum or trail weight: Often includes only the primary shelter components needed for a basic pitch. The exact definition varies by manufacturer.
- Weight per sleeper: Total carried weight divided by the number of occupants sharing it. This can be more useful than total weight for group shelters.
- Packed dimensions: The size of the stored tent. This matters for small backpacks, motorcycles, bicycles, kayaks, and compact vehicles.
REI’s backpacking-tent guide provides additional context for balancing weight with floor area, vestibule space, seasonality, and livability.
Compare Poles, Fabrics, and Hardware
Aluminum poles are common in quality backpacking and performance tents because they offer a useful balance of strength, weight, and repairability. Fiberglass poles are often found in lower-cost campground tents; they can work well for occasional mild-weather use but are generally heavier and more prone to splitting.
Nylon fabrics can provide high strength at a low weight, while polyester generally absorbs less water and may resist stretching when wet. Fabric weight, weave, coatings, seam construction, and intended use matter more than the fiber name alone.
Inspect zipper size and movement, pole clips or sleeves, stake quality, guyline attachment points, replaceable components, repair support, warranty terms, and the availability of replacement poles. Extremely thin materials save weight but may require more careful campsite preparation and handling.
Evaluate Ventilation and Condensation Control
Moisture inside a tent is not always a leak. Occupants release water vapor through breathing and damp clothing. When that vapor reaches a cool surface, it can condense on the tent wall or rainfly.
A double-wall tent separates the mesh or fabric inner body from the rainfly, reducing the chance that occupants will touch condensation. A single-wall tent combines the weather barrier and living enclosure, which may save weight but can require more active ventilation.
Look for:
- High and low vents that can remain open during rain
- Mesh panels that match the expected temperature and insect pressure
- A gap between the tent body and rainfly
- Doors that can be opened partly without allowing rain inside
- Enough interior space to keep sleeping bags away from damp walls
Whenever conditions allow, open vents, avoid bringing wet equipment into the sleeping area, and leave space between the fly and inner tent. Do not seal the shelter so tightly that necessary ventilation is blocked.
Budgeting for Your Tent Purchase
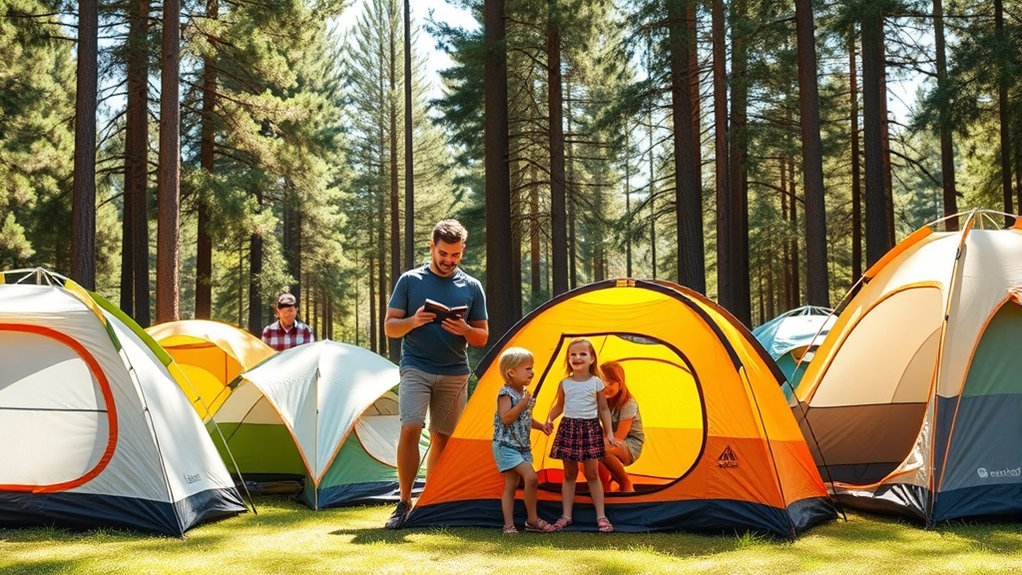
Set your budget after defining the required capacity, weather protection, weight, and features. Tent prices change by brand, retailer, season, capacity, construction, and promotions, so a single price range cannot describe every useful option.
Use these priorities:
- Occasional mild-weather camping: Focus on reliable rain protection, usable space, simple setup, intact poles, and a warranty rather than paying for minimum weight.
- Frequent car camping: Spending more for stronger poles, better zippers, improved ventilation, and replaceable parts may reduce long-term frustration.
- Regular backpacking: Compare cost against packed weight, storm protection, interior dimensions, durability, and the number of people sharing the load.
- Winter or exposed-terrain use: Prioritize proven construction and suitability for the expected conditions. This is not the category in which to choose solely by the lowest price.
Check what the purchase includes. A rainfly is normally supplied with a double-wall tent, but a model-specific footprint may be optional. Stakes, guylines, repair sleeves, storage sacks, and pole splints vary by model. Add only the accessories you genuinely need.
Note: A footprint can reduce abrasion and simplify cleanup, but it is not automatically required. If you use one, keep every edge beneath the tent floor so rain cannot collect on top of it.
Also consider the cost of replacement stakes, suitable guylines, a repair kit, cleaning products, and eventual waterproofing maintenance. A slightly more expensive tent with dependable parts and repair support may provide better value than a shelter that must be replaced after limited use.
Use This Final Tent-Buying Checklist
Before purchasing, confirm that the tent meets each requirement that applies to your trips:
- The intended camping style matches the tent’s weight and packed size.
- The actual floor dimensions fit every sleeping pad and occupant.
- The peak height and wall shape provide enough usable room.
- The doors allow occupants to enter and leave without climbing over one another.
- The vestibules can hold the equipment you plan to keep outside.
- The season category and construction suit the worst likely conditions.
- The rainfly provides the coverage you need.
- The floor, seams, vents, poles, guylines, and stake points appear appropriate for the destination.
- The tent can be pitched on the surfaces you expect to encounter.
- One person can set it up when solo pitching may be necessary.
- The packed tent fits in your backpack, vehicle, bicycle bag, or boat.
- The listed weight includes the components you will actually carry.
- Replacement parts, repair instructions, and warranty support are available.
- The total cost includes necessary stakes, guylines, and optional accessories.
Set Up and Test the Tent Before Your Trip
Do not wait until dark, rain, or strong wind to learn how your new tent works. Test it at home while the retailer’s return period is still open.
- Inventory the parts. Confirm that the body, rainfly, poles, stakes, guylines, sacks, and instructions are present.
- Inspect the materials. Look for damaged mesh, faulty zippers, bent pole sections, loose stitching, coating defects, or missing attachments.
- Pitch the tent completely. Follow the manufacturer’s pole order, attachment points, staking pattern, and rainfly orientation.
- Stake and tension it correctly. Use the required corners and guylines. Make the fabric taut without placing excessive force on zippers, seams, or poles.
- Test the interior fit. Place all sleeping pads, bags, and representative equipment inside or in the vestibules.
- Practice packing it. Confirm that the stored shelter fits its intended backpack, vehicle compartment, pannier, or dry bag.
Warning: Never operate a camp stove, charcoal grill, lantern, or unapproved fuel-burning heater inside a tent. Fire, oxygen depletion, and carbon monoxide can cause severe injury or death. Follow the equipment manufacturer’s clearance and outdoor-use instructions and review National Park Service camping-safety guidance.
Frequently Asked Questions
How do I clean and maintain my camping tent?
Shake or sweep out loose dirt, then spot-clean the fabric with cool water and a cleaner approved for coated outdoor fabrics. Avoid household detergents, bleach, machine washing, and machine drying unless the manufacturer specifically permits them. Rinse as directed, air-dry the tent completely out of direct sun, and store it loosely in a cool, dry place. Follow tent-cleaning guidance from REI and the instructions for your exact model.
Can I use a regular three-season tent for winter camping?
A three-season tent may work for a calm, low-elevation trip with no accumulating snow, but it is not designed for significant snow loads or sustained severe wind. Winter and mountaineering tents generally use stronger pole structures and more solid fabric. They do not replace a properly rated sleeping bag and insulated sleeping pad, which provide most of your warmth.
What accessories do I need for my tent?
Bring stakes suited to the soil, enough guylines for the expected wind, a small repair kit, and any manufacturer-required pole sleeve or splint. A footprint is optional for many tents but can reduce abrasion on rough or dirty sites. Most double-wall tents include their rainfly, so check the contents before purchasing an extra one.
How do I set up my tent correctly?
Choose a legal, durable, well-drained site free from overhead hazards. Lay out the tent, assemble the poles in the specified order, attach the body, stake the corners, install the rainfly, and tension the guylines. Keep the pitch taut but do not overtighten it. Use every required guy point when wind is expected and follow the exact manufacturer instructions.
Is it safe to camp in a tent during a storm?
A suitable tent can protect you from ordinary rain, but it is not a safe lightning shelter and cannot eliminate hazards from flash floods, falling trees, hail, wildfire, or damaging wind. During thunderstorms, move to a substantial building or hard-topped vehicle when available. Follow official warnings and leave immediately when authorities issue an evacuation order.
Should I buy a tent rated for one more person?
Sizing up is helpful when you want room for broad sleeping pads, pets, children, indoor equipment, or easier movement. It is not mandatory. Backpackers may prefer a closer fit to save weight. Compare the actual floor dimensions, wall shape, and vestibule space before deciding.
Do I need a footprint under my tent?
Not always. A footprint can reduce abrasion, mud, and cleanup on rough sites, but many tent floors can be used directly on a cleared campsite. Remove sharp objects first, follow local rules, and make sure the footprint does not extend beyond the tent floor, where exposed material could collect rainwater.
Conclusion
The right camping tent is the one that fits your real occupants, sleeping pads, transportation method, campsite surfaces, and worst likely weather. Start with your camping style, then compare actual dimensions, seasonality, rainfly coverage, ventilation, doors, vestibules, packed weight, pole structure, and setup requirements.
Do not let a person rating, low price, or “ultralight” label make the decision by itself. Review the full specifications, pitch the tent at home, place your sleeping equipment inside, and inspect every part before the first trip. That process gives you a much better chance of choosing a shelter that remains comfortable, dependable, and practical for the adventures you actually take.
Sources
- REI — How to Choose a Camping Tent — tent capacity, seasonality, livability, doors, vestibules, and general selection factors
- REI — How to Choose a Backpacking Tent — packed weight, interior space, seasonality, and backpacking tradeoffs
- REI — How to Clean a Tent — cleaning, drying, care, and storage practices
- National Weather Service — Lightning Safety — safe shelter and thunderstorm guidance
- National Park Service — Camping Safety — campsite and outdoor-safety considerations
- Leave No Trace — Travel and Camp on Durable Surfaces — responsible campsite selection and surface protection

