
Last Updated on July 29, 2026 by Mason Reed
You can make a tent more wind-resistant by improving its pitch, using every reinforced guy-out point, choosing anchors that match the ground, and keeping the fly evenly tensioned. The goal is not to make a tent “windproof.” Every shelter has limits, and a severe-weather warning is a reason to seek sturdy shelter rather than test your setup.
Quick Answer
Pitch the tent’s lowest or narrowest end into the wind, fully seat the poles, stake every corner, and tension all factory guy lines from reinforced points. Use anchors suited to the soil, sand, or snow. Do not add homemade tie-outs to unsupported fabric, and leave the tent for sturdy shelter when damaging winds are forecast.
Key Takeaways
- Use the tent maker’s setup instructions and all factory-reinforced guy-out points.
- Face the lowest or narrowest end into the prevailing wind unless the manual says otherwise.
- Keep the pitch taut but not drum-tight, and recheck it when wind direction, rain, or temperature changes.
- Match stakes or anchors to the ground; one stake style does not work everywhere.
- A tent is not safe shelter in damaging winds, severe thunderstorms, or tornadoes.
At a Glance
| Time Required | 30–60 minutes for inspection and setup; repairs may need additional cure time |
| Difficulty | Easy for pitching changes; moderate for approved repairs |
| Tools Needed | Tent manual, extra low-stretch guyline, tensioners, ground-specific stakes or anchors, stake tool, and compatible repair supplies if needed |
| Cost | $0 with included hardware; more if you need extra cord, anchors, replacement parts, or repair products |
Warning: Do not stay in a tent during a high-wind warning, severe thunderstorm, or tornado threat. The National Weather Service advises postponing outdoor activity during wind advisories or high-wind warnings and moving to sturdy shelter when dangerous winds approach.
Disclosure: As an Amazon Associate I earn from qualifying purchases. Some links on this page are affiliate links, at no extra cost to you.
Assessing Your Tent’s Current Wind Resistance
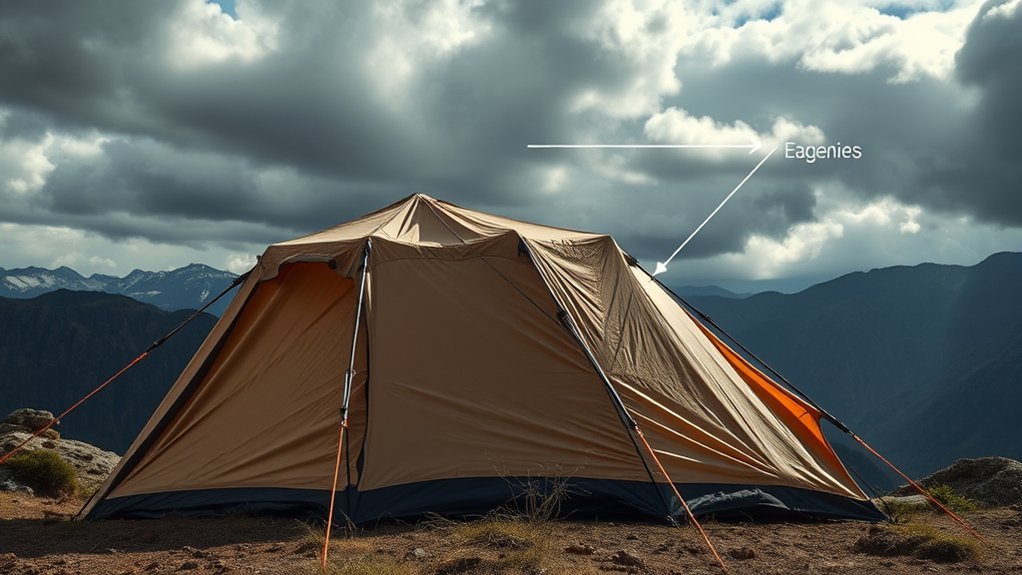
Start with the tent’s manual. Look for the correct pole layout, required stakes, guy-out points, and any limits stated by the manufacturer. A three-season family tent, an ultralight backpacking tent, and a four-season mountaineering tent are built for different conditions. Extra cord cannot turn a light-duty shelter into an expedition tent.
Inspect the Structure
- Poles: Check for cracks, permanent bends, split ferrules, loose hubs, and sections that do not seat fully.
- Pole clips and sleeves: Confirm that clips close properly and sleeves are not torn.
- Stakes and anchors: Replace bent stakes and worn cords. Count every piece before leaving home.
- Guy-out loops: Use only sound, reinforced loops. Look for stretched stitching, fraying, or fabric distortion.
- Fly and body: Repair tears, failing seam tape, and worn coatings before the trip.
- Tensioners: Make sure they grip the line and can still be adjusted with cold or wet hands.
Height and shape also matter. Lower, rounded, or tapered shelters usually present less surface area to the wind than tall, flat-sided tents. Still, the exact performance depends on the complete design, including pole geometry, fabric, seams, anchors, and how well the tent is pitched.
Note: “Wind-resistant” is more accurate than “windproof.” Many tent makers do not publish a universal wind-speed rating, and real performance changes with gust direction, ground strength, setup quality, wear, rain, and exposure.
Check the Forecast and Choose a Safer Site
Windproofing starts before you pitch. Check the hourly forecast, expected gusts, thunderstorm risk, and official alerts. The National Weather Service high-wind guidance says the safest place during high winds is indoors and recommends postponing outdoor activities when a wind advisory or high-wind warning is in effect.
Choose a level site with natural protection, but do not trade wind exposure for another hazard. Stay away from dead trees, hanging branches, unstable rock, flood channels, cliff edges, and loose objects that could become airborne. A healthy stand of trees, a low rise, or a terrain feature may reduce direct wind, but falling branches can make wooded sites dangerous during storms.
Orient the Tent Correctly
Unless the manual gives different instructions, point the tent’s lowest, narrowest, or foot end into the prevailing wind. Keep large doors and broad sidewalls away from the strongest flow. Big Agnes gives the same general orientation advice in its tent setup guidance.
Wind can shift after dark, so orientation is only one part of a stable pitch. Stake and guy the entire shelter rather than relying only on the upwind side.
Adding Guy Lines for Stability
Guy lines support the pole structure and help prevent the fly from bowing, snapping, or pressing against the inner tent. Use the lines supplied with the shelter first. Add cord only to factory-reinforced guy-out points or locations approved in the manual.
Importance of Guy Lines
There is no universal rule that every tent needs three lines, five lines per side, or any other fixed number. Use all structural guy-out points when strong wind is possible. At minimum, stabilize the windward points before conditions worsen, then balance the rest of the tent so one side does not carry all the load.
The REI tent setup guide explains that structural guy-out points are commonly placed over poles and that lines should run directly outward from those supported points. Loops along the lower edge of a fly may be intended only to create ventilation or separate the fly from the inner tent, so do not assume every loop is structural.
Proper Guy Line Placement
- Attach to reinforced points. Never tie a high-load guyline to mesh, a zipper pull, an unreinforced hem, or a random fabric loop.
- Align with the supporting pole. Run the line outward in the same direction as the pole or panel it supports.
- Face key lines into the wind. Windward guylines should resist the main pull rather than drag sideways across the fly.
- Create a clean pull. Route the line so it does not rub on a sharp rock, branch, zipper, or another line.
- Use enough distance. Place the anchor far enough from the tent to create useful leverage without blocking a path.
- Tension evenly. Remove slack, then stop before the fly distorts or poles bend out of shape.
Pro Tip: Attach and loosely stake every guyline while the weather is calm. Final tensioning is faster and safer than trying to find small loops after the wind rises.
Enhancing Tie-Out Points
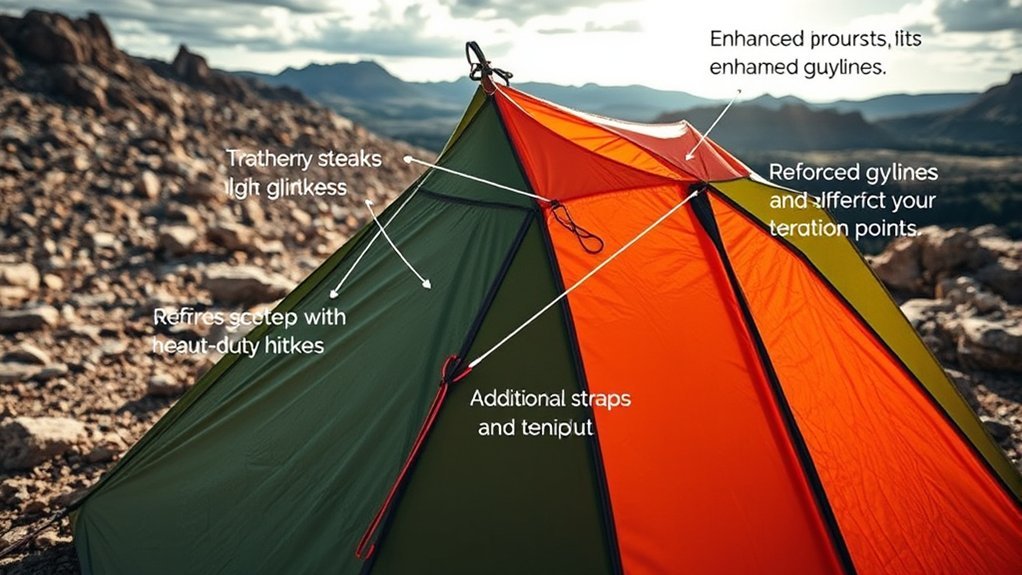
Tie-out points transfer wind force from the fabric into the guyline and anchor. That load should enter the tent through reinforced webbing, seam intersections, or pole-supported patches. Adding a cord to unsupported fabric can concentrate force in one small area and cause a tear.
Importance of Tie-Outs
Use every structural tie-out the manufacturer provides when rough weather is expected. If the tent has too few lines in the package, add low-stretch cord of a similar diameter and strength. Reflective cord improves nighttime visibility and reduces trip risk.
Do not automatically attach several lines to one stake. A shared anchor can fail all at once. In stronger wind, give each key structural guyline its own well-seated anchor when space and ground conditions allow.
Optimal Placement Strategies
Start with the corners, vestibules, and windward structural guy-outs. Then work around the tent so the load is balanced. A correctly pitched fly should look smooth, with no large loose panels, deep wrinkles, or one-sided pull.
There is also no single universal “45-degree guyline angle.” Some manufacturers describe a stake angle relative to the ground, while others focus on keeping the line perpendicular to the supported tent wall or creating a near-right-angle pull at the stake. Follow the tent and stake maker’s instructions. The practical goal is a straight, well-supported load path and an anchor that cannot rotate or pull out.
Materials for Durability
- Guyline: Use low-stretch, weather-resistant cord that fits the existing tensioners. Reflective strands help people see it at night.
- Stakes: Match length, width, and profile to the ground. Lightweight metal is useful, but material alone does not determine holding power.
- Webbing and patches: Use manufacturer-approved replacement parts or a professional repair service for structural tie-out damage.
- Tensioners: Choose hardware that grips the cord without cutting it and remains easy to adjust.
Warning: Do not sew new load-bearing loops into a rainfly unless the tent maker approves the location and reinforcement method. A neat-looking loop can still rip out if the surrounding panel was not designed for that force.
Choose Anchors for the Ground
The best anchor depends on the surface. Test each one with a firm hand pull before trusting it overnight.
- Firm soil: Use a stake with enough length and surface area to resist the expected pull. Seat it fully.
- Soft soil: Use a longer or wider stake, move to denser ground, or add a second independent anchor where the design allows.
- Rocky ground: Use durable stakes in available gaps or secure guylines to stable, immovable rocks without sharp edges. Protect the cord from abrasion.
- Sand: Use broad sand stakes or buried deadman anchors. Compact the sand after burial.
- Snow: Use snow stakes, skis, poles, or buried anchors designed for snow, then allow the snow to firm before final tensioning.
- Platforms: Use platform anchors, approved hooks, or weighted anchors. Do not force ordinary stakes into boards.
Keep lines and stakes out of common walking routes. Mark low lines with reflective cord or a small visible marker, and never leave a sharp stake partly exposed.
Reinforcing Seams and Fabric

Repair damage before it becomes a wind-driven tear. Small holes can often be patched, loose seam tape can be addressed, and damaged pole sections can be replaced. Structural stitching, pole sleeves, hubs, and guy-out patches deserve professional or manufacturer repair when the damage is more than minor.
Match the Repair Product to the Fabric
Do not apply a generic “waterproof adhesive” without identifying the coating. Silicone-treated fabrics need a silicone-compatible product, while polyurethane-coated fabrics require a compatible urethane product. The GEAR AID sealant guide explains that silicone and polyurethane treatments are not interchangeable and recommends contacting the manufacturer when the coating is uncertain.
- Clean and fully dry the area.
- Confirm the fabric and coating type in the manual or with the manufacturer.
- Use a patch or sealant approved for that material.
- Apply it in a ventilated area and follow the product’s temperature and cure-time directions.
- Pitch the tent after curing and inspect the repair under light tension before taking it into wind.
Seam sealing improves water resistance; it does not automatically add structural strength. For a torn load-bearing seam or guy-out patch, use the repair route recommended by the tent maker.
Implementing a Tension System
A stable tent uses balanced tension rather than maximum tension. The poles, fly, corners, and guylines should share the load. If one line is extremely tight while nearby lines are loose, gusts can shock-load one patch or bend the frame.
Step-by-Step Tensioning
- Lay out the tent with the correct end facing the wind.
- Stake the upwind corners first while keeping control of the tent body and fly.
- Assemble every pole section fully and install the frame exactly as shown in the manual.
- Attach the body and fly, including all pole clips, sleeves, hook-and-loop pole wraps, and buckles.
- Stake the remaining corners and vestibules so the floor and fly are square.
- Attach structural guylines and set anchors in suitable ground.
- Work around the tent in small adjustments until panels are smooth and the poles keep their intended shape.
- Recheck the upwind side, then secure loose cord ends so they cannot whip against the fly.
Some tents are designed with paired, internal, or equalized guylines. Use those systems only as the manufacturer shows. Do not improvise internal cords, Velcro loops, structural pins, or triangular bracing that presses against occupants or changes pole loading.
The strongest upgrade is usually a complete, even pitch using the reinforced features already built into the tent.
Testing Your Upgraded Tent in the Field
Practice at home or in mild, open conditions before relying on the setup. Do not seek out dangerous wind for a stress test. Start with a complete dry pitch, then check each line and anchor with a controlled hand pull.
What to Watch During a Test
- Poles that flatten, invert, separate, or move out of their intended curves
- Stakes that rotate, rise, or loosen in the soil
- Guy-out patches that stretch, pucker, or make tearing sounds
- Large fly panels that slap or touch the inner tent
- Tensioners that slip under repeated movement
- Cord that saws across fabric, rocks, or sharp hardware
- Doors or zippers that become hard to operate because the pitch is distorted
Retension after the fabric becomes wet because some materials stretch. Also recheck after a major temperature drop, a wind shift, or any hard gust. Keep shoes, a headlamp, warm layers, and essential items ready in case you must leave quickly.
Troubleshooting a Tent in Wind
| Problem | Likely Cause | Safe Fix |
| Stake pulls out | Soft ground, shallow placement, poor alignment, or too little surface area | Move to firmer ground or use a longer, wider, or ground-specific anchor |
| Fly slaps loudly | Loose panel, missed guyline, wet fabric stretch, or poor orientation | Retension evenly, use the correct guy-out, and turn the shelter only if conditions are still safe |
| Pole bows too far | Uneven guyline load, broadside wind, incomplete pole connection, or conditions beyond the tent’s design | Reduce uneven tension, verify assembly, and leave for sturdy shelter if deformation continues |
| Guyline keeps slipping | Wrong cord diameter, worn tensioner, or poor knot | Use compatible cord and hardware or tie a secure adjustable hitch |
| Tie-out fabric distorts | Overtension, sideways pull, damaged stitching, or an unreinforced attachment | Release tension, stop using the damaged point, and arrange an approved repair |
When to Stop Adjusting and Leave
Do not keep tightening a tent that is being overwhelmed. Leave for a sturdy building or other official shelter when a warning is issued, trees or branches begin falling, debris is airborne, poles repeatedly invert, anchors will not hold, or the tent fabric or frame starts to fail.
The National Weather Service generally describes high wind as sustained wind of at least 40 mph for an hour or wind of at least 58 mph for any duration. Local warning criteria and terrain effects can vary, so follow the alert issued for your location rather than treating any number as a tent rating.
Note: A hard-topped vehicle may offer better emergency protection than a tent in some hazards, but it is not a substitute for a sturdy building during every severe-weather event. Follow local emergency instructions.
After-Trip Inspection and Storage
Dry the tent completely before storage. Clean dirt from pole joints and stakes, untangle guylines, and inspect every high-load point. Replace damaged cord, tensioners, stakes, and pole sections before the next trip. Store the shelter loose in a cool, dry place when possible rather than leaving it compressed and damp.
Record any problem you noticed, such as a stake that repeatedly pulled out or a panel that needed more support. That note will help you pack the correct anchors and pitch faster next time.
Frequently Asked Questions
What materials are best for guy lines and stakes?
Use low-stretch, weather-resistant cord that fits your tent’s tensioners; reflective cord is easier to see at night. Choose stakes by ground type rather than material alone. Firm soil, soft soil, sand, snow, rock, and platforms may each need a different anchor.
Can I upgrade a tent that has already been used?
Yes. Replace worn cord, stakes, tensioners, pole sections, and approved patches or sealants. Use existing reinforced guy-out points. Send structural seam, pole-sleeve, or tie-out damage to the manufacturer or a qualified repair service.
How do I know if my tent needs upgrades?
Look for missing guylines, slipping tensioners, bent stakes, cracked or loose poles, torn fabric, stretched tie-out stitching, failing seam tape, and a fly that cannot hold an even pitch. Repair or replace damaged parts before camping in exposed weather.
Are windproof tents available?
No tent is windproof in every condition. Some low-profile, four-season, and mountaineering tents are designed for stronger wind than typical fair-weather shelters. Compare the intended use, pole structure, guy-out system, repair support, and manufacturer instructions rather than relying on the word “windproof.”
How do changing weather conditions affect tent stability?
A shift in wind direction can load a broad side that was previously sheltered. Rain can make some fly fabrics stretch, while softening soil can reduce stake holding power. Temperature changes may also alter tension. Recheck the pitch whenever conditions change.
Should I use rocks on top of tent stakes?
Only when the rock is stable, cannot roll, does not create a trip hazard, and will not cut the line or damage the stake. A ground-specific anchor is usually more reliable. Follow campsite rules and avoid disturbing natural features unnecessarily.
How tight should tent guy lines be?
Tight enough to remove slack and support the intended panel, but not so tight that the fly puckers, the floor lifts, zippers bind, or poles bend away from their designed shape. Make small, balanced adjustments around the tent.
Conclusion
The safest way to make a tent more wind-resistant is to use its built-in structure correctly. Inspect the shelter, choose a protected site, point the correct end into the wind, seat every pole, anchor every corner, and tension all reinforced guy-out points evenly. Use compatible repair products and ground-specific anchors instead of universal fixes.
Most importantly, know when setup improvements are no longer enough. A tent is temporary shelter, not a safe room. When official warnings, flying debris, falling branches, failing anchors, or severe frame distortion appear, move to sturdy shelter.
Sources
- National Weather Service — High Wind Safety Rules — outdoor activity and sturdy-shelter guidance.
- National Weather Service Glossary — High Wind — general high-wind and warning thresholds.
- REI Expert Advice — How to Set Up/Pitch a Tent — structural guy-out placement and line direction.
- Big Agnes — Tent Setup Tips — orientation, guylines, staking, and balanced pitching guidance.
- GEAR AID — Which Sealant Should I Use? — compatibility of silicone and polyurethane tent treatments.
- Hilleberg — Tunnel Tents in Strong Winds — using and fully extending the tent’s designed guyline system.
