
Last Updated on July 23, 2026 by Caleb Warren
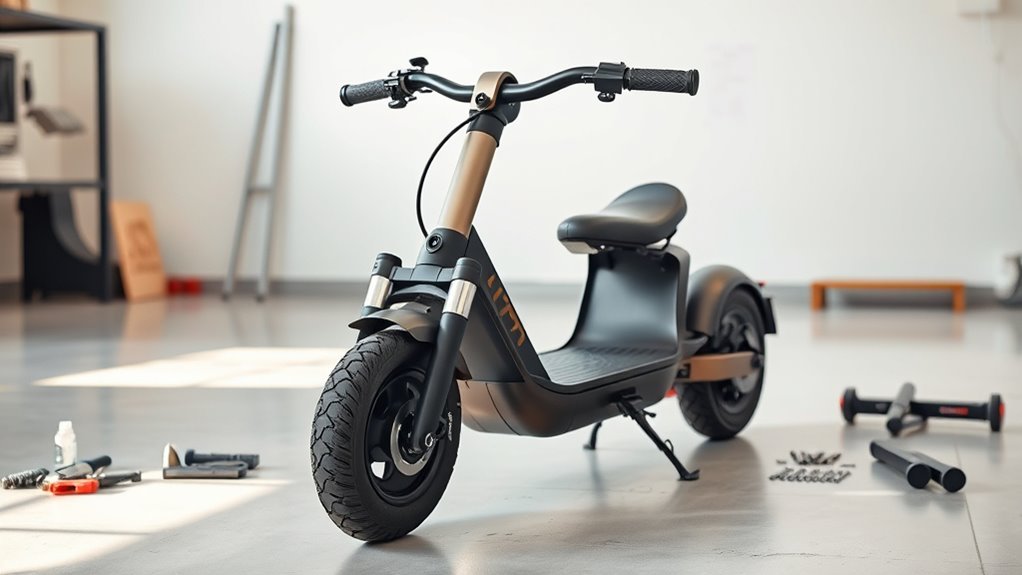
Most electric scooters arrive mostly assembled, but the exact setup varies by brand and model. Your scooter may need only the handlebar attached, while another model may also require a removable battery, wheel, seat, or accessory. Use this guide as a safe checklist, but follow your model’s manual whenever its instructions differ.
Quick Answer
To assemble an electric scooter, identify the model, check the packing list, unfold and lock the stem, connect only the specified wiring, attach the handlebar, and tighten its fasteners in the manual’s sequence and torque. Then charge with the approved charger, test the controls, inspect the tires and folding latch, and complete a low-speed test ride.
Key Takeaways
- Treat the manufacturer’s manual as the final authority because tools, fasteners, torque values, activation steps, and tire pressure vary by model.
- Do not remove or reinstall a factory-mounted wheel or built-in battery unless the manual specifically requires it.
- Keep wires clear of screw holes and moving parts, and never force a connector or fastener.
- Use only the supplied or manufacturer-approved charger and stay present while charging.
- Do not ride until the stem lock, handlebar, brakes, lights, tires, and all accessible fasteners pass a pre-ride check.
At a Glance
| Time Required | About 15–45 minutes for a mostly assembled commuter scooter; longer if the manual includes extra components |
| Difficulty | Easy to moderate, depending on the model |
| Tools Needed | The supplied hex key or tools listed in the manual, plus a tire-pressure gauge and compatible pump when required |
| Cost | Usually $0 when the required tools are included; do not ride if a part is missing or damaged |
Warning: This is a general assembly guide, not a replacement for your scooter’s manual. Keep the scooter powered off during mechanical assembly. Stop if you find a damaged battery, crushed cable, cracked frame, stripped thread, loose folding joint, or missing safety part. Contact the manufacturer or an authorized service provider instead of forcing the assembly.
Disclosure: As an Amazon Associate I earn from qualifying purchases. Some links on this page are affiliate links, at no extra cost to you.
Check the Model, Manual, and Recalls
Find the model number on the deck, stem label, packaging, or order record. Download the exact manual from the manufacturer if a printed copy is missing. Confirm the rider age, height, and weight limits, the correct tire pressure, charging instructions, fastener sequence, and any required app activation.
Also search the U.S. Consumer Product Safety Commission recall database or the product-safety authority in your country. Do not assemble or ride a recalled scooter until you follow the stated remedy.
Many folding commuter scooters need only the stem unfolded and the handlebar attached. For example, official setup instructions from Xiaomi and Segway focus on the stem, internal handlebar connection, and four handlebar screws. Your model may differ, so do not assume that the front wheel or battery needs removal or installation.
Gather Tools and Verify Parts
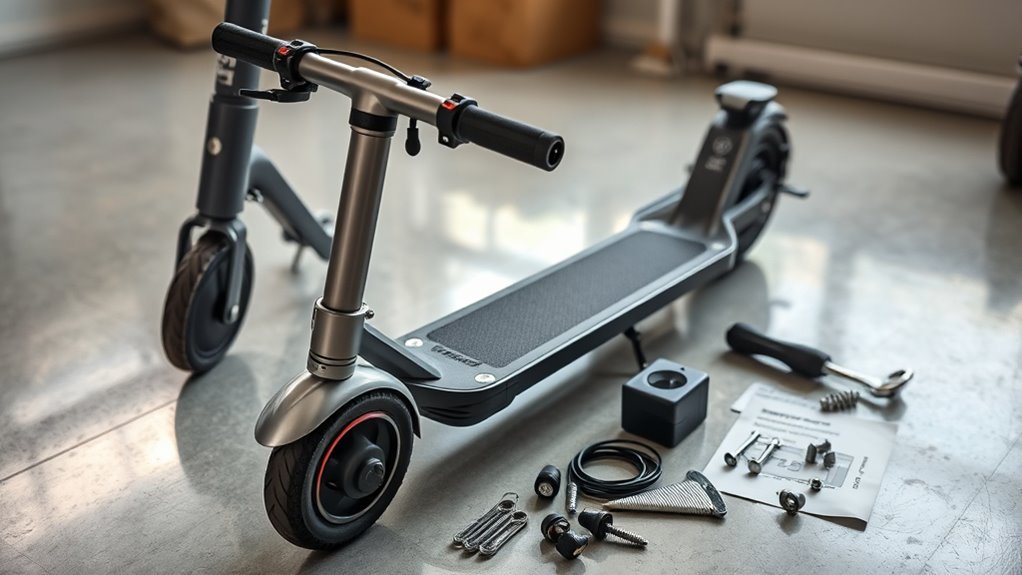
Set up on a dry, level floor with good lighting and enough space to move around the scooter. Lower the kickstand when it can support the model safely. Keep children and pets away from loose hardware and packaging.
Use the tools listed in the manual. Many scooters include a 3 mm hex key for the handlebar, but some models use different sizes or tamper-resistant fasteners. A Phillips screwdriver or adjustable wrench is not automatically required and may damage hardware if it is the wrong tool.
Compare the package contents with the manual’s packing list. Common items include:
- The mostly assembled scooter
- Handlebar or dashboard assembly
- Handlebar screws and the correct hex key
- Model-specific charger and charging cable
- Valve extension, tire adapter, or other listed accessories
- User manual, safety information, and warranty documents
Keep all packaging until the scooter powers on, passes inspection, and completes its first test ride. The original foam and box can help if you need to document damage or return the product.
Unbox the Electric Scooter and Inspect for Damage
Cut tape carefully without pushing a blade deep into the box. Lift the scooter and accessories out without pulling on the brake cable, display wire, fender, or charging lead. Remove protective wrapping slowly and keep small hardware in a tray.
Inspect the frame, deck, stem, folding hinge, handlebars, wheels, tires, brake parts, lights, charging port, and battery area. Look for cracks, deep dents, bent parts, loose fasteners, pinched wires, damaged insulation, swelling, leaking material, unusual odor, or scorch marks.
If anything is missing or damaged, stop. Take clear photos of the box, shipping label, full scooter, serial or model label, and affected area. Contact the seller or manufacturer before continuing. Do not charge a scooter with a visibly damaged battery or charging port.
Assemble the Electric Scooter Handlebars and Front Wheel
Complete only the assembly steps shown for your exact model. On many scooters, the front wheel, brakes, motor, and battery arrive factory-installed. Disturbing those parts without instructions can create alignment, wiring, braking, or warranty problems.
Unfold and Lock the Stem
Place the scooter on its kickstand if the manual permits. Raise the stem to the upright position while controlling the handlebar and cables. Close the main folding lever, safety catch, collar, or secondary lock exactly as shown in the manual.
The latch should close fully and leave no obvious looseness at the hinge. Do not ride if the stem rocks, the latch will not close, the safety catch does not engage, or the folding joint has visible damage.
Handlebar Alignment
Remove the protective wrapping and inspect the handlebar cable before inserting the handlebar into the stem. Face the headlight and controls in the correct direction. Gently tuck the cable into the stem without twisting, stretching, or trapping it under the handlebar base.
- Seat the handlebar fully in the stem.
- Align all screw holes before tightening any screw fully.
- Start every screw by hand for several turns. A screw that will not turn easily may be cross-threaded or misaligned.
- Snug the screws in the sequence shown in the manual, usually alternating from side to side.
- Finish at the model-specific torque if the manufacturer gives one. Do not copy a torque value from another scooter.
- Hold the front wheel straight and confirm that the handlebar is centered before the final check.
Pro Tip: Insert all handlebar screws before fully tightening one. This keeps the holes aligned and reduces the risk of cross-threading or pinching the internal cable.
Secure Front Wheel
Skip this step when the front wheel arrived installed, which is common on folding commuter scooters. Do not loosen a factory-mounted wheel merely to “check” it.
If the manual specifically says to install the front wheel, follow its axle orientation, washer order, spacer placement, brake-disc alignment, and torque specification. Keep the brake rotor clean and centered between the pads. After tightening, spin the wheel by hand and check for side-to-side movement, heavy drag, scraping, or cable contact. Stop and seek service if you cannot obtain correct alignment.
Check Wiring Connections
Connect only the plug or plugs named in the manual. Some scooters have one dashboard-to-stem connector; others have more than one wire set. Match alignment marks, pin shapes, arrows, or colors without forcing the connector. Push or twist only as directed.
Before seating the handlebar, confirm that no wire crosses a screw hole or sharp edge. Leave enough slack for full steering movement, but keep the cable away from the tire, brake rotor, folding hinge, and other moving parts. Use only the clips, sleeves, or ties supplied or recommended for that model.
Connect the Wiring and Secure the Battery
Most folding electric scooters have a built-in battery in the deck or stem, so there is no battery-installation step. Do not open the battery compartment or remove its cover unless the manual tells you to do so.
If your scooter has a removable battery, inspect its case and terminals first. Slide or lower it into the approved mount in the stated direction, press it fully into place, and engage the key lock, latch, retaining strap, or cover. The pack should not lift, rattle, or shift. Never force misaligned contacts, use a damaged battery, or install an unapproved replacement pack.
Once the handlebar and any model-specific battery are secured, turn the handlebar slowly from side to side. Confirm that the wiring does not tighten, pull, rub, or limit steering.
Charge, Activate, and Pair the Scooter
Read the charging order in the manual because plug-in sequences and indicator lights vary. Place the scooter and charger on a hard, dry surface away from exits, heat, direct sunlight, flammable materials, and standing water. Close the charging-port cover after disconnecting the charger.
Warning: Use only the charger supplied with the scooter or one the manufacturer has tested and approved for that exact model. The CPSC warns against unapproved “universal” micromobility chargers. Stay present while charging, never charge while sleeping, and unplug the charger when the approved charge cycle is complete.
Some batteries ship in transport or sleep mode and need a brief charger connection before the scooter will power on. Some models also require an app, account, safety video, Bluetooth pairing, or activation before full speed or features become available. Follow the official app instructions and install firmware only through the manufacturer’s supported app.
Test Brakes, Lights, and the Folding Lock
Complete these checks before standing on the scooter. Keep the drive wheel off the ground only if the manual shows a safe way to support the scooter. Do not press the throttle while a person, loose item, cable, or clothing is near a powered wheel.
Brake Function Check
With the power off, squeeze each brake lever. It should move smoothly, return when released, and leave enough travel before touching the grip. Inspect visible brake cables for fraying, kinks, loose anchors, or damaged housing.
Roll the scooter forward at walking speed and apply the brake. The scooter should stop firmly and remain controllable. A slight pad sound can occur on some disc brakes, but heavy scraping, weak stopping, a lever that touches the grip, fluid leakage, or a wheel that will not turn freely needs correction before riding.
Power on the scooter and repeat a controlled low-speed brake test in a clear area. Check the brake light if fitted. Do not attempt a road-speed emergency stop until you have confirmed normal brake operation and learned the model’s braking response.
Folding Lock Safety
Fold and unfold the scooter only as the manual directs. In the riding position, confirm that the main latch and every secondary safety lock are fully engaged. Hold the front brake, place one foot beside the deck, and gently push and pull the stem. There should be no unexpected folding movement or excessive play.
Keep the hinge clean and free of stones, packaging material, and dirt. Do not oil or adjust the latch unless the manual calls for a specific lubricant or procedure. A loose or partly closed folding mechanism is a stop-use condition.
Turn on the headlight, taillight, brake light, turn signals, horn, bell, and display features fitted to your scooter. Confirm that the power button and mode controls respond correctly.
Complete Your Pre-Ride Checks
Give the assembled scooter a final safety check before every ride, not only on the first day.
- Handlebar and stem: Confirm the handlebar is straight, the screws are secure, the stem is fully raised, and both parts of the folding lock are engaged.
- Tires and wheels: Check for cuts, bulges, low pressure, loose axles, damaged rims, or objects in the tread. Inflate pneumatic tires to the pressure stated in the manual or on the scooter label, not to a number copied from another model.
- Brakes: Confirm smooth lever movement, firm stopping at walking speed, and clean release without severe drag.
- Controls and visibility: Test the throttle, display, horn or bell, lights, brake light, and turn signals when fitted.
- Battery and charging port: Check the battery level, close the charge-port cover, and make sure a removable battery is locked.
- Frame and hardware: Look for loose fasteners, cracks, cable damage, fender contact, and anything that can catch a wheel.
- Rider setup: Wear a properly fitted bicycle helmet and other protective gear recommended by the manufacturer. Check local rules for age, speed, helmet use, and permitted riding areas.
The CPSC’s micromobility guidance also recommends checking the handlebars, brakes, throttle, bell, lights, tires, cables, and frame before riding.
Troubleshoot Common Setup Problems
Handlebar Screws Do Not Align
Stop tightening. Remove the screws, lift the handlebar slightly, tuck the cable farther from the screw holes, and reseat the handlebar. Start every screw by hand before using the tool. Do not enlarge a hole, force a screw, or continue with stripped threads.
Scooter Will Not Power On
Confirm that the battery or removable pack is fully seated, the charging-port cover is not holding a switch or connector open, and the power button is being used as the manual describes. Connect the approved charger for the required first-use activation period. If the display still stays off, check the handlebar connector and app-activation instructions, then contact support.
A Wheel Rubs or Wobbles
Do not ride. Make sure packaging material is not touching the wheel. If you installed the wheel under the manual’s instructions, recheck the axle, washers, spacers, and brake alignment. If the wheel was factory-installed, or if you cannot correct the problem exactly as the manual states, use an authorized service provider.
The Folding Latch Feels Loose
Confirm that every safety catch is engaged and that nothing blocks the hinge. Do not ride with stem movement, a latch that opens by itself, or a missing locking part. Use only the manufacturer’s adjustment procedure or service support.
The Display Shows an Error Code
Record the exact code, turn the scooter off, and check the model’s manual or official app. Recheck only the connectors you handled during assembly. Avoid opening the deck, controller, motor, or battery unless the manufacturer specifically authorizes user service.
Take a Safe First Test Ride
Choose a flat, dry, traffic-free area with plenty of stopping space. Wear a helmet, keep both hands on the handlebar, and ride alone. Start in the lowest speed mode. Many scooters require a short push before the motor engages, so place one foot on the deck, push off with the other, then apply the throttle gently after you are balanced.
Practice straight-line riding, gradual turns, smooth braking, and stepping off at very low speed. Avoid steep slopes, wet surfaces, loose gravel, curbs, and crowded paths during the first session. Stop immediately if you feel steering play, brake weakness, wheel wobble, unusual heat, electrical odor, repeated error codes, or unexpected power loss.
Frequently Asked Questions
Are electric scooters easy to put together?
Most folding commuter scooters are easy to assemble because they arrive with the wheels, motor, brakes, and battery installed. The usual job is to unfold the stem, connect a handlebar wire, attach the handlebar with several screws, and complete charging and safety checks. Larger, seated, or off-road models may require more work.
Are scooters good for autistic kids?
A scooter may suit some autistic children, but it is not automatically appropriate for every child. Consider the child’s balance, coordination, judgment, sensory needs, ability to follow safety directions, and comfort with speed and noise. Choose a model within its age and weight limits, use a helmet, start at low speed in a closed area, and provide close adult supervision. A pediatric occupational therapist or the child’s care team can help when motor or sensory needs make the choice uncertain.
How do you set up an e-scooter?
Check the exact manual and packing list, inspect the scooter, unfold and lock the stem, connect only the listed wiring, attach the handlebar, and tighten the fasteners in the correct sequence. Then charge with the approved charger, activate or pair the scooter if required, check the tires and brakes, and complete a low-speed test ride.
How do beginners ride an electric scooter step by step?
Wear a helmet and begin in a flat, open area. Turn on the scooter and select its lowest mode. Put one foot on the deck, push off with the other, place both feet securely, and increase the throttle slowly. Look ahead, keep both hands on the handlebar, brake early and smoothly, and practice turns and stops before riding near traffic.
Do I need to install the front wheel?
Only if the model-specific manual says the front wheel ships separately. Many commuter scooters arrive with both wheels already installed. Do not loosen or remove a factory-mounted wheel as a routine assembly step.
How tight should the handlebar screws be?
Use the torque value in your scooter’s manual. Start every screw by hand, tighten them in the stated sequence, and use a torque wrench when the manufacturer requires one. Do not guess, overtighten, or copy a value from another model.
Should I fully charge an electric scooter before the first ride?
Follow the model’s first-charge instructions. Some scooters need only a brief charger connection to wake the battery, while others recommend completing a normal charge before the first ride. Always use the supplied or manufacturer-approved charger and remain present during charging.
How long does electric scooter assembly take?
A mostly assembled commuter scooter often takes about 15–45 minutes to inspect and assemble, but the model and your experience matter. Charging, app activation, firmware updates, or troubleshooting can add more time.
Conclusion
A safe electric scooter setup is mostly about following the correct manual and refusing to force parts that do not fit. Confirm the model, inspect the scooter, lock the stem, connect only the specified wiring, attach the handlebar carefully, and treat wheel or battery installation as model-specific work.
Before the first ride, use the approved charger, test every control, check tire pressure and accessible fasteners, verify the folding lock, and practice at low speed in a clear area. Stop and contact the manufacturer whenever the scooter has damaged parts, loose steering, weak brakes, wheel wobble, charging problems, or unexplained error codes.
Sources
- U.S. Consumer Product Safety Commission: Micromobility Information Center — pre-ride inspection, helmet, riding, and charging safety.
- CPSC warning about universal micromobility chargers — charger compatibility and fire-risk guidance.
- Segway Ninebot KickScooter F2 support — model-specific manual, tire pressure, charging, and support resources.
- Segway Ninebot KickScooter F2 user instructions — packing list, handlebar assembly, fastener sequence, activation, and riding basics.
- Xiaomi Electric Scooter 4 Pro Max assembly guide — stem, handlebar, and four-screw assembly sequence.
- Jetson Rhythm Electric Scooter setup guide — cable routing, handlebar screw alignment, folding latch, and first-time charging.
