
Last Updated on September 10, 2026 by Daniel Globe
One wrong-sized boot can turn a good trail into a painful day. Blisters, bruised toenails, heel rubbing, and numb toes often begin with a boot that is too short, too narrow, too loose, or the wrong shape for your foot. This guide explains how hiking boots should fit and gives you a practical way to test them before you buy.
Quick Answer
Hiking boots should feel secure around your heel and midfoot without pinching. Your toes should wiggle freely, and your longest toe should have roughly a thumb’s width of space in front. Your heel should not rub or repeatedly lift, and your toes should not hit the front when you walk downhill.
Key Takeaways
- Fit the larger foot and judge the boot by length, width, heel hold, and internal volume, not by the printed size alone.
- Try boots on later in the day with the hiking socks, insoles, or orthotics you will use on the trail.
- Test the fit on a ramp or stairs. Your heel should stay controlled uphill, and your toes should not strike the front downhill.
- A break-in period can soften some boots, especially sturdy leather models, but it cannot fix the wrong size or shape.
- Lacing can reduce minor heel slip or instep pressure, but persistent pain, numbness, or rubbing means you should try another boot.
At a Glance
| Time Required | About 20 to 45 minutes for a careful fitting, plus short test walks before a long hike |
| Difficulty | Easy, but comparing several sizes and boot shapes improves accuracy |
| Tools Needed | Hiking socks, your usual insoles or orthotics, and preferably a fitting ramp or stairs |
| Cost | Usually free to test in a store; boot and insole prices vary |
What’s in This Article
- Understanding Sizing, Width, and Volume
- Hiking Boot Fitting Checklist
- Trying On Hiking Boots
- What Makes a Boot Fit Correctly
- Testing Boots Uphill and Downhill
- Breaking In Hiking Boots
- Tips for Finding the Best Fit
- Buying Hiking Boots Online
- Signs of a Poor Fit
- Adjusting Lacing for a Better Fit
- Troubleshooting Common Fit Problems
- Frequently Asked Questions
Disclosure: As an Amazon Associate I earn from qualifying purchases. Some links on this page are affiliate links, at no extra cost to you.
Understanding Sizing, Width, and Volume
Hiking boot fit begins with four measurements: length, width, arch length, and foot volume. The number printed on the box is only a starting point because sizing and boot shape vary between brands and even between product lines from the same brand.
Length
When you stand with your heel seated at the back of the boot, your longest toe should have about 1 cm, or roughly a thumb’s width, of space in front. This room helps accommodate normal foot expansion and forward movement on descents. The space should be in front of your toes, not created by a loose heel or a foot that slides inside the boot. Both REI’s hiking boot fitting guide and NHS footwear guidance recommend checking toe room while also securing the heel.
Width
The widest part of your forefoot should sit comfortably in the widest part of the boot. Your toes should spread naturally without pressing into the sides, but the boot should not feel sloppy. Look for narrow, standard, wide, or extra-wide versions when available instead of using a longer size to solve a width problem.
Foot Volume and Last Shape
Volume describes how much space your foot takes up inside the boot, including around the instep, heel, and forefoot. A low-volume foot may move inside a deep boot even when the length is correct. A high-volume foot may feel pressure across the top. The boot’s last, which is the mold used to shape it, also affects the curve of the heel, arch, and toe box.
Note: Measure both feet while standing and fit the larger foot. Bring any orthotics or replacement insoles you use because they change the available space inside the boot.
Do not assume you always need a half size larger than your everyday shoes. Some hikers do, but the correct choice depends on the brand, the last, your socks, your insoles, and the downhill test.
Hiking Boot Fitting Checklist
- Choose your trail socks first. Wear the same sock thickness you expect to use while hiking.
- Bring your insoles or orthotics. Remove the stock footbed if the replacement is designed to take its place.
- Measure both feet while standing. Use the larger foot as the main sizing reference.
- Shop later in the day. Feet often expand with normal daily activity, so an afternoon or evening fitting gives you a more realistic check.
- Seat your heel. Loosen the laces, slide your heel fully back, then lace the boot from the forefoot upward with even tension.
- Check toe length. Stand naturally and confirm that your toes can wiggle without touching the front.
- Check width and volume. Look for side pressure, top-of-foot pressure, empty space, or fabric that wrinkles deeply when laced.
- Walk for several minutes. Pay attention to heel lift, rubbing, arch pressure, ankle contact, and where the boot flexes.
- Use a ramp or stairs. Walk uphill and downhill several times before deciding.
- Compare nearby sizes and different lasts. A different model may fit better than trying to force one boot to work.
Trying On Hiking Boots
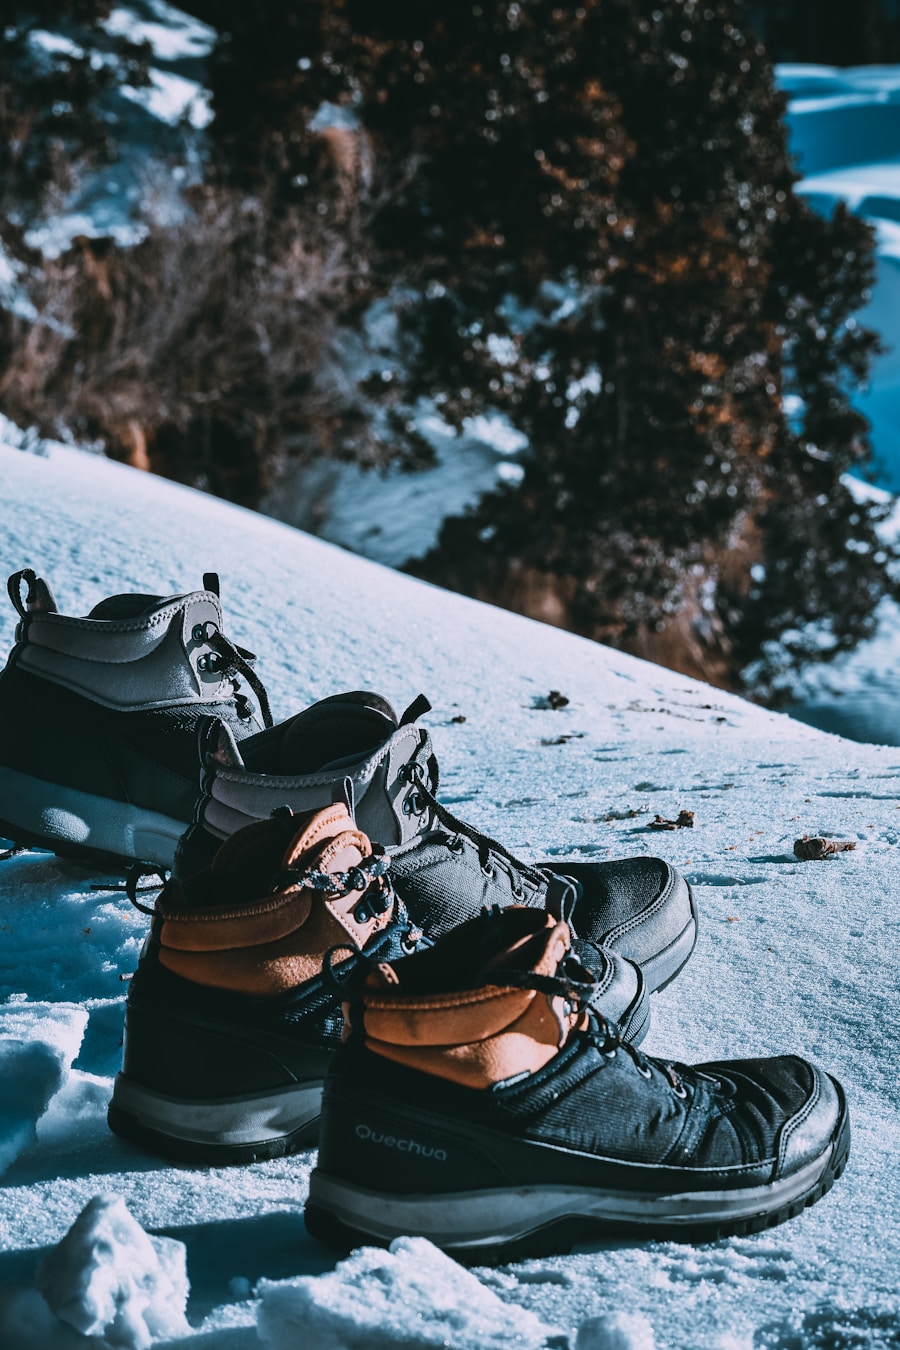
Trying on hiking boots in person gives you information that an online size chart cannot provide. Wear the socks you plan to use on the trail because sock thickness changes the boot’s internal volume. If you normally use an aftermarket insole, heel cup, or custom orthotic, test the boot with that item installed.
Try boots later in the day when your feet are closer to their largest normal size. Lace each boot firmly but not tightly, then walk around for at least several minutes. Test both feet because they are rarely identical. Check the heel, arch, instep, forefoot, toe box, ankle collar, and flex point rather than judging comfort from one area alone.
Pro Tip: Use a controlled downhill ramp or a few stairs instead of kicking the toe against the floor. Your foot will naturally move forward under load, which gives you a more useful test of toe clearance.
What Makes a Boot Fit Correctly
| Fit Factor | What to Check |
|---|---|
| Heel Hold | Your heel should stay controlled without repeated lifting, rubbing, or side-to-side movement. |
| Toe Box Space | Your toes should wiggle and spread without touching the front, sides, or top of the boot. |
| Forefoot Width | The ball of your foot should not feel squeezed, and the upper should not bulge sharply over the sole. |
| Midfoot and Instep | The boot should hold your foot securely without creating numbness or pressure across the top. |
| Ankle Collar | The collar may feel firm, but it should not dig into your ankle bones or Achilles tendon. |
| Flex Point | The boot should bend near the ball of your foot rather than pressing into your toes or arch. |
| Lacing Tension | Pressure should feel even enough to secure the foot without cutting circulation or creating hot spots. |
Construction affects how the boot feels over time. Flexible hiking shoes may need little or no break-in, while firm leather backpacking boots can require several short outings before they soften. Leather can mold somewhat to your foot, but no material will reliably add needed length or correct a badly shaped toe box. Waterproof membranes and synthetic uppers are not a reason to buy a painfully tight boot.
Arch support and cushioning should feel comfortable for your foot and intended load. Do not assume that a high arch always needs one specific type of cushioning or that a flat foot always needs a wider boot. If you have persistent foot pain, a major deformity, or prescribed orthotics, use professional fitting advice rather than a general foot-type label.
Testing Boots Uphill and Downhill
A flat showroom floor cannot reproduce the forces you feel on a trail. Use an incline board, stairs, or a sloped walkway when available.
- Walking uphill: Your heel should remain secure. Repeated lift or rubbing suggests excess heel or instep volume.
- Walking downhill: Your toes should not strike the front. Toe contact can mean the boot is too short, too wide in the heel, too loose at the instep, or poorly laced.
- Standing across a slope: Your foot should not slide sharply toward the downhill side of the boot.
- Stepping and flexing: Watch for pressure where the upper creases and where the collar meets your ankle.
A good hiking boot fit keeps your heel controlled and your toes clear when the trail points downhill.
Breaking In Hiking Boots
Some new hiking boots need a break-in period, but the time varies. Lightweight and flexible models may feel comfortable quickly. Sturdy leather boots can take several walks or even a few weeks of gradual use. According to REI’s break-in guidance, the process should start indoors and progress through short walks before you add trail distance and pack weight.
- Wear the boots indoors with your trail socks and insoles while keeping them clean enough to return.
- Take short neighborhood walks and stop if you notice sharp pressure, numbness, or worsening pain.
- Move to a short local trail only after the boots remain comfortable on level ground.
- Increase distance, elevation, and pack weight gradually.
- Treat a hot spot early by stopping, drying the area, and applying suitable blister protection.
Warning: Do not wear untested boots on a long or remote trip. Do not soak, heat, or force-stretch them as a shortcut. Break-in can soften a suitable boot, but it cannot repair a poor fit.
Moleskin, tape, or a padded blister bandage can protect a minor hot spot during a short test. However, do not use padding to hide repeated rubbing or pain and continue increasing mileage. Reassess the size, width, volume, lacing, sock choice, or boot model instead. REI’s blister guidance identifies pressure, friction, heat, and moisture as common contributors.
Tips for Finding the Best Fit
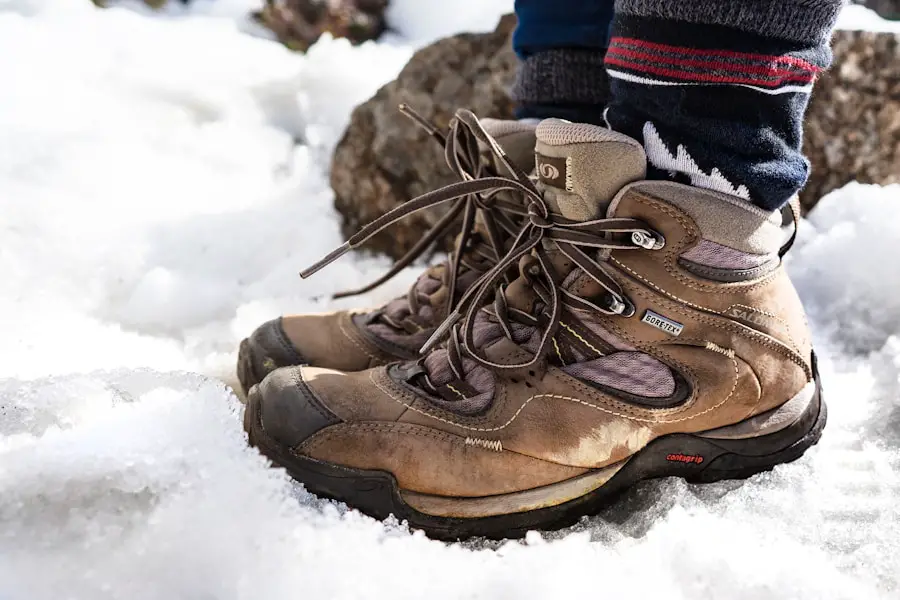
Visit a specialty outdoor retailer when possible. A trained fitter can measure your feet, compare foot volume, and suggest boots built on different lasts. Try several pairs from more than one brand because each manufacturer shapes the heel, arch, and toe box differently.
Comfort should take priority over appearance. A boot should feel secure and comfortable during the fitting, not painfully tight with the promise that it will eventually stretch. Walk long enough to notice small pressure points, and compare the same model in nearby sizes or widths before deciding.
Match the Boot to the Hike
Low-cut hiking shoes often suit maintained trails and lighter loads. Mid- and high-cut boots can provide more coverage, structure, and protection in rough terrain, but collar height alone does not guarantee a better fit or prevent injury. Choose stiffness, sole structure, protection, breathability, and waterproofing for the terrain, weather, distance, and pack weight you expect.
For hiking destinations with strong seasonal changes, match the footwear to the likely temperature, rain, mud, and trail conditions. For example, this seasonal guide to Greece can help you think through climate and timing before choosing a boot type.
Buying Hiking Boots Online
You can buy hiking boots online, but use a careful home test and a retailer with a clear return policy.
- Measure both feet while standing and compare the larger measurement with the brand’s current size chart.
- Read model-specific notes about width and fit rather than relying only on your usual shoe size.
- Order more than one size or width when the return policy makes that practical.
- Test the boots indoors on a clean surface with your hiking socks and insoles.
- Use stairs carefully to check uphill heel hold and downhill toe clearance.
- Return the boots if you feel pinching, numbness, sharp pressure, repeated heel slip, or toe impact.
Note: Do not wear online purchases outdoors until you are sure of the fit and understand the retailer’s return conditions.
Signs of a Poor Fit
Discomfort after only a few minutes deserves attention. A new boot may feel firm, but it should not cause pinching, numbness, burning, sharp pain, or obvious rubbing.
- Your toes hit the front on descents.
- Your heel repeatedly lifts or rubs.
- Your forefoot feels squeezed or your toes cannot spread.
- You feel pressure or numbness across the instep.
- The ankle collar presses directly on an ankle bone or the Achilles tendon.
- Your arch feels painfully unsupported or pushed into the wrong position.
- You must overtighten the laces to stop your foot from moving.
- You develop the same hot spot every time you walk.
Blisters and bruised toenails often point to friction, pressure, or toe impact, but they can also involve socks, moisture, lacing, or gait. Poor footwear can aggravate existing foot problems, yet it is too strong to claim that one boot fit issue directly causes every case of plantar fasciitis or tendonitis.
Warning: Stop using the boots and seek medical advice if you have persistent numbness, severe pain, weakness, swelling, skin injury, or symptoms that continue after the boots are removed. People with diabetes, reduced sensation, circulation problems, major foot deformities, or prescribed orthotics should consider professional fitting guidance.
Adjusting Lacing for a Better Fit
Lacing changes how pressure is distributed across the instep and ankle. It can fine-tune a boot that already fits, but it cannot make a boot longer or change an unsuitable last. REI’s hiking boot lacing guide describes several useful methods.
Surgeon’s Knot for Heel Slip
Pull the lower laces snug, then wrap the laces around each other twice near the point where the foot begins to flex. Continue to the next hooks and repeat if needed. The extra friction helps hold tension and can reduce minor heel movement.
Window Lacing for Instep Pressure
Unlace the boot to just below the pressure point. Run each lace straight upward to the next hook on the same side, then resume crossing above the open window. This reduces direct lace pressure over the sensitive area.
Toe-Relief Lacing
Skipping the lowest pair of eyelets can temporarily reduce pressure over the toe box. Use this as a short-term measure to reach the trailhead, not as a permanent fix for boots that are too short or narrow.
Pro Tip: Lace the forefoot only as tightly as needed, secure the midfoot, then adjust the upper hooks for the terrain. Recheck the tension after 10 to 15 minutes because socks and feet settle as you walk.
Troubleshooting Common Fit Problems
| Problem | What to Try | When to Reject the Boot |
|---|---|---|
| Heel slip | Seat the heel, use even lower-lace tension, and try a surgeon’s knot. | The heel still rubs or lifts repeatedly after proper lacing. |
| Toe impact downhill | Retie the midfoot and test a longer size or a boot with better heel hold. | Your toes still touch the front on a controlled descent. |
| Forefoot pinching | Try a wide version or a model with a different toe-box shape. | Your toes cannot spread or you feel side pressure while standing. |
| Top-of-foot pressure | Use window lacing and check whether the insole is too thick. | Pressure or numbness remains with moderate lace tension. |
| Ankle rubbing | Check tongue position, sock height, and upper-lace tension. | The collar repeatedly hits the same bone or tendon. |
| Too much empty space | Try a lower-volume model or a suitable insole after confirming length. | You must overtighten the laces to control movement. |
Frequently Asked Questions
How much toe room should hiking boots have?
Aim for about 1 cm, or roughly a thumb’s width, between your longest toe and the front while standing. Your toes should wiggle and spread, and they should not touch the front during a controlled downhill test.
Should hiking boots feel tight at first?
No. They may feel firm or stiff, especially around a structured leather upper, but they should not pinch, numb your foot, restrict your toes, or create sharp pressure. Break-in can soften a suitable boot, not correct a poor fit.
Can hiking boots be too stiff to fit comfortably?
Yes. A stiff backpacking or mountaineering-style boot may be unnecessary for a light day hike and can feel uncomfortable if its flex point does not match your foot. Choose stiffness for the terrain and load, then confirm that the boot bends without pressing into your toes or arch.
Why is proper hiking boot fit important?
A secure fit improves comfort and control while reducing unwanted pressure, friction, heel rubbing, and toe impact. It also helps the boot’s support and traction work as intended on uneven ground.
Should there be extra space in hiking boots?
Yes, but it should be useful toe room rather than uncontrolled space around the heel or midfoot. Your toes need clearance for normal expansion and downhill movement while the laces keep the rest of your foot secure.
Should I buy hiking boots a half size larger?
Not automatically. A half size larger works for some people, but sizing varies by brand and model. Fit the larger foot, wear your trail socks and insoles, and use toe-clearance and downhill tests instead of following one universal size-up rule.
Is a small amount of heel lift acceptable?
A tiny amount of movement may occur in a firm new boot, but you should not feel repeated lifting, rubbing, or obvious sliding. If proper lacing does not control the heel, try a different size, volume, or last.
Can thick socks fix hiking boots that are too big?
Thicker socks can slightly change volume, but they are not a reliable fix for excessive length, heel space, or the wrong last. Extra thickness may also create heat or pressure. Choose socks for trail conditions, then fit the boots around them.
Fit is the single most important factor in a hiking boot. A boot that controls your heel, holds your midfoot without pressure, and gives your toes safe room lets you focus on the trail instead of your feet. Try multiple sizes and shapes with your hiking socks, test them on an incline, and use short outings before a major trip.
Sources
- REI Co-op: How to Choose Hiking Boots and Hiking Shoes – fit, measurements, toe room, foot volume, insoles, and boot selection.
- Bradford District Care NHS Foundation Trust: Footwear Advice – toe clearance, heel fit, afternoon fitting, socks, and fitting the larger foot.
- REI Co-op: How to Break In Your Hiking Boots – gradual break-in, material differences, and avoiding shortcuts.
- REI Co-op: How to Lace Hiking Boots – surgeon’s knot, window lacing, and toe-relief lacing.
- REI Co-op: Blister Prevention and Care – friction, pressure, moisture, hot spots, and blister protection.
- American Podiatric Medical Association: Foot Health Awareness – general foot-health guidance and when professional care may be appropriate.
