
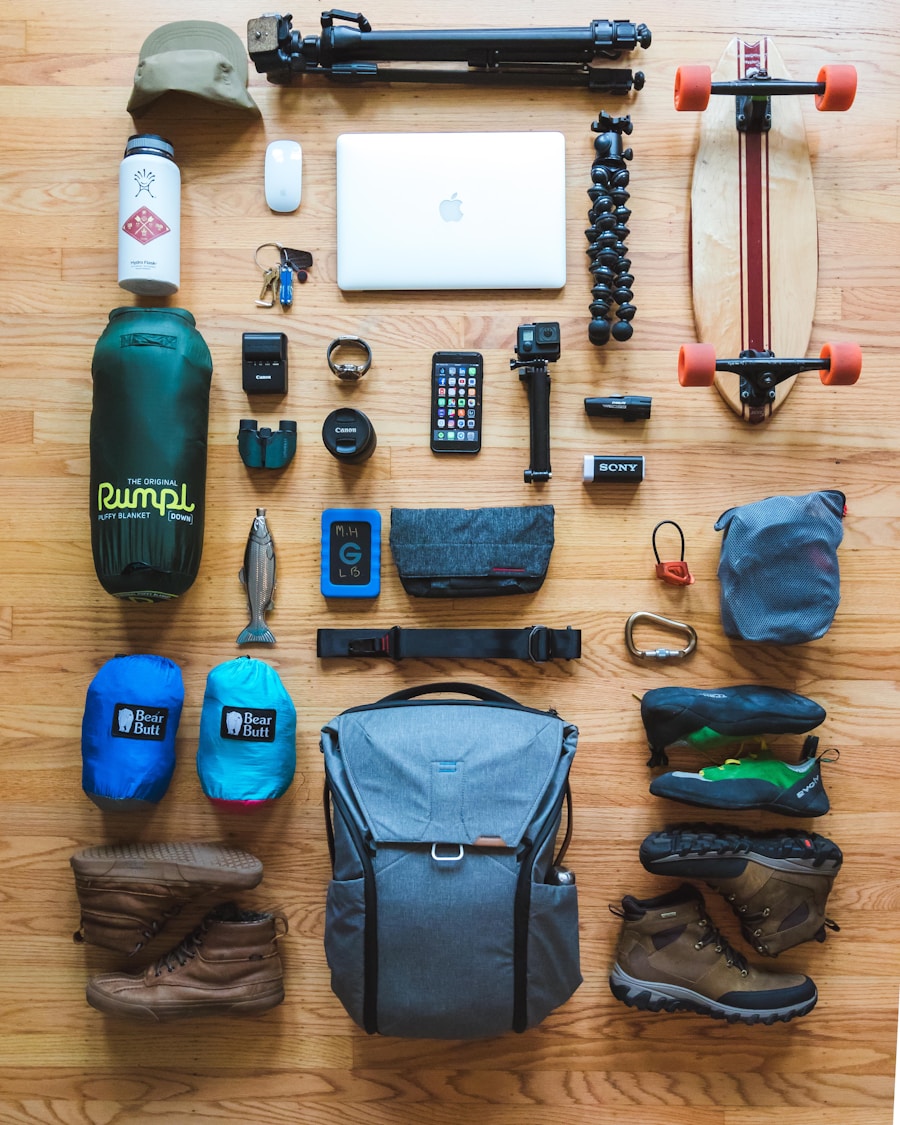
Last Updated on September 10, 2026 by Daniel Globe
Packing a hiking backpack well is about more than fitting everything inside. The right pack, a balanced load, easy access to safety gear, and a proper fit can make a day hike or multi-day trip far more comfortable. A good system also keeps important items available when weather, navigation, or trail conditions change unexpectedly.
Quick Answer
Pack light, bulky camp gear at the bottom, dense items such as food and cooking gear in the core close to your back, and frequently needed items near the top or in outside pockets. Keep the load balanced from side to side, protect gear from rain, and adjust the hipbelt before the shoulder straps.
Key Takeaways
- Choose a pack based on trip length, gear volume, torso length, and hip size rather than height alone.
- Carry navigation, sun protection, extra clothing, illumination, first aid, emergency shelter, food, water treatment, and appropriate repair and fire-starting supplies.
- Place dense gear in the center of the pack close to your back instead of loading all heavy items at the bottom.
- Keep rain gear, navigation, snacks, water, first aid, and a headlamp easy to reach.
- Treat water collected from natural sources using a method appropriate for the source and your treatment device.
- Check weather, trail conditions, permits, and food-storage rules before leaving home.
- Fit the hipbelt first, then shoulder straps, load lifters, and sternum strap.
At a Glance
| Time Required | About 20–30 minutes for a final pack and fit check |
| Difficulty | Easy |
| Tools Needed | Backpack, gear checklist, waterproof bags or liners, and optionally a luggage scale |
| Cost | $0 if you already own the required hiking gear |
Disclosure: As an Amazon Associate I earn from qualifying purchases. Some links on this page are affiliate links, at no extra cost to you.
Choose the Right Backpack for Your Hike
Start with the type and length of trip. A small daypack is usually enough for food, water, extra clothing, navigation, first aid, and emergency gear on a day hike. Overnight and multi-day trips require more room for a sleeping system, shelter, food, cooking equipment, and additional clothing.
Pack capacity is only a starting point. Current backpacking guidance from REI places many weekend packs around 30–50 liters, multi-day packs around 50–80 liters, and extended-trip packs at 70 liters or more. Your actual requirement depends on the season, shelter, food, water capacity, and how compact your equipment is.
Fit matters just as much as volume. Backpack sizing should be based mainly on your torso length and hip circumference rather than your overall height. The hipbelt should sit over the top of your hip bones so your hips can support much of the load.
Look for adjustable shoulder straps, a supportive hipbelt, a sternum strap, and load lifters when the pack is designed for them. Breathable back panels can improve ventilation, while a pack liner or dry bags can keep critical gear protected even when the backpack fabric itself is only water-resistant.
Pro Tip: Try the backpack with realistic weight inside it. A pack that feels comfortable empty may fit very differently after you add food, water, and overnight gear.
Essential Items to Pack for a Day Hike
The exact equipment depends on the trail and conditions, but the National Park Service Ten Essentials provide a strong foundation even for many shorter outings.
Navigation
Carry a map, compass, GPS device, or an appropriate combination. Learn how to use your navigation tools before leaving. A downloaded offline map on a charged phone is useful, but a phone should not be your only navigation plan because batteries fail and mobile service can disappear.
Sun Protection and Extra Clothing
Pack sunscreen, sunglasses, a hat, and suitable sun-protective clothing. Bring an extra layer and rain protection appropriate for the most severe conditions reasonably expected on the route rather than dressing only for conditions at the trailhead.
Illumination
Carry a headlamp or flashlight. A dedicated headlamp is more practical than relying on a phone flashlight because it preserves phone battery and keeps both hands free. Check the batteries before the hike and consider carrying spares on longer or remote trips.
First Aid and Personal Essentials
Carry a compact first aid kit appropriate for your group and trip. Useful basics include adhesive bandages, blister treatment, gauze, medical tape, antiseptic supplies, tweezers, pain medication that you can safely use, and required personal medications.
Repair Tools, Fire, and Emergency Shelter
A small knife or multi-tool and a short length of repair tape can handle many equipment problems. Where fires are legal and appropriate, carry a dependable fire-starting method. Also carry lightweight emergency shelter such as an emergency blanket, bivy, tarp, or other protection suitable for the environment.
Food and Hydration
Bring enough food for the planned outing plus a small reserve for an unexpected delay. Trail mix, nuts, dried fruit, energy bars, jerky, sandwiches, and wraps are practical options.
Do not rely on a universal amount such as “two liters per hike.” Water requirements change with hiking time, temperature, sun exposure, elevation, body size, effort, and refill opportunities. For example, current Great Smoky Mountains National Park guidance recommends planning for at least 1 liter per two hours of hiking, but hotter and drier routes can require more.
Study reliable water sources before leaving. If you plan to use water from a lake, stream, or spring, bring suitable treatment equipment and know how to use it.
Warning: Clear-looking backcountry water is not automatically safe to drink. The National Park Service notes that filtration alone may not remove every type of pathogen. Use a purifier or an appropriate filtration-and-disinfection process for the location, and follow the treatment manufacturer’s instructions.
Packing Tips for Multi-Day Hikes
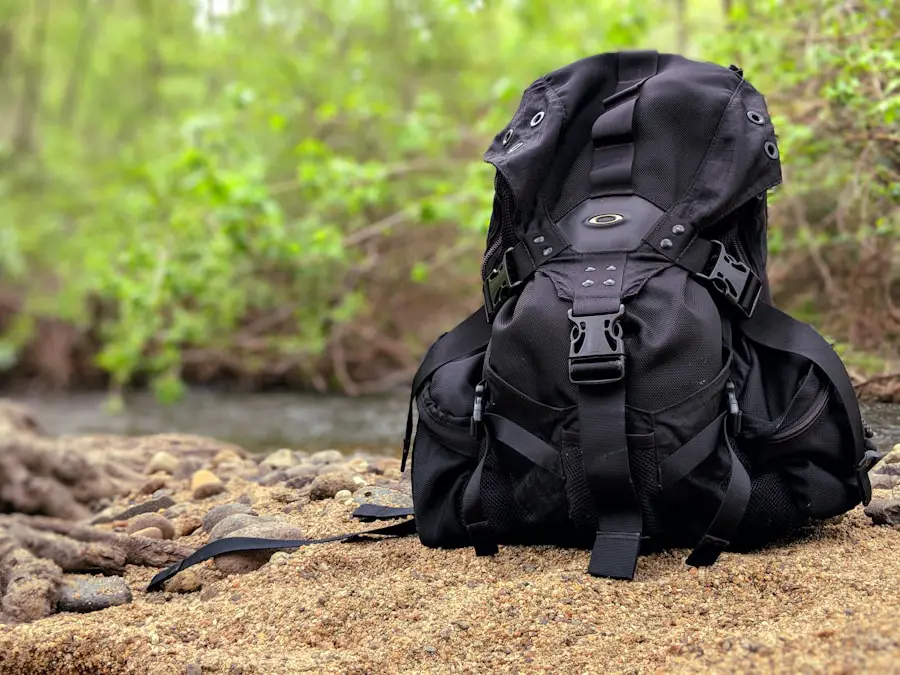
For a multi-day hike, lay out everything before loading the pack. Group gear into shelter, sleeping system, cooking equipment, food, water treatment, clothing, hygiene, navigation, first aid, and emergency supplies.
A lightweight tent or tarp and a sleeping bag or quilt rated for the expected conditions should be protected from moisture. Put sleeping gear in a waterproof pack liner, dry bag, or other dependable waterproof barrier rather than assuming a rain cover will keep every part of the backpack dry.
Cooking supplies may include a backpacking stove, fuel, cookware, lighter, and eating utensil. Confirm local fire restrictions and regulations before leaving. Dehydrated meals can reduce food weight and preparation time, but choose meals that provide enough energy for the distance and exertion of the trip.
A small multi-tool or knife can help with simple repairs and food preparation. Avoid packing several tools that perform essentially the same job unless the route genuinely calls for them.
Check Permits, Trail Conditions, and Your Trip Plan
Before an overnight trip, check the land manager’s current rules for permits, campsites, fires, trail closures, water availability, and food storage. Leave your route, trailhead, destination, vehicle details, and expected return time with someone who is not on the trip.
Pack out everything you carry in, including food scraps and wrappers. Following local Leave No Trace guidance helps protect wildlife and reduces impacts on the trail.
Organizing and Distributing Weight in Your Backpack
A hiking backpack is easier to carry when its contents form a stable load rather than pulling backward or shifting from side to side. There is no single arrangement that works for every pack, but a bottom/core/top system is a reliable starting point.
| Pack Zone | What to Pack There |
| Bottom | Bulky, relatively light gear that you usually will not need until camp, such as a sleeping bag, sleep clothing, or compact sleeping pad. |
| Core, Close to Back | Dense items such as the main food supply, cook kit, stove, water reservoir, and bear canister when required. |
| Top | Items you may need during the day, such as a rain shell, insulated layer, first aid kit, water-treatment equipment, or toilet supplies. |
| Pockets | Frequently needed gear such as navigation tools, snacks, sunscreen, sunglasses, headlamp, water bottles, insect repellent, and rain cover. |
Keep dense items close to your spine and near the center of the pack. Packing them too low can make the backpack sag, while putting too much dense weight high in the pack can make it feel unstable.
Balance the left and right sides as well. A heavy water bottle on one side should be counterbalanced when possible. Fill empty spaces with soft clothing so dense equipment cannot shift while you walk, then tighten the pack’s compression straps.
Packing cubes can help with organization, but they are optional. Lightweight stuff sacks or simple waterproof bags often provide similar organization with less bulk.
Pro Tip: Put your filled hydration reservoir into its sleeve before tightly packing the rest of the backpack. Sliding a full reservoir into an already packed bag can be difficult.
How Heavy Should a Hiking Backpack Be?
There is no safe percentage that works for every person. Fitness, age, terrain, previous injuries, trip length, equipment, and water requirements all matter. As a broad gear-planning guideline, REI suggests keeping many loaded daypacks near 10% or less of body weight and backpacking loads near 20% or less when practical, while noting that those figures do not fit every hiker.
Use those numbers only as rough planning references rather than medical limits. The better goal is to remove unnecessary duplicates, share group equipment, and test the complete load before your trip.
Packing Food and Water for Your Hike
For a day hike, choose foods that provide useful energy without requiring complicated preparation. Nuts, dried fruit, bars, jerky, sandwiches, tortillas, and other sturdy foods are easy to pack.
For overnight trips, organize food by meal and remove unnecessary bulky packaging when appropriate. Keep the day’s snacks accessible instead of burying all food in the center of the pack.
Water is heavy, so route planning matters. Identify dependable water sources and current conditions before deciding how much water to carry versus collect along the way. Carry enough to reach the next reliable source with an appropriate safety margin.
Treat Natural Water Properly
The National Park Service backcountry health guidance recommends treating water collected from natural sources. Depending on the situation, that may involve boiling or filtering followed by appropriate disinfection. A device marketed as a purifier may address a broader range of pathogens than a basic filter, so understand exactly what your equipment is designed to remove.
Store Food Safely Around Wildlife
Food-storage rules vary by destination. In bear country and some other backcountry areas, food, trash, toiletries, and scented products may have to be kept in an approved animal-resistant container or designated food locker.
Check the managing agency’s rules before the hike instead of assuming that hanging a food bag is permitted. The National Park Service food-storage guidance notes that requirements differ among parks.
Note: A bear canister can change how you load your backpack because it is bulky and dense. When one is required, plan its position before filling the remaining space.
Clothing and Gear for Various Weather Conditions
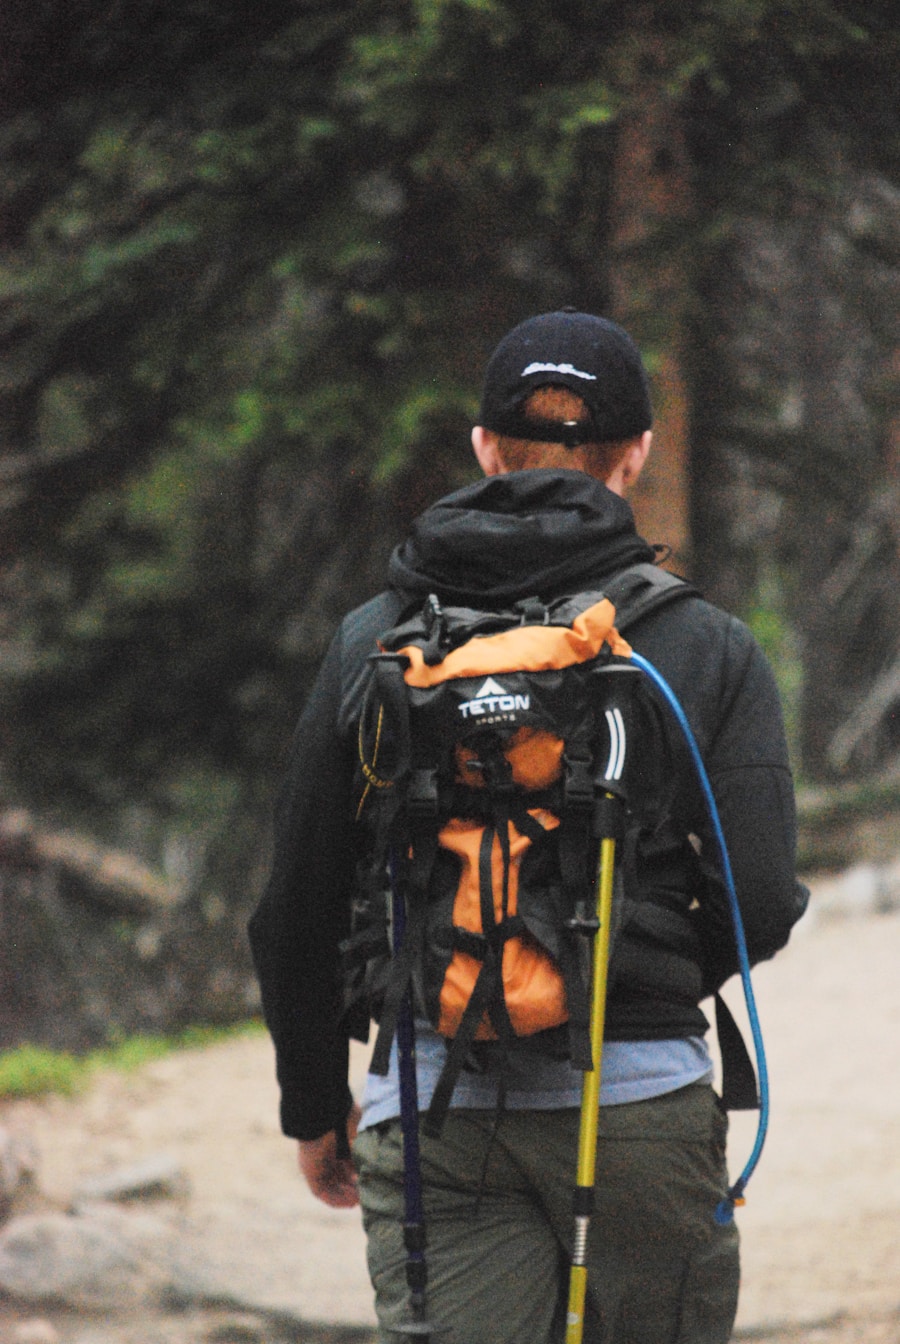
For warm weather, lightweight moisture-managing clothing can help sweat evaporate. A brimmed hat, sunglasses, sunscreen, and sun-protective clothing are particularly useful on exposed trails.
In cool or changing conditions, use a layering system. Start with a base layer that moves moisture away from your skin, add an insulating layer when needed, and carry a shell for wind and precipitation. Pack gloves, a warm hat, or other insulation when the expected conditions justify them.
Check the forecast immediately before leaving, but do not assume the trail will experience the same weather as a nearby town. Mountains and exposed ridges can change conditions quickly.
Plan for Thunderstorms
The National Weather Service advises reaching a substantial enclosed building or hard-topped vehicle when thunder threatens. A tent is not a safe lightning shelter.
On routes where afternoon thunderstorms are common, start early and plan to leave exposed ridges and summits before storms develop. If thunder is heard, get off exposed high terrain and move toward safer shelter rather than waiting for rain to begin.
Warning: Do not shelter from lightning beneath an isolated tree or assume a tent provides protection. Check the forecast before the hike and know where safer shelter is located.
First Aid and Emergency Supplies to Include in Your Backpack
A useful first aid kit should match the route, group size, trip duration, and your level of training. At a minimum, many hikers carry supplies for small cuts, blisters, minor wounds, and common pain, plus any medications they personally require.
- Adhesive bandages in several sizes
- Blister treatment
- Gauze pads and medical tape
- Antiseptic supplies
- Tweezers
- Disposable gloves
- Personal medications
- Pain medication you can safely take
Emergency equipment should also include a whistle, headlamp, and appropriate emergency shelter. A whistle is useful because it can signal farther than a human voice while using less energy.
A compact emergency blanket can provide limited protection from wind and heat loss and takes little room in a pack, although more substantial shelter may be appropriate in cold, wet, or remote terrain.
For remote routes where mobile service is unreliable, consider whether a satellite communicator or personal locator beacon is appropriate for the trip. Whatever communication method you carry, it does not replace route planning and leaving an itinerary with someone at home.
The best emergency gear is the equipment you packed before a minor problem became a serious one.
How to Pack a Hiking Backpack Step by Step
- Lay out all equipment. Compare it with your checklist and remove unnecessary duplicates.
- Waterproof critical gear. Protect your sleeping system, spare insulation, electronics, and other moisture-sensitive equipment.
- Load soft camp gear at the bottom. Sleeping gear and other bulky items that are not needed during the hike work well here.
- Place dense gear in the core. Keep food, cooking equipment, water, and other heavy items centered and close to your back.
- Fill gaps. Use soft clothing to prevent dense equipment from shifting.
- Add trail-access gear near the top. Keep rainwear, first aid, water treatment, and insulation where you can reach them quickly.
- Fill pockets deliberately. Give navigation, snacks, sunscreen, headlamp, water, and other frequently used items a consistent location.
- Balance both sides. Correct obvious left-to-right weight differences.
- Close and compress the load. Tighten compression straps enough to stop movement without damaging equipment.
- Put the pack on and adjust the fit. Walk for several minutes before deciding that the load is ready for the trail.
Tips for Properly Adjusting and Fitting Your Backpack
Before putting on the backpack, loosen the main adjustment straps slightly. For a heavy backpacking pack, use the haul loop rather than yanking the pack up by a shoulder strap. Lift the backpack onto a thigh first, then guide it onto your back under control.
1. Set the Hipbelt
Position the padded hipbelt around the top of your hip bones and tighten it until secure without painful pressure. The hipbelt should carry much of the load instead of allowing the backpack to hang entirely from your shoulders.
2. Tighten the Shoulder Straps
Pull the shoulder straps until they follow your shoulders comfortably and bring the backpack toward your body. Do not overtighten them so much that they pull the hipbelt upward.
3. Adjust the Load Lifters
If your pack has load lifters, snug them enough to bring the upper pack closer to your body. Avoid pulling them so tightly that they create uncomfortable pressure on the shoulder harness.
4. Set the Sternum Strap
Fasten the sternum strap across your chest and tighten it just enough to stabilize the shoulder straps. It should not interfere with comfortable breathing.
5. Walk and Fine-Tune
Walk around with the full load. Climb stairs if possible, bend gently, and check whether the load sways or creates pressure points. Small strap adjustments during a hike are normal as the load changes and your body warms up.
Pro Tip: Do a loaded test walk before a long or overnight trip. It is much easier to fix a pressure point, poor balance, or unnecessary gear at home than several miles from the trailhead.
Final Backpack Check Before You Leave
- Confirm the weather forecast and current trail conditions.
- Check permits, closures, fire restrictions, and food-storage regulations.
- Verify your map or offline navigation data is available.
- Charge your phone and any electronic navigation or communication devices.
- Test your headlamp.
- Confirm first aid and personal medications are packed.
- Check that natural-water treatment equipment is complete and functional.
- Make sure rain gear and insulation are accessible.
- Check all water containers for leaks.
- Leave your route and expected return time with a responsible person.
- Walk with the loaded pack and correct any shifting or pressure points.
If you’re planning a hiking trip, compact binoculars can also be a useful addition when wildlife viewing or scenery is part of the experience. See this guide to compact binoculars for hiking for tips on choosing a pair without adding excessive bulk to your pack.
Love travel? Join Our Facebook Community
Frequently Asked Questions
What are the essential items to pack for a hiking trip?
Use the Ten Essentials as a foundation: navigation, sun protection, extra clothing, illumination, first aid, fire supplies where appropriate, repair tools, extra food, water and water treatment, and emergency shelter. Add equipment required by the specific terrain, weather, wildlife, and trip duration.
How should I distribute the weight in my backpack?
Place dense, heavy items in the pack’s core close to your back and keep the load balanced from left to right. Bulky, lighter camp gear can go at the bottom, while frequently needed gear belongs near the top or in accessible pockets.
What is the best way to pack a backpack for hiking?
Start with soft camp gear at the bottom. Put dense items such as food, cooking gear, water, or a bear canister in the core close to your back. Place rain gear, insulation, first aid, and water-treatment equipment near the top, then use outside pockets for snacks, navigation, sunscreen, a headlamp, and other frequently used items.
How should I adjust my backpack for a comfortable fit?
Start with the hipbelt positioned over the upper hip bones. Next adjust the shoulder straps, then the load lifters if the pack has them, and finally the sternum strap. Walk with the loaded pack and make small adjustments until the load feels stable without painful pressure points.
What are some tips for packing a backpack efficiently?
Use a checklist, remove duplicate gear, keep related items together, fill gaps with soft clothing, minimize equipment strapped to the outside, waterproof critical gear, and give frequently used items a consistent location. Stuff sacks or packing cubes are optional organizational tools rather than requirements.
How much water should I carry while hiking?
There is no single amount that fits every hike. Plan around trip duration, heat, elevation, effort, individual needs, and reliable refill points. Some National Park Service guidance uses at least 1 liter per two hours as a planning baseline, but hot or dry routes may require more.
Can I drink stream water if I use a hiking filter?
Do not assume every basic filter makes every natural water source safe. Different treatment systems remove different organisms. Follow local backcountry guidance and the manufacturer’s instructions; depending on the source and equipment, filtration may need to be combined with disinfection.
Sources
- National Park Service — Ten Essentials — navigation, emergency shelter, illumination, hydration, first aid, clothing, and other core hiking safety equipment.
- National Park Service — Backcountry Health — natural-water treatment and backcountry health guidance.
- National Park Service — Bear Safety: Storing Food — food, garbage, toiletries, and destination-specific wildlife-storage requirements.
- National Weather Service — Lightning Safety Outdoors — thunderstorm planning and safe shelter guidance.
- REI Expert Advice — How to Pack and Hoist a Backpack — bottom, core, top, and quick-access packing zones.
- REI Expert Advice — Backpack Fit and Adjustment — torso sizing, hipbelt position, shoulder straps, and load lifters.
