
Last Updated on September 10, 2026 by Daniel Globe
The right hiking gear should keep you comfortable, help you manage changing conditions, and give you a backup plan when something goes wrong. Start with footwear that fits the terrain, dress in layers, carry enough water and food, and pack navigation, first-aid, lighting, and emergency equipment appropriate for the route.
Quick Answer
For most hikes, wear well-fitted hiking shoes or boots, moisture-managing socks, and layers suited to the forecast. Carry water, food, navigation tools, sun protection, a first-aid kit, a headlamp, extra clothing, emergency shelter, repair supplies, and a reliable way to call for help if your route is remote.
Key Takeaways
- Choose footwear for the terrain and make fit more important than brand name.
- Use a base layer, insulating layer when needed, and a weather-resistant outer layer.
- Fit your backpack to your torso and hips so the load stays stable and comfortable.
- Carry a map or other physical navigation backup even when using a phone or GPS.
- Plan enough drinking water for the conditions and treat questionable natural water before drinking it.
- Protect yourself from sun and biting insects and carry supplies for common minor injuries.
- Pack calorie-dense snacks plus some extra food in case the hike takes longer than expected.
- Include emergency lighting, shelter, repair tools, and communication equipment rather than relying on a phone alone.
At a Glance
| Time Required | About 15–30 minutes for a basic day-hike weather, route, and packing check |
| Difficulty | Easy preparation; actual hiking difficulty depends on the route and conditions |
| Tools Needed | Footwear, layers, backpack, navigation, water, food, sun protection, first aid, light, emergency and repair gear |
| Cost | Varies widely; safe, suitable gear you already own may be enough for an easy day hike |
Disclosure: As an Amazon Associate I earn from qualifying purchases. Some links on this page are affiliate links, at no extra cost to you.
Choose Hiking Boots or Shoes for the Terrain
Selecting appropriate hiking footwear is one of the most important gear decisions you will make. The best choice depends on trail surface, weather, pack weight, distance, and your own feet.
For rocky paths or rugged terrain, a hiking boot with a protective upper, supportive construction, and grippy outsole can improve stability and protect your feet from sharp rocks and debris. Lighter hiking shoes or trail shoes can work well on maintained trails when you prefer less weight and more flexibility. Brands such as Merrell and Salomon sell footwear across both categories, but fit should matter more than the logo on the boot.
A well-fitted hiking shoe or boot should hold your heel securely without painful pressure. Your toes should have enough room to move, and they should not repeatedly strike the front of the footwear on descents.
Trying footwear later in the day can be useful because feet commonly swell during activity. Wear the same thickness of socks and any insoles or orthotics you plan to use while hiking.
Pro Tip: Test new footwear on stairs, slopes, short walks, and then a short trail before committing to a long hike. A break-in period may soften some boots, especially heavier leather models, but breaking them in will not correct fundamentally poor fit.
Moisture-managing hiking socks made from wool or synthetic fibers can help keep feet more comfortable. Carrying a dry spare pair can also be useful on longer or wetter outings.
Clothing: Layer for Comfort and Protection
Layering makes it easier to adjust when your effort level or the weather changes. A practical system consists of a base layer, an insulating layer when conditions call for one, and an outer shell.
Base Layer
The base layer sits next to your skin and should manage moisture. Merino wool and synthetic fabrics such as polyester are common choices. Merino wool can also resist odor well during multi-day use.
Insulating Layer
An insulating layer helps retain body heat during cool mornings, windy ridges, rest stops, and cold-weather hikes. Fleece jackets and insulated synthetic or down layers are common options. Choose the amount of insulation for the forecast rather than carrying the same jacket year-round.
Outer Layer
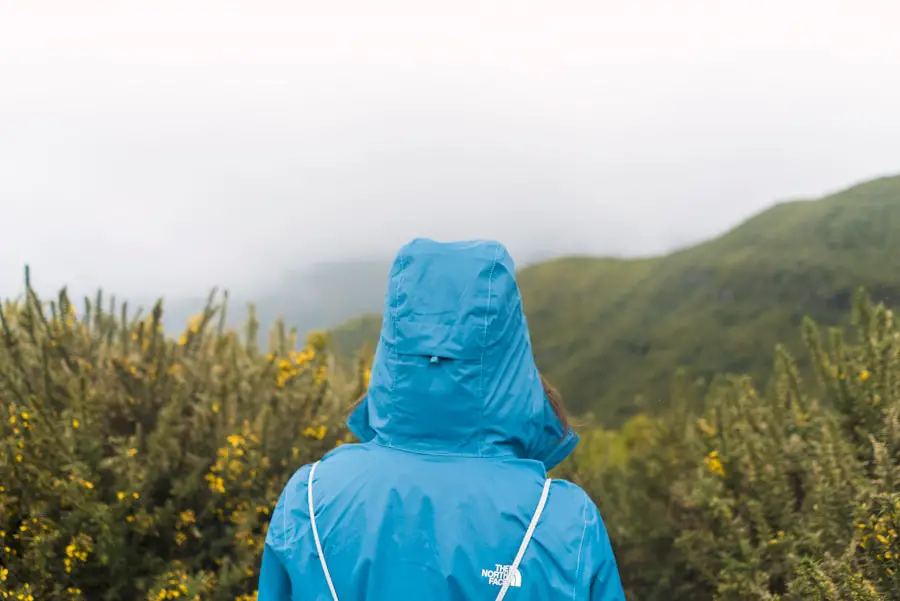
A shell helps block wind and precipitation. Waterproof-breathable materials, including membranes such as Gore-Tex, are useful when sustained rain or wet snow is possible. In warm, dry weather, a lightweight wind or rain shell may be enough.
The National Park Service recommends carrying extra clothing that can handle the most severe conditions you reasonably expect during the outing. NPS Ten Essentials guidance includes extra clothing and rain protection as part of basic trip preparation.
Note: Cotton dries slowly after becoming wet. Wool and synthetic layers are generally more dependable for cool, wet, or rapidly changing conditions.
Backpack: Find the Right Fit for Your Essentials

A well-fitted backpack makes it easier to carry gear over distance. Capacity is usually measured in liters. A 20- to 30-liter daypack is often enough for a straightforward day hike, while overnight and multi-day trips commonly require larger packs of 50 liters or more. Those figures are starting points rather than rules; bulky cold-weather equipment can change what you need.
If you use a hydration reservoir, choose a pack with a compatible sleeve and hose port. External pockets can make snacks, sunscreen, maps, and rain gear easier to reach without unpacking everything.
Backpack fit matters as much as capacity. Torso length is one of the key measurements for choosing the correct pack size. On packs with a substantial hip belt, the padding should wrap securely around the top of your hip bones so part of the load transfers away from your shoulders.
Adjust the shoulder straps until they follow your shoulders without painful gaps. Sternum straps can keep the shoulder harness stable, while load-lifter straps on larger packs help pull the upper load closer to your body. Avoid overtightening any strap to the point that it restricts movement or breathing.
Navigation: Use Technology With a Backup
| Navigation Tool | Best Use | Main Advantage |
|---|---|---|
| GPS Device | Backcountry routes and dedicated navigation | Rugged hardware and precise location information |
| Smartphone Maps | Planned routes with maps downloaded before departure | Convenient navigation on a device most hikers already carry |
| Compass | Orientation with a compatible map | No battery or cell service required |
| Paper Map | Route overview and electronic-navigation backup | Still usable when electronics fail |
Maps, compasses, GPS devices, and smartphone mapping apps can all play a role in trail navigation. Dedicated outdoor GPS units from manufacturers such as Garmin can provide topographic mapping and route functions without depending on cellular coverage.
Apps such as AllTrails and Gaia GPS can also make trip planning easier. Offline-map availability depends on the app and subscription level, so download the required map before leaving reliable internet access and verify that it opens correctly in offline mode.
Do not treat cellular service as part of your emergency plan. Mountain terrain, canyons, and remote forests can block or eliminate coverage.
The National Park Service recommends carrying navigation tools, knowing how to use them, bringing a physical map as backup, and carrying extra battery power for electronic devices. See the NPS Ten Essentials.
A phone is useful hiking gear, but it should not be your only map, your only light, and your only emergency plan.
Hydration: Carry Enough Water and Treat Natural Sources
Hydration affects physical performance, temperature regulation, and decision-making. Drink regularly instead of deliberately waiting until you become very thirsty, particularly during hot or strenuous hiking.
As a starting planning estimate, Great Smoky Mountains National Park recommends at least 1 liter of water for every two hours of hiking. Your actual requirement can be higher or lower depending on heat, humidity, altitude, pace, body size, acclimatization, and how much you sweat.
Hydration reservoirs allow hands-free drinking through a hose and are convenient for hikers who prefer frequent small drinks while moving. Traditional bottles are simple, easy to inspect, and easy to refill. Insulated bottles can help keep drinks cooler in warm weather.
Warning: Do not assume a clear mountain stream is safe to drink. The CDC warns that backcountry water can contain bacteria, viruses, or parasites even when it looks clean. Carry safe water or an appropriate treatment method.
The CDC says boiling is the most reliable way to kill germs in questionable water. When boiling is not practical, the appropriate combination of filtration and disinfection depends on the organisms that may be present and the treatment product being used. Always follow the manufacturer’s directions. See the CDC guidance on treating water while hiking and camping.
For hikes involving prolonged heavy sweating, some people may also need to replace electrolytes through food or an appropriate electrolyte drink. Avoid forcing extreme amounts of water simply to meet a fixed hourly target.
Protection: Sunscreen, Insect Repellent, and First Aid
Sun Protection
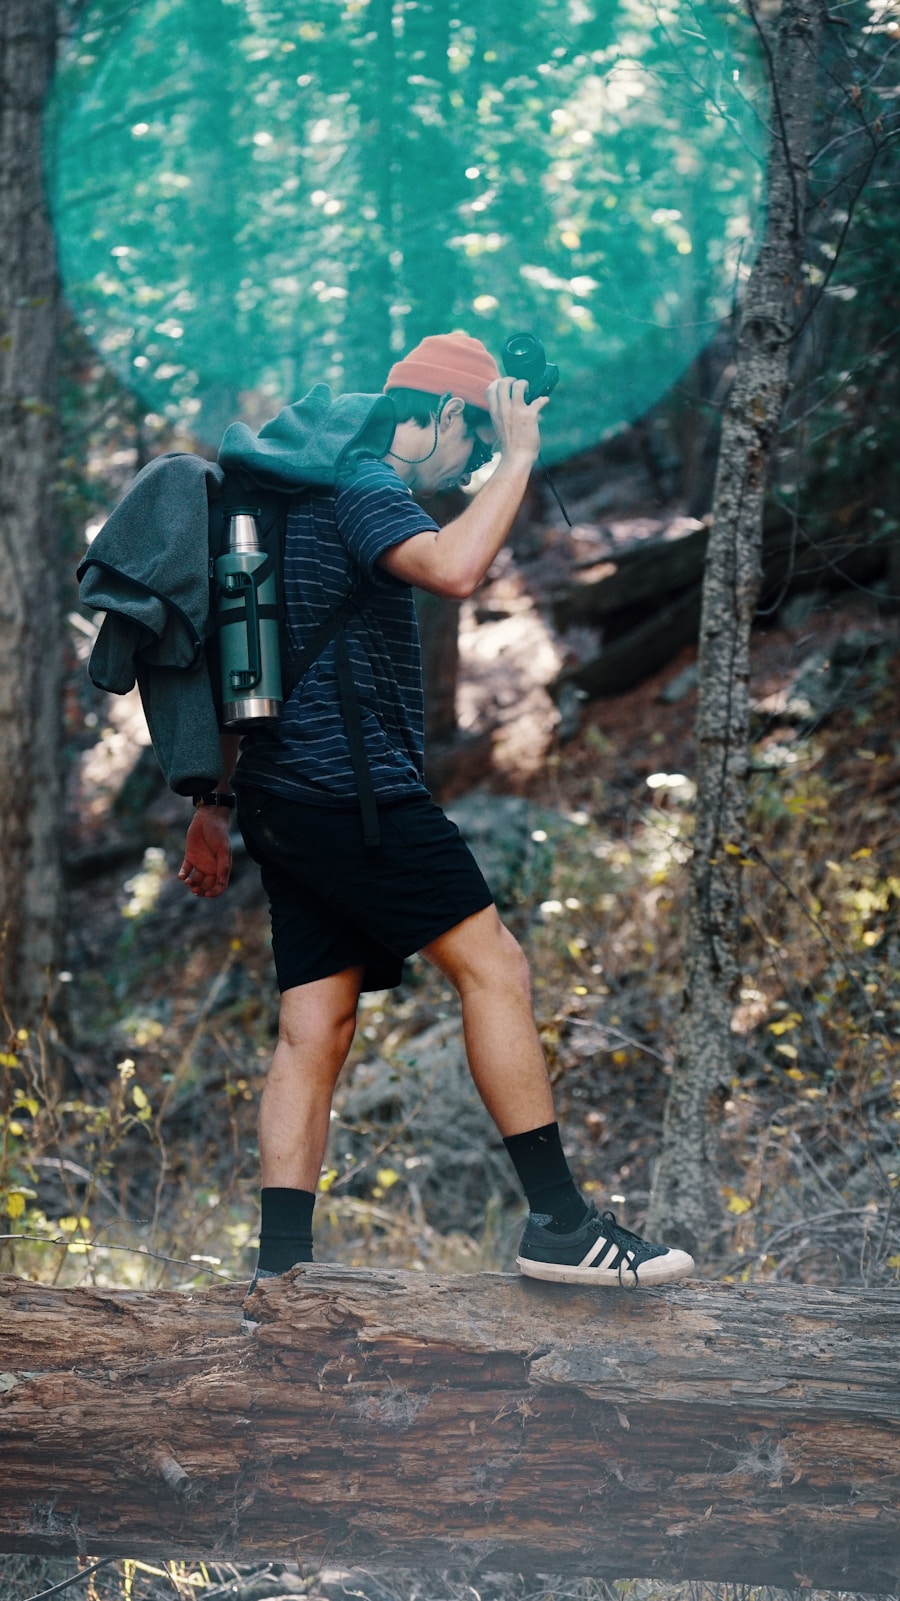
Sun protection matters even when temperatures feel mild. A wide-brimmed hat, sunglasses, sun-protective clothing, and sunscreen can reduce UV exposure.
The American Academy of Dermatology recommends broad-spectrum, water-resistant sunscreen with an SPF of 30 or higher. Apply it before going outdoors and reapply approximately every two hours while outside, as well as after swimming or heavy sweating according to the product directions. See the AAD sunscreen guidance.
Insect Repellent
In areas with mosquitoes, ticks, or other biting insects, use an EPA-registered repellent appropriate for the conditions. DEET and picaridin are common options, but the CDC also recognizes other EPA-registered active ingredients.
Follow the product label and avoid spraying repellent into your eyes or mouth. When using both sunscreen and insect repellent, the CDC advises applying sunscreen first and insect repellent second. See the CDC tick-prevention recommendations.
First Aid Kit
A basic hiking first-aid kit can include adhesive bandages, blister treatment, gauze, medical tape, antiseptic supplies, gloves, and any personal medication you may need. The exact contents should reflect the group size, trip length, remoteness, and your level of training.
Check the kit periodically so used or expired items are replaced. Knowing how to use the supplies is as important as carrying them.
Nutrition: Pack Snacks That Provide Reliable Energy
Food helps maintain energy and morale, especially when the route takes longer than expected. For day hikes, choose foods that are compact, easy to eat, and unlikely to spoil quickly in your pack.
Trail mix made from nuts, seeds, dried fruit, and optional chocolate combines carbohydrates, fats, and protein. Energy bars are convenient when you choose varieties you actually enjoy eating. Jerky, including meat or plant-based versions, can add protein without requiring much pack space.
Fresh fruit such as apples can also work well. Bananas provide quick carbohydrates but bruise easily, so pack them where they will not be crushed and eat them earlier in the outing.
The National Park Service recommends nutritious food that does not require cooking and suggests carrying extra food in case the trip is unexpectedly delayed. The amount you need depends on trip length, effort, weather, and personal dietary needs.
Safety: Emergency Gear and Communication Devices
Safety equipment is meant to give you options when an ordinary hike becomes an unexpected delay, injury, navigation problem, or weather emergency.
A whistle is a useful signaling device because it requires less effort than shouting repeatedly. A multitool or knife can help with food preparation and minor gear repairs, but it should be carried legally and used responsibly.
A headlamp is usually more useful than relying on a phone flashlight because it keeps both hands free. Pack spare batteries or another suitable backup power source.
Your emergency kit should also include weather-appropriate shelter. Depending on the trip, that could be an emergency bivy, space blanket, tarp, or tent. Fire-starting supplies can be useful where fires are legal and conditions permit their safe use. Repair materials such as duct tape, cord, and a small tool can solve many minor equipment failures.
Cell Phones, Satellite Messengers, and PLBs
A cell phone is valuable for navigation and communication but may have no service in remote terrain. Carry it fully charged, protect it from water and cold, and consider a power bank for longer outings.
Two-way satellite communicators can provide messaging and SOS functions through satellite networks, depending on the device and service plan. A Personal Locator Beacon, or PLB, is different: it is a dedicated emergency distress beacon intended to alert search-and-rescue authorities.
According to NOAA’s SARSAT program, 406 MHz PLBs are designed for emergency use in remote environments. GPS-equipped models can include their GPS-derived position in the distress transmission. PLBs should be properly registered and reserved for genuine distress situations.
Before You Go: Check the Route, Weather, and Trail Conditions
Good gear cannot make every trail safe. Before leaving home, check the route distance, elevation gain, expected hiking time, current weather, trail closures, water availability, sunset time, and any location-specific hazards.
Choose a route that matches the fitness and experience of the group. Build in enough time to turn around before darkness or worsening weather makes the return more difficult.
Tell a trusted person where you are going, which route you plan to use, who is with you, and when you expect to return. The National Park Service specifically recommends leaving this information with someone before heading out. Review its Hike Smart guidance before backcountry trips.
Lightning Safety
Warning: If you hear thunder, move toward a substantial enclosed building or a hard-topped vehicle when one is accessible. The National Weather Service warns that there is no completely safe place outdoors during a thunderstorm. Leave exposed peaks, ridges, and open high ground promptly.
Check the forecast before entering exposed terrain, especially above tree line. The National Weather Service lightning guidance recommends waiting at least 30 minutes after the last thunder before resuming outdoor activity.
Complete Hiking Essentials Checklist
The National Park Service organizes basic preparedness around the Ten Essentials. Adapt the following checklist to the location, season, trail difficulty, group, and trip duration:
- Navigation: map, compass, GPS or offline map, plus the knowledge to use them.
- Sun protection: sunscreen, sunglasses, hat, and protective clothing.
- Extra clothing: insulation and rain protection suited to foreseeable conditions.
- Illumination: headlamp or flashlight plus spare batteries or backup power.
- First aid: an appropriate kit, personal medication, and basic first-aid knowledge.
- Fire: legal and appropriate ignition supplies for emergency use.
- Repair kit and tools: items such as tape, cord, and a multitool appropriate to your equipment.
- Food: enough for the planned hike plus a reasonable reserve.
- Hydration: sufficient drinking water plus treatment supplies when natural sources may be needed.
- Emergency shelter: a tarp, bivy, emergency blanket, tent, or other suitable protection from exposure.
Note: The Ten Essentials are a starting point, not a guarantee of safety. Technical routes, winter travel, desert hiking, bear country, river crossings, and overnight trips may require additional equipment and training.
Being well prepared—from footwear and clothing to navigation and emergency equipment—can make hiking more comfortable and give you more options when conditions change. Learn how to use important gear before you depend on it in the backcountry.
If your trip includes camping, this guide to portable camping stoves for outdoor adventures covers additional equipment that may be useful for overnight travel. For trips that involve flying or driving before reaching the trailhead, this guide to hardside carry-on luggage with spinner wheels may also help with travel packing.
Love travel? Join Our Facebook Community
Frequently Asked Questions
What should I wear for hiking?
Wear comfortable hiking shoes or boots suited to the terrain, moisture-managing socks, and layers you can add or remove. A synthetic or wool base layer, insulating layer when needed, and rain or wind shell provide a flexible system for changing conditions.
What type of socks should I wear for hiking?
Wool or synthetic hiking socks are good choices because they manage moisture better than typical cotton socks. Choose a thickness that fits comfortably inside your footwear without squeezing your toes, and consider carrying a dry spare pair.
Should I wear a hat when hiking?
A hat is useful on many hikes. A brimmed hat can provide shade for your face, ears, and neck in sunny conditions, while a warm hat can reduce heat loss during cold-weather hiking.
What kind of outerwear should I bring for hiking?
Carry outerwear suited to the worst reasonably expected weather, not just the conditions at the trailhead. A lightweight waterproof or weather-resistant shell is useful when rain or wind is possible, while colder hikes may also require fleece or an insulated jacket.
Are there any specific clothing items to avoid when hiking?
For cold, wet, or changeable conditions, avoid relying on cotton next to your skin because it absorbs moisture and dries slowly. Wool and synthetic fabrics are usually more dependable when staying dry and warm is important.
How much water should I carry on a hike?
For moderate hiking, 1 liter for every two hours is a useful starting planning estimate used by some National Park Service guidance. Increase your supply when heat, strenuous climbing, altitude, dry conditions, or unreliable water sources raise your needs.
Can I rely on my phone for hiking navigation?
A phone with downloaded maps is useful, but it should not be your only navigation option on remote routes. Batteries fail, phones can break or get wet, and cellular coverage can disappear. Carry a physical map or another independent backup and know how to use it.
What should I pack for a day hike?
At minimum, plan for navigation, sun protection, extra clothing, illumination, first aid, repair tools, food, water, and emergency shelter. Add insect protection, communication equipment, personal medication, and location-specific gear as conditions require.
Sources
- U.S. National Park Service — Ten Essentials — navigation, extra clothing, illumination, first aid, food, hydration, repair gear, and emergency shelter.
- U.S. National Park Service — Hike Smart — footwear, trip planning, water, equipment, and hiking safety.
- Centers for Disease Control and Prevention — Backcountry Water Treatment — treating questionable drinking water while hiking and camping.
- Centers for Disease Control and Prevention — Preventing Tick Bites — EPA-registered repellents and outdoor tick protection.
- NOAA SARSAT — 406 MHz Emergency Distress Beacons — Personal Locator Beacon purpose and emergency communications.
- National Weather Service — Lightning Safety — thunderstorm shelter and outdoor lightning precautions.
