
Last Updated on July 29, 2026 by Mason Reed
Winter tent condensation is normal, but heavy dripping and frost buildup can soak your sleep system and make a cold night less comfortable. The best approach is to manage moisture at every stage: choose a safe, dry site, pitch the shelter correctly, keep air moving, isolate wet gear, and use a sleeping pad and bag suited to the expected conditions.
Quick Answer
To reduce tent condensation in winter, pitch on a dry, safe site; keep high and low vents open; maintain space between the inner tent and rainfly; keep wet gear outside the sleeping area; and use an insulated pad and correctly rated bag. Some frost is normal, so wipe or brush it away before it melts.
Key Takeaways
- Condensation forms when moist air meets a cold tent surface; it cannot always be eliminated.
- Use the tent’s designed vents continuously when weather allows instead of sealing the shelter completely.
- Keep wet boots, clothing, and packs in a vestibule or protected storage area, not beside your sleeping bag.
- Choose a slightly elevated, durable site away from water, depressions, avalanche paths, and hazardous trees.
- Warmth depends on the full sleep system: sleeping bag, insulated pad, dry clothing, and shelter.
At a Glance
| Time Required | 15–30 minutes for setup, plus brief vent and moisture checks |
| Difficulty | Easy to moderate in established sites; advanced in severe weather or avalanche terrain |
| Tools Needed | Weather-appropriate tent, stakes or snow anchors, insulated pad, rated sleeping bag, dry sack, and absorbent cloth |
| Cost | $0 with existing gear; upgrades vary by tent, pad, bag, or liner |
Disclosure: As an Amazon Associate I earn from qualifying purchases. Some links on this page are affiliate links, at no extra cost to you.
Understanding Tent Condensation
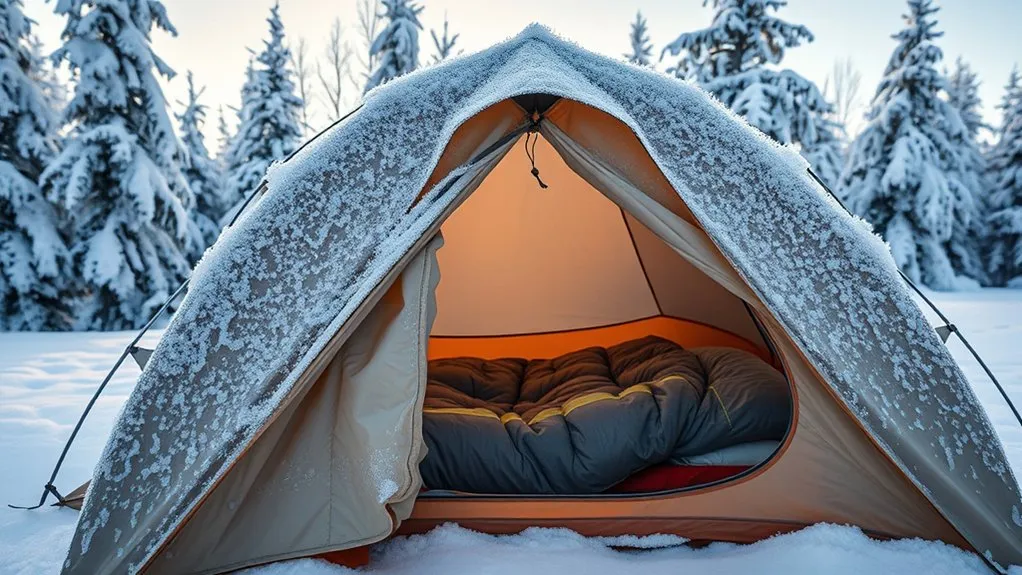
Tent condensation forms when warm, moisture-laden air reaches a surface that is at or below the air’s dew point. In winter, the rainfly, inner wall, poles, and roof can be far colder than the air around your body. Water vapor then becomes droplets or, below freezing, frost.
Your breath, perspiration, damp clothing, snow on boots, and cooking steam all raise humidity. Outdoor humidity and temperature changes also matter. Even a well-designed shelter can develop condensation during calm, humid, or very cold conditions. The practical goal is to reduce the amount of moisture and keep it away from your sleeping bag—not to promise a perfectly dry tent.
Ventilation is usually the strongest control. Open the shelter’s high and low vents, use door or vestibule openings that remain protected from precipitation, and keep the fly separated from the inner canopy. Tent manufacturers also recommend a taut pitch because sagging fabric can touch the inner tent and transfer moisture. For more detail, see MSR’s tent and shelter guidance.
Why Winter Condensation Often Becomes Frost
When the tent wall is below 32°F (0°C), moisture may freeze before it drips. That can feel better overnight, but sunlight, body heat, or a warmer morning can melt the frost onto gear. Brush loose frost outside before it melts, then air-dry the tent when conditions allow.
Finding a Suitable Campsite
Choose a legal, durable surface that is level or gently raised rather than a hollow where cold, damp air can settle. Avoid drainage channels, exposed ridge crests, avalanche paths, cornices, and places where snow, runoff, or wind can threaten the shelter. In a campground, use the designated tent pad and follow posted rules.
Ideal Campsite Location
A sheltered site can reduce wind exposure and nighttime cooling, but protection must not create a new hazard. Inspect the entire area before pitching. Do not camp beneath dead, cracked, broken, hanging, or heavily loaded branches. The National Park Service campsite guide advises campers to look up and avoid dead trees or limbs.
Morning sun can help dry frost and damp fabric. However, sun exposure is a convenience, not a substitute for drainage, structural safety, or weather protection.
Avoiding Water Proximity
Nearby lakes, streams, and wet ground can increase local humidity. In backcountry settings, camp at least 200 feet—about 70 to 80 adult steps—from lakes and streams unless local rules require a different distance. This also protects shorelines and wildlife access. Follow Leave No Trace guidance and any site-specific regulations.
High Ground Advantages
Slightly higher, well-drained ground can be drier than a depression, but “higher” does not mean the top of an exposed ridge. Look for a level bench or established pad that balances drainage with wind protection. In deep snow, probe the area for hidden rocks, logs, streams, or voids before compacting a platform.
Warning: A sheltered grove is not automatically safe. Snow-loaded or damaged trees can drop limbs without warning. Move the tent if you see hanging branches, trunk cracks, root movement, or obvious decay.
Tent Setup Techniques and Guidelines for Reducing Condensation
A careful pitch protects the shelter, improves airflow, and keeps damp outer fabric away from the sleeping area. Use these steps:
- Match the tent to the forecast. Use a shelter rated for the expected wind and snow load. A double-wall tent usually gives condensation a place to collect on the fly while keeping occupants behind an inner canopy, but it still needs ventilation.
- Prepare a stable platform. On snow, compact a level area large enough for the tent and vestibules. Allow soft snow to firm before placing the shelter when practical.
- Pitch the tent taut. Stake or anchor every required point and use guylines so the fly does not sag onto the inner wall.
- Preserve the air gap. Keep the rainfly and inner tent separated. Do not push packs or sleeping bags against the walls.
- Open designed vents. Use both high and low vents when available, and keep them clear of drifting snow.
- Recheck after weather changes. Retension fabric and guylines when snow, wind, or temperature changes loosen the pitch.
Double-Wall and Single-Wall Tents
Double-wall tents can reduce contact with a wet or frosty fly, which is useful in humid conditions. Single-wall and hybrid winter shelters can be lighter or stronger for specialized use, but they often require more active vent management. Neither design eliminates condensation. Follow the manufacturer’s setup and ventilation instructions for the specific shelter.
Using the Rainfly in Winter
Do not remove the rainfly simply because rain is not forecast. On many tents, the fly is part of the weatherproofing and ventilation system and helps block wind, frost, and blowing snow. Install it as designed, then use protected vents and vestibule openings to move moist air out.
Pro Tip: Before dark, identify every vent from inside and outside. It is much easier to adjust them before frost, wind, or fresh snow hides the zippers and toggles.
Ventilation Strategies and Managing Moisture Sources
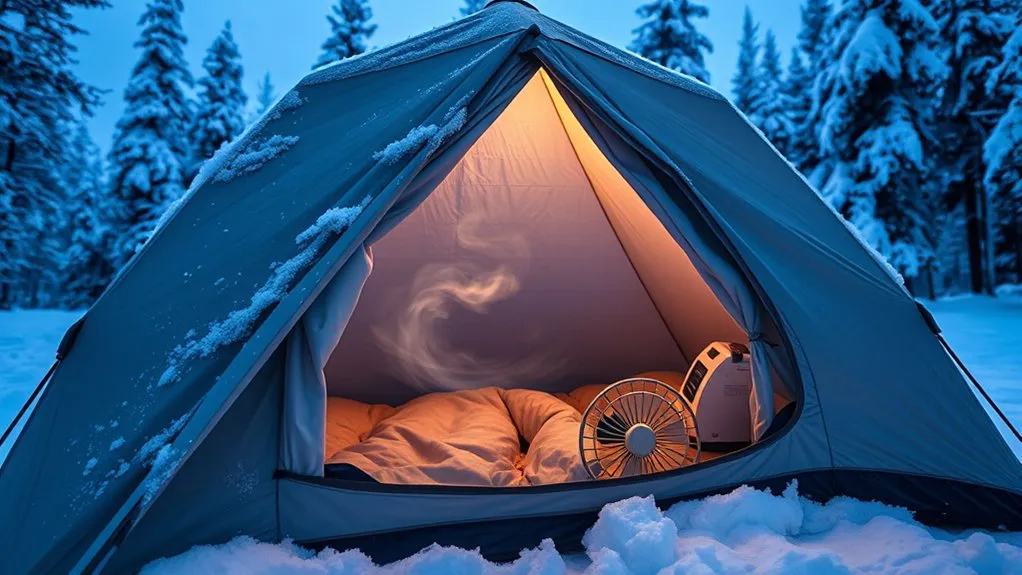
Keep vents open continuously when weather and the tent design allow. Warm air rises, so a high vent lets moist air escape, while a lower opening helps replace it with drier outside air. In wind, use the leeward opening or the tent’s protected venting features so spindrift and precipitation do not blow directly inside.
More ventilation is not always a complete cure. During rain, fog, or very high humidity, outside air may already hold substantial moisture. Adjust vents to prevent dangerous snow entry or excessive heat loss, but do not seal the tent so tightly that breath and perspiration have nowhere to go.
Manage Moisture Before Bed
- Change out of damp layers. Sleep in dry base layers and socks.
- Keep wet gear out of the sleeping area. Place boots, shells, and packs in a vestibule, protected gear area, or breathable storage that will not soak the tent floor.
- Remove loose snow. Brush snow from clothing and boots before entering.
- Avoid breathing into your sleeping bag. Exhaled moisture can dampen insulation; keep your nose and mouth outside the bag opening.
- Do not try to dry a full load of wet clothing inside. It transfers that water into the tent air. Dry items outside when weather permits or isolate them until morning.
Overnight Ventilation Routine
Set the vents before sleep and leave them working. Check them after a major wind shift, snowfall, or temperature change—not on an arbitrary “every few hours” schedule. If condensation starts dripping, increase protected cross-ventilation, move gear away from the walls, and wipe the inner surface with an absorbent cloth.
Morning Drying Routine
Before packing, brush frost from the fly and inner wall, shake loose moisture outside, and let the shelter air out in sunlight or wind when conditions are safe. If you must pack it wet, separate damp fabric from your sleeping bag and clothing, then dry the tent at the first opportunity.
Warning: Never use a charcoal grill or an outdoor fuel-burning stove, lantern, or heater inside a tent. Carbon monoxide is colorless and odorless, and fire or oxygen-depletion hazards can become fatal. Follow the device label and U.S. Consumer Product Safety Commission guidance.
The Importance of Preparation and the Joy of Camping
Preparation makes winter camping safer and more enjoyable. Practice pitching the tent at home, inspect poles and guylines, confirm the weather and local restrictions, and know how to retreat if conditions exceed your gear or experience.
- Carry stakes or anchors that work in frozen ground or snow.
- Pack a small absorbent cloth and a dry bag for protected clothing and sleep gear.
- Keep food and cooking operations away from the sleeping shelter according to local wildlife rules.
- Check vents after snowfall so they do not become blocked.
- Plan enough daylight to dry or repack damp equipment.
Condensation can usually be reduced, but cold, humid conditions may make some moisture unavoidable. A successful setup keeps that moisture away from insulation and gives it a safe path out.
Choosing and Enhancing Sleeping Bags
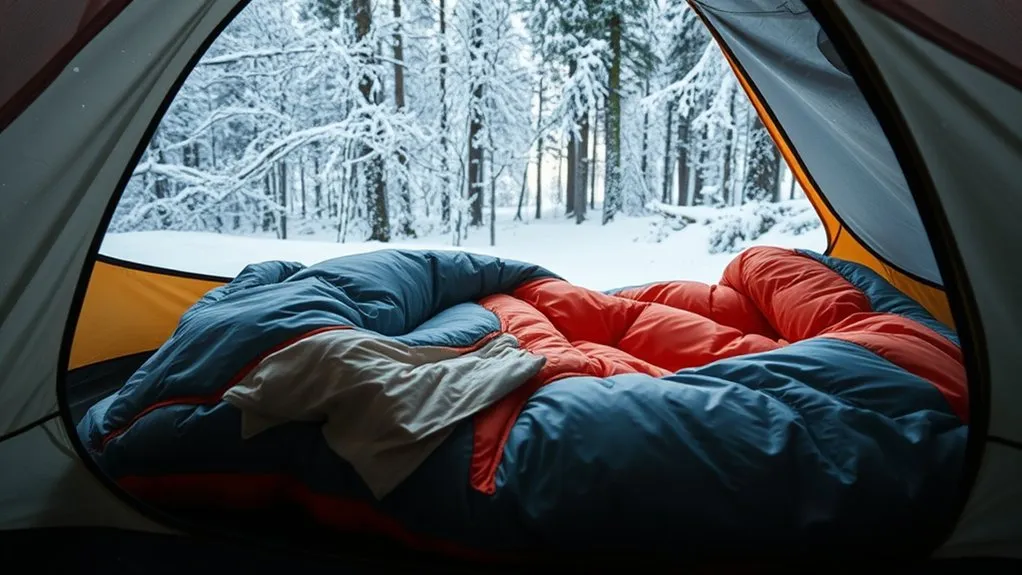
Select a sleeping bag using the coldest temperature you reasonably expect, your tendency to sleep warm or cold, and the rest of your sleep system. For many campers, a bag rated at least 10°F colder than the forecast low provides a useful comfort buffer, but temperature ratings are not guarantees.
Look for bags tested to ISO 23537-1:2022 when the standard applies. The comfort rating is generally the more useful starting point for cold sleepers, while the lower-limit rating is intended for warmer sleepers. Do not plan routine sleep around an “extreme” or survival rating.
Mummy-shaped bags are often thermally efficient because they reduce unused interior space, but fit matters more than shape alone. A bag that is too tight can compress insulation; one that is much too large creates extra space to warm. Keep the hood, draft collar, and zipper baffle positioned as designed.
A liner can improve comfort, cleanliness, and sometimes warmth, but the gain varies by material, fit, and conditions. Treat manufacturer temperature-boost claims as estimates rather than guaranteed additions. A liner cannot rescue an under-rated bag or poorly insulated pad.
Note: A sleeping bag rating assumes a complete system and controlled test conditions. Your pad, clothing, hydration, food intake, wind exposure, moisture, and individual metabolism all affect real-world warmth.
Insulating the Tent Floor
The cold ground can draw heat away even when the sleeping bag is warm. Use a sleeping pad with enough thermal resistance for the conditions. Pad R-values tested under ASTM F3340 make models easier to compare: a higher R-value means greater resistance to heat flow, though real-world results still vary.
Use Sleeping Pads
Inflatable, self-inflating, and closed-cell foam pads can all work in winter when their insulation is appropriate. Inflate air pads according to the manufacturer’s directions so your body does not bottom out against the ground. In colder conditions, a closed-cell foam pad can be paired with an insulated air pad for backup and added insulation, provided the combined system remains stable.
- Inspect the pad and carry a compatible repair kit.
- Protect it from sharp ice, rocks, and debris.
- Keep the pad dry and fully beneath your torso and legs.
- Do not rely on tent-floor fabric alone for insulation.
Add Extra Blankets
For car camping or short carries, dry blankets can add comfort and reduce drafts. They are supplemental, not a substitute for an appropriately insulated pad and sleeping bag. Avoid arrangements that compress the sleeping bag’s loft or allow damp fabric to touch it.
| Blanket or Layer | Best Use | Caution |
|---|---|---|
| Old comforter | Car-camping cushioning and draft control | Bulky and slow to dry |
| Spare sleeping bag | Loose over-quilt when sized safely | Do not compress the primary bag |
| Fleece blanket | Light draft control and camp comfort | Limited ground insulation when compressed |
| Closed-cell foam pad | Reliable layer under or with an air pad | Check total warmth for the forecast |
Troubleshooting Condensation, Leaks, and Frost
Not every wet spot has the same cause. Use the pattern, timing, and location of moisture to decide what to change.
| What You See | Likely Cause | What to Do |
|---|---|---|
| Even film of droplets or frost on broad surfaces | Condensation | Increase protected ventilation, isolate wet gear, and wipe or brush surfaces |
| Water repeatedly entering at one seam or damaged area | Possible leak or failed seam treatment | Inspect the fabric and seam, protect the area temporarily, then repair it according to the manufacturer |
| Sleeping bag footbox wet where it touches the wall | Contact with condensation | Move the sleep system inward and restore fly-to-inner spacing |
| Heavy frost after vents were buried | Blocked airflow | Clear vents safely and monitor drifting snow |
Cold-Weather Safety
Staying dry is a safety issue, not just a comfort goal. The CDC warns that hypothermia can occur even above 40°F (4°C) when rain, sweat, or cold water chills the body. Shivering, exhaustion, confusion, fumbling hands, memory loss, slurred speech, and drowsiness are warning signs.
Warning: Treat confusion, slurred speech, severe shivering, or unusual drowsiness as a cold emergency. Get the person into shelter, replace wet clothing with dry insulation, warm the core gradually, and seek emergency medical help.
Frequently Asked Questions
How does humidity affect winter camping condensation levels?
Higher humidity means more water vapor is available to condense when air reaches a cold surface. Breath, sweat, wet gear, nearby water, rain, fog, and melting snow can all raise humidity. Ventilation and moisture control reduce buildup, but very humid weather may still produce droplets or frost.
Can specific tent materials reduce condensation?
Breathable inner fabrics, mesh, vents, and a well-spaced rainfly can help moisture move away from occupants. However, no fabric prevents condensation in every condition. Shelter design, site humidity, temperature, ventilation, occupancy, and wet gear matter as much as material choice.
What are the best practices for drying wet gear inside the tent?
Avoid drying substantial wet gear in the sleeping area because it releases moisture into the tent. Brush off snow, wring out items when appropriate, and store them in a vestibule or protected gear space. If an emergency forces you to dry a small item inside, maximize safe ventilation and keep it away from the sleeping bag.
How frequently should I ventilate my tent in winter?
Ventilation should usually be continuous rather than performed every few hours. Set protected high and low vents before sleep, then adjust them after snowfall, a wind shift, or a major temperature change. Keep openings clear without allowing dangerous snow or precipitation to enter.
What common mistakes increase tent condensation?
Common mistakes include sealing every vent, camping in a damp hollow, bringing snow-covered gear inside, trying to dry wet clothing beside the sleeping bag, allowing the fly to touch the inner tent, breathing into the bag, and blocking vents with drifting snow.
Is frost inside a winter tent normal?
Yes. When interior moisture reaches a surface below freezing, it can become frost instead of liquid water. Brush it off before sunlight or body heat melts it, and keep the sleeping bag from touching frosted walls.
Can I use a stove or heater to dry the tent?
Do not use outdoor fuel-burning equipment inside a tent. It can create carbon monoxide, fire, burn, and oxygen-depletion hazards. Cook outside in a safe, permitted area and use only equipment exactly as its manufacturer directs.
Conclusion
Winter tent condensation is a moisture-management problem, not a sign that every shelter is failing. Choose a dry and safe site, pitch the tent taut, keep designated vents working, separate wet gear from the sleeping area, and protect yourself from the ground with an insulated pad. Some droplets or frost may remain, but a disciplined setup keeps them from soaking your sleep system and helps you stay warmer, drier, and safer.
Sources
- MSR Tents and Shelters Manual — condensation physics, ventilation, dry-site selection, and wet-gear management
- Leave No Trace: Travel and Camp on Durable Surfaces — backcountry campsite distance from lakes and streams
- U.S. Consumer Product Safety Commission: Portable Heaters and Camping Equipment — carbon monoxide and fuel-burning equipment safety
- ISO 23537-1:2022 — adult sleeping-bag thermal rating requirements
- ASTM F3340 — standardized thermal-resistance testing for camping mattresses
- CDC: Preventing Hypothermia — cold-exposure risks, warning signs, and response guidance

