Last Updated on September 10, 2026 by Caleb Warren
If your electric scooter charger stays green, it usually means the charger isn’t sending current into the battery. First, test the outlet and charger with another device or a compatible charger to rule out power or charger faults. Then inspect the charge port for dirt, corrosion, bent pins, or loose connectors. If those check out, measure battery voltage and suspect a weak battery or locked BMS. A few more checks can narrow it down fast.
Quick Answer
A charger stuck on green either means the battery is already full, or the pack/BMS isn’t accepting a charge. Test the outlet and charger first, then check the port for corrosion, measure battery voltage with a multimeter, and rule out a faulty BMS before assuming the pack is dead.
Key Takeaways
- A normal charge cycle runs red (or orange), then switches to solid green once the battery is full — green from the moment you plug in is the sign something’s off.
- Rule out the outlet and charger first; they’re the easiest and cheapest things to test.
- A dirty or damaged charge port is one of the most common causes and one of the easiest to fix yourself.
- A multimeter reading well below your pack’s rated voltage points to a weak or discharged battery, not the charger.
- Never try to force-charge or “bypass” a deeply discharged lithium pack — get it professionally tested instead.
At a Glance
| Time Required | 15–30 minutes for a full diagnostic pass |
| Difficulty | Easy to moderate — no soldering or disassembly required for the first steps |
| Tools Needed | Digital multimeter, compressed air or a soft brush, a second known-good outlet |
| Cost | Free to diagnose; a replacement port, charger, or battery typically runs $15–$150+ depending on the part |
Disclosure: As an Amazon Associate I earn from qualifying purchases. Some links on this page are affiliate links, at no extra cost to you.
Why Is My Electric Scooter Charger Staying Green?
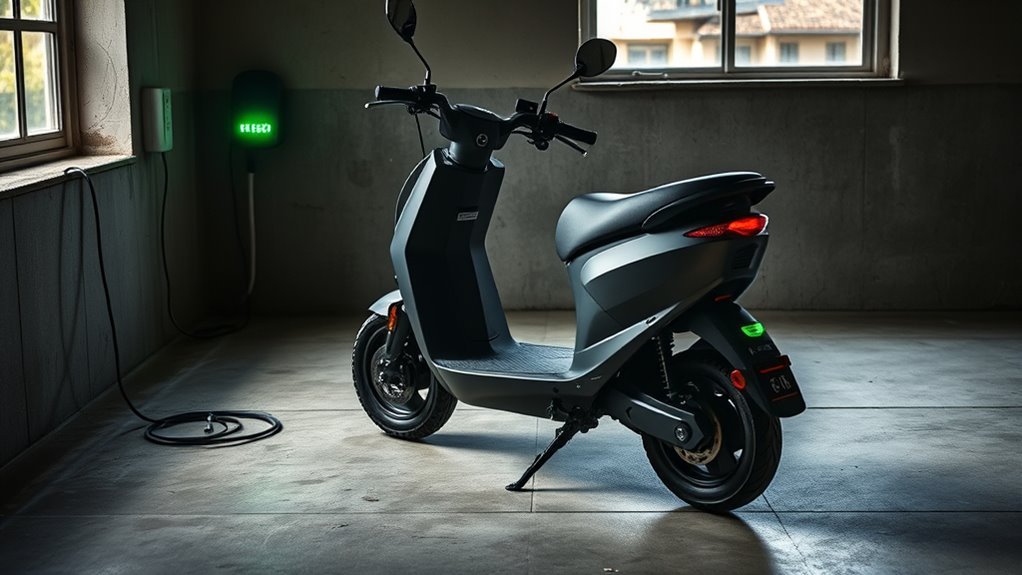
If your electric scooter charger stays green, it usually means the battery is already fully charged, but a constant green light without a red charging phase first can also point to a problem. You should treat that signal as a diagnostic clue, not automatic reassurance. Worn-out cells, loose connections, or a defective charger can prevent current from reaching the pack. If the scooter won’t charge, test the charger’s output voltage and compare it with the voltage at the battery pack. A steady green light can also mean the charger itself is malfunctioning, often from a burned-out fuse or faulty internal wiring. Checking the connections regularly is basic battery maintenance that helps you avoid downtime and extend the charger’s lifespan. Verify the power path, isolate the fault, and replace parts only once measurements confirm they’re actually bad.
Note: A healthy charge cycle typically shows red (or orange) while current is flowing, then switches to solid green once the pack hits full voltage. If the light is green from the second you plug in — before any red phase — that’s the signal worth investigating, not a sign everything’s fine.
Rule Out the Charger and Outlet
Start by ruling out the simplest power faults: test the outlet with another device to confirm it’s live, then move the charger to a different outlet if the green light stays on. If the indicator still won’t change, you’re dealing with the charger, the outlet, or both. A dead receptacle, weak contact, or power fluctuations can leave the light green while no current reaches the battery. Use a known good outlet, then compare results. If you have another compatible charger, swap it in to check charger compatibility and isolate a faulty unit. Inspect the plug and cable for obvious wear, because damage can interrupt charging even when the LED looks normal. Keep the charger seated firmly in the scooter and verify it matches your model’s rated voltage and connector spec. These checks quickly tell you whether the problem is supply-side or charger-side, so you know where to focus next.
Warning: Only swap in a charger that’s rated for your exact scooter model. The U.S. Consumer Product Safety Commission has specifically warned against “universal” chargers marketed as fitting general categories of e-scooters, since an incompatible charger can overheat the battery and cause a fire. Also never leave a scooter charging unattended or overnight.
Check the Charge Port for Damage
Inspect the charge port closely for anything that could block a solid connection, including corrosion, dirt, debris, bent pins, or burn marks. This charge port inspection helps explain why the charger stays green. Perform a corrosion check around the pins and housing, and look for discoloration that points to heat or arcing. If you see grime, use compressed air or a soft brush to clear it away. Don’t use metal tools; they can scar contacts and worsen the fault.
Next, verify the port connector is fully seated in the wiring harness. A loose or detached connector can break the charge path even when the charger seems fine. Check the pins for alignment, and make sure they aren’t bent inward or spread apart. A clean, intact port restores proper contact and lets current flow as designed. If damage is obvious, stop using the scooter until you repair or replace the port.
Pro Tip: Before pulling out a multimeter, try a simple power cycle: unplug the charger from both the wall and the scooter, wait about 10 seconds, then reconnect the scooter side first and the wall side second. This clears minor communication glitches between the charger and BMS and costs nothing to try.
Test the Battery Voltage
Use a digital multimeter set to DC voltage and measure the battery pack at the charger port to see whether the pack is reading where it should. Compare the reading to your scooter’s rated operating voltage — most scooter packs run at 36V, 48V, or 52V nominal, and a healthy pack typically reads at or slightly above that nominal figure at rest, climbing toward roughly 42V, 54.6V, or 58.8V respectively when fully charged (standard lithium-ion cells top out around 4.2V per cell). If the reading is far below spec, the pack may be deeply discharged or defective.
Check the voltage while the scooter’s under load if you can. A sharp drop during use shows weak performance and poor voltage stability, even if the pack looks fine at rest. After use, a good battery should rebound to its normal resting level fairly quickly. That recovery confirms it can hold a charge and support your ride. If the numbers stay low or sag hard under load, you’ve found a real power problem, not just a charger issue.
See Whether the Battery or BMS Is Faulty
If the battery voltage looks wrong, the battery itself or the BMS may be keeping the charger light green. You need to separate a bad pack from a locked-out battery management system. A deeply discharged or damaged battery may refuse charge, while a faulty BMS can block current and still let the charger seem normal.
Use these troubleshooting techniques:
- Measure pack voltage at the terminals.
- Check each cell group if you can access them.
- Inspect BMS continuity, connectors, and balance leads.
- Compare readings with the charger’s output voltage.
If voltage stays low, the pack may be worn out. If the cells look healthy but the BMS won’t pass power, the control board is likely the problem. Test carefully, document each reading, and replace only the failed part.
A pack sitting well below its rated nominal voltage after a full charge attempt is telling you the battery — not the charger — is the point of failure.
Note: If you’ve worked through every step above and the charger still stays green with no change, it’s time to stop troubleshooting solo. A shop can bench-test the BMS and cell groups with equipment you likely don’t have, and doing so may also preserve your warranty if the scooter is still covered.
Frequently Asked Questions
Why does my electric scooter charger stay green while charging?
Your charger stays green because the battery’s already full, the pack can’t accept charge, or the charger itself is faulty. Check what your charger’s indicator lights normally mean for your model, then troubleshoot by testing voltage, connections, and the charging port in that order.
Why is my charger green but not charging?
A green light with no charging activity usually means the charger sees no load, so the battery isn’t accepting power. Check the charger’s indicator behavior, battery voltage, port connections, and corrosion, then confirm output voltage with a multimeter to isolate the fault.
How do I reset an electric scooter charger?
Unplug the charger from the wall and the scooter, wait about 10 seconds, then reconnect the scooter side first and the wall outlet second. Test the charger on a known-good outlet, inspect the contacts for damage, and work through the other troubleshooting steps above if the green light persists.
Can I recover a deeply discharged lithium battery myself?
Don’t try to force-charge or bypass a lithium pack’s protection circuit yourself — deeply discharged lithium-ion cells can become unstable, and mishandling them is a recognized fire and injury risk. If a multimeter shows the pack sitting well below roughly 3V per cell (or well under your system’s rated voltage), have it tested by a scooter shop or the manufacturer, and replace or recycle it through a battery recycler rather than continuing to charge it.
Conclusion
If your scooter charger stays green, you may be dealing with a simple coincidence: a healthy charger is waiting, while the battery is the one holding back. Start by ruling out the outlet and charger, then inspect the charge port, test battery voltage, and check the battery or BMS. When those parts line up, the cause usually shows itself. Once you isolate the fault, you can fix it faster, avoid unnecessary parts costs, and get back on the road safely.
Sources
- U.S. Consumer Product Safety Commission — Micromobility Battery Charging Safety — backs the charging-safety warning on unattended charging and approved chargers/batteries
- CPSC — Warning on “Universal” Chargers for Micromobility Products — backs the guidance against using incompatible replacement chargers
- CPSC Micromobility Information Center — backs general charging and battery-handling safety practices