
Last Updated on August 2, 2026 by Mason Reed
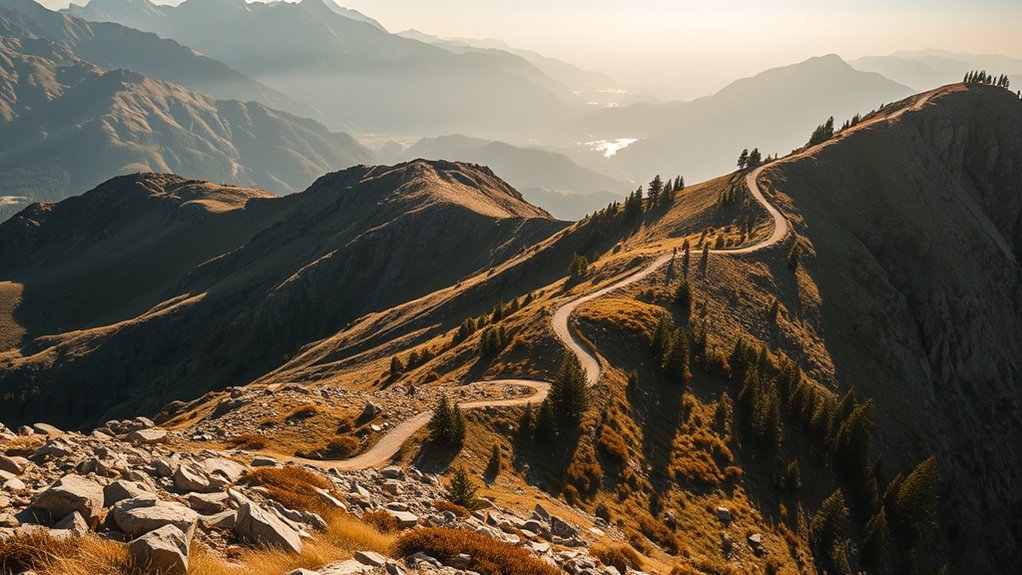
A switchback trail uses a series of back-and-forth turns to cross a steep hillside at a more manageable grade. The longer route can make climbing and descending easier to control while helping trail crews manage water and soil loss. Understanding how switchbacks work also explains why hikers should stay on the built tread instead of cutting directly across each bend.
Quick Answer
A switchback trail is a path that reverses direction across a hillside, usually around a constructed turning platform. The zigzag layout spreads elevation gain over more distance, improves control on steep terrain, and gives builders room to drain water. Hikers should follow every turn because shortcuts cause erosion and can create unsafe paths.
Key Takeaways
- Switchbacks reverse direction on steep hillsides and normally include a constructed landing or turning platform.
- The design can make steep terrain easier to travel while helping water leave the trail before it gains erosive force.
- A climbing turn is wider, follows the natural slope through the bend, and is generally used on gentler terrain of about 15% sideslope or less.
- Never cut a switchback. Shortcuts damage plants, loosen soil, and can send rocks or runoff onto the trail below.
- Yield according to posted rules; as a general hiking custom, downhill hikers give uphill hikers room, and hikers yield to pack animals.
At a Glance
| Time Required | Varies by trail; allow extra time because switchbacks add distance |
| Difficulty | Easy to strenuous, depending on trail grade, elevation gain, surface, weather, and altitude |
| Tools Needed | Supportive footwear, water, route map; trekking poles are optional |
| Cost | No special fee, though park entrance or permit charges may apply |
Disclosure: As an Amazon Associate I earn from qualifying purchases. Some links on this page are affiliate links, at no extra cost to you.
What Is a Switchback Trail?
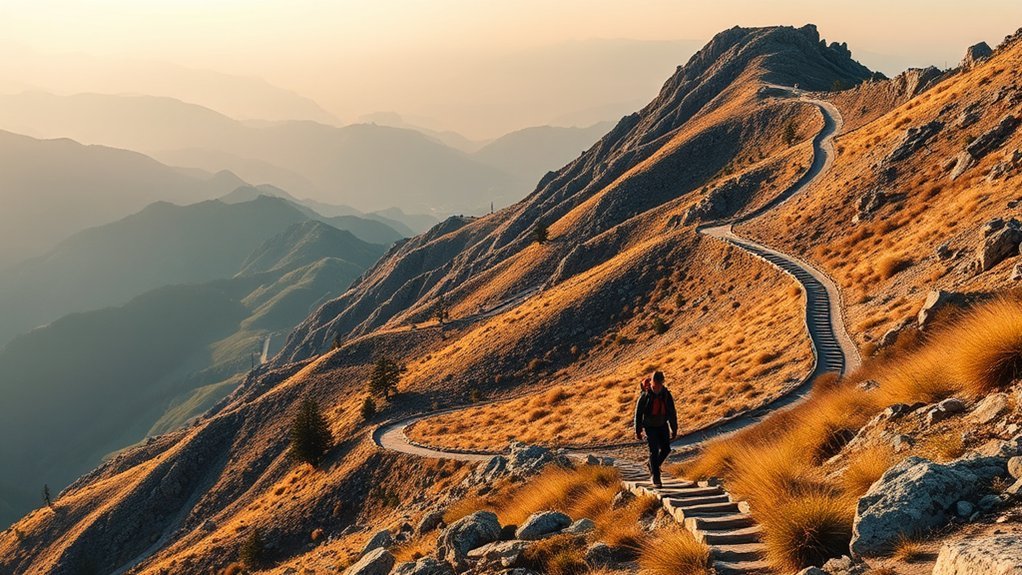
A switchback trail is a route that reverses direction across a hillside instead of following the fall line straight up or down. In formal trail design, a switchback normally has two approaches and a relatively level constructed landing or turning platform. The USDA Forest Service trail-construction guide distinguishes it from a climbing turn, which continues to climb through a wider bend without a constructed landing.
The zigzag shape spreads elevation gain over a longer distance. That does not make every switchback easy, but it can reduce the steepness hikers experience compared with a direct route. A well-designed turn also includes drainage and, where needed, retaining or guide structures that keep the tread stable and make the intended route easier to follow.
Parts of a Switchback
A switchback is more than a sharp corner. Its main parts work together to carry trail users, support the tread, and control water.
| Part | Purpose |
|---|---|
| Approaches | Trail legs that lead into and away from the turn |
| Turning platform | A wider, nearly level area where travel reverses direction |
| Drainage feature | A grade reversal, drain, or shaped tread that moves water off the trail |
| Retaining structure | Rock, timber, or another structure that supports fill on steep ground when needed |
| Guide structure | Rocks, logs, vegetation, or barriers that discourage shortcutting |
Note: Trail grade and sideslope are different measurements. Trail grade is the rise along the path. Sideslope is the steepness of the hillside the trail crosses. Forest Service guidance places climbing turns on gentle sideslopes, ideally around 7% and generally 15% or less, and reserves switchbacks for steeper hillsides above roughly 15%, where retaining structures often become necessary.
What Switchbacks Look Like on a Map
On a topographic map, a switchback appears as a sharp bend or a series of stacked zigzags. Contour lines close together show steep terrain, while the trail line crosses those contours at an angle. Do not assume that two trail lines that look close on a map are easy to connect. A shortcut may cross cliffs, loose soil, dense vegetation, or protected habitat.
Why Switchbacks Make Hiking Safer
Switchbacks can make a steep route easier to control by spreading the climb or descent over more distance. Hikers can use shorter steps, maintain a steadier pace, and avoid a direct fall-line route where loose material and runoff tend to move downhill.
| Design benefit | What hikers may notice | Why it matters |
|---|---|---|
| Longer, gentler line | Less abrupt climbing | Easier pacing and balance |
| Defined turning platform | More room to change direction | Better control at the bend |
| Drainage and stable tread | Fewer washed-out sections when maintained | More reliable footing |
Switchbacks do not remove normal mountain hazards. Loose rocks, ice, exposure, heat, storms, and altitude can still make a route dangerous. At high elevation, illness risk depends on altitude, rate of ascent, and time for acclimatization—not on whether the trail contains switchbacks. The CDC’s high-altitude guidance advises gradual acclimatization and prompt descent when serious symptoms develop.
How Switchbacks Prevent Trail Erosion
A direct trail up the fall line can collect water and carry it downhill like a channel. A properly laid-out switchback route crosses the slope and uses grade reversals, outsloping, drains, and stable turning platforms to move water off the tread. This reduces the distance runoff can travel along the trail and limits the force available to cut ruts or gullies.
Vegetation beside the trail also helps protect soil, but only when hikers stay on the intended path. Cutting between turns strips ground cover, compacts soil, and creates a new line that water can follow. Leave No Trace therefore advises travelers to remain within the trail width and never shortcut switchbacks.
A switchback protects the hillside only when water can drain from it and trail users follow the full turn.
Warning: Do not cut across a switchback, even when a shortcut is already visible. The National Park Service warns that shortcutting can accelerate erosion, loosen rocks, and contribute to injuries on steep trails.
Switchbacks vs. Climbing Turns
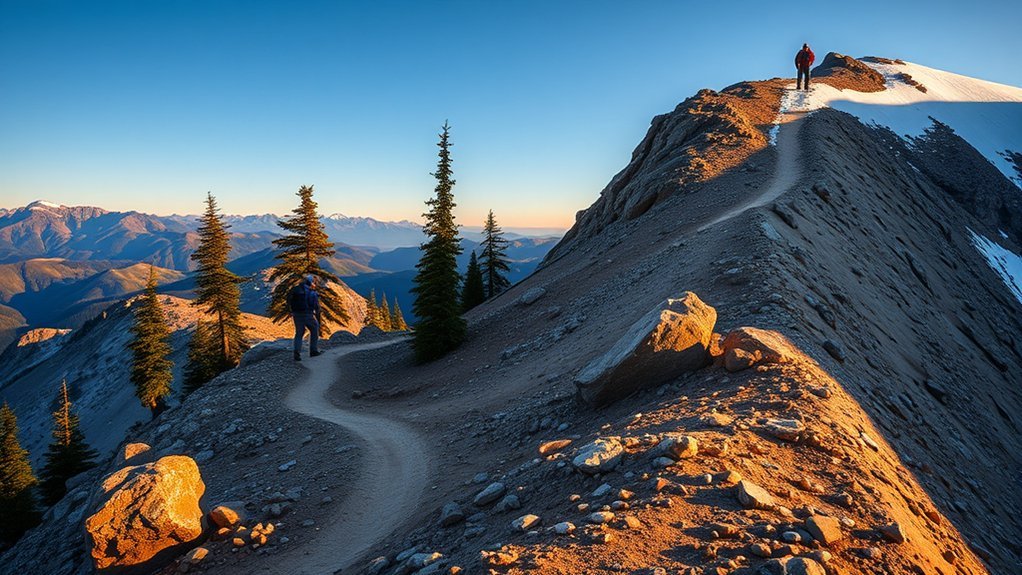
Switchbacks and climbing turns both reverse the direction of travel, but they fit different terrain. A climbing turn has a broad radius and continues at the existing grade through the bend. A switchback has a tighter reversal and a constructed turning platform that is close to level.
| Feature | Switchback | Climbing turn |
|---|---|---|
| Terrain | Steeper sideslopes, generally above about 15% | Gentler sideslopes, ideally around 7% and usually 15% or less |
| Turn shape | Tighter turn with a constructed platform | Wider radius that climbs through the turn |
| Construction | More excavation, drainage, and possible retaining work | Usually less excavation and lower construction cost |
| Best use | Stable direction change on steep ground | Smooth travel on suitable gentle terrain |
- Switchbacks can hold tread more securely on steep terrain when they are built and maintained correctly.
- Climbing turns are not inferior; they are often the simpler and better choice on gentle hillsides.
- Using a climbing turn on ground that is too steep can lead to drainage and tread problems, and is almost impossible to keep from eroding once the sideslope passes about 20%.
- Both designs need clear approaches and water-control features to discourage shortcuts and erosion.
How Trail Builders Design Switchbacks
Trail crews do not simply carve a zigzag into a hill. They study the hillside, soil, rock, drainage, expected users, environmental limits, and long-term maintenance needs. Professional layout matters because a poorly placed turn can collect water, fail under its own fill, or tempt users to take a shorter route.
Site Assessment
Before construction, trail builders scout the slope for natural benches, stable soils, rock features, and locations that reduce excavation. They also separate the hillside’s sideslope from the trail’s planned grade. Natural platforms can become control points for turns and reduce the amount of cut-and-fill work.
- Use natural contours and stable platforms where possible.
- Keep connecting trail legs long enough to reduce stacked, easily shortcut turns.
- Avoid sensitive habitat, unstable slopes, and drainage channels.
- Design for the main users, including hikers, bicycles, pack animals, or motorized traffic where permitted.
- Make the intended route clearer and easier than a direct shortcut.
Drainage Planning
Water control begins before the turning platform. Builders may use grade reversals on the approaches, shape the upper part of the turn to carry water toward a drain, and outslope the lower tread so water leaves the path. On a well-built “Y” style platform, the turn itself stays nearly flat, reaching no more than about a 5% grade, while the surrounding approaches carry the steeper work. Drain outlets must release runoff onto stable ground rather than onto loose fill or the next trail leg.
Pro Tip: Hikers can help protect drainage by stepping over—not into—small drain dips, keeping rocks and debris out of outlets, and reporting washouts instead of trying to rebuild the trail without authorization.
Construction and Maintenance
A switchback may require full-bench tread, compacted fill, a rock or timber retaining wall, and guide structures along the inside of the turn. Maintenance crews clear drains, remove slough and berms, repair tread, stabilize retaining structures, and close shortcut scars. Because failure can injure users and damage resources, major trail work should be performed or supervised by the land manager or a trained trail organization.
How to Hike Switchbacks Safely
Use the complete built route and adjust your pace to the surface, weather, exposure, and elevation. The following steps apply to most hiking trails, but posted rules and closures always take priority.
- Stay on the designated tread. Follow each bend and ignore user-created shortcuts.
- Shorten your stride. Take controlled steps instead of lunging uphill or braking hard downhill.
- Look through the turn. Watch for loose rock, roots, ice, narrow edges, and hikers approaching from the other direction.
- Keep a sustainable pace. Slow down before you are exhausted and take breaks on durable, wide areas without blocking the turn.
- Use trekking poles carefully. Place them on stable tread, shorten them slightly for climbing, and lengthen them slightly for descending if that matches the manufacturer’s guidance and your comfort.
- Turn around when conditions are unsafe. Obey closures and avoid crossing a washed-out platform, active rockfall, unstable snow, or a failed retaining wall.
Warning: Headache with nausea, unusual fatigue, confusion, loss of coordination, chest congestion, or shortness of breath at rest can signal altitude illness. Stop ascending; serious or worsening symptoms require descent and medical help.
How to Descend Switchbacks Safely
Descending often creates more slipping and braking force than climbing. Keep your center of mass over your feet, bend your knees slightly, and place the whole foot when the tread allows. Slow down before the turn instead of skidding through it. Give hikers below you extra space because loose stones can travel downhill.
- Do not run blind into a tight bend.
- Avoid leaning toward the downhill edge on exposed turns.
- Test wet rock, snow, or loose gravel before committing your weight.
- Step aside only at a durable, wide spot when another user needs to pass.
Switchback Etiquette on Busy Trails
On hiking-only trails, the general custom is for downhill hikers to give uphill hikers room because climbers may be working to maintain rhythm and balance. The National Park Service hiking-etiquette guide also stresses that posted signs can vary by location. Hikers should yield to horses and other pack stock, while bicyclists generally yield to hikers and stock.
- Announce yourself calmly before passing: “Passing on your left” is clear and polite.
- Do not stop on the turning platform when it blocks sightlines or traffic.
- Keep groups single file on narrow approaches.
- Use the durable side of the trail when yielding and avoid stepping on fragile plants.
- Ask before passing animals and follow the handler’s directions.
Good etiquette is not only about right of way. It keeps traffic predictable, protects the trail edge, and gives every user enough room to navigate a tight turn safely.
Famous Switchbacks in Hiking History
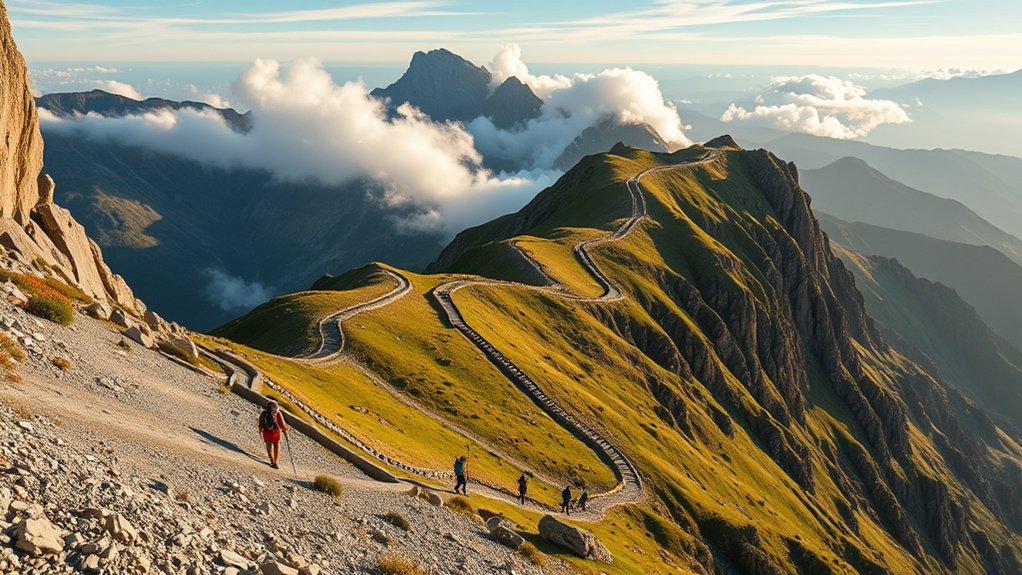
Zigzag routes have helped people cross mountains for centuries, but not every winding road or stairway is a modern, engineered hiking switchback. The following examples show the broader idea of adapting a route to steep terrain. Their construction methods, purposes, and historical settings differ from today’s recreational trail standards.
Inca Road Network
The Qhapaq Ñan, or Andean Road System, covered about 30,000 kilometers (roughly 18,600 miles) across varied terrain. UNESCO describes roads, stairs, bridges, ditches, drainage works, and paved sections that linked communities, production centers, religious sites, and state facilities. Some mountain segments use repeated turns or stepped alignments, but the network should not be reduced to one trail feature.
- Built over several centuries, partly on earlier Andean infrastructure
- Used for communication, trade, defense, travel, and state administration
- Adapted construction methods to mountains, rainforest, valleys, coast, and desert
- Inscribed as a transnational UNESCO World Heritage property in 2014
Khyber Pass Routes
The Khyber Pass is a historic corridor between present-day Pakistan and Afghanistan. People, goods, armies, and ideas moved through its narrow gorges and valleys for centuries. It demonstrates how routes follow available mountain terrain, but available authoritative histories do not establish the pass itself as a classic recreational switchback trail. It is better treated as a winding strategic route than as a technical switchback example.
Sani Pass Legacy
Sani Pass climbs from South Africa’s KwaZulu-Natal region toward Lesotho through a series of steep bends. South African Tourism describes it as a zigzagging dirt-road route that developed from a pony trail and trading path in the mid-20th century. Its hairpin bends show the same broad geometry as switchbacks, although it is a mountain road and historic transport route rather than a standard hiking-trail turning platform.
- The route connected trade between Lesotho and South Africa.
- Tight bends help the road gain elevation across the escarpment.
- Weather, ice, exposure, and road conditions can make travel hazardous.
- Visitors should follow current border, vehicle, guide, and closure rules.
Why Switchbacks Protect Public Lands
Public-land trails concentrate travel on a planned corridor. When users remain on the tread, surrounding plants and soils receive less repeated trampling. Switchbacks also let designers cross steep slopes while using drainage features that reduce water flow along the route. These benefits depend on good construction, maintenance, and visitor behavior.
| Benefit | How it helps | What hikers should do |
|---|---|---|
| Managed ascent | Spreads elevation gain over distance | Use the full route |
| Water control | Moves runoff off the tread | Keep drains clear and report washouts |
| Habitat protection | Concentrates traffic on one corridor | Do not create social trails |
A single shortcut may look minor, but repeated use can turn it into a bare path. That new line can widen, collect runoff, damage habitat, and make the original turn harder to maintain. Following the bend is a direct way to support the trail and the land around it.
What to Do When a Switchback Is Damaged
Turn back or follow an official detour when a switchback has failed. Do not climb around a closure or build a new path across the slope. Report the location to the park, forest, trail club, or land manager with a photo and a map pin when possible.
- Washout: part of the turning platform or approach is missing.
- Blocked drain: water is pooling or running down the tread.
- Retaining-wall movement: rocks or timbers are bulging, loose, or collapsing.
- Active rockfall: fresh debris is falling or collecting on the trail.
- Shortcut scar: a user-created line is forming between turns.
Note: Moving a few loose branches from an open trail is different from repairing drainage, retaining walls, or tread. Follow local volunteer and land-manager rules before doing trail work.
Sources
- USDA Forest Service — Trail Construction and Maintenance Notebook — switchback parts, sideslope guidance, drainage, climbing turns, and maintenance
- National Park Service — Hiking Etiquette — right of way, staying on trail, and shared-use guidance
- Leave No Trace — Travel and Camp on Durable Surfaces — avoiding switchback shortcuts and limiting off-trail impact
- CDC Yellow Book — High-Altitude Travel and Altitude Illness — acclimatization, symptoms, and descent guidance
- UNESCO World Heritage Centre — Qhapaq Ñan, Andean Road System — verified length, purpose, engineering, and World Heritage status
- South African Tourism — Sani Pass — zigzag route, pony-trail origin, trade history, and travel context
Frequently Asked Questions
What are common switchback mistakes?
Common mistakes include cutting between turns, stopping where you block the landing, descending too fast, ignoring loose rock, and confusing hillside sideslope with the trail’s grade. Stay on the tread, control your pace, and follow posted right-of-way and closure rules.
What is the hiker’s code on switchbacks?
There is no single universal “hiker’s code,” but common practice is to stay on marked trails, avoid shortcuts, pack out waste, respect wildlife, communicate before passing, and give uphill hikers room. Hikers also yield to pack animals and must follow local signs.
What is a switchback on a trail?
A switchback is a reversal in trail direction on a hillside. It usually includes two approaches, a constructed turning platform, drainage, and sometimes retaining or guide structures. The design helps a trail gain elevation without following a direct fall-line route.
Do switchbacks require maintenance?
Yes. Crews maintain the tread, clear drains, remove slough and berms, inspect retaining structures, repair eroded approaches, and block or restore shortcut scars. Poor drainage or delayed repairs can shorten a switchback’s useful life.
Why is cutting switchbacks dangerous?
A shortcut often crosses loose, steep ground without stable tread or drainage. It can cause slips, dislodge rocks onto people below, damage vegetation, and create a channel for runoff. Repeated shortcutting may also undermine the built trail.
Are switchbacks always less steep?
They are designed to avoid a direct route up the hillside, but the actual trail can still be strenuous. Difficulty depends on trail grade, elevation gain, turn spacing, surface, exposure, weather, and altitude.
Conclusion
Switchbacks are carefully planned direction changes, not needless detours. Their approaches, turning platforms, drainage, and support structures help people cross steep terrain while protecting the tread and nearby soil. Hike the full bend, control your speed, yield according to local rules, and report damage. Those simple choices make the route safer and help the trail last.


1 Comment
Pingback: Complete Shepherds Journey To Bethlehem Guide [2026]