Last Updated on August 26, 2026 by Daniel Globe
Carrying a camera while hiking is a balance between quick access, comfort, protection, and trail safety. A camera buried deep in a backpack may cause you to miss a photo, while one swinging freely from your neck can hit rocks, interfere with your stride, or become awkward on steep terrain. The best setup keeps your camera secure while you move and easy to reach when conditions are safe for shooting.
Quick Answer
The best way to carry a camera while hiking is with a properly fitted cross-body strap, locking backpack clip, chest harness, hip holster, or padded camera backpack. Choose based on camera weight, terrain, weather, and access needs. Stow the camera during scrambles or risky crossings, and use appropriate rain, dust, and condensation protection.
Key Takeaways
- Use a carry system that matches your camera weight, trail difficulty, and need for quick access.
- A cross-body strap or locking backpack clip usually gives faster access than storing the camera deep inside a pack.
- Use a padded backpack or insert when protection matters more than instant access.
- Check straps, anchors, plates, screws, buckles, and locks before every hike.
- Stow the camera before scrambling, climbing, difficult stream crossings, or any section where you may need both hands for balance.
- Do not assume weather-resistant equipment is waterproof; use protection appropriate to your specific camera, lens, and conditions.
At a Glance
| Time Required | About 5–15 minutes to fit and check your carry system before the hike |
| Difficulty | Easy on normal trails; extra care required on technical terrain |
| Tools Needed | Camera plus a secure strap, clip, harness, holster, padded insert, or camera backpack; weather protection as conditions require |
| Cost | Potentially $0 with gear you already own; optional clips, harnesses, rain covers, and specialized bags add cost |
Disclosure: As an Amazon Associate I earn from qualifying purchases. Some links on this page are affiliate links, at no extra cost to you.
Best Ways to Carry a Camera While Hiking
There is no single carry method that works best for every hiker. A compact camera on an easy trail has very different requirements from a full-frame body with a long telephoto lens on a steep mountain route.
| Carry Method | Best For | Main Advantage | Main Tradeoff |
|---|---|---|---|
| Cross-body or sling strap | Easy-to-moderate trails and frequent shooting | Fast access with less neck-only loading | Camera can still swing unless the strap is adjusted snugly |
| Locking backpack clip | Day hikes where instant access matters | Keeps the camera close to the body and quickly reachable | Leaves the camera exposed to weather and impacts |
| Chest harness | Larger cameras and active hiking | Controls swinging and spreads the load across more attachment points | Bulkier than a simple strap |
| Hip holster or pouch | Compact cameras and photographers who dislike chest-mounted gear | Easy access with some impact protection | Can interfere with hip belts or leg movement if poorly positioned |
| Padded camera backpack or insert | Heavy kits, rough terrain, bad weather, or long hikes | Best protection and organization | Usually slower to access |
Many photographers combine two systems. For example, you might use a clip or sling on straightforward trail sections and move the camera into a padded backpack when rain starts or the terrain becomes technical.
Choose the Right Camera Bag for Hiking
A camera bag should fit both your photography equipment and the type of hike you are doing. Landscape photographers carrying extra lenses, filters, batteries, and a tripod often benefit from a backpack with padded dividers. A photographer carrying one compact body and one lens may be more comfortable with a smaller sling, holster, or padded insert inside a normal hiking pack.
Choose a bag that holds the camera securely rather than letting it bounce inside oversized compartments. Adjustable padded dividers help separate the body, lenses, batteries, and other accessories. If the route may be wet, look for a rain cover or another appropriate water-resistant storage solution, and keep sensitive gear inside a dry inner compartment when conditions warrant it.
A hiking camera bag also has to work as a hiking pack. Check whether it fits your torso, works with your hip belt, leaves room for water and required trail gear, and remains balanced after the camera equipment is loaded.
Use a Comfortable Camera Strap
A basic neck strap can work for short, easy walks, but it may become uncomfortable when a heavier camera hangs from the neck for hours. It can also allow the camera to swing as you walk.
For longer hikes, consider a padded shoulder or cross-body sling that lets the camera sit closer to your torso. A properly adjusted sling can give you quick access without leaving the camera bouncing at knee or stomach level. Some straps can be reconfigured between neck, shoulder, and sling carry; for example, the Peak Design Slide uses two camera attachment points and can be configured in several carry positions.
Whatever style you choose, inspect the strap and attachment points before leaving the trailhead. Replace frayed webbing, damaged anchors, cracked buckles, or questionable connectors rather than trusting expensive equipment to worn hardware.
Pro Tip: Walk around at home with your fully loaded hiking pack and camera attached. Climb stairs, bend over, and move your arms. If the camera swings, hits your body, blocks a pack buckle, or pulls one shoulder down, adjust the setup before taking it onto the trail.
Consider a Camera Clip or Holster
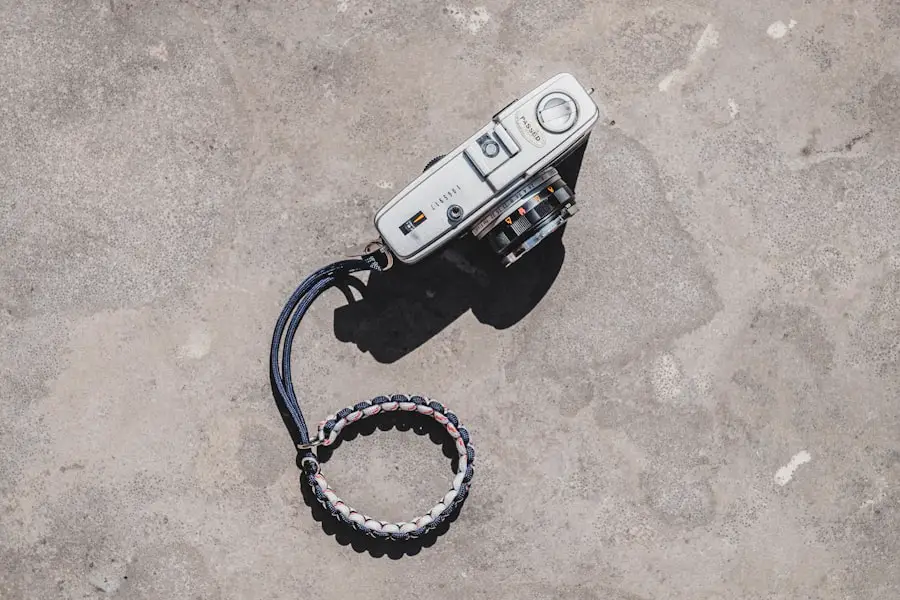
A locking camera clip can attach a camera to a compatible backpack strap or belt, keeping it close to the body while providing quick access. The Peak Design Capture, for example, uses a quick-release plate and a redundant locking mechanism intended to reduce accidental release.
Before using any clip, confirm that the camera, lens, plate, clip, and backpack strap are compatible according to their manufacturers. Tighten the mounting hardware correctly and check it periodically during the hike. Heavy lenses can place more leverage on a camera mount or shoulder strap, so a larger system may be more comfortable in a harness or padded pack.
A secondary camera strap or tether can provide another layer of security when using a quick-release system, especially near drop-offs. It should be routed so it does not create a snagging hazard or interfere with your movement.
Protect Your Camera from Rain, Dust, and Condensation
| Element | Protection Method |
|---|---|
| Rain or spray | Camera rain cover, protected bag, or waterproof enclosure appropriate to the equipment and exposure |
| Dust or blowing sand | Keep the camera covered when possible and minimize lens changes in exposed conditions |
| Cold-to-warm temperature change | Allow the camera to acclimate gradually to reduce condensation risk |
| Impacts | Padded insert, camera bag, holster, or protective wrap |
Do not assume a camera or lens is waterproof because its marketing mentions weather, dust, or moisture resistance. Protection varies by model and by the combination of camera body, lens, ports, doors, and accessories. Check the manual for your exact equipment before exposing it to rain.
Dust and sand deserve special attention with interchangeable-lens cameras. Nikon recommends minimizing the amount of time the camera body is open during a lens change and shielding it from wind, rain, and dust. Prepare the replacement lens before removing the current one rather than leaving the camera body open while you search through your bag. See Nikon’s lens-changing guidance.
Temperature changes can also affect your gear. Moving a cold camera directly into a warm, humid environment can produce condensation on or inside equipment. Allow the camera to acclimate gradually and follow the manufacturer’s instructions if condensation forms. Sony’s current support guidance also notes that rapid temperature changes can contribute to moisture and fogging.
Note: A rain cover protects against a different level of exposure than a waterproof underwater housing. If there is any chance the camera will be submerged, use a housing or storage system specifically rated for that purpose and for your exact camera setup.
Be Mindful of Weight Distribution
Where you place camera equipment in a backpack affects how the pack carries. Keep dense camera bodies and lenses close to your body instead of at the outer edge of the pack, and avoid loading most of the weight on only one side.
Backpack manufacturer Deuter recommends keeping the heaviest part of a hiking load close to the body. It also notes that the ideal vertical position can change with terrain: a slightly lower center of gravity may improve balance on difficult ground. See Deuter’s backpack-packing guidance.
Tripods, water bottles, and lenses attached to the outside of a backpack should be secured so they cannot swing or shift as you walk. A balanced load is particularly important on uneven or steep trails.
Keep Your Camera Accessible When the Trail Is Safe
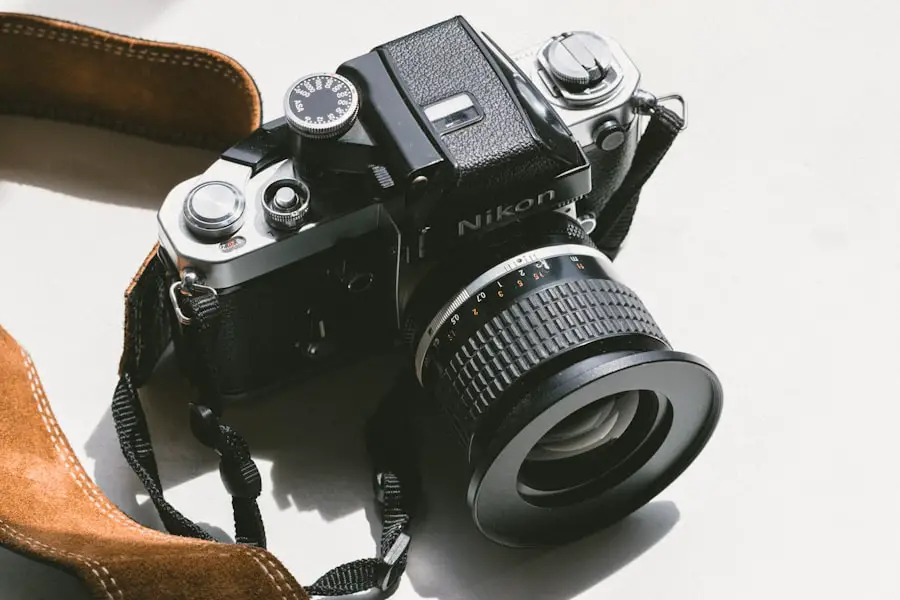
Quick access matters because wildlife, changing light, and brief landscape moments may not wait while you unpack a camera. Side-access backpacks, slings, clips, and holsters can all reduce the time between seeing a scene and being ready to photograph it.
Accessibility should not override safety. A camera hanging outside your pack may be reasonable on a smooth trail but a poor choice when you enter dense brush, climb over rocks, descend loose ground, or approach an exposed section.
Organize the rest of your equipment consistently. Keep spare batteries, cards, filters, and frequently used accessories in predictable locations so you do not need to empty the pack beside the trail.
Use a Tripod When the Shot Needs Extra Stability
A tripod is useful for long exposures, low-light photography, panoramas, carefully composed landscapes, and other situations where a stable camera position matters. It is not necessary for every hiking photograph, so consider whether the shots you expect to make justify the extra weight.
If you carry a tripod, fasten it tightly to the backpack rather than letting it swing from a loose strap. When setting up, extend the legs securely and position the tripod where it will not create a trip hazard for you or other hikers. A remote release or the camera’s self-timer can help reduce movement when pressing the shutter.
Never place a tripod where getting the photograph would require you to stand on an unstable edge, block a trail, or enter terrain beyond your skills.
Secure Your Camera During Challenging Terrain
Technical terrain changes the priority from camera access to personal safety. The National Park Service notes that class 2 scrambling terrain may require hands for balance, while class 3 terrain typically requires more consistent hand use. If you expect to use your hands to climb, stabilize yourself, or arrest a slip, place the camera in a secure padded compartment before starting that section.
Warning: Stow your camera before scrambling, climbing ladders, crossing exposed rock, negotiating dangerous stream crossings, or entering any section where a camera could interfere with balance. Do not hold a camera in one hand when you need both hands for safe movement, and never risk a fall to protect or retrieve camera equipment.
For more information on technical hiking terrain, see the National Park Service scrambling guidance.
What to Do at Stream Crossings
Pack the camera before entering a crossing rather than trying to photograph while wading. Use a waterproof bag, dry bag, or other suitable protected storage if there is a realistic chance that your equipment could get wet.
The National Park Service warns that stream and river crossings can be dangerous and recommends being prepared to turn around when conditions are too high, cold, or swift. Camera protection is secondary to choosing a safe crossing. See the NPS stream-crossing safety guidance.
Keep Your Camera Clean and Dry
Dust, grit, fingerprints, salt, and moisture can affect lenses and camera components. Carry a clean microfiber lens cloth and a blower intended for camera equipment, and follow the cleaning instructions in your camera and lens manuals.
Replace lens and body caps promptly when equipment is not attached. At the beach or in blowing dust, avoid unnecessary lens changes. If the camera becomes wet, follow the manufacturer’s care instructions rather than applying high heat or immediately opening every compartment outdoors.
For longer storage, keep equipment in a cool, dry environment. Appropriate desiccant can help control humidity when used correctly in an enclosed storage system, but it does not make an open camera bag waterproof or eliminate the need to dry wet equipment properly.
Practice Safe Handling and Lens Changes
Before the hike, check the camera strap, quick-release plate, tripod socket, clip, buckles, zippers, harness attachment points, and any secondary tether. A small loose screw that is harmless at home can become a serious problem after several hours of vibration and movement on a trail.
When changing lenses, have the replacement lens ready first. Minimize the time the camera mount is open and avoid changing lenses in blowing sand, rain, or strong wind whenever possible. Nikon specifically advises shielding the camera from wind, rain, or dust during a lens change.
When you stop for a break, do not place an unsecured camera on a sloped rock, trail edge, or loose backpack. Put it back into its holster, clip, strap position, or padded compartment before moving again.
Use a Waterproof Camera Case When You Need Full Water Protection
A waterproof case or housing is useful when the camera may be exposed to more water than its normal design allows, particularly around boats, waterfalls, heavy spray, or underwater photography. Choose a housing designed for the exact camera model and intended depth or exposure.
For normal hiking rain, a fitted camera rain cover or protected compartment may be more convenient than a rigid underwater housing. The correct choice depends on the weather, equipment rating, and consequences of water exposure.
Before using waterproof housing, inspect seals, doors, latches, and sealing surfaces according to the manufacturer’s instructions. Keep dirt, hair, sand, and other debris away from seals, because a waterproof system is only useful when it is assembled and maintained correctly.
Frequently Asked Questions
What are the different ways to carry a camera while hiking?
Common options include a cross-body or sling strap, backpack-mounted camera clip, chest harness, hip holster, dedicated camera bag, padded insert, or camera backpack. Many hikers combine a quick-access method on easy trail sections with protected backpack storage for rough terrain or bad weather.
What is a camera strap and how is it used for hiking?
A camera strap connects the camera to your body so it remains accessible while you walk. For longer hikes, many photographers prefer a properly adjusted cross-body or sling configuration because it can keep the camera closer to the torso than a loose neck strap.
What is a camera clip and how is it used for hiking?
A camera clip attaches to a compatible backpack strap or belt and holds the camera using a locking plate or mount. It offers fast access while limiting swinging, but the camera remains exposed to rain, dust, brush, and impacts. Check compatibility and mounting hardware before every hike.
What is a camera bag and how is it used for hiking?
A camera bag uses padded compartments to protect and organize a camera, lenses, batteries, and accessories. On a hike, choose a bag that fits your body correctly, balances the load, provides enough room for essential hiking gear, and offers suitable weather protection.
What is a camera backpack and how is it used for hiking?
A camera backpack is designed to carry camera equipment in padded compartments while distributing the load across both shoulders and, on many models, a hip belt. It offers more protection and capacity than most clips or simple straps but may take longer to access.
What should I consider when choosing a method to carry my camera while hiking?
Consider the combined weight of the camera and lens, trail difficulty, expected weather, how frequently you will shoot, the level of impact protection needed, and how the system works with your backpack. Test the complete setup before taking it on a long hike.
Should I carry my camera around my neck while hiking?
A neck strap can be adequate for a light camera and a short, easy walk, but a heavier setup may swing or become uncomfortable over time. A cross-body sling, locking clip, harness, or padded bag is often easier to control on longer or rougher hikes.
Should I keep my camera outside my backpack on steep terrain?
Not when the terrain requires your hands for balance or creates a meaningful fall or impact risk. Before scrambling, climbing, difficult crossings, or exposed sections, secure the camera inside a padded compartment so it cannot interfere with safe movement.
Sources
- Peak Design — Capture Camera Clip — quick-release clip design, locking mechanism, and backpack-strap mounting.
- Nikon — How to Change a DSLR Lens — reducing dust exposure and shielding the camera during lens changes.
- Sony — Waterproof Case and Condensation Guidance — temperature changes, moisture, and fogging precautions.
- National Park Service — Scrambling — terrain classes and situations where hikers need their hands for balance or movement.
- National Park Service — Stream Crossing Safety — crossing hazards, waterproofing critical equipment, and deciding when to turn back.
- Deuter — How to Pack a Backpack — load placement, center of gravity, balance, and difficult-terrain packing.