
Last Updated on August 2, 2026 by Mason Reed
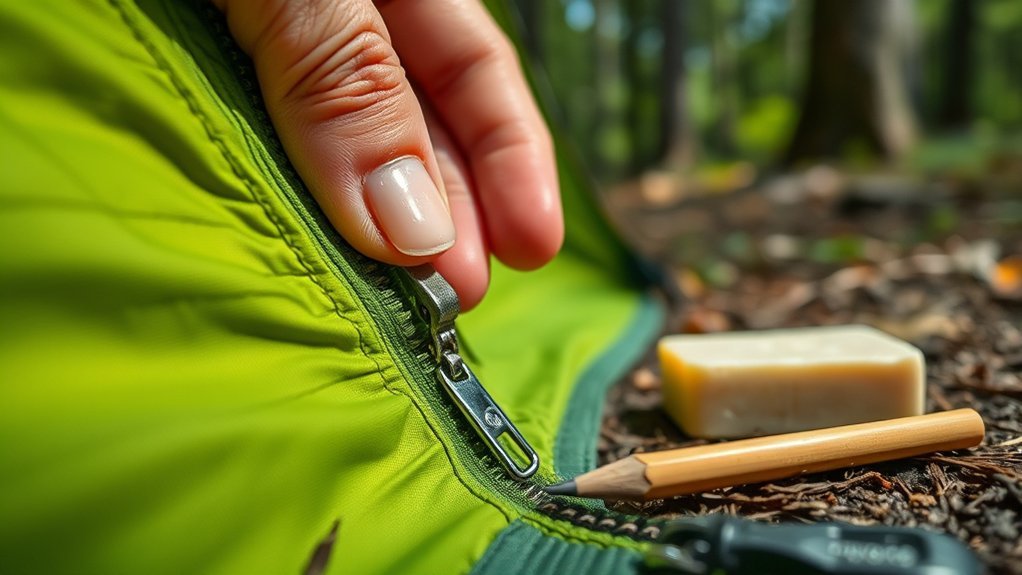
A stuck tent zipper is usually caused by trapped fabric, grit, excess tension on the door, or a worn slider. Start with the least aggressive fix: support the zipper track, back the slider away from the jam, remove debris, and test it gently. Repair or replace parts only after you identify what has actually failed.
Quick Answer
Do not force a stuck tent zipper. Loosen tension on the tent door, back the slider up, free any trapped fabric, and brush away sand or mud. If the zipper still separates, clean the slider and gently tighten it in tiny steps or replace it with the correct-size slider.
Key Takeaways
- A zipper that will not move is different from one that moves but splits open behind the slider.
- Clean first. Sand, dirt, mud, salt, and trapped fabric cause many tent zipper problems.
- Use a zipper-specific cleaner or lubricant unless your tent manufacturer recommends another product.
- A missing pull tab can be replaced with cord, but a worn slider needs adjustment or replacement.
- Stop DIY work when the coil, teeth, zipper tape, mesh, or stitching is torn.
At a Glance
| Time Required | 5–15 minutes for cleaning or a field fix; 20–45 minutes for a slider replacement |
| Difficulty | Easy for cleaning and pull-tab replacement; moderate for slider replacement |
| Tools Needed | Soft toothbrush, clean water, cloth, zipper cleaner/lubricant, small pliers, cord, and a compatible repair kit if needed |
| Cost | About $0–$20 for common DIY supplies; professional repair varies by damage and brand |
Disclosure: As an Amazon Associate I earn from qualifying purchases. Some links on this page are affiliate links, at no extra cost to you.
Common Causes of Tent Zipper Issues
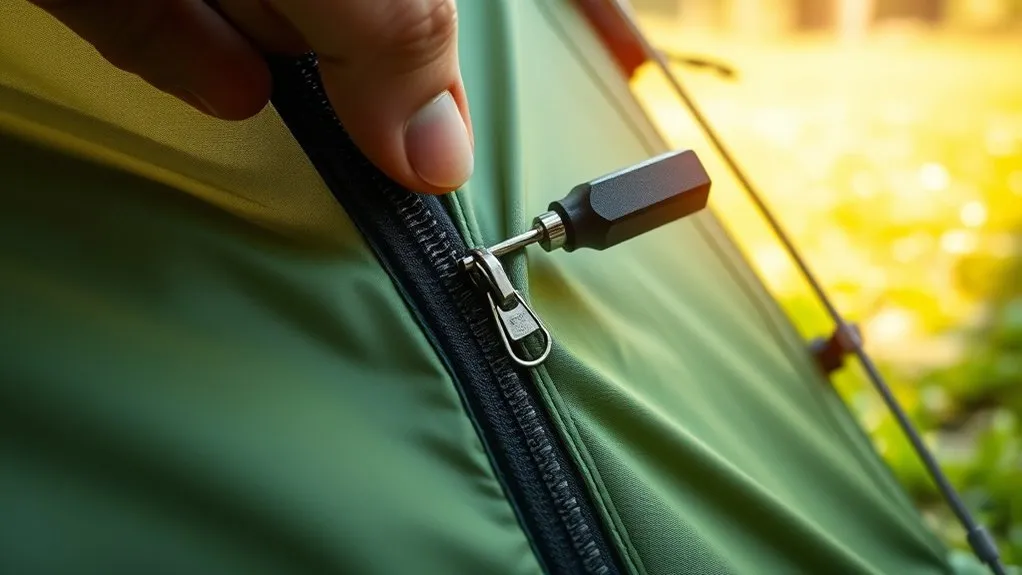
Tent zippers work in dusty, wet, and high-tension conditions. Fine sand, dried mud, salt residue, and fabric fibers can collect in the coil or slider. A door pitched too tightly can also pull the two sides apart and make the slider feel stuck.
The symptoms point to different causes:
| Symptom | Likely Cause | First Action |
|---|---|---|
| Slider will not move | Trapped fabric, grit, corrosion, or too much door tension | Loosen the pitch, back up the slider, and clean the track |
| Zipper closes, then opens behind the slider | Worn or spread slider | Clean and inspect the slider; tighten carefully or replace it |
| Pull tab is missing | Broken pull tab only | Add a cord loop, split ring, or replacement pull |
| Slider came off one or both sides | Failed stop, damaged stitching, or incorrect alignment | Use a model-compatible repair method or professional service |
| Coil, teeth, tape, or mesh is torn | Structural damage | Stop forcing it and contact the manufacturer or a gear-repair shop |
| Zipper is frozen or icy | Trapped moisture that froze overnight | Warm the slider with your hands and clear ice gently before moving it |
Warning: Do not yank the slider or cut the zipper tape as a general first step. Forcing the zipper can bend the slider, damage the coil, tear the mesh, or turn a small repair into a full zipper replacement.
Initial Troubleshooting Steps
Use this order so you do not create more damage while trying to fix the original problem.
- Reduce tension. Unstake or loosen the nearest door or vestibule point. Support the zipper track with one hand so the slider is not pulling against a tight tent panel.
- Look for trapped fabric. Back the slider away from the snag while gently rolling the fabric out. Wiggle the slider side to side rather than pulling harder.
- Brush away debris. Use a dry, soft toothbrush first. For stuck-on dirt or salt, rinse the zipper with clean water and brush again. REI recommends removing sand, dirt, mud, and salt residue before further repair.
- Check for ice or frost. If the zipper is frozen shut, warm the slider by cupping it in your hands and gently work the ice loose. Do not pry it with a knife or tool, and do not apply direct heat.
- Inspect the coil and stitching. Look for flattened coil, missing teeth, torn zipper tape, loose stitching, or mesh caught under the slider.
- Test a short section. Move the slider only a few inches. If it still binds, stop and clean again rather than forcing it through.
The safest zipper repair starts with less force, less tension, and a clear diagnosis.
Pro Tip: Take a close photo of the slider markings before buying parts. Zipper type and size matter, and a replacement that looks similar may not fit the coil.
Using Lubricants for Stuck Zippers
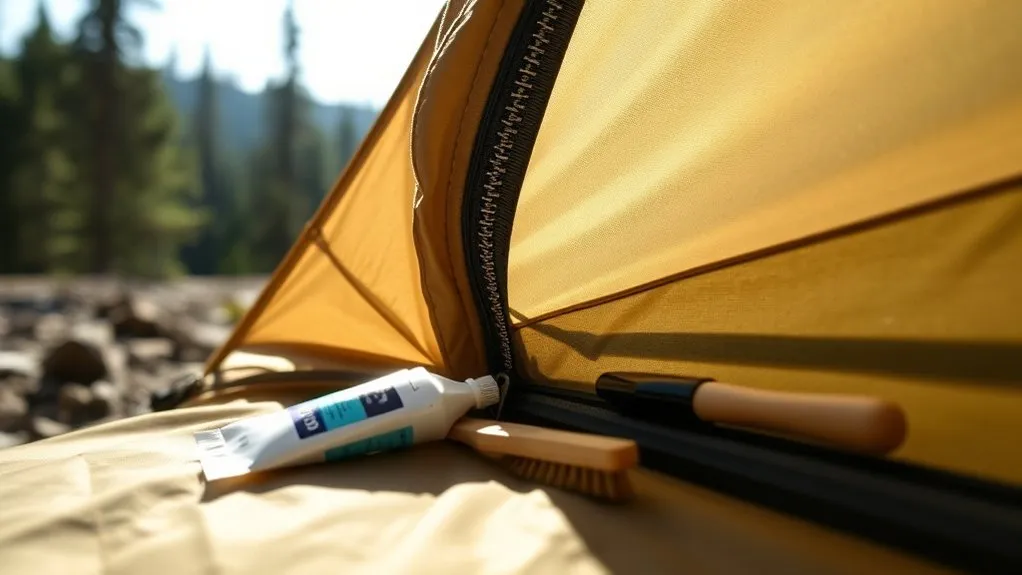
Lubricant helps only after the zipper is clean and undamaged. A dirty zipper coated with the wrong product can hold more grit and wear faster.
- Brush and rinse the zipper as needed, then let it dry.
- Apply a small amount of a zipper-specific cleaner and lubricant to the coil and slider, following the product directions.
- Move the slider back and forth over a short section to spread the product.
- Wipe off excess residue with a clean cloth.
For a temporary field fix, REI suggests rubbing an unscented candle lightly along the zipper teeth, then cleaning off the wax and using a proper zipper product at home. Do not use cooking oil, petroleum jelly, penetrating oil, lip balm, or greasy household products. They may stain fabric and collect dirt.
Note: “Silicone lubricant” is not one universal formula. Some tent makers allow silicone zipper spray, while some zipper cleaners are intentionally silicone-free. Follow your tent manufacturer’s guidance and the product label.
Repairing Zipper Pulls in the Field
A zipper pull tab is the small piece you hold. The slider is the metal or plastic body that joins the zipper coil. Replacing a broken pull tab does not require cutting the zipper tape or removing the slider.
Quick Pull-Tab Replacement
- Check that the slider body is not cracked or spread apart.
- Thread a short loop of thin cord through the slider’s pull opening.
- Tie a compact overhand or double overhand knot and trim the ends.
- Test the zipper while holding the track with your other hand.
A small split ring, paper clip, or purpose-made replacement pull can also work temporarily. Avoid sharp wire ends that could cut mesh or skin.
Emergency Closure When the Zipper Cannot Be Repaired
If the door will not close, overlap the door panels and secure them with small clips, safety pins placed through reinforced fabric, or short cord loops through existing zipper-pull openings. Keep ventilation open and avoid puncturing waterproof panels unless shelter security is more important than cosmetic damage.
Replacing a Worn Zipper Slider Safely
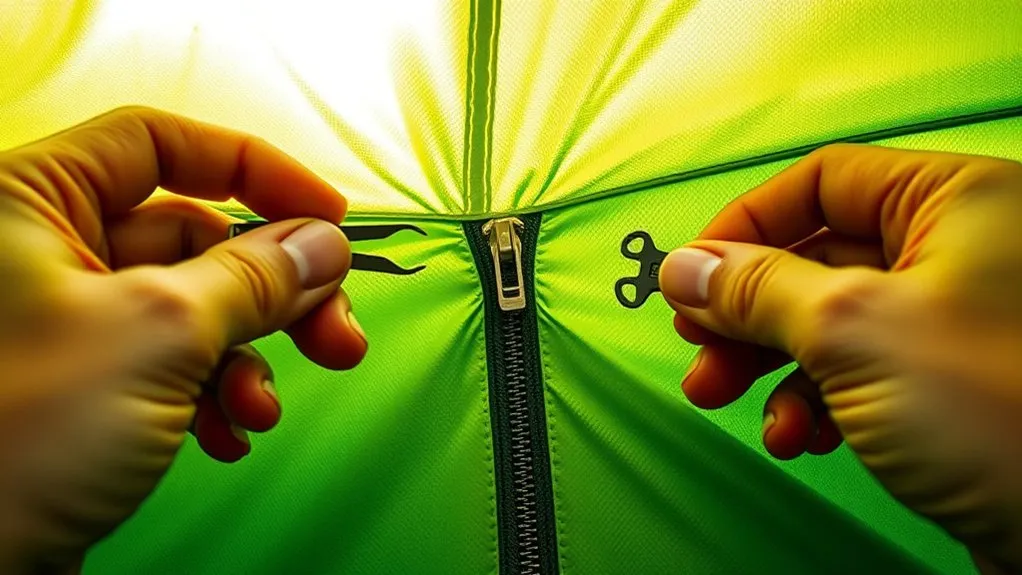
If the slider moves but the zipper separates behind it, the slider may have spread from wear or debris. NEMO and REI describe a careful plier adjustment as a possible fix when the coil itself is intact.
Option 1: Tighten the Existing Slider
- Clean the zipper and inspect the slider.
- Move the slider to an easy-to-reach, low-tension section.
- With small needle-nose pliers, press the top and bottom of the slider together very slightly.
- Test after each tiny adjustment.
- Stop as soon as the zipper closes correctly.
Warning: Do not crush the slider. Too much pressure can jam it permanently or damage the coil. Never squeeze the pull tab connection as a substitute for tightening the slider body.
Option 2: Replace the Slider
Use a compatible slider-repair kit and the instructions for your zipper type. A typical kit may include several slider sizes, a seam ripper, needles, thread, and replacement top stops. The exact access point differs by tent: some repairs open stitching at the top stop, while a few manufacturers use a model-specific incision and patch method. Do not cut the zipper tape unless the tent maker’s instructions for your exact model require it. If your tent door uses two sliders that meet in the middle, replace and align both together so they mesh evenly; swapping only one often leaves the pair mismatched.
- Identify the zipper type, slider size, and whether the door uses one or two sliders.
- Photograph the original stop, stitching, and slider orientation.
- Open only the minimum stitching or stop required by the approved instructions.
- Remove the old slider and feed both zipper sides evenly into the replacement.
- Test the full zipper before closing the access point.
- Install a new stop or resew the opened area with strong thread so the slider cannot run off the end.
The GEAR AID Zipper Repair Kit is one example of a kit that includes multiple sliders, sewing tools, and top stops. Confirm compatibility before opening the zipper end.
Securing the New Zipper for Longevity
A replacement slider is only as reliable as the stop and stitching that hold it on the track. After testing the repair, restore the original stop area with a compatible top stop or a tight sewn bar tack. Keep stitches in the existing seam allowance when possible so you do not create new holes in waterproof fabric.
Repair tape can reinforce torn fabric beside a zipper, but it is not a universal replacement for a zipper stop or structural stitching. DCF tape is intended for compatible Dyneema Composite Fabric repairs; it is not the correct tape for every nylon, polyester, mesh, or canvas tent.
Pro Tip: Pitch the tent and test the repaired zipper under normal door tension before taking it into the backcountry. Open and close it slowly several times and check that the new stop cannot pull through.
When to Stop DIY Repair
Cleaning, a pull-tab replacement, and careful slider service are reasonable home repairs. Seek warranty help or a professional gear-repair shop when:
- The zipper coil or molded teeth are missing, cut, or permanently deformed.
- The zipper tape is torn away from the tent body.
- Mesh or coated fabric is ripped around the zipper.
- The slider repeatedly comes off after the stop is repaired.
- The zipper curves around a door and you cannot match or feed the slider evenly.
- The tent is under warranty or the manufacturer offers a repair program.
Big Agnes notes that worn sliders can often be replaced, while damaged or missing zipper teeth generally require more extensive work. A professional repair is usually safer than repeated crimping or cutting.
Preventive Measures for Zipper Maintenance
A few simple habits reduce wear and make small problems easier to catch before a trip.
Regular Cleaning Practices
- Brush the zipper after sandy, dusty, muddy, or salty trips.
- Rinse stubborn residue with clean water, then let the zipper dry fully.
- Inspect the coil, slider, stops, stitching, and nearby mesh before storage.
- Store the tent completely dry and loosely packed in a cool, dry place.
- Avoid folding the tent sharply across the same zipper section every time.
REI recommends gentle hand cleaning rather than machine washing or drying a tent. Big Agnes recommends cleaning zipper coils between trips with a zipper cleaner/lubricant or mildly soapy water and a toothbrush.
Lubrication Techniques
Lubricate when the clean zipper feels rough, after heavy salt or grit exposure, or as directed by the tent maker. Apply a small amount, work it through a short section, and wipe away excess. More product is not better.
- Pull in line with the zipper instead of outward.
- Use two hands when the door is under tension.
- Fully open the door before climbing through it.
- Do not step on the zipper or pack it with sand inside the slider.
- Fix repeated splitting early; it often points to a worn slider.
Frequently Asked Questions
Can I use cooking oil as a zipper lubricant?
No. Cooking oil can spread onto the tent fabric and hold dust or grit. Clean the zipper first, then use a zipper-specific cleaner or lubricant approved for outdoor gear.
How often should I lubricate my tent zippers?
There is no universal calendar interval. Inspect zippers after trips, clean them after sand, mud, dust, or salt exposure, and lubricate only when the clean zipper feels rough or the manufacturer recommends it.
Is it safe to force a stuck zipper?
No. Back the slider away from the jam, support the track, and remove trapped fabric or debris. Forcing it can bend the slider, damage the coil, or tear the tent wall.
What materials should I avoid using on tent zippers?
Avoid cooking oils, petroleum jelly, penetrating oils, harsh solvents, bleach, and abrasive cleaners. Also avoid using DCF repair tape on non-DCF fabric unless the tape maker or tent manufacturer confirms compatibility.
Can extreme temperatures affect zipper performance?
Ice, frozen moisture, and stiff cold fabric can make a tent zipper harder to move. Remove ice gently and warm the slider with your hands. Do not use a flame, boiling water, or a high-heat tool near tent fabric.
Why does my tent zipper keep separating?
If the zipper closes and then splits behind the slider, the slider may be dirty, worn, or spread apart. Clean it first. A slight plier adjustment may help, but repeated splitting usually means the slider should be replaced.
Conclusion
A stuck tent zipper does not have to end a camping trip. Start by reducing door tension, backing away from the snag, and cleaning the coil. Replace only the part that failed: use cord for a missing pull tab, adjust or replace a worn slider, and leave torn coil, tape, mesh, or stitching to a qualified repair service. A gentle repair is usually the strongest repair.
Sources
- REI Co-op: How to Clean, Waterproof and Care for a Tent — safe handling, zipper troubleshooting, cleaning, and storage.
- REI Co-op: Tent Repair — cleaning a sticky zipper and temporary wax guidance.
- NEMO Equipment: Easy Fix for a Zipper Not Closing Properly — cleaning and careful slider adjustment.
- GEAR AID: Zipper Cleaner and Lubricant — product compatibility and removal of sand, dirt, and salt.
- GEAR AID: Zipper Repair Kit — replacement slider sizes, sewing tools, and top stops.
- Big Agnes: Seasonal Tent Maintenance — cleaning zipper coils between trips.
