
Last Updated on July 29, 2026 by Mason Reed
Tent condensation is common in humid weather because warm, moisture-filled air meets cooler tent fabric. You may not be able to stop every droplet, but you can keep most moisture away from your sleeping bag by choosing a drier campsite, pitching the tent correctly, ventilating all night, keeping wet gear outside, and drying the shelter before storage.
Quick Answer
To reduce tent condensation in humid weather, camp on higher, drier ground; use every safe vent; tension the rainfly so it stays separated from the inner tent; keep wet gear outside; and wipe away droplets in the morning. Some condensation is normal, especially during rain, cold nights, and still air.
Key Takeaways
- Condensation forms when moist air reaches tent fabric that has cooled to the dew point.
- Ventilation is the strongest practical control, but no tent design can eliminate condensation in every condition.
- Higher, drier ground and a safe site beneath healthy tree cover can reduce overnight cooling and moisture exposure.
- Wet clothing, damp boots, cooking, and breathing add moisture inside the shelter.
- Dry the tent completely before long-term storage to help prevent mildew and coating damage.
At a Glance
| Time Required | About 10–15 minutes during setup, plus morning drying time |
| Difficulty | Easy |
| Tools Needed | Tent stakes, guylines, absorbent towel, dry storage bag, and an optional small battery fan |
| Cost | Usually $0 with existing gear; an optional fan or extra towel may add a small cost |
Disclosure: As an Amazon Associate I earn from qualifying purchases. Some links on this page are affiliate links, at no extra cost to you.
How Tent Condensation Is Created

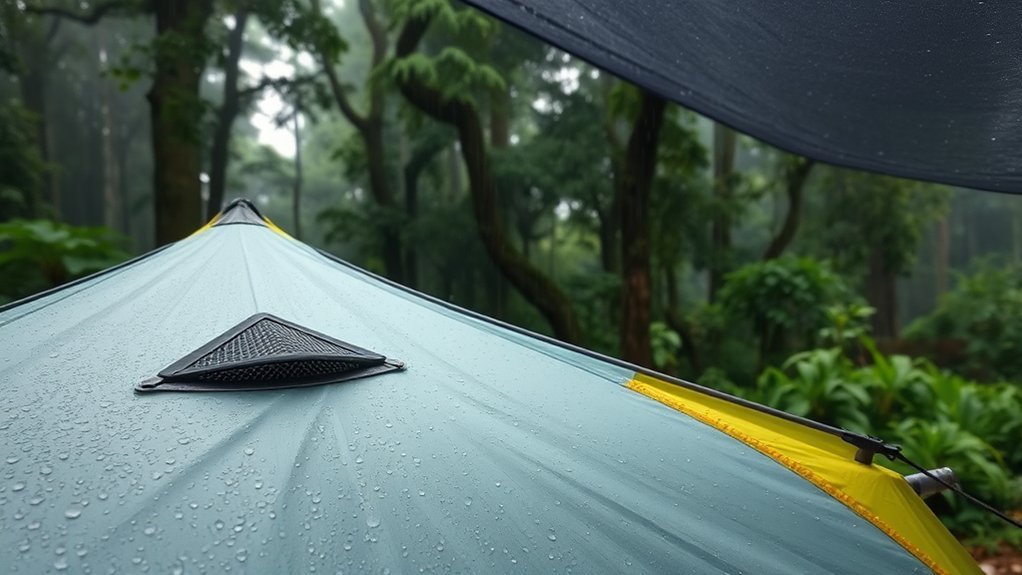
Condensation begins when water vapor in the air touches a surface that is at or below the dew point. The National Oceanic and Atmospheric Administration defines the dew point as the temperature at which water vapor turns into liquid droplets. During the night, the rainfly can cool faster than the air inside the tent, so moisture collects on its inner surface.
Your breath and body heat add moisture to the shelter. Wet soil, damp clothing, soaked boots, pets, and rainwater carried inside add even more. Cooking also releases water vapor, although the greater concern is that fuel-burning stoves can create fire and carbon-monoxide hazards in enclosed spaces.
Condensation is not proof that a tent leaks. It is often moisture from the air collecting on a cold surface.
Why Humid Weather Makes Condensation Worse
When the dew point is high, the air already contains a large amount of moisture. Only a small drop in fabric temperature may be needed for droplets to form. Rain and wet ground also raise local moisture levels, while calm air slows the exchange of humid interior air with outside air.
Note: The goal is moisture management, not a perfectly dry rainfly. In muggy, rainy, or windless conditions, some condensation may remain even with an excellent pitch.
Pitch Your Tent Beneath Safe Tree Cover
A healthy tree canopy can create a more protected microclimate and reduce the amount of heat the tent loses to the open night sky. This may keep the rainfly slightly warmer and lower the chance that its surface reaches the dew point. Tree cover can also intercept some overnight dew.
Do not assume that every wooded spot has better airflow. Dense brush can block wind, and some trees create serious overhead hazards. Check the trunk, roots, and branches before pitching. Avoid dead, cracked, leaning, burned, or storm-damaged trees and any loose limb hanging above the site.
Warning: Never trade safety for lower condensation. The National Park Service advises campers not to pitch beneath dead branches or near trees that may fall.
Don’t Camp Right Next to Water
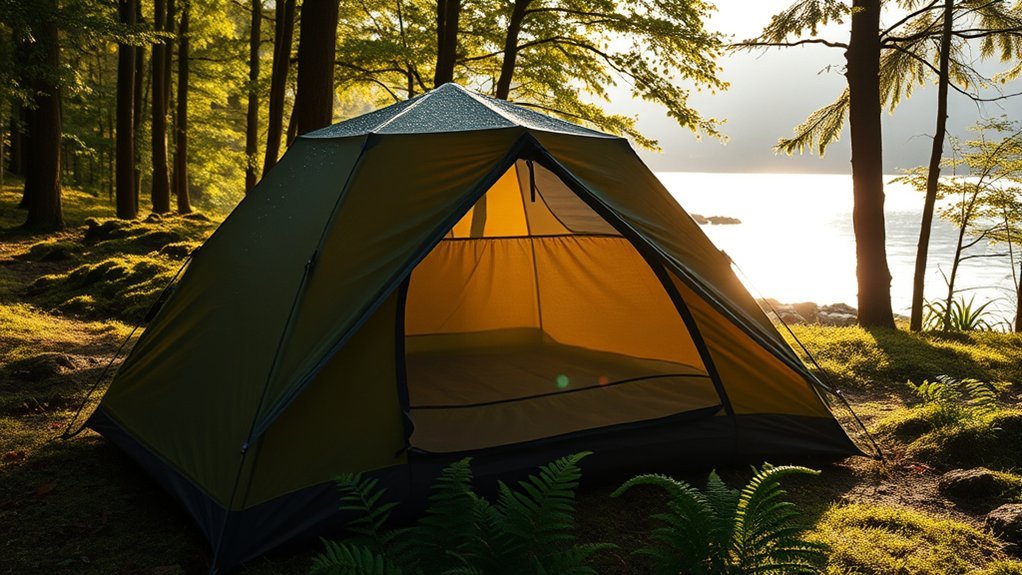
Areas beside lakes, rivers, marshes, and saturated meadows are often damp and may cool quickly overnight. Moving to a legal, established site on higher and drier ground can reduce the moisture around your tent. It also helps protect shorelines and keeps wildlife routes open.
- Follow local rules first: Use designated tent pads when a campground or permit requires them.
- Use the 200-foot guideline in dispersed settings: Leave No Trace recommends camping about 200 feet, or 70–80 adult steps, from water where regulations allow. This guidance primarily protects wildlife access and riparian areas; it is not a guaranteed condensation fix.
- Choose durable ground: Prefer an existing campsite, exposed rock, gravel, sand, dry grass, or compacted soil rather than fragile vegetation.
- Avoid flood paths: Do not pitch in dry streambeds, drainage channels, ravines, or places showing signs of past flooding.
Camp on Higher, Drier Ground
Cold, damp air often settles in hollows, low spots, and valley bottoms. A modestly elevated site can offer better drainage and airflow without exposing you to the wind and lightning risks found on an open ridge or summit. Look for a level, durable surface that is above obvious runoff channels but still sheltered from severe weather.
| Site Feature | Why It Helps | Condensation Effect |
|---|---|---|
| Slightly elevated terrain | Avoids cold-air pockets and standing water | May reduce cooling and local humidity |
| Open but sheltered airflow | Allows moist air to move without taking the full force of a storm | Improves ventilation |
| Firm, well-drained surface | Keeps the floor away from puddles and saturated soil | Reduces moisture exposure beneath the tent |
| Safe tree cover | Reduces radiative cooling to the open sky | Can help keep the fly above the dew point longer |
Pro Tip: Check the site at ground level before unpacking. If the grass is already wet, the soil feels saturated, or mist is sitting in the hollow, move to a nearby legal spot that is slightly higher and better drained.
Don’t Dry Wet Gear Inside the Tent
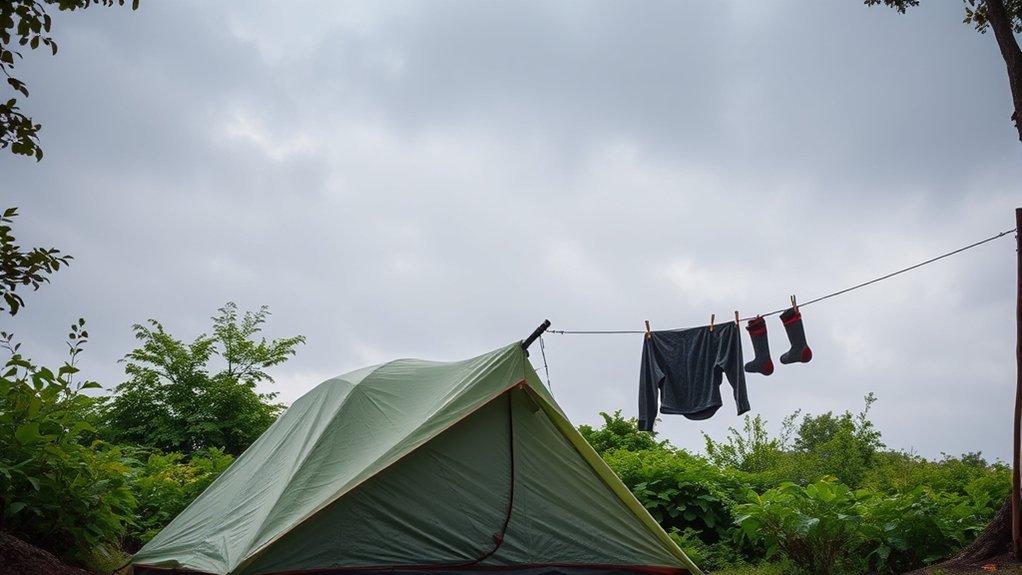
Wet clothing, boots, towels, and packs release moisture as they warm. Drying them in the sleeping area can quickly raise the humidity around the rainfly and sleeping bags. Keep soaked items in a vestibule, under a tarp, or in a waterproof bag until you can dry them outside.
Drying wet gear inside your tent adds moisture to the same small airspace you are trying to keep dry.
- Hang clothes outside when conditions allow: Use a clothesline or tarp without damaging trees or vegetation.
- Change into dry sleep clothing: Reserve one base layer and one pair of socks for sleeping.
- Separate wet gear: Store damp items in the vestibule or a waterproof bag, not against the tent wall.
- Vent unavoidable dampness: Open the safest available vents and keep them clear of packs and clothing.
Warning: Never use a charcoal grill, fuel-burning lantern, or portable camping stove inside a tent. The Centers for Disease Control and Prevention warns that carbon monoxide can build up in enclosed or partly enclosed spaces and can cause sudden illness or death.
Dry Your Tent Off
Remove as much water as possible before packing. If weather or timing forces you to pack the tent wet, unpack it and dry it fully at the first safe opportunity. Moisture left in storage can encourage mildew, odors, delamination, and damage to waterproof coatings.
Wipe the Tent Down
Use a clean, absorbent towel or microfiber cloth to remove droplets from the rainfly, inner walls, floor corners, and seams. Work gently so you do not abrade coated fabric.
- Shake loose water from the rainfly before folding or rolling it.
- Wipe the inside of the fly and any wet sections of the tent body.
- Pay attention to corners, pole intersections, and areas where gear touched the wall.
- Air-dry the shelter as much as conditions allow before placing it in the stuff sack.
Separate Components for Drying
Separate the rainfly, inner tent, footprint, and groundsheet so air can reach both sides of each piece. During a wet trip, you may transport the soaked fly separately from the dry inner tent. At home, hang or pitch every component until it is completely dry, then store the tent loosely in a cool, dry place rather than leaving it compressed for months.
Brief sunlight can speed field drying, but prolonged ultraviolet exposure can weaken tent fabrics and coatings. For thorough drying at home, follow the manufacturer’s care instructions and use a shaded outdoor area or a well-ventilated indoor space. REI’s tent-care guidance recommends complete air-drying before storage and avoiding harsh household cleaners.
Note: A footprint can protect the floor from abrasion and wet ground, but it is not a substitute for ventilation. Make sure it is no larger than the tent floor so rain cannot collect between the footprint and the tent.
Give Your Tent Plenty of Room to Breathe
A double-wall tent works best when the rainfly and inner tent remain separated. That gap allows air to move and keeps most condensation on the fly instead of against your sleeping bag.
- Pitch the tent to the manufacturer’s design: Attach every required pole clip, fly buckle, vent strut, and guyout.
- Tension the rainfly evenly: A taut fly is less likely to sag against the inner tent after rain or dew.
- Use the guylines: Stake designed guyout points rather than placing improvised sticks under the lines.
- Keep gear away from the walls: Leave space around sleeping bags, packs, and clothing so they do not absorb droplets or push the inner tent into the fly.
Recheck tension after the fabric gets wet because many nylon rainflies stretch. Do not overtighten to the point that seams, zippers, stakes, or poles are strained.
Ventilation Is Your Best Friend
Ventilation replaces warm, moist interior air with outside air. Open high and low vents early, before droplets become heavy. Use opposing vents when possible to create crossflow, and keep mesh panels and vent openings clear.
In a gentle breeze and dry weather, orient a door or large vent toward the airflow. During wind-driven rain, follow the tent maker’s storm-pitch instructions and close only the openings needed to keep water out. Roof vents and protected rainfly vents can often remain open even when vestibule doors are partly closed.
Do not seal the tent tightly just to hold warmth. A tent is not an insulated room, and trapping moist air often creates a wetter sleeping environment. Instead, use an appropriately rated sleeping bag and pad for warmth while maintaining safe airflow.
Need Some Extra Airflow? Here’s How
If condensation is building despite normal ventilation, increase airflow without exposing the interior to rain or creating a wind hazard.
- Open every protected vent: Start with roof vents and opposing fly vents that can shed rain.
- Adjust the vestibule doors: Roll them back in dry weather or crack the leeward side when the design allows.
- Face a vent toward a light breeze: Avoid turning a broad, weak side of the tent into strong wind.
- Move gear away from openings: Packs and clothing can block both intake and exhaust paths.
- Use a small battery fan if needed: Aim it toward an open vent. A fan can move air, but it cannot remove moisture from a sealed tent.
- Reduce crowding: More occupants and wet gear add more moisture, so use a shelter with enough floor area and ventilation for the group.
Single-Wall vs. Double-Wall Tent Condensation
Both designs can develop condensation. In a single-wall tent, the waterproof wall is also the interior wall, so sleepers are more likely to touch droplets. Single-wall shelters need careful vent use and enough interior space to keep bedding away from the fabric.
A double-wall tent has a separate inner body and rainfly. Condensation still forms on the fly, but mesh or fabric creates a buffer between the wet outer layer and the sleeping area. A poor pitch that lets the fly touch the inner tent can defeat this advantage.
How to Tell Condensation From a Tent Leak
Condensation and leaks can look similar, especially during steady rain. Use the pattern and location of the water to narrow down the cause.
- Likely condensation: Fine droplets cover broad areas on the underside of the fly, roof, or walls; moisture is worse near sleepers; and water appears even when rain is light or absent.
- Likely leak: Water enters repeatedly at one seam, zipper, tear, pole attachment, or worn coating, often in the same place during rain.
- Possible contact transfer: The inner tent, sleeping bag, or gear touches a wet rainfly and pulls moisture inward.
- Possible floor problem: Water pools beneath a footprint that extends past the tent, or pressure forces water through damaged floor fabric or seams.
Pro Tip: Test a suspected leak at home after the tent is clean and dry. Pitch it correctly, use a gentle hose spray, and watch one area at a time. Follow the manufacturer’s repair instructions before applying seam sealer or waterproofing products.
Troubleshooting Condensation in Difficult Weather
During Steady Rain
Keep protected roof vents open, tension the rainfly, prevent the fly from touching the inner tent, and crack a leeward vestibule opening only if the design sheds rain safely. Wipe heavy droplets before they run onto bedding.
During Cold, Calm Nights
Use all available vents because still air limits natural crossflow. Keep wet gear outside the sleeping area, avoid breathing into the sleeping bag, and use a small fan aimed toward an open vent if your setup and conditions allow.
When the Tent Is Crowded
Open more vent area, spread sleepers away from walls, move packs to the vestibule, and choose a larger or better-ventilated shelter on future trips. Every person adds moisture through breathing and skin evaporation.
When Condensation Drips on Your Sleeping Bag
Wipe the wall or fly, move the bag toward the center, confirm that the inner and outer layers are separated, and dry the bag at the next opportunity. A damp sleeping bag can lose warmth, especially when its insulation becomes saturated.
Frequently Asked Questions
What tent materials are best for minimizing condensation?
Ventilation design matters more than a single fabric label. In humid conditions, look for large mesh panels, protected high and low vents, opposing openings, and a rainfly that can be tensioned away from the inner tent. Waterproof-breathable single-wall fabric can still collect moisture when airflow is limited.
How does humidity affect different types of tents?
High humidity raises the dew point, so tent fabric needs to cool only slightly before droplets form. Single-wall tents put that wet surface inside the living area. Double-wall tents can keep most moisture on the rainfly, but they still need airflow and a correct pitch.
Can I use a dehumidifier in my tent?
A powered dehumidifier is usually impractical for ordinary tent camping because it needs electricity, works best in a more enclosed space, and does not replace ventilation. At a serviced campsite, use only equipment rated for the environment and keep cords dry and protected. Never use a fuel-burning heater or stove as a drying method.
What time of day is best for tent ventilation?
Ventilate continuously while the tent is occupied, including overnight, unless severe weather requires temporarily closing an opening. Increase airflow in the morning as soon as rain and wind allow, then shake, wipe, and air-dry the fly before packing.
How do I clean my tent to help prevent mold?
Follow the tent manufacturer’s instructions. A common method is spot-cleaning with cold water, a soft non-abrasive sponge, and a mild non-detergent soap made for outdoor gear. Avoid bleach, harsh household detergents, machine washing, and machine drying unless the manufacturer specifically permits them. Dry every component completely before storage.
Why is my sleeping bag wet when it did not rain?
The bag may have touched a condensation-covered wall or rainfly. Moisture may also have dripped from the roof after droplets grew large. Move the bag away from the wall, improve ventilation, tension the fly, and wipe heavy moisture before it falls.
Will a battery fan stop tent condensation?
A fan can improve circulation and move humid air toward an open vent, but it cannot remove moisture from a sealed tent. Use it as a supplement to proper campsite selection, venting, fly tension, and wet-gear management.
Conclusion
Tent condensation is a normal result of moisture, cooling fabric, and limited airflow. Reduce it by selecting higher, drier ground; using safe tree cover when available; pitching the rainfly taut; opening protected vents; and keeping wet gear outside the sleeping area. When moisture still forms, wipe it away and dry every component fully before storage. These steps will not make every humid night dry, but they can keep your bedding more comfortable and protect the tent over time.
Sources
- NOAA NESDIS: What Is Humidity? — explains humidity, dew point, and condensation.
- REI Co-op: How to Prevent Condensation in a Tent — supports ventilation, wet-gear, and fly-tension guidance.
- REI Co-op: How to Set Up and Pitch a Tent — supports campsite selection, higher ground, tree cover, and rainfly tension.
- Leave No Trace: Travel and Camp on Durable Surfaces — supports durable-site selection and the 200-foot water guideline.
- National Park Service: Finding and Setting Up a Campsite — supports overhead-tree, flood, wind, and campsite safety checks.
- REI Co-op: How to Clean, Waterproof, and Care for a Tent — supports drying, cleaning, and storage recommendations.
