
Last Updated on July 29, 2026 by Mason Reed
Tent condensation is common, especially on cool, humid, or rainy nights. It happens when warm, moisture-filled air from breathing, damp ground, and wet gear reaches a colder tent surface. You may not be able to eliminate every drop, but good site selection, a taut pitch, open vents, and dry gear can keep most moisture away from your sleeping bag.
Quick Answer
To reduce tent condensation at night, camp on high, dry ground, pitch the rainfly taut, open opposing vents, and keep wet gear outside the sleeping area. Leave enough airflow for humid air to escape, even in rain. A double-wall tent can keep you from touching a wet fly, but no tent design prevents condensation completely.
Key Takeaways
- Condensation forms when warm, humid air meets a tent surface that is cold enough for water vapor to become droplets.
- Ventilation is the most useful control: open high and low vents, create crossflow, and keep the rainfly separated from the inner tent.
- Choose higher, drier ground and avoid low hollows or sites immediately beside water.
- Store wet clothing, boots, towels, and packs in a vestibule or protected dry sack instead of beside your sleeping bag.
- Expect some moisture in very humid weather and dry the tent before long-term storage.
At a Glance
| Time Required | About 10–20 minutes for site choice, pitching, and ventilation checks; 10–30 minutes for morning drying when weather allows |
| Difficulty | Easy |
| Tools Needed | Tent stakes, guylines, a small microfiber towel, and a dry sack or waterproof bag for wet gear |
| Cost | $0 with existing gear; about $5–$25 for an optional towel or dry sack |
Disclosure: As an Amazon Associate I earn from qualifying purchases. Some links on this page are affiliate links, at no extra cost to you.
Understanding Condensation Causes
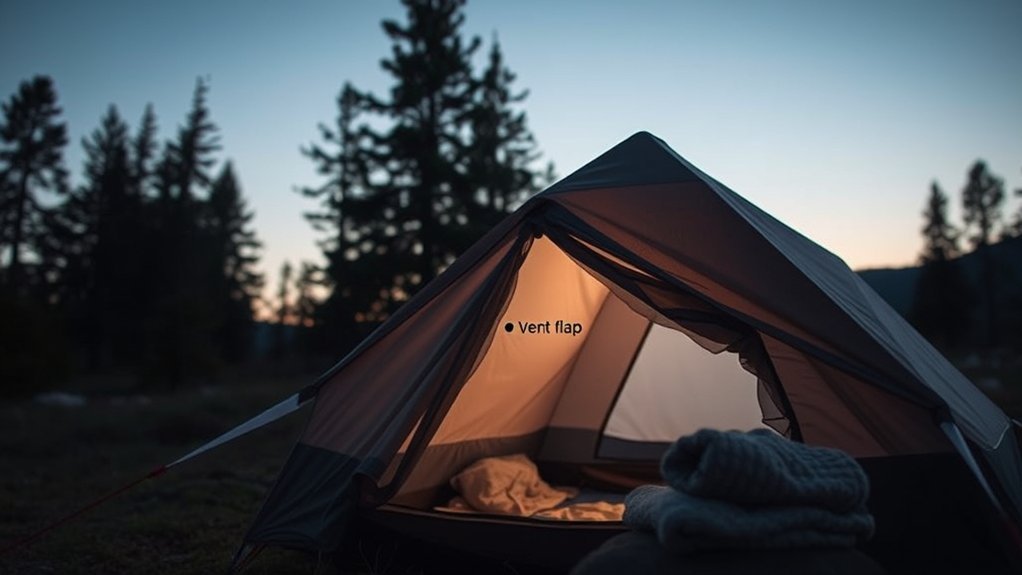
Condensation is not the same as a leak. It forms when water vapor in warm air reaches a cooler surface and changes into liquid droplets. Inside a tent, the rainfly, walls, or roof often cool during the night. Moisture from your breath and skin, damp soil, wet clothing, and humid outside air can then collect on those surfaces.
MSR’s condensation guidance identifies three main sources: weather conditions, people, and a wet environment. It also notes that no tent design can eliminate condensation in every situation. Your goal is therefore to reduce added moisture, improve airflow, and keep your sleeping gear from touching wet fabric.
Main Sources of Moisture Inside a Tent
- Breathing and body heat: Every sleeper adds warm, humid air throughout the night.
- Wet ground: Moisture can evaporate from damp soil beneath and around the tent.
- Wet gear: Rain jackets, socks, boots, towels, and packs release moisture as they dry.
- Weather: Rain, fog, cold temperatures, and high humidity limit how much drier outside air is available.
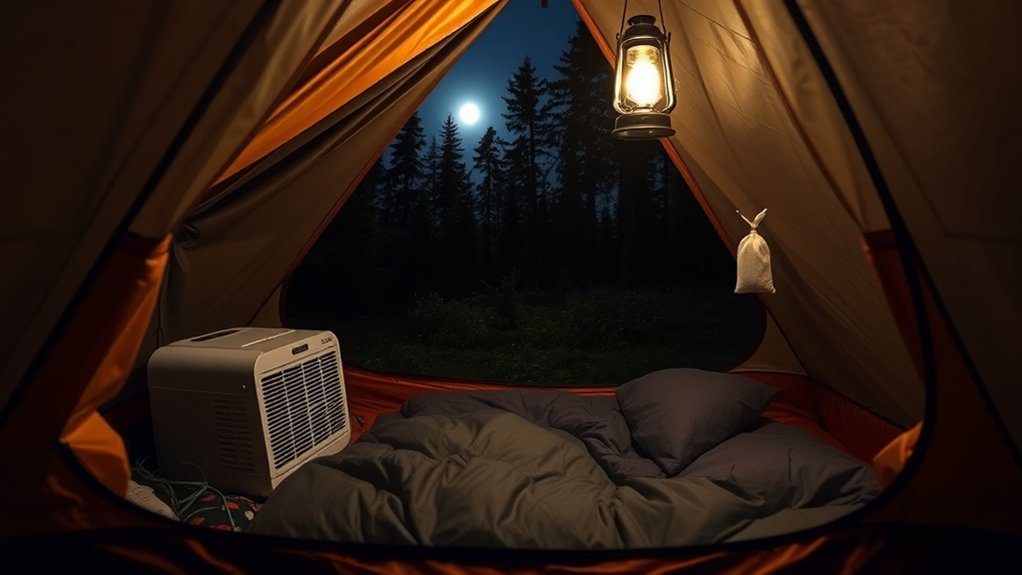
- Cooking: Boiling water and burning fuel add water vapor, while combustion equipment creates serious fire and carbon-monoxide hazards.
You can reduce tent condensation, but a completely dry rainfly is not realistic on every cool or humid night.
Choosing the Right Tent Type
Both single-wall and double-wall tents can develop condensation. The difference is mainly how the shelter manages that moisture and how likely you are to touch it.
| Tent Type | How It Handles Condensation | Best Fit |
|---|---|---|
| Double-wall | A breathable or mesh inner separates sleepers from the waterproof fly, where much of the condensation collects. The space between layers also supports airflow when the fly is pitched correctly. | General camping, rainy climates, and campers who value comfort over minimum weight |
| Single-wall | The waterproof wall is also the interior wall, so droplets are easier to touch. Large vents, careful pitching, and extra space around the sleeping bag matter more. | Weight-conscious trips, cold and relatively dry conditions, or experienced users who understand the design |
Choose a tent with usable vents, enough floor space for the number of sleepers, and a rainfly that can be staked away from the inner body. Mesh panels help humid air reach the fly, but they work only when the fly vents and door openings also let that air escape.
Note: A double-wall tent does not “resist” condensation in the way a waterproof coating resists rain. It mainly manages condensation by separating the wet outer layer from the occupants.
Optimal Tent Setup Techniques
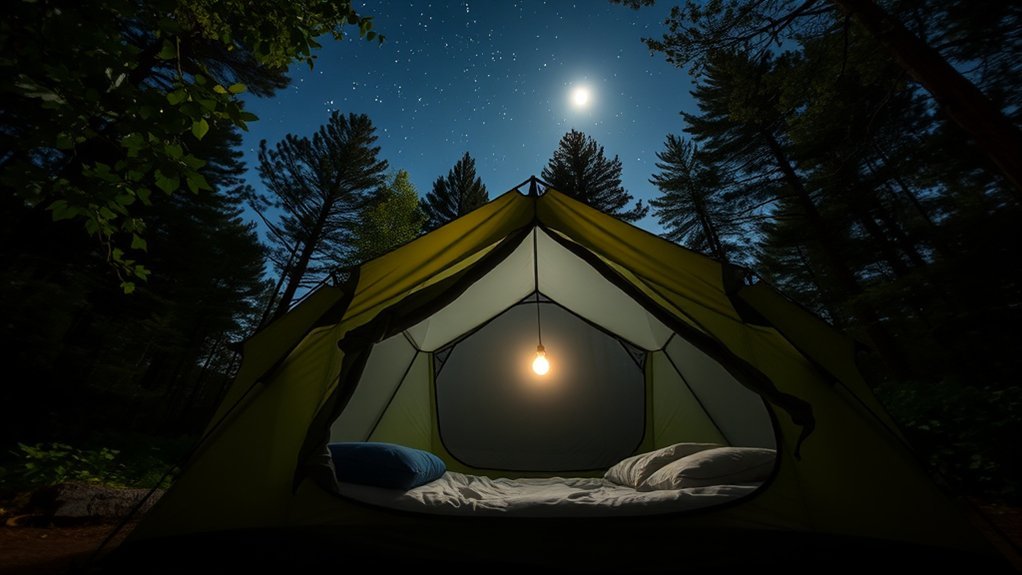
A careful pitch improves both weather protection and airflow. Follow the setup instructions for your tent model rather than assuming every shelter uses the same number of stakes or guylines.
Step-by-Step Condensation Reduction
- Choose high, dry, durable ground. Avoid depressions, saturated soil, and places where rainwater may pool.
- Orient the tent for conditions. In dry weather, face a door or vent toward a gentle breeze. In wind-driven rain, protect the opening while keeping sheltered vents open.
- Stake the tent body evenly. Smooth the floor without stretching it so tightly that seams are stressed.
- Install and tension the rainfly. Create a consistent air gap between the fly and inner tent. Recheck tension after rain because some fabrics stretch when wet.
- Use the intended fly stake-out points and guylines. Pull panels away from the inner body to improve airflow. Do not place sticks under lines or fabric where they can slip, abrade, or puncture the tent.
- Open vents before bedtime. Use opposing vents when possible and keep gear from blocking them.
- Move wet items out of the sleeping area. Place them in the vestibule without blocking ventilation, or seal them in a dry sack outside the tent.
Pro Tip: Check the air gap from inside the tent after you lie down. A sleeping bag, pack, or tent wall that presses against the rainfly can transfer moisture directly to your gear.
Effective Ventilation Strategies
Ventilation works best throughout the night, not only after you wake up. The aim is to let warm, moist air escape while allowing cooler outside air to enter. REI’s tent-condensation guidance recommends a taut pitch, open fly vents, and cross-ventilation through opposing openings.
- Open every built-in roof or peak vent unless severe weather makes a specific opening unsafe.
- Use two separated openings when possible so air can enter one side and leave the other.
- Vent from high points because warm, humid air tends to collect near the roof.
- Keep the mesh inner, vent kickstands, and rainfly gaps clear of packs and clothing.
- Partly unzip a sheltered door from the top when the design allows it.
- Open doors more fully in dry weather and reduce the opening only as much as rain protection requires.
Ventilation in Rain
Do not seal the tent completely just because it is raining. Keep covered roof vents open, tension the fly so water runs away from openings, and use the leeward or most sheltered door for a small gap. A vestibule can protect that opening, but gear piled against the vestibule edge may block airflow.
Ventilation in Cold Weather
Closing every vent may make the tent feel warmer for a short time, but it also traps moisture that can wet the walls, sleeping bag shell, and clothing. Wear appropriate insulation and keep some high and low ventilation open. In freezing conditions, expect frost on the inner fly or single wall; brush or wipe it away before it melts.
Warning: Never use a charcoal grill, fuel-burning lantern, or portable camping stove inside a tent. Ventilation does not make indoor combustion safe. The CDC warns that carbon monoxide can build up in tents and cause sudden illness or death.
Smart Campsite Selection
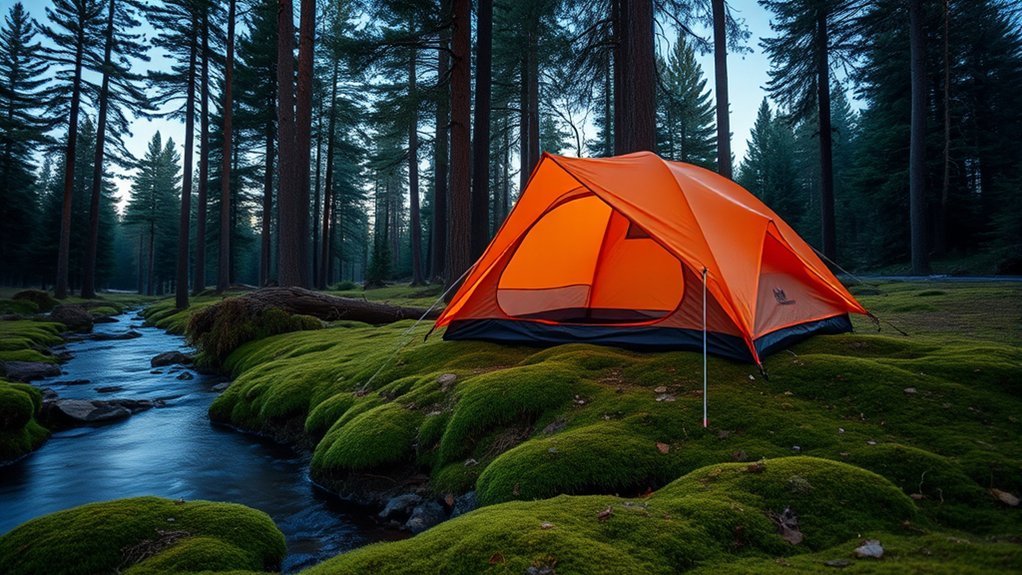
Your campsite cannot change the regional humidity, but it can affect how quickly the tent cools and how much ground moisture surrounds it. Use an established site when required, follow local rules, and prioritize safety over condensation control.
Tree Cover Benefits
Healthy tree cover can create a warmer, more protected microclimate than an exposed field, which may reduce radiative cooling of the rainfly. It can also provide a windbreak while still allowing airflow. Before pitching, look up for dead limbs, damaged trunks, unstable trees, or other hazards. Never camp beneath a questionable branch simply to reduce condensation.
Elevation Preferences
Choose slightly raised, well-drained ground rather than the bottom of a hollow or narrow valley. Cold, damp air often settles in low areas, and runoff can collect there during rain. Exposed ridges may be drier but can bring dangerous wind and lightning exposure, so the best choice is usually sheltered, durable ground above obvious drainage channels.
Water Proximity Awareness
Lakes, rivers, marshes, and wet meadows often have cooler, more humid air at night. In the backcountry, Leave No Trace recommends camping about 200 feet from water unless local regulations or designated-site rules say otherwise. This distance primarily protects wildlife access and riparian areas, but it can also help you avoid the dampest air next to the shoreline.
- Use established campsites in popular areas.
- Avoid dry-looking channels that could carry runoff during a storm.
- Do not dig drainage trenches around the tent.
- Stay off fragile vegetation and choose rock, gravel, bare soil, or another durable surface where appropriate.
- Balance airflow with protection from falling branches, flooding, strong wind, and lightning.
Proper Gear Management
Wet gear can release moisture for hours. Good storage also stops sleeping bags and clothing from brushing against damp walls.
Gear Storage Solutions
- Keep wet rainwear, towels, and footwear in a vestibule or sealed dry sack.
- Do not block a vestibule vent or press gear against the rainfly.
- Keep packs and sleeping bags a few inches away from tent walls when space allows.
- Use a sleeping pad to insulate your body from the ground and keep the sleeping bag off the tent floor.
- Store only dry sleep clothing in the sleeping area.
- Dry a wet dog before it enters, and expect pets to add heat and moisture just as people do.
Drying Techniques
In the morning, open the tent fully when weather permits. Wipe droplets from the fly or single wall with a microfiber towel, shake off loose water, and expose the tent and gear to moving air or sunlight. Drying may take longer than 20 minutes in shade, cold, or high humidity, so use the condition of the fabric rather than a fixed time.
| Technique | Benefit |
|---|---|
| Open doors and vents | Replaces humid interior air with outside air |
| Wipe with a microfiber towel | Removes droplets before they fall onto gear |
| Separate a wet fly | Keeps the drier inner tent and sleeping gear from becoming soaked in the pack |
| Air-dry after the trip | Helps prevent mildew, odors, and coating damage during storage |
Daily Maintenance Practices
Use this short routine each morning and before the next night:
- Open doors, vestibules, windows, and vents when conditions are safe.
- Move sleeping bags, pads, and clothing into dry air or sunlight.
- Wipe heavy droplets from the fly, walls, and floor.
- Shake or towel-dry the rainfly before packing.
- Pack a wet fly separately from the inner tent and dry gear when possible.
- At the next campsite, pitch early enough to let damp fabric air out before bedtime.
- After the trip, follow tent-care guidance and dry the shelter completely before long-term storage.
Is It Condensation or a Tent Leak?
Condensation is usually spread across a broad cold surface, such as the underside of the rainfly or the roof of a single-wall tent. A leak is more likely to appear in one area during rain, follow a seam or zipper, or continue after you improve ventilation.
| Sign | More Likely Condensation | More Likely a Leak |
|---|---|---|
| Location | A wide area of the roof, fly, or wall | A seam, zipper, puncture, corner, or one repeated spot |
| Timing | Develops overnight, even without rain | Appears or worsens while rain hits the tent |
| Pattern | Fine droplets or frost on cold fabric | Drips, a narrow wet trail, or water entering from the floor edge |
| Next step | Increase ventilation and remove wet items | Inspect the pitch, seams, coating, zipper, footprint, and fabric damage |
Note: A footprint or groundsheet should not extend beyond the tent floor. Exposed edges can collect rain and direct it underneath the tent, creating a water problem that ventilation cannot solve.
Frequently Asked Questions
Does the type of sleeping bag affect condensation levels?
The bag itself does not stop tent condensation, but insulation type affects how well the bag handles accidental moisture. Synthetic insulation generally dries faster and retains more warmth when wet, while down is lighter and more compressible but loses loft when soaked. Keep either type away from wet walls and protect it in a waterproof pack liner or dry sack.
Can using a tarp reduce condensation in my tent?
Sometimes. A high, well-ventilated tarp can shield the tent from rain and reduce radiative cooling, but a low tarp can block airflow and make condensation worse. Keep a wide air gap, leave the sides open, and do not let runoff fall toward the tent.
Is it better to sleep with the tent fly on or off?
Use the fly when rain, dew, wind, or cold exposure is possible. In stable, dry weather, removing or rolling back part of the fly can maximize ventilation. Never sacrifice needed weather protection; instead, open the fly’s vents and sheltered door sections.
What time of year is condensation most problematic in tents?
It can occur in any season. Risk is highest when nights are cool and the air or ground is humid, including rainy spring and fall trips, coastal weather, fog, and winter conditions that create frost inside the shelter. Local temperature, humidity, ground moisture, and ventilation matter more than the calendar alone.
Are there specific tent materials that resist condensation better?
No fabric makes a tent condensation-proof. Breathable inner fabrics and mesh allow vapor to move toward the fly, while waterproof outer fabrics stop rain but usually allow little vapor to pass directly through. Vent placement, shelter volume, fly spacing, site choice, and weather often matter more than the fabric name alone.
Can tent condensation be prevented completely?
Not in every condition. Warm sleepers, damp ground, rain, fog, and high outside humidity can produce moisture even in a well-pitched tent. The practical goal is to reduce buildup and keep droplets or frost away from your sleeping system.
Why is the foot of my sleeping bag wet?
The footbox may be touching a cold, damp wall or rainfly, especially in a small tent. Move the pad and bag inward, tension the tent walls, use all intended stake-out points, and avoid storing gear where it pushes fabric against your feet.
Conclusion
Stopping every drop of tent condensation is not always possible, but you can control the factors that matter most. Choose high, dry ground, pitch the shelter tautly, keep opposing vents open, separate wet gear from the sleeping area, and leave space between your sleeping bag and the walls. In the morning, remove collected moisture and dry the tent before storage. These habits protect your gear and make humid or cold nights far more comfortable.
Sources
- MSR / Cascade Designs: How do I prevent or reduce tent condensation? — condensation sources, limitations, and ventilation methods
- REI Co-op: How to Prevent Condensation in a Tent — site choice, wet-gear control, fly tension, and cross-ventilation
- REI Co-op: How to Set Up and Pitch a Tent — safer campsite selection, rainfly tension, and guyline use
- Leave No Trace: Travel and Camp on Durable Surfaces — durable-site practices and the 200-foot water guideline
- Centers for Disease Control and Prevention: Carbon Monoxide Safety — warning against using camping stoves, lanterns, and charcoal grills inside tents
- REI Co-op: Tent Care Basics — drying, packing, cleaning, and long-term storage guidance
