
Last Updated on September 11, 2026 by Daniel Globe
Shoulder-hugging backpack straps follow the shape of your shoulders so the pack stays close without creating sharp pressure points. Their comfort depends on more than padding or strap shape. You also need the correct torso length, a secure hip belt, sensible load placement, and balanced adjustment of the shoulder straps, load lifters, and sternum strap.
Quick Answer
Shoulder-hugging backpack straps are curved to maintain comfortable contact with your shoulders and upper torso. J-straps generally fit flatter or squarer shoulders, while S-straps follow more sloped shoulders and body curves. For a comfortable carry, fit the torso and hip belt first, then adjust the shoulder straps, load lifters, and sternum strap.
Key Takeaways
- Choose J-straps or S-straps according to shoulder slope, body contour, contact, and comfort rather than gender or pack weight alone.
- Your torso length and hip-belt fit have a greater effect on comfort than extra shoulder-strap padding.
- A supportive hip belt should carry a substantial share of a framed pack’s load while the shoulder straps keep the pack stable and close.
- Load lifters should be snug, not cranked tight, and the sternum strap should stabilize the harness without restricting breathing.
- Stop and remove the pack if you develop numbness, tingling, burning, weakness, or sharp pain.
At a Glance
| Time Required | About 5 to 10 minutes |
| Difficulty | Easy, although a friend can help check the back-panel position |
| Tools Needed | A realistically loaded backpack, mirror or helper, and a flexible tape measure for sizing |
| Cost | No cost if the backpack already fits your torso and hips |
Disclosure: As an Amazon Associate I earn from qualifying purchases. Some links on this page are affiliate links, at no extra cost to you.
What Are Shoulder-Hugging Backpack Straps?
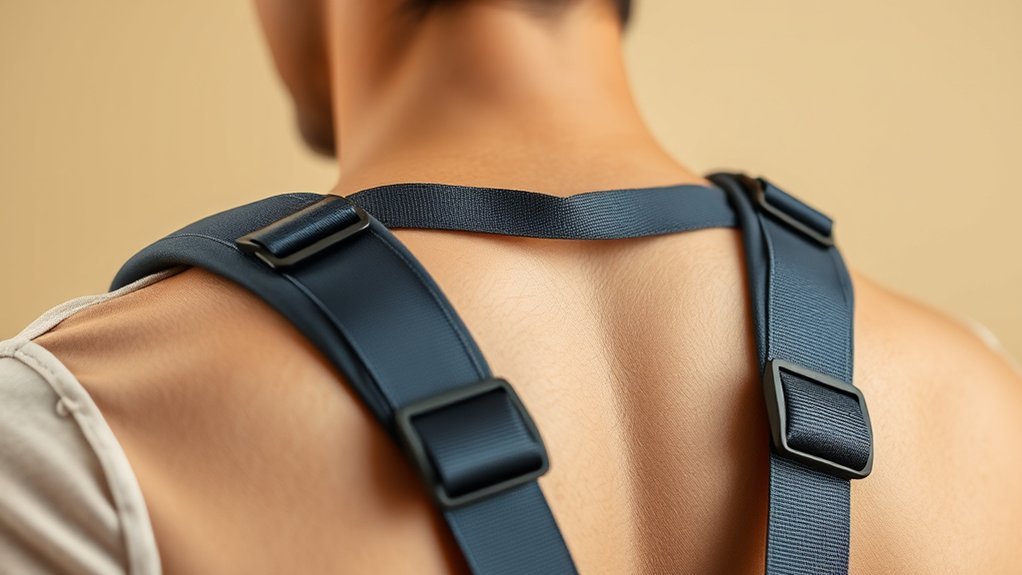
Shoulder-hugging backpack straps are shaped to follow the shoulders and upper torso instead of hanging away from the body or pressing into one small area. Good contact can reduce strap movement, improve pack control, and spread pressure over a larger area.
The straps are only one part of the suspension system. On a framed hiking or backpacking pack, the back panel, frame, hip belt, shoulder harness, load lifters, sternum strap, and stabilizer straps work together. The strap shape may improve contact, but it cannot correct the wrong torso size, an unsuitable hip belt, poor packing, or an excessive load.
Research on load carriage shows that high strap force and concentrated pressure are strongly related to discomfort. Anatomically shaped or properly fitted straps may improve pressure distribution, but the result still depends on the complete pack and the person wearing it. See the load-carriage discomfort study indexed by PubMed for more detail.
A strap should follow your shoulder without cutting into your neck, sliding outward, leaving a large gap, or carrying the entire load by itself.
J-Straps vs. S-Straps for Backpack Fit
J-straps and S-straps describe the path the shoulder straps follow across the upper body. These labels are most common among backpack brands that offer more than one harness shape. They are useful starting points, not universal sizing standards.
| Feature | J-Straps | S-Straps |
| Shape | Straighter path from the shoulder toward the chest | More pronounced curve around the neck, chest, and torso |
| Often suits | Flatter or squarer shoulders and people who get good contact from a straighter strap | More sloped shoulders or bodies that need extra contour around the neck and chest |
| Possible problem when unsuitable | May rub the neck, press across the chest, or lose contact on strongly sloped shoulders | May sit too far outward or create uneven contact on very flat shoulders |
| Best way to choose | Try the pack with realistic weight and compare neck clearance, shoulder contact, chest comfort, arm movement, and strap slippage. | |
ULA Equipment’s fitting guidance recommends J-straps for relatively flat or square shoulders and S-straps for more noticeably sloped shoulders. That does not mean every person with a certain body type will prefer the same shape.
Note: J-straps are not automatically better for heavy loads, and S-straps are not limited to women or lighter packs. Either style can work when the pack size, harness length, and body contact are correct.
Measure Your Torso and Hip-Belt Fit First
Before judging the shoulder straps, make sure the backpack matches your torso. Overall height is not a reliable substitute for torso length. The REI backpack fitting guide recommends measuring from the C7 vertebra at the base of the neck to the line across the top of the hip bones.
How to Measure Torso Length
- Lean your head slightly forward and locate the bony bump at the base of your neck. This is the C7 vertebra.
- Place your hands on top of your hip bones with your thumbs pointing toward your spine.
- Imagine a horizontal line connecting your thumbs across your lower back.
- Ask a helper to measure along the curve of your spine from C7 to that line.
- Compare the result with the backpack manufacturer’s torso-size chart or adjustment range.
Check the Hip Belt
The padded middle of the hip belt should wrap around the top of your hip bones rather than sitting only on your waist or dropping below the hips. The belt should tighten securely without reaching the end of its adjustment range, pinching sharply, or sliding downward as you walk.
If the hip belt is in the correct position but the shoulder harness still leaves a large gap, pulls backward, or wraps too far down the back, recheck the pack’s torso setting. Tightening more straps cannot fully correct an incorrectly sized suspension.
How Backpack Straps Transfer Weight
On a supportive backpacking pack, the hip belt, frame, back panel, and shoulder harness share the load. The hip belt transfers a substantial portion of the vertical load toward the pelvis. The shoulder straps maintain contact, control side-to-side movement, and keep the pack from falling backward.
Load lifters connect the upper shoulder harness to the top of the pack. When they are gently tensioned, they pull the top of the pack closer and reduce backward sag. The ideal angle varies by backpack. REI commonly uses about 45 degrees as a reference, while Osprey’s fitting guidance gives a broader range of roughly 30 to 60 degrees for correctly fitted packs.
A small frameless daypack may not transfer much weight to the hips, especially if its waist strap is only thin webbing. In that case, the shoulder straps naturally carry more of the load. Keep the load modest, tighten it close to your back, and avoid expecting a simple waist strap to perform like a structured backpacking hip belt.
Load Placement Also Matters
- Place dense, heavy items close to your back rather than at the outer edge of the pack.
- Keep left and right weight reasonably balanced.
- Use compression straps to stop loose gear from shifting.
- Avoid hanging several heavy objects from the outside, where they can swing and pull the pack backward.
- Reduce unnecessary weight before trying to solve discomfort by tightening the harness.
How to Adjust Backpack Straps Step by Step
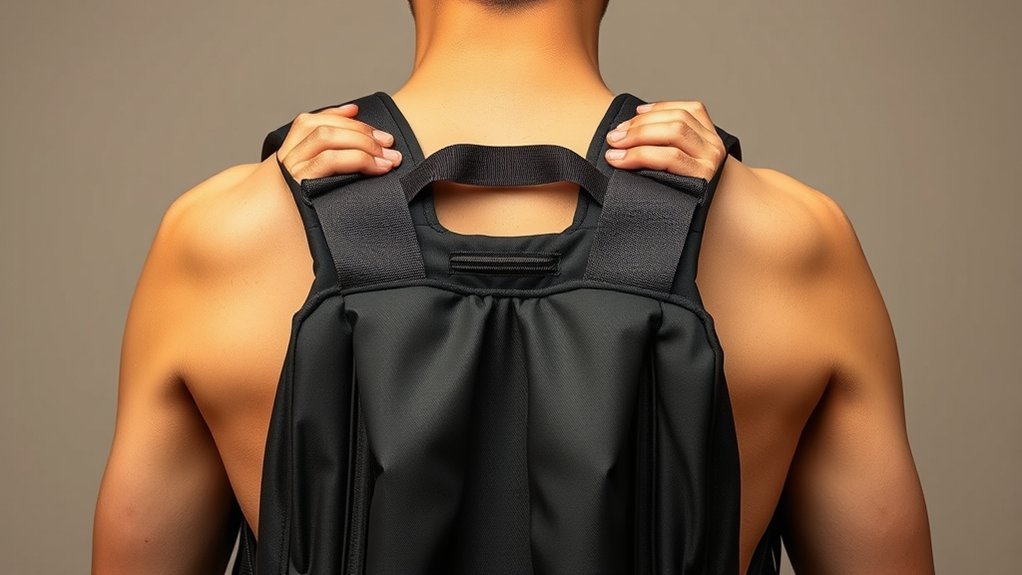
Adjust the pack with the clothing and weight you expect to carry. A nearly empty backpack may feel fine but fit differently once loaded. The following order reflects guidance used by pack manufacturers and fitting specialists, including Deuter’s backpack-adjustment instructions.
- Load the backpack realistically. Put representative gear or weight inside, keep heavy items near your back, and close the compression straps.
- Loosen the harness. Loosen the hip belt, shoulder straps, load lifters, sternum strap, and hip-belt stabilizers before putting the pack on.
- Set the torso length. If the suspension is adjustable, match it to your measured torso length before fine-tuning the other straps.
- Position and tighten the hip belt. Center the padding over the top of your hip bones. Tighten it until secure but not painfully tight.
- Tighten the shoulder straps. Pull the strap ends down and slightly back. The straps should wrap smoothly over your shoulders without lifting the hip belt or creating strong downward pressure.
- Adjust the load lifters. Pull them until the upper pack moves closer to your body. Stop before the shoulder straps lift away from the tops of your shoulders.
- Set the sternum strap. Position it at a comfortable mid-chest height, often about an inch below the collarbones. Tighten only enough to prevent the shoulder straps from spreading outward.
- Adjust hip-belt stabilizers if present. Snug the small straps connecting the hip belt to the pack body to reduce sway. Loosen them slightly when you need more hip movement.
- Walk and reassess. Walk, climb a few steps, move your arms, and lean gently from side to side. Make small corrections instead of pulling every strap as tight as possible.
Pro Tip: Mark or remember your preferred torso setting before lending the backpack to someone else. After changing clothing layers or adding food and water, expect to make small strap adjustments on the trail.
Signs the Backpack Fits Correctly
- The hip belt remains centered over the top of your hip bones.
- The shoulder straps follow your shoulders with broad, even contact.
- You do not have a large gap above the shoulders.
- The straps do not rub the sides of your neck or press sharply into your chest.
- The pack remains close to your back without pulling you noticeably backward.
- You can breathe deeply and move your arms normally.
- The pack does not sway excessively when you turn or step sideways.
- You feel firm support, but no numbness, tingling, burning, or sharp pain.
Some pressure is normal under a loaded pack, especially during a long hike. A concentrated hot spot, rapidly increasing pain, or neurological symptoms are not signs that you simply need to “break in” the straps.
Troubleshooting Backpack Strap Fit Problems
The Straps Rub Your Neck
First loosen the sternum strap, which may be pulling the shoulder straps inward. Check whether the harness is too narrow or the torso setting is incorrect. A different strap contour or pack model may be necessary if the straps naturally sit against your neck.
There Is a Gap Above Your Shoulders
Loosen the load lifters first. If the gap remains, check the torso setting and the shoulder-strap anchor position. A large gap often means the pack is too long, the harness is set too high, or the load lifters are overtightened.
The Shoulder Straps Carry Too Much Pressure
Reposition and tighten the hip belt, then confirm that the pack is not too long for your torso. Reduce unnecessary weight and move dense items closer to your back. Do not solve the problem by overtightening the sternum strap.
The Hip Belt Slides Down
Make sure the belt is centered over the hip bones rather than around the soft waist. Check that the belt is not too large or fully tightened with no adjustment remaining. Slippery clothing and an overloaded pack can also contribute.
The Pack Sways or Pulls Backward
Snug the shoulder straps, load lifters, hip-belt stabilizers, and compression straps in small steps. Check for heavy items stored far from your back or hanging from the outside of the pack.
The Straps Slip Toward the Outside of Your Shoulders
Move the sternum strap to a comfortable height and tighten it slightly. If the harness remains too wide, the backpack may not match your shoulder width even when the torso length is correct.
Warning: Remove the pack if you develop numbness, tingling, burning, weakness, loss of coordination, or sharp pain. Reduce the load and recheck the fit. Seek medical advice if symptoms persist after removing the pack, return repeatedly, or include weakness.
Common Backpack Fit Mistakes to Avoid
- Choosing by height alone: Two people of the same height can have different torso lengths.
- Tightening the shoulder straps before positioning the hip belt: This pulls the load upward and makes proper belt placement harder.
- Cranking the load lifters tight: Excessive tension can lift the shoulder straps away from the body and create joint pressure.
- Overtightening the sternum strap: It can pull the harness inward, restrict breathing, and increase neck rubbing.
- Expecting padding to fix the wrong size: Thick foam cannot compensate for an unsuitable torso length or harness width.
- Ignoring load placement: A badly packed load can make a correctly sized backpack feel unstable.
- Using only one shoulder strap: This creates uneven loading and reduces pack control.
- Ignoring pain or numbness: Persistent symptoms require a load reduction, fit review, and possibly medical assessment.
Wide, padded shoulder straps can spread pressure better than narrow straps, which is why the American Academy of Orthopaedic Surgeons recommends using both wide, well-padded straps. Width and padding still need to be combined with the right pack size and adjustment.
Frequently Asked Questions
Should backpack shoulder straps carry most of the weight?
On a framed hiking or backpacking pack with a supportive hip belt, the shoulder straps should not carry the entire load. The hip belt should transfer a substantial share to the pelvis, while the shoulder straps maintain comfortable contact and control. Small frameless daypacks may place more weight on the shoulders.
What is the difference between J-straps and S-straps?
J-straps follow a straighter path and often fit flatter or squarer shoulders. S-straps curve more around the neck, chest, and torso and often fit more noticeably sloped shoulders. Neither design is automatically better for a particular gender or load weight.
How tight should backpack shoulder straps be?
Tighten them until they follow your shoulders smoothly and hold the pack close. They should not lift the hip belt, pinch the neck, restrict arm movement, or cause numbness. You should still be able to make small adjustments while walking.
Why do backpacks use wide shoulder straps?
A wider contact area can spread pressure and reduce the digging sensation caused by narrow webbing. Padding can also improve comfort, but excessively soft padding may compress under a heavy load. Strap shape, width, firmness, pack size, and adjustment all affect the result.
Can anyone use either J-straps or S-straps?
Yes. The labels describe strap shape rather than a rule based on sex. Choose the design that gives you clear neck space, even shoulder contact, comfortable chest clearance, stable positioning, and unrestricted arm movement.
Why do my backpack straps cause numbness or tingling?
The load may be excessive, the straps may be too tight, or the harness may be concentrating pressure near nerves and blood vessels. Remove the pack and do not treat neurological symptoms as normal discomfort. Seek medical advice if symptoms persist, return frequently, or include weakness.
Conclusion
Shoulder-hugging backpack straps work best when they match your shoulder slope and stay in even contact without rubbing, gapping, or concentrating pressure. J-straps commonly suit flatter shoulders, while S-straps provide more contour for sloped shoulders and curved torsos, but personal fit matters more than the label.
Start with the correct torso length and hip-belt position. Then adjust the shoulder straps, load lifters, sternum strap, and stabilizers in order. Test the pack with realistic weight, make small corrections as you move, and reduce the load rather than trying to solve every problem by tightening the harness.
Sources
- REI Co-op: How to Size and Fit a Backpack — torso measurement, hip-belt placement, shoulder straps, load lifters, and sternum-strap adjustment
- Deuter: How to Adjust a Backpack — adjustment order, realistic loading, hip fins, shoulder straps, and stabilizer straps
- ULA Equipment: Torso Fit and Shoulder-Strap Guide — J-strap and S-strap selection according to shoulder slope
- Osprey: Backpack Size and Fit Guide — hip-belt positioning, shoulder-harness tension, and load-lifter adjustment
- American Academy of Orthopaedic Surgeons: Backpack Safety — use of two wide, padded shoulder straps and a waist strap for heavier loads
- Wettenschwiler et al.: Mechanical Predictors of Discomfort During Load Carriage — relationship between strap force, peak pressure, and reported discomfort

