
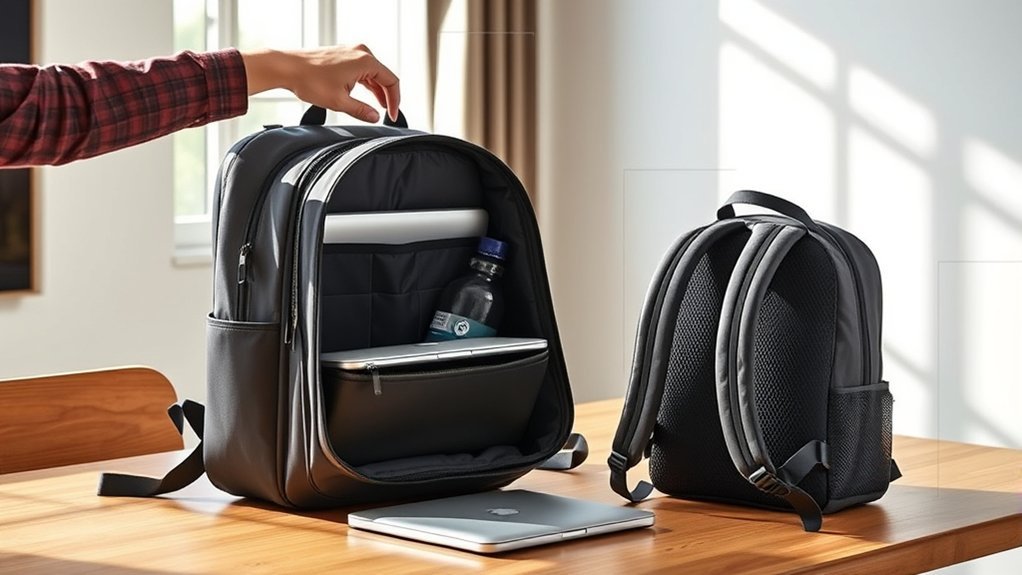
Last Updated on July 30, 2026 by Caleb Warren
A commuter backpack should match the way you travel, the gear you carry, and the amount of time the bag stays on your back. The best choice is not automatically the largest, lightest, or most expensive model. It is the one that holds your normal load securely, protects your laptop, feels comfortable when packed, and handles the weather and access needs of your route.
Quick Answer
Choose a commuter backpack by packing your normal daily gear, matching the capacity to that load, checking your laptop’s actual dimensions, and wearing the loaded bag for at least 10 minutes. Prioritize comfortable straps, a stable fit, useful pockets, durable construction, and weather protection that suits your commute.
Key Takeaways
- A 16- to 24-liter backpack is a useful starting range for many commuters, but your actual gear list matters more than the number on the label.
- Measure your laptop’s height, width, and thickness; screen size alone does not guarantee a proper fit.
- Waterproof fabric does not automatically make the finished backpack waterproof because seams, zippers, and openings can still leak.
- Test the backpack with your normal load and check for shoulder pressure, bouncing, poor balance, and hard-to-reach pockets.
- Cyclists should also look for a stable harness, strap keepers, reflective details, and a safe place to attach a light.
At a Glance
| Time Required | 15–30 minutes to compare and load-test a bag |
| Difficulty | Easy |
| Tools Needed | Your normal daily gear, laptop, and an optional tape measure |
| Cost | Free to evaluate; backpack prices vary by size, materials, construction, and warranty |
Disclosure: As an Amazon Associate I earn from qualifying purchases. Some links on this page are affiliate links, at no extra cost to you.
Understanding Your Commuting Needs
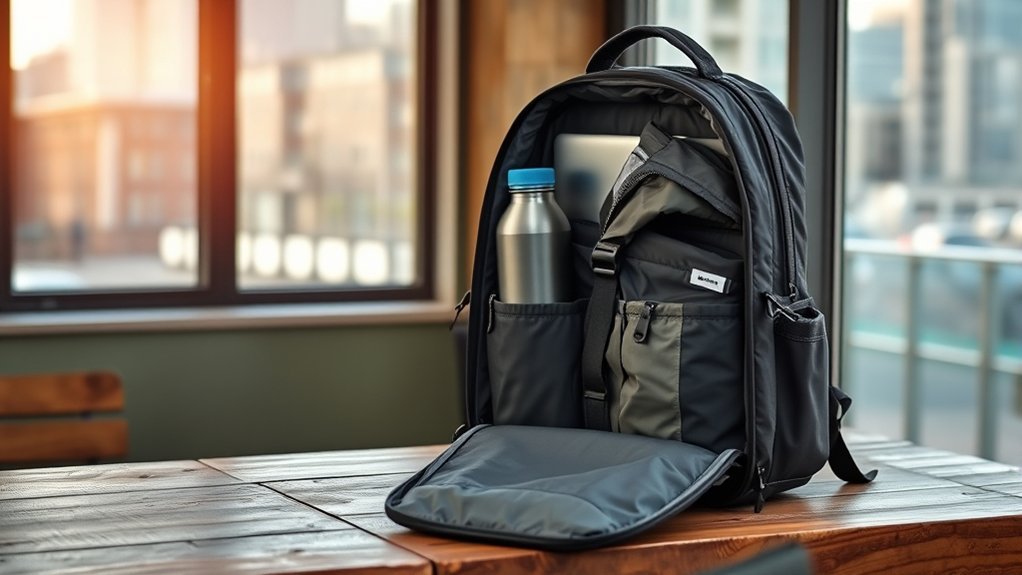
Start with your route rather than a list of trendy features. A person who walks 20 minutes to a train needs a different bag from someone who drives, cycles, or flies regularly. Write down what you carry on a normal day, then add occasional items such as gym clothes, lunch, a rain shell, groceries, or camera gear.
Match the Backpack to Your Commute
| Commute Type | Features to Prioritize |
|---|---|
| Walking | Comfortable shoulder straps, breathable back panel, low empty weight, and balanced organization |
| Public transit | Slim profile, secure zippers, quick-access transit pocket, and a top or side grab handle |
| Bike or scooter | Stable harness, sternum strap, strap keepers, weather protection, reflective details, and a light attachment point |
| Car | Easy laptop access, structured organization, durable base, and a bag that stands or opens cleanly beside the seat |
| Air travel plus commuting | Luggage pass-through, document pocket, easy security access, and dimensions that meet the airline’s current limits |
Pro Tip: Place everything you carry on a normal workday on a table before shopping. This simple gear audit prevents you from buying a bag that is too small, too large, or filled with pockets you will never use.
Ideal Size for Commuter Backpacks
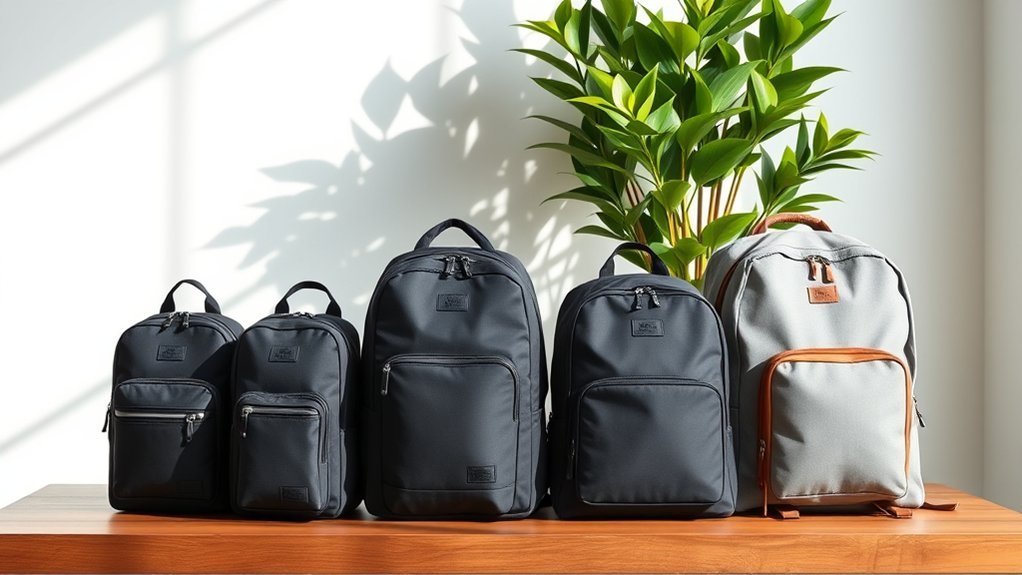
For many commuters, 16 to 24 liters is a practical starting range rather than a fixed rule. A compact load may fit in a smaller bag, while gym clothes, lunch, shoes, or groceries can require 24 to 30 liters. Capacity labels are also estimates, and two bags with the same listed volume may pack very differently because of their shape, padding, dividers, and bottle pockets.
| Starting Capacity | Typical Use |
|---|---|
| 12–16 liters | Tablet or small laptop, charger, water bottle, and a few personal items |
| 16–22 liters | Common work setup with laptop, accessories, lunch, and a light layer |
| 23–30 liters | Work gear plus gym clothes, shoes, a larger lunch kit, or occasional shopping |
| More than 30 liters | Bulky equipment, overnight travel, or a combined work-and-travel load |
A larger bag is not always more useful. Extra space encourages overpacking, can feel awkward on crowded transit, and may place small items farther from reach. Choose the smallest size that holds your normal load without forcing zippers or crushing lunch, electronics, or documents.
Essential Organizational Features
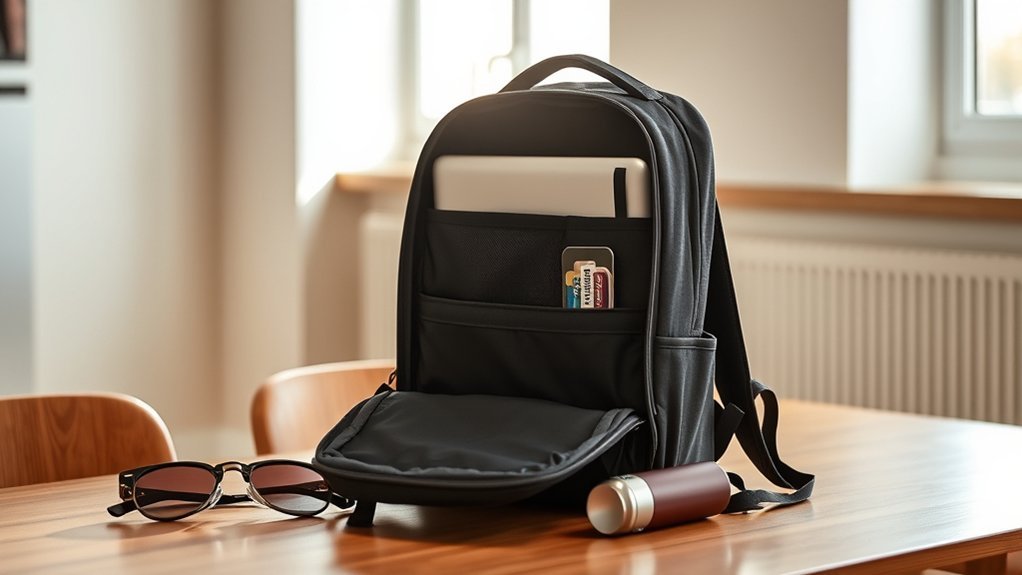
Useful organization should reduce searching without stealing too much room from the main compartment. Start with the items you reach for most often: transit card, keys, phone, wallet, charger, water bottle, and laptop. Every pocket should have a clear job.
| Feature | Benefit |
|---|---|
| Dedicated laptop compartment | Separates the computer from loose items and reduces direct contact with bottles, shoes, or lunch |
| Quick-access pocket | Keeps transit cards, keys, and small essentials within easy reach |
| Clamshell or wide opening | Makes packing and finding items easier, especially for travel or gym gear |
| Bottle pocket or isolated wet pocket | Helps separate drinks, umbrellas, or damp items from electronics |
| Document sleeve | Keeps folders and papers flat instead of folded under heavier gear |
A heavily divided bag can be frustrating if your gear does not match the layout. Flexible space, a few well-placed pockets, and removable pouches often work better than dozens of tiny compartments.
Importance of Comfort and Fit
Comfort matters most after the bag is loaded. Wide, padded shoulder straps can spread pressure, while a breathable back panel can improve airflow. A sternum strap may help stabilize the bag during cycling, fast walking, or stair climbing. The strap should feel secure without restricting breathing or pressing against the neck.
Pack fit is personal. The shoulder straps should wrap around your shoulders without large gaps, and the bag should sit close to your back instead of pulling away. Osprey’s fitting guidance also recommends checking harness position and adjusting the sternum strap for stability, which shows why trying on a loaded bag is more useful than judging padding by touch alone. See the Osprey backpack fit guide for a detailed example of harness adjustment.
The right commuter backpack should feel stable and balanced with your real gear inside—not merely comfortable when it is empty.
Loaded Fit Check
- Wear the bag for at least 10 minutes with your normal load.
- Walk, turn, climb stairs, and bend slightly as you would during the commute.
- Check for pressure at the neck, collarbone, shoulders, and lower back.
- Make sure the bag does not bounce, sway, or pull strongly backward.
- Confirm that you can reach the zippers and pockets you use most often.
- Test the fit while wearing the coat or jacket you use in colder weather.
Material Durability and Water Resistance
Material names can be helpful, but construction quality matters just as much. Inspect the bottom panel, seams, zipper tracks, strap attachment points, and lining. These high-wear areas often show weakness before the main fabric does.
Material Types Overview
CORDURA® fabrics are known for abrasion and tear resistance, but the brand includes several constructions and deniers. Water repellency depends on the specific finish, coating, or laminate, so the word “CORDURA” alone does not prove that a backpack will keep its contents dry. The CORDURA Classic fabric overview explains that coated and laminated options are available.
X-Pac® is a family of laminated pack fabrics. Dimension-Polyant describes its X-Pac laminates as waterproof, lightweight, and durable. However, a finished backpack can still leak through untreated seams, zipper openings, or other construction points. Always read the bag maker’s complete weather-protection claim rather than relying on the fabric name alone. See the official X-Pac fabric overview.
Recycled polyester can also be a practical commuter material. Judge it by the full specification, coating, seam quality, zipper design, repairability, and warranty rather than assuming recycled fabric is either weaker or stronger.
Note: “Water-resistant” usually means the bag can handle splashes or limited rain. “Waterproof” should be supported by the maker’s construction details or a recognized test rating. A separate rain cover or internal dry bag provides better protection during prolonged heavy rain.
Testing for Water Resistance Without Damaging the Bag
First, check the manufacturer’s description, care instructions, and warranty. Look for coated fabric, covered or water-resistant zippers, sealed seams, a raised or reinforced bottom, and a rain-cover option. If the seller allows a home trial, place dry paper inside and expose the bag to a controlled spray for a few minutes. Then inspect the paper, seams, zipper areas, and bottom panel.
Warning: Do not submerge a commuter backpack unless the manufacturer explicitly rates it for submersion. Soaking can force water through zippers and seams, damage coatings or padding, and affect return or warranty eligibility.
The original Able Carry example needs a more precise description. The current Able Carry Daily Plus is a 21-liter model made with X-Pac VX21 and is listed for most 16-inch devices. Able Carry still states that its backpacks are water-resistant, not waterproof, and recommends a rain cover for longer exposure or heavy rain.
Importance of Durability
Durability depends on the complete bag, not one fabric label. Before buying, check these areas:
- Strap attachment points: Look for dense stitching and reinforcement where the shoulder straps meet the bag.
- Bottom panel: A tougher or coated base helps with repeated contact on floors and pavement.
- Zippers and pulls: Run every zipper around corners and under light load to check for snagging.
- Seams and lining: Look for loose threads, skipped stitches, puckering, and thin lining at sharp interior edges.
- Repair and warranty support: A clear repair policy can be more valuable than a vague “lifetime” claim with many exclusions.
Evaluating Weight for Mobility
There is no universal rule that a commuter backpack must weigh less than 3 or 4 pounds. Instead, compare empty weight among bags that offer the capacity and protection you need. A heavier frame, thick padding, or many dividers may improve structure but also adds weight before you pack anything.
Place dense items, such as a laptop and charger, close to your back. Keep the load balanced from side to side, tighten compression straps if available, and remove items you rarely use. A bag that feels fine for two minutes may become tiring after a long walk, so test the total packed weight rather than focusing only on the backpack’s listed weight.
Pro Tip: Weigh your current packed bag, then remove everything you did not use during the previous week. This gives you a realistic target for both capacity and total carrying weight.
Checking Laptop Compatibility
A screen-size label is only a starting point because two 16-inch laptops can have different widths, thicknesses, and protective cases. Measure the laptop or case you will actually carry, then compare those numbers with the sleeve’s internal dimensions.
Laptop Size Considerations
- Measure the device: Record its height, width, and thickness, including any hard shell or sleeve.
- Check the maker’s limit: Use internal sleeve dimensions whenever available instead of relying only on “fits 16-inch laptops.”
- Leave reasonable clearance: The laptop should slide in without forcing the zipper or stretching the sleeve.
- Test larger devices carefully: The current Timbuk2 Spire Laptop Backpack 2.0, for example, is listed for most 15- to 17-inch devices, but actual fit still depends on the computer’s dimensions.
Compartment Design Features
Look for padding on the back and front of the sleeve, plus protection at the bottom. A suspended sleeve or false bottom can reduce direct impact when the bag is set down. Also check whether a water bottle can press against the laptop compartment and whether the computer can be removed without unpacking the main section.
Useful laptop-compartment features include:
- A separate zipper for quick access
- A soft lining that will not scratch the device
- Enough room for the laptop case you already use
- A secure closure that prevents the computer from sliding out
- Space for a tablet or documents without crushing them against the laptop
Quick-Access Pockets and Compartments
Quick-access pockets should save time without placing valuables in an obvious, exposed location. A top pocket can work well for keys or earbuds, while a pocket against the back panel may be better for a wallet or passport. On crowded transit, avoid storing important items in an open side pocket or an easy-to-reach front pouch.
- Dedicated quick-grab pocket: Useful for keys, transit cards, and small daily items.
- Internal organization panel: Keeps chargers, cables, pens, and power banks from collecting at the bottom.
- External bottle pocket: Provides fast access and keeps condensation away from electronics.
- Zippered valuables pocket: Adds a basic layer of security for a wallet or identification.
- Wet-item storage: Separates a damp umbrella, gym towel, or rain shell from dry gear.
Anti-Theft Features and Realistic Security
Hidden zippers, locking zipper pulls, cut-resistant panels, and back-panel pockets can discourage casual theft, but no backpack is theftproof. A lock can slow access; it cannot prevent someone from taking the entire bag. Keep the backpack in front of you in crowded areas, close every zipper, and avoid leaving it unattended.
Commuter Safety and Travel Features
Cyclists and scooter riders should choose a bag that stays close to the body and does not have loose straps near moving parts. Reflective panels, bright details, and a secure light loop can improve visibility. The National Highway Traffic Safety Administration recommends bright clothing during the day and reflective gear plus proper bicycle lights when visibility is poor.
For air travel, do not assume that a “personal-item backpack” fits every airline. The Transportation Security Administration notes that cabin bag dimensions vary by airline. Check the carrier’s current size and weight limits before each trip, especially when the backpack is fully packed.
Testing the Backpack Before Purchase
A short, repeatable test is the best way to compare commuter backpacks. Use your real gear whenever possible and keep the tags and packaging until you know the bag works for your route.
- Pack your normal load. Include your laptop, charger, lunch, bottle, clothing, and other daily items.
- Check capacity. Make sure the zippers close without strain and the bag is not mostly empty.
- Confirm laptop fit. Slide the device in and out while the main compartment is packed.
- Adjust the harness. Tighten the shoulder straps and sternum strap without restricting movement.
- Wear it for 10–15 minutes. Walk, turn, climb stairs, and sit as you would during the commute.
- Check balance. Look for bouncing, side-to-side sway, or a strong backward pull.
- Use every important pocket. Reach for keys, transit card, bottle, phone, and laptop.
- Inspect construction. Test zippers and examine seams, lining, strap anchors, and the base.
- Review weather protection. Confirm the maker’s claim and decide whether you need a rain cover or dry bag.
- Read the return and warranty terms. Check trial periods, exclusions, repair options, and who pays return shipping.
Care, Repair, and Long-Term Value
Follow the care label because coatings, laminates, foam, leather trim, and frames can require different cleaning methods. For general pack care, empty every pocket, shake out debris, spot-clean with mild soap and water, rinse carefully, and air-dry completely away from strong direct heat.
Osprey’s current care guidance recommends warm water, mild soap, a sponge or soft brush, thorough rinsing, and air-drying in a ventilated area. It also advises against machine washing its packs because the process can harm the fabric and structure. See Osprey’s backpack cleaning instructions. Always follow your own backpack manufacturer’s directions when they differ.
Frequently Asked Questions
What are the best brands for commuter backpacks?
Osprey, The North Face, Patagonia, Timbuk2, Able Carry, and many smaller makers offer commuter-friendly models. Brand reputation can help, but fit, laptop dimensions, pocket layout, warranty terms, and weather protection are more important than the logo.
Can I use a commuter backpack for hiking?
Yes, a comfortable commuter backpack can work for short, easy hikes when it holds water, food, a layer, and basic safety gear. For longer or rougher trips, a hiking pack usually offers better load support, ventilation, hydration compatibility, and outdoor-specific storage.
How do I clean my commuter backpack?
Empty the bag, remove loose debris, and follow the care label. Spot-clean with mild soap and water, rinse away residue, and air-dry fully in a ventilated area. Do not machine wash, tumble dry, or use harsh chemicals unless the manufacturer specifically allows it.
Are there commuter backpacks with anti-theft features?
Yes. Common features include hidden zipper tracks, locking pulls, cut-resistant materials, and pockets against the back panel. These features can discourage quick access, but they do not make a bag theftproof, so keep the backpack close and attended.
What colors are best for professional settings?
Black, navy, charcoal, olive, and other subdued colors are easy to pair with work clothing, but workplace norms vary. Clean lines, good condition, and a compact profile often look more professional than color alone.
Is a 16-liter backpack big enough for commuting?
It can be enough for a laptop, charger, small bottle, and a few personal items. It may feel tight if you also carry lunch, a jacket, gym clothes, or shoes. Test the exact bag with your normal load because pocket design affects usable space.
Do I need a waterproof commuter backpack?
Most commuters need reliable water resistance rather than a submersible bag. For frequent heavy rain, choose better-sealed construction and add a rain cover or internal dry bag for electronics and documents.
Should a commuter backpack have a sternum strap?
A sternum strap is helpful when the bag is heavy, when you cycle, or when you walk quickly. It can reduce shoulder-strap movement and improve stability, but it should be adjustable and should not feel restrictive.
Conclusion
The best commuter backpack is the one that fits your body, route, laptop, and real daily load. Use capacity as a starting point, not a rule. Compare actual dimensions, test the bag while packed, inspect the construction, and choose weather and safety features that match how you travel. A careful 15-minute test can reveal more than a long feature list.
Sources
- Osprey Backpack Size and Fit Guide — harness fit, strap adjustment, and stability checks
- CORDURA Classic Fabric — abrasion resistance, tear resistance, and water-repellent finish options
- Dimension-Polyant X-Pac — construction and waterproof claims for X-Pac laminate fabrics
- NHTSA Bicycle Safety — visibility guidance for cyclists
- TSA Carry-On Size Guidance — airline-specific cabin bag limits
- Osprey Backpack Cleaning Guide — mild cleaning, rinsing, air-drying, and machine-washing caution
