

Last Updated on July 30, 2026 by Caleb Warren
A new backpack should feel stable and supportive before you take it on a long hike. Most modern hiking packs do not need a fixed period for the fabric or straps to “break in.” Instead, you need to confirm the size, adjust the suspension, pack a realistic load, and test it on short walks so you can correct pressure points early.
Quick Answer
To break in a new backpack, load it with the gear you expect to carry, set the torso length, tighten the hipbelt first, and adjust the shoulder straps, load lifters, and sternum strap in order. Test it on several short walks and correct rubbing, slipping, swaying, or numbness before a longer trip.
Key Takeaways
- A hiking backpack should fit correctly from the start; do not expect an incorrect torso size or hipbelt shape to improve with time.
- Test the pack with a realistic, securely packed load rather than loose weights or a percentage of its liter capacity.
- Adjust the hipbelt first, followed by the shoulder straps, load lifters, sternum strap, and stabilizer straps.
- Use short practice walks to find pressure points, load imbalance, strap slippage, and areas that need readjustment.
- Persistent pain, numbness, major rubbing, or constant backward pull may mean the pack is the wrong size or shape.
At a Glance
| Time Required | About 20–30 minutes for the initial setup, followed by several short practice walks |
| Difficulty | Easy, although adjustable-torso packs may require several fitting attempts |
| Tools Needed | Your expected gear, water, a mirror or phone camera, and the backpack’s fitting instructions |
| Cost | $0 if you already have the pack and test gear |
Disclosure: As an Amazon Associate I earn from qualifying purchases. Some links on this page are affiliate links, at no extra cost to you.
What Breaking In a New Backpack Really Means
For a modern hiking or backpacking pack, “breaking in” usually means learning how the suspension fits your body and confirming that the pack remains comfortable under load. The foam, webbing, and fabric may soften slightly with use, but they cannot correct a torso length that is too long, a hipbelt that does not match your hips, or shoulder straps that sit in the wrong place.
A properly sized pack should feel reasonably comfortable during the first fitting. Short practice sessions then let you fine-tune the straps, learn where to place your gear, and identify problems before you are several miles from a trailhead.
Note: Leather backpacks may soften and develop a patina over time, but hiking packs made from synthetic fabric should not require painful use to become wearable. Do not apply leather conditioner, heat, oil, or fabric softener unless the manufacturer specifically approves it for that material.
Understanding Your Backpack’s Features

Before loading your backpack, identify every adjustment point and check the product manual or manufacturer’s fitting page. Hiking packs vary, and a strap that controls load position on one model may serve a different purpose on another.
- Hipbelt: Wraps around the upper hip bones and transfers weight to the pelvis on packs designed for load transfer.
- Shoulder straps: Hold the pack against your upper body without carrying all of its weight.
- Load lifters: Connect the upper pack to the shoulder harness and help bring the load closer to your body.
- Sternum strap: Connects the shoulder straps across the chest to reduce outward movement.
- Hipbelt stabilizers: Fine-tune how closely the lower part of the pack sits against the hips.
- Compression straps: Reduce unused volume and limit load movement inside the pack.
- Adjustable torso system: Changes the vertical distance between the shoulder harness and hipbelt.
- Hydration sleeve and ports: Hold a reservoir and route its drinking hose.
- Gear loops and attachment points: Secure suitable equipment without leaving it free to swing.
- Rain cover: Adds weather protection but may not seal the harness, back panel, or every opening.
Inspect the stitching, buckles, zippers, frame stays, webbing, and adjustment hardware before the first trip. Confirm that each buckle closes securely and that the straps move through their adjusters without slipping.
Initial Fit and Strap Adjustments

Fit the backpack with a realistic load inside it. Both Osprey’s fitting instructions and Deuter’s adjustment guide recommend loosening the straps and loading the pack before making the main adjustments.
Products Worth Considering
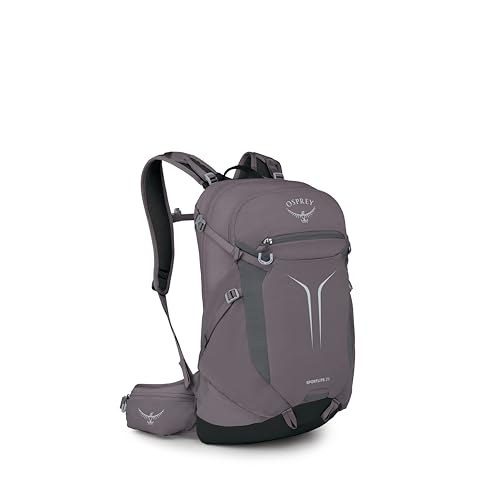
MINIMALIST TECHNICAL DAYPACK: Designed for day hikes and excursions, this lightweight daypack features a streamlined yet capable design, an adjustable torso length for a precise fit and durable ripstop main body fabric

High-Quality Material:Hiking backpack is made of high quality rip-stop 210d nylon fabric,which is water resistant,tear resistant,anti-scratch and wear resistant. Furthermore,we also give away a rain cover with a clear silver reflective logo. It is putted in the little pocket under the backpack. So it is no doubt that all your things will keep dry during rain. Just take this outdoor backpack,no matter the weather.
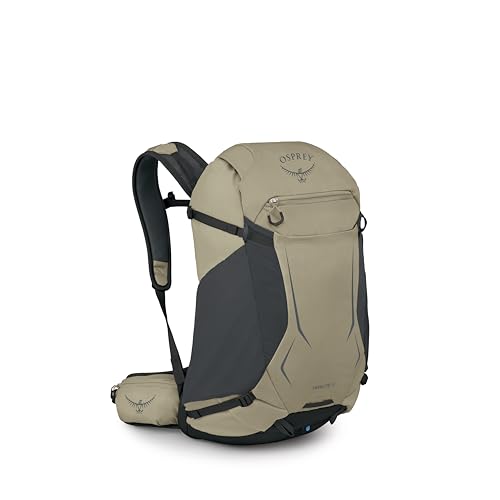
TRAIL-FOCUSED DAYPACK: Move confidently on both serious and casual day hikes with this lightweight daypack featuring technical AirSpeedâ„ suspension, side compression, an included raincover and a padded hipbelt with hipbelt pockets
1. Measure and Set the Torso Length
Use the manufacturer’s size chart to confirm the correct pack size. Torso length is generally measured from the prominent vertebra near the base of the neck to an imaginary line across the top of the hip bones. If the backpack has an adjustable harness, set it to the measured range before tightening the other straps.
When the torso setting is close to correct, the shoulder straps should wrap smoothly over the shoulders rather than leaving a large gap or beginning far below them.
2. Loosen All Adjustment Straps
Loosen the shoulder straps, load lifters, sternum strap, hipbelt, and stabilizer straps. This prevents one tight strap from pulling the pack out of position while you set another.
3. Position and Tighten the Hipbelt
Lift the pack onto your back carefully and place the center of the hipbelt over the upper hip bones. The padded wings should wrap around the hips instead of sitting entirely above them or dropping onto the soft area below them.
Buckle the belt and tighten both sides evenly. It should be snug enough to resist sliding but should not pinch, restrict movement, or create sharp pressure at the buckle or hipbelt edges.
4. Tighten the Shoulder Straps
Pull the shoulder-strap ends down and back until the harness follows the shape of your shoulders. The straps should hold the pack close without lifting the hipbelt or placing all the load on the tops of the shoulders.
5. Adjust the Load Lifters
Gently tighten the load lifters to bring the upper pack closer to your body. Stop when the pack feels stable. Pulling too hard can lift the shoulder harness, create a gap behind the shoulders, or place excess pressure on the front of the straps.
6. Set the Sternum and Stabilizer Straps
Position the sternum strap at a comfortable height across the upper chest and tighten it only enough to stabilize the shoulder straps. It should not interfere with normal breathing. Finish by adjusting the hipbelt stabilizers, if present, to control lower-pack movement.
| Pack Part | Correct Starting Position | Common Mistake |
|---|---|---|
| Hipbelt | Centered over the upper hip bones and tightened evenly | Wearing it around the waist or letting it slide below the hips |
| Shoulder Straps | Smooth contact over the shoulders without pinching | Overtightening them until the hipbelt lifts |
| Load Lifters | Tight enough to steady the upper pack | Pulling until the shoulder harness rises or distorts |
| Sternum Strap | Comfortable height and light tension | Tightening it enough to restrict breathing |
Pro Tip: Take front, side, and rear photos after achieving a comfortable fit. The photos make it easier to restore your settings after cleaning the pack or sharing it with someone else.
Pack a Realistic Test Load
The fit can change when the same amount of weight is packed in different locations. Use the gear you expect to carry whenever possible. Water containers, clothing, a sleeping system, food, and other normal supplies create a more realistic load than a single dense object.
According to Deuter’s backpack-packing guidance, heavier equipment should sit close to the body, generally around shoulder height in a larger trekking pack. This helps keep the combined center of gravity controlled.
- Place light, compressible items near the bottom.
- Keep heavier items close to the back rather than against the outer face of the pack.
- Balance the load from left to right.
- Keep frequently used items accessible without making the lid or outer pockets top-heavy.
- Tighten the compression straps so the contents cannot shift freely.
- Secure externally carried gear so it cannot swing or strike your legs.
Warning: Do not place loose dumbbells, weight plates, sharp tools, or unsecured water jugs in the backpack. A dense object can shift suddenly, damage the pack, or create an unrealistic pressure point. If the loaded backpack is difficult to lift safely, place it on a bench or ask someone to help you shoulder it.
Do not calculate the practice load as a percentage of the backpack’s liter capacity. Capacity measures volume, not weight. Start with a manageable portion of your expected trail load, then increase it only as the pack remains comfortable and your conditioning allows. Follow the backpack manufacturer’s load range when one is published.
Products Worth Considering
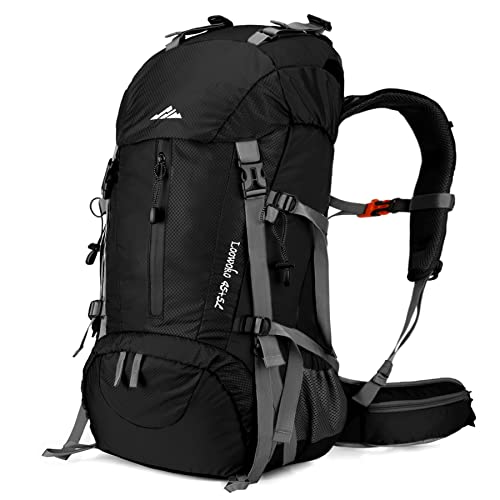
Cpmprehensive Upgraded Version - The Loowoko hiking travel backpack has been completely upgraded with better materials, stronger straps and more durable zippers, making it one of the most popular hiking daypack options for consumers.

Spacious And Organized Storage Space: The large capacity hiking backpack measures about 13.4*8.6*22" (W*H*D), capacity: 40 liters. lightweight backpack is equipped with a spacious backpack with zippered main compartment, 2 front zippered pockets, 2 waist zippered pockets, 2 side pockets and 2 mesh pockets, which can efficiently store and categorize different items
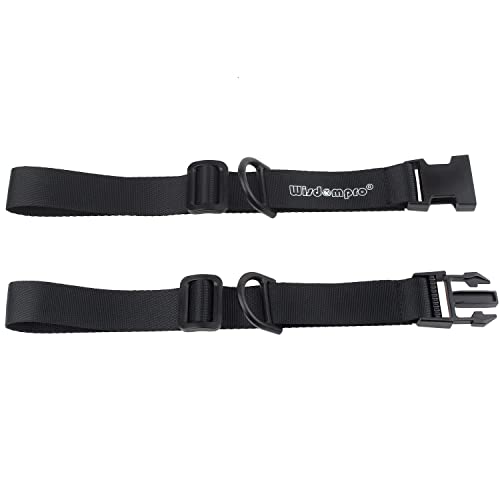
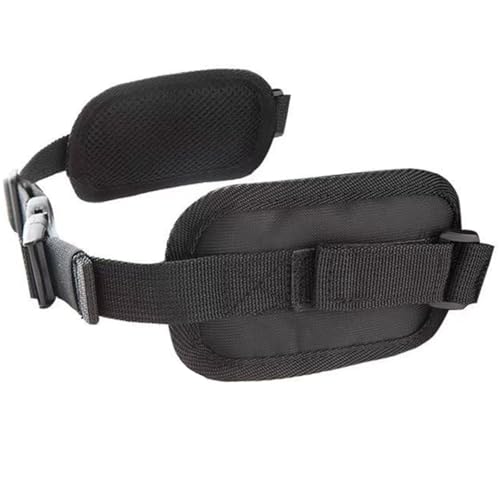
Keeps shoulder straps of your backpack securely in place, and gives your hands free.
Practice With Gradually Longer Walks

Begin in a controlled setting where you can remove the pack and make adjustments. The goal is not to tolerate discomfort until the backpack softens. The goal is to learn how it behaves while you walk, turn, climb, and descend.
- Indoor check: Wear the loaded pack for 10–15 minutes while walking around your home. Check the hipbelt position, shoulder contact, and breathing.
- Short flat walk: Walk for about 20–30 minutes with a manageable load. Stop once to inspect the straps and skin-contact areas.
- Longer local walk: Increase the duration and move closer to your intended load if the previous session caused no significant problems.
- Mixed-terrain test: Use a familiar route with gentle climbs, descents, and uneven ground. The National Park Service’s Hike Smart guidance recommends knowing how much weight you can comfortably carry and practicing on terrain that reflects your ability.
- Final trip simulation: Test the full planned load before an overnight or remote trip. Include the water and food weight you expect to carry at the start.
There is no required number of days or miles. A well-fitting pack may need only a few adjustment sessions, while a complex suspension system may take longer to fine-tune. Increase distance or load one variable at a time so you can identify what caused any new discomfort.
Warning: Stop the test if you develop numbness, tingling, sharp pain, weakness, restricted breathing, or rapidly worsening discomfort. Readjust or remove the pack rather than trying to walk through these symptoms. Seek medical guidance when symptoms persist or when an existing condition affects your ability to carry a load.
Testing Comfort During Use
Recheck the fit after the first 10–15 minutes and again after climbing or descending. Clothing can compress, the load may settle, and straps can loosen as you move.
A good fit does not mean you will feel no pressure at all. It means the pressure is broad and manageable, the pack stays controlled, and no small area becomes increasingly painful.
| Feature | Ideal Condition | Adjustment |
|---|---|---|
| Hipbelt | Snug over the upper hip bones without slipping | Recenter it and tighten both sides evenly |
| Shoulder Straps | Follow the shoulders without gaps, pinching, or numbness | Change shoulder tension or reassess the torso setting |
| Load Lifters | Upper pack remains close and stable | Tighten or loosen in small increments |
| Sternum Strap | Limits strap movement without affecting breathing | Move it vertically or reduce the tension |
| Overall Balance | Pack does not lean, sway, or pull strongly backward | Repack heavy items and balance both sides |
Comfort Checkpoints
- Can you stand upright without leaning far forward?
- Can you take a full breath without the sternum strap pressing tightly?
- Does the hipbelt stay on the hip bones while walking uphill and downhill?
- Do the shoulder straps maintain smooth contact without cutting into the neck?
- Does the pack move with your torso instead of swinging independently?
- Are the left and right sides applying similar pressure?
- Can you move your arms without the straps rubbing the armpits?
A backpack is ready for a longer trip when it remains stable and reasonably comfortable under the intended load—not simply when its straps feel softer.
Troubleshooting Common Backpack Fit Problems
| Problem | Likely Cause | What to Try |
|---|---|---|
| Most weight is on the shoulders | Hipbelt is too low, too loose, or unable to wrap the hips | Reposition and tighten the hipbelt; reassess belt size and torso length |
| Gap behind the shoulders | Torso setting may be too long or load lifters may be overtightened | Shorten the torso setting or release some load-lifter tension |
| Hipbelt slips downward | Belt is loose, oversized, poorly shaped, or overloaded | Retighten evenly, reduce the load, or try a different belt size or model |
| Pack pulls backward | Heavy items are too far from the back or the load is top-heavy | Move dense gear closer to the back and tighten compression straps |
| Pack sways side to side | Uneven packing or loose stabilizer and compression straps | Balance both sides and remove empty space around the load |
| One-sided rubbing or pain | Uneven strap tension, uneven load, twisted clothing, or poor body-to-pack match | Reset every strap, repack, and check the harness in a mirror |
| Sternum strap feels restrictive | Strap is too tight or positioned poorly | Loosen it and move it to a more comfortable height |
Using a New Backpack in Wet Conditions
You can test a backpack in light rain if the manufacturer permits normal wet-weather use, but protect sensitive contents. “Water-resistant” does not mean that every seam, zipper, harness opening, and back panel is waterproof.
- Use the fitted rain cover when one is supplied or recommended.
- Place electronics, insulation, and spare clothing in dry bags or a pack liner.
- Check that the rain cover does not block reflective details or drag near your legs.
- Remove the cover after use so trapped moisture can escape.
- Empty every compartment and open the zippers before drying.
Gregory’s care instructions recommend wiping away excess water and allowing the pack to air dry away from direct sunlight and heat. Do not use a clothes dryer, hair dryer, radiator, or other concentrated heat source unless the manufacturer explicitly permits it.
Note: A rain cover protects the pack during wet use; it does not help the suspension “break in.” Use it because of the weather and the pack’s construction, not because the backpack is new.
Regular Maintenance and Readjustment
Check the fit throughout the day because the load changes as you drink water, eat food, add clothing, or remove equipment. Small strap adjustments can also relieve pressure during climbs and descents.
- Confirm that the hipbelt remains centered over the upper hip bones.
- Retighten shoulder straps only enough to restore contact and stability.
- Adjust load lifters in small increments when the pack begins pulling backward.
- Loosen the sternum strap if breathing or upper-body movement feels restricted.
- Rebalance the contents if one side becomes lighter than the other.
- Inspect buckles, stitching, webbing, and frame components after each practice walk.
- Check hydration reservoirs and hose connections for leaks before loading other gear.
- Let the backpack dry completely before storing it.
Clean and maintain the pack according to its care label. Many technical packs should not be machine washed or tumble dried because agitation and heat can damage coatings, foam, hardware, or frame components.
When to Return or Exchange the Backpack
Do not assume every problem will disappear with more use. Exchange the pack or seek an in-person fitting when:
- The torso range cannot be adjusted to your measurement.
- The shoulder straps leave a major gap even after the torso setting is corrected.
- The hipbelt cannot tighten securely or its padding ends before wrapping the hips.
- The harness rubs the neck or armpits in every reasonable position.
- The pack consistently leans, twists, or pulls backward with a balanced load.
- Buckles slip, stitching opens, the frame feels damaged, or hardware fails.
- Short test walks repeatedly cause numbness, sharp pain, or concentrated pressure.
Keep tags, packaging, and proof of purchase until you complete the fit tests. Avoid cutting straps, bending frame stays, applying conditioners, or permanently modifying the pack while you may still need to return it.
Products Worth Considering
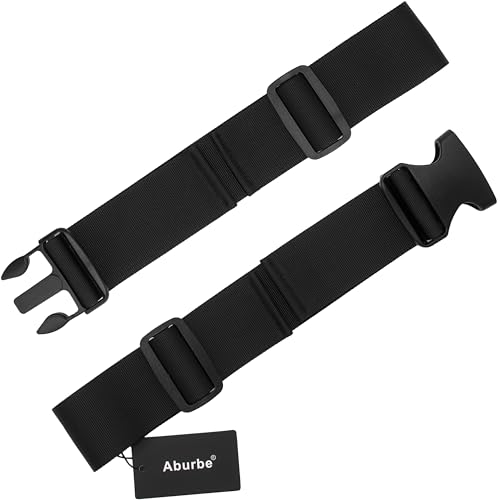
Extra Wide 2-Inch Design: Provides enhanced support and comfort for heavier loads, reducing strain during prolonged wear
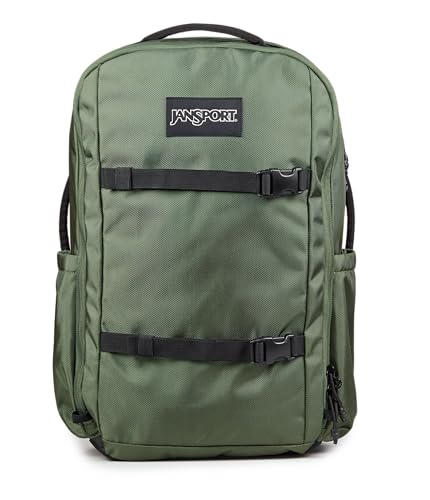
Spacious Main Compartment: Features a massive main compartment with internal compression straps to keep your gear organized and secure, perfect for adventurous outings or daily commutes.
Frequently Asked Questions
How long does it typically take to break in a backpack?
There is no fixed break-in period. A correctly sized hiking pack may be ready after an initial fitting and several short test walks. Continue testing until it remains stable under your intended load and you can walk without growing pressure points, numbness, or major rubbing.
Can I use my backpack in wet conditions during the break-in period?
Yes, provided the backpack is designed for normal outdoor use and you follow its care instructions. Protect important contents with dry bags or a liner, use a suitable rain cover, and air dry the pack completely away from direct heat before storing it.
What type of load is best for initial break-in sessions?
Use a manageable portion of the gear you expect to carry, packed in its normal position. Begin lighter if you are not accustomed to carrying weight, then move toward the complete planned load. Do not base the weight on a percentage of the backpack’s liter capacity.
Should I use a rain cover while breaking in my backpack?
Use a rain cover when rain, spray, or wet vegetation could soak the pack and the manufacturer recommends one. It is a weather-protection accessory rather than part of the break-in process. A liner or dry bags provide additional protection for moisture-sensitive gear.
How do I know if my backpack is fully broken in?
The pack is ready when it stays centered, transfers the load comfortably, allows normal breathing and movement, and does not create worsening pressure points during a realistic test walk. Strap softness alone is not a useful test.
Can I speed up the process by bending or softening the straps?
Do not force-bend frame parts, soak the harness, heat the foam, or apply chemicals unless the manufacturer instructs you to do so. These methods can damage structural parts, coatings, or padding and may affect the warranty. Normal fitting and short practice walks are safer.
Conclusion
Breaking in a new backpack is mainly a process of confirming the size, learning the adjustment system, packing the load correctly, and testing the fit before a demanding trip. Start with the hipbelt, adjust each strap in order, and increase your walking time only while the pack remains stable and comfortable.
Minor fine-tuning is normal. Persistent pain, numbness, severe rubbing, hipbelt slippage, or poor shoulder contact is not. Correct the setup, repack the load, or exchange the backpack rather than hoping a poor fit will eventually soften into the right one.
Sources
- Osprey Size and Fit Guide — fitting a loaded pack and positioning the hipbelt and harness.
- Deuter: How to Adjust a Backpack — torso adjustment, strap sequence, sternum-strap position, and stabilizer straps.
- Deuter: How to Pack a Backpack — placing heavy equipment close to the body and balancing the load.
- Gregory Care and Cleaning — safe drying, cleaning restrictions, and protection of backpack coatings.
- National Park Service: Hike Smart — knowing personal carrying limits and preparing for the planned terrain.
