
Last Updated on July 30, 2026 by Caleb Warren
A backpack should feel stable, close to your body, and comfortable when it is loaded—not just when it is empty. The best choice depends on who will carry it, what it will hold, and how long it will be worn. Use the fit, weight, packing, and adjustment checks below to choose a backpack that supports your back without relying on vague “ergonomic” labels.
Quick Answer
Choose a lightweight backpack sized to your torso, with two wide adjustable shoulder straps and enough compartments to keep the load stable. For heavier hiking loads, add a supportive hip belt and adjustable torso system. Pack dense items close to your back, use both straps, and test the loaded pack for pressure, slipping, or forced leaning.
Key Takeaways
- Fit matters more than the word “ergonomic.” The pack should match your torso and stay close to your back.
- For children and teens, the American Academy of Pediatrics recommends keeping a loaded school backpack at or below 15% of body weight.
- Use both shoulder straps. A hip belt is especially useful on hiking packs and other bags designed for heavier loads.
- Place heavy items close to the body and balance side-pocket weight.
- Pain, numbness, weakness, deep strap marks, or a need to lean forward means the load or fit needs attention.
At a Glance
| Time Required | 15–20 minutes for measuring, loading, and fit testing |
| Difficulty | Easy |
| Tools Needed | Bathroom or luggage scale, flexible tape measure, and the gear you normally carry |
| Cost | Free for a fit check; backpack prices vary by size and features |
Disclosure: As an Amazon Associate I earn from qualifying purchases. Some links on this page are affiliate links, at no extra cost to you.
Start With a Safe Carrying Weight
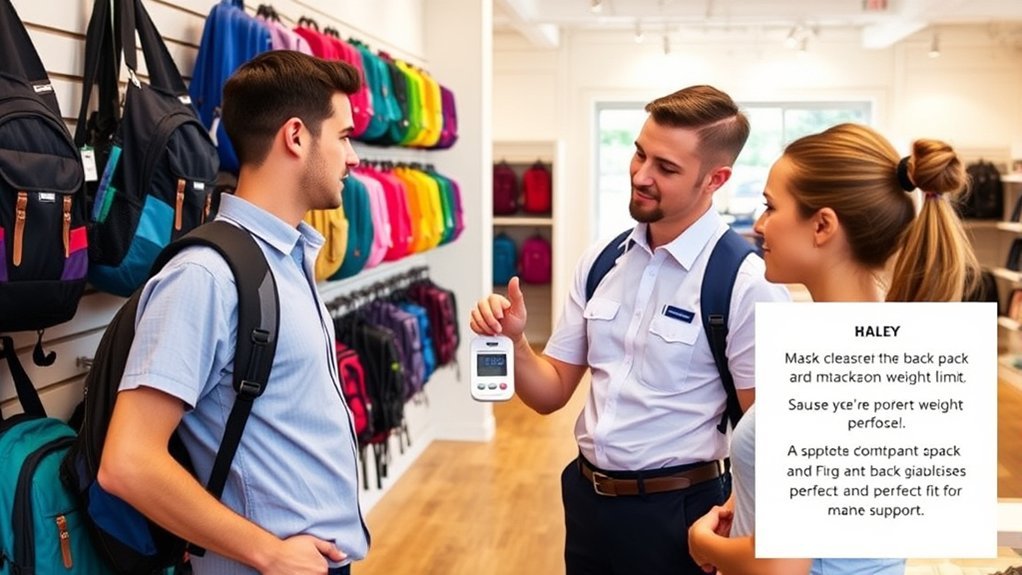
Weigh the backpack after it is packed. For school-age children and teens, the American Academy of Pediatrics recommends that a loaded school backpack weigh no more than 15% of the child’s body weight. A 60-pound child, for example, should carry no more than about 9 pounds under that guideline.
That percentage is a school-backpack guideline, not a universal limit for every adult, hiker, traveler, or worker. Adults should consider the activity, carrying time, terrain, physical condition, and the pack manufacturer’s load range. A load that causes pain, numbness, loss of balance, heavy bouncing, or a forward lean is too heavy or poorly adjusted even when it falls below a percentage target.
Warning: Do not assume a larger pack lets you carry more safely. Extra capacity often encourages overpacking. Lighten the load before trying to solve discomfort by tightening the straps harder.
Reduce weight by removing duplicate items, carrying only what is needed that day, using a locker when available, choosing a smaller water bottle, or splitting sports gear into a separate bag that can be stored. Pick up a loaded backpack by bending your knees and keeping the bag close rather than twisting and lifting from the waist.
Select the Right Size and Torso Fit
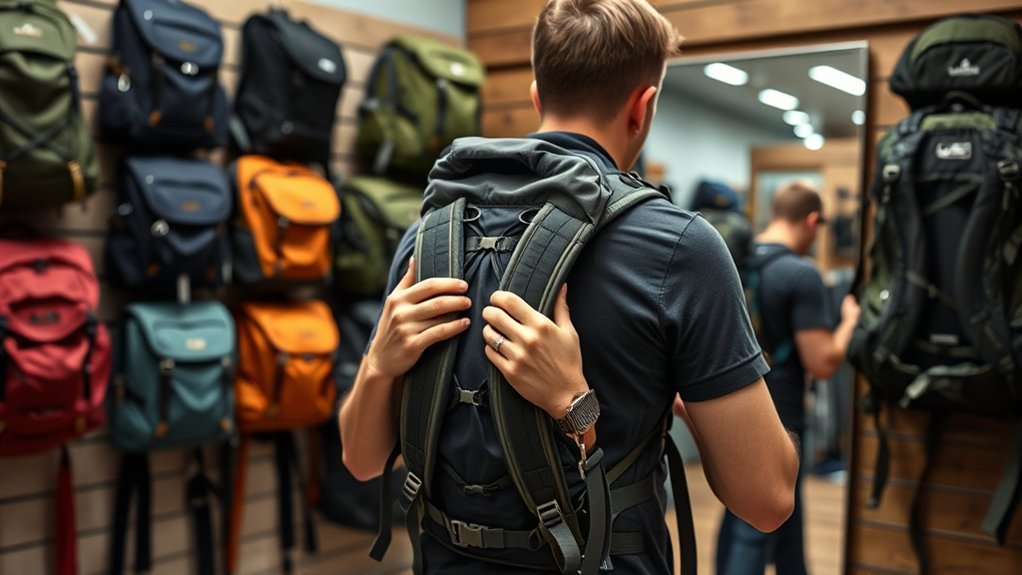
A backpack should be proportional to the wearer. For a school or everyday pack, the body of the bag should not be wider than the torso, and the bottom should sit around the curve of the lower back rather than hanging against the buttocks. The American Academy of Pediatrics advises that a child’s pack run from about waist level to 1–2 inches below the shoulders and never hang more than 4 inches below the waistline.
Technical hiking packs are sized by torso length, not by overall height. To measure torso length, tilt your head forward and find the bony bump at the base of your neck, called the C7 vertebra. Then place your hands on top of your hip bones and imagine a line between your thumbs. Measure down the spine from C7 to that line. Compare the result with the manufacturer’s size chart.
| Fit Check | What to Look For |
|---|---|
| Pack width | No wider than the wearer’s torso for school and everyday packs |
| Bottom position | Near the lower-back curve; not sagging onto the buttocks |
| Shoulder harness | Wraps smoothly around the shoulders without gaps or edge pressure |
| Hip belt on hiking packs | Centered over the hip bones with padding wrapping the hips |
| Movement | Allows normal arm swing, breathing, stair use, and head movement |
Pro Tip: Try the backpack with your normal load inside. An empty pack may feel perfect but reveal pressure points, slipping, or poor balance after books, a laptop, water, or hiking gear are added.
Choose Features That Improve Comfort and Stability
No material or label can guarantee back support. Look for features that match the load and how long you will carry it:
- Two wide, adjustable shoulder straps: They spread pressure better than a single narrow strap and let you keep the bag close to your body.
- Lightweight construction: Every pound of empty backpack reduces the amount of useful gear you can carry within a comfortable load.
- Padded back panel: It improves comfort and protects you from hard book corners or gear inside the pack.
- Multiple compartments and compression straps: They keep items from shifting and help stabilize the load.
- Sternum strap: It helps position the shoulder straps and reduce side-to-side movement. It should not restrict breathing.
- Hip belt: A simple webbing belt can stabilize a light pack. A padded, load-bearing hip belt is more useful on hiking packs designed to transfer part of the load to the hips.
- Adjustable torso system and frame: These matter most for backpacking and heavier hiking loads. They do not automatically make a small school or laptop bag better.
- Ventilated back panel: Mesh or channels can improve airflow, but ventilation should not come at the expense of a stable fit.
Breathable mesh, closed-cell foam, nylon, and polyester can all work well when the pack is properly designed. Judge the complete suspension system, stitching, padding shape, adjustability, and loaded comfort rather than choosing by fabric alone.
Arrange the Load Close to Your Back
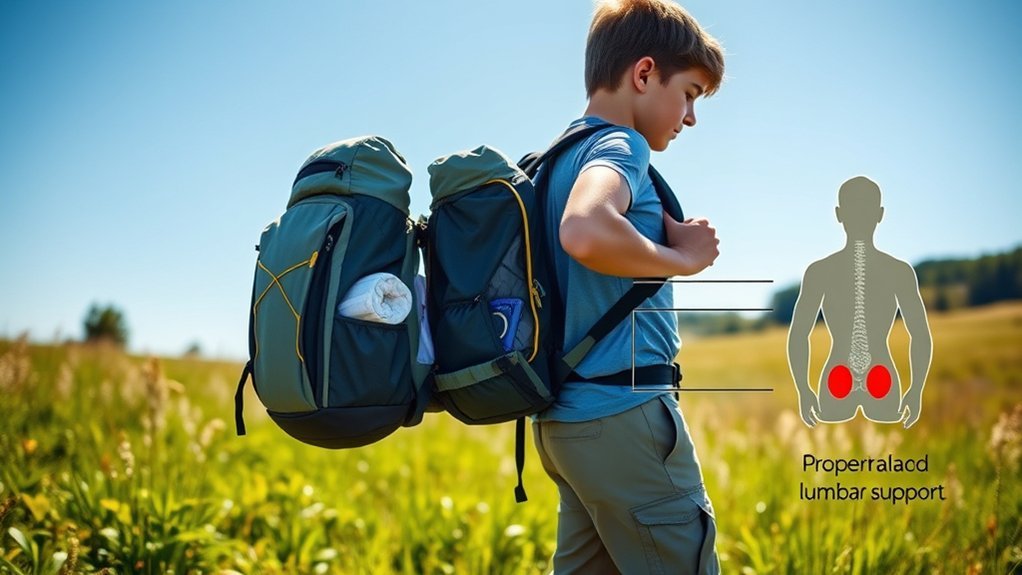
For school, work, and laptop backpacks, place the heaviest items—such as textbooks or a computer—in the compartment closest to your back. Keep the right and left sides balanced, and secure loose items so they do not swing. The American Academy of Orthopaedic Surgeons recommends keeping heavier school items low and toward the center of the backpack.
For a framed hiking or backpacking pack, the best vertical position changes with the gear and terrain. A common approach is to place light, bulky equipment such as a sleeping bag at the bottom, dense items close to the spine around mid-back or between the shoulder blades, and frequently used light items near the top. Follow the loading advice for your specific pack because frame and suspension designs differ.
Use two side pockets for water when possible, or counterbalance one full bottle with similar weight on the other side. Side pockets are useful for access, but they sit away from the spine; they should be balanced rather than treated as the ideal place for the heaviest item.
If the loaded backpack makes you lean forward, hike one shoulder, or change your normal walking pattern, lighten or repack it before adjusting the straps again.
Adjust the Straps in the Right Order
There is no universal “two-finger test” for backpack shoulder straps. A better check is whether the harness follows your shoulders without gaps, pinching, numbness, or restricted movement. Use this sequence for a hiking pack with a hip belt and load lifters; skip any step for hardware your pack does not have:
- Loosen the straps: Loosen the shoulder straps, hip belt, sternum strap, and load lifters before putting on the loaded pack.
- Set the hip belt: Center a load-bearing hip belt over the hip bones and tighten it evenly. The belt should grip without digging into the abdomen.
- Snug the shoulder straps: Pull down and back until the pack sits close and the straps wrap the shoulders. Do not overtighten until the hip belt stops carrying its share of the load.
- Set the load lifters: If present, tighten them enough to bring the upper pack closer. Osprey’s fitting guidance places properly fitted load lifters at about a 30- to 60-degree angle.
- Position the sternum strap: Place it roughly 2 inches below the collarbone, or where it is comfortable for your body, then tighten only enough to stabilize the shoulder straps.
- Tighten compression straps: Compress empty space so the contents cannot sway.
- Walk and recheck: Walk, climb stairs, bend, and raise your arms. Make small changes rather than pulling every strap as tight as possible.
For a school or laptop backpack without a load-bearing hip belt, adjust both shoulder straps to equal lengths so the bag rests in the middle of the back. Use the sternum or waist strap if supplied and comfortable. Always wear both shoulder straps.
Test Pressure Points, Balance, and Movement
Wear the loaded backpack for at least 10 minutes during a store fitting or at home before removing tags. Check it while standing, walking, using stairs, and reaching overhead.
- Shoulders: No sharp edge pressure, numbness, tingling, or deep grooves.
- Neck: The top of the pack should not push your head forward or rub the base of your neck.
- Lower back: The bag should not bounce, sag, or create one hard pressure point.
- Hips: A padded hiking hip belt should wrap the hip bones without sliding down or pinching.
- Breathing: The sternum and hip straps should feel secure without limiting a full breath.
- Balance: You should not lean forward, sideways, or take unusually short steps.
- Skin: Mild temporary pressure can occur, but painful marks or persistent redness suggest a fit problem.
Note: A suspended mesh back panel may improve airflow, while a close-contact foam panel may feel more stable. Neither style is best for everyone. Test both with weight and choose the one that remains comfortable for your activity.
Match the Backpack to the Activity
| Use | Most Useful Features |
|---|---|
| School | Child-sized body, low empty weight, two broad straps, padded back, compartments, and optional chest or waist strap |
| Laptop and commuting | Laptop sleeve next to the back, structured base, balanced organization, weather resistance, and comfortable straps |
| Day hiking | Stable harness, hydration access, ventilation, compression straps, and a light hip or waist belt when useful |
| Backpacking | Correct torso size, supportive frame, padded load-bearing hip belt, load lifters, compression, and a rated load range that fits the trip |
| Travel | Carry-on dimensions where needed, compression, secure zippers, a supportive harness, and a shape that does not pull away from the back |
Rolling backpacks can reduce time spent carrying a heavy school load, but they may be awkward on stairs and can create a tripping hazard in crowded halls. Check school rules and the route before choosing one. Crossbody and one-strap bags are better reserved for light loads and short distances because they cannot distribute weight as evenly as a two-strap backpack.
Know When to Seek Professional Advice
Stop using or lighten the backpack if it causes pain, numbness, tingling, weakness, headaches linked to strap pressure, balance problems, or symptoms that continue after the bag is removed. For a child, do not ignore ongoing back, neck, or shoulder pain. The AAOS advises contacting a pediatrician when backpack-related pain does not improve.
A pediatrician, primary care clinician, physical therapist, occupational therapist, or orthopedic specialist can assess persistent symptoms, an existing spine or shoulder condition, recovery after surgery or injury, or a need to carry medical or work equipment. Bring the loaded backpack to the appointment so the clinician can see the real fit and load.
Medical Note: This article provides general backpack-selection and fitting information. It is not a diagnosis or a substitute for care from a qualified healthcare professional.
Frequently Asked Questions
What materials are best for back support in backpacks?
No single fabric provides back support by itself. Look for durable nylon or polyester, shaped foam padding, breathable mesh where helpful, strong stitching, and a suspension system that stays stable under your normal load. Fit and load control matter more than the fabric name.
How do I clean and maintain my backpack?
Empty every pocket, remove detachable parts, and follow the care label. Spot-clean most packs with lukewarm water, mild soap, and a soft cloth or brush, then rinse and air-dry fully away from high heat. Machine washing or drying can damage coatings, foam, frames, and hardware unless the manufacturer specifically allows it.
Can a backpack affect my posture over time?
A heavy or poorly worn backpack can cause discomfort and temporary changes such as leaning forward or to one side. The AAOS states that heavy backpacks do not cause scoliosis. Persistent pain or posture changes should be evaluated rather than blamed on the backpack alone.
Are specific brands known for ergonomic backpacks?
Brands such as Osprey, Deuter, and Gregory offer models with adjustable torso systems and supportive hip belts, but no brand fits every body. Compare the exact model’s torso range and load rating, then test it with weight. For school and laptop bags, prioritize correct dimensions and comfortable straps over brand reputation.
What additional features should I consider for a hiking backpack?
Useful hiking features include an adjustable torso, a hip belt matched to the expected load, load lifters, compression straps, hydration access, secure side pockets, ventilation, rain protection, and pockets you can reach without removing the pack. Choose features based on trip length and total load.
How tight should backpack shoulder straps be?
They should be snug enough to keep the bag close and prevent bouncing, while still allowing normal breathing, arm movement, and head movement. The straps should follow the shoulders without a large gap. Loosen them if they cause numbness, tingling, pinching, or deep pressure marks.
Should I use a hip belt on every backpack?
Not necessarily. A simple waist strap can stabilize a light school or day pack. A padded hip belt is most valuable when the backpack is designed to transfer a heavier load through a frame or structured suspension. A poorly placed belt may add pressure without improving support.
Conclusion
Choose a backpack by testing its loaded fit, not by capacity, padding, or an “ergonomic” claim alone. Keep a child’s school load within the 15% body-weight guidance, place heavy items close to the back, balance the contents, and use both shoulder straps. For heavier hiking loads, match the torso size and use a pack with a properly fitted hip belt and suspension. A comfortable pack should stay stable without pain, numbness, forced leaning, or restricted movement.
Sources
- American Academy of Pediatrics: Backpack Safety — child backpack size, 15% load guidance, packing, and wearing recommendations
- American Academy of Orthopaedic Surgeons: Backpack Safety — injury prevention, load placement, symptoms, and scoliosis clarification
- Mayo Clinic: Choosing the Best School Backpack — strap, fit, organization, and rolling-backpack guidance
- Osprey: Backpack Size and Fit Guide — torso measurement, hip-belt position, load lifters, and harness fitting
- Systematic Review: Backpack Loads and Postural Deviation in Schoolchildren — evidence on backpack load and postural response
