
Last Updated on July 30, 2026 by Caleb Warren
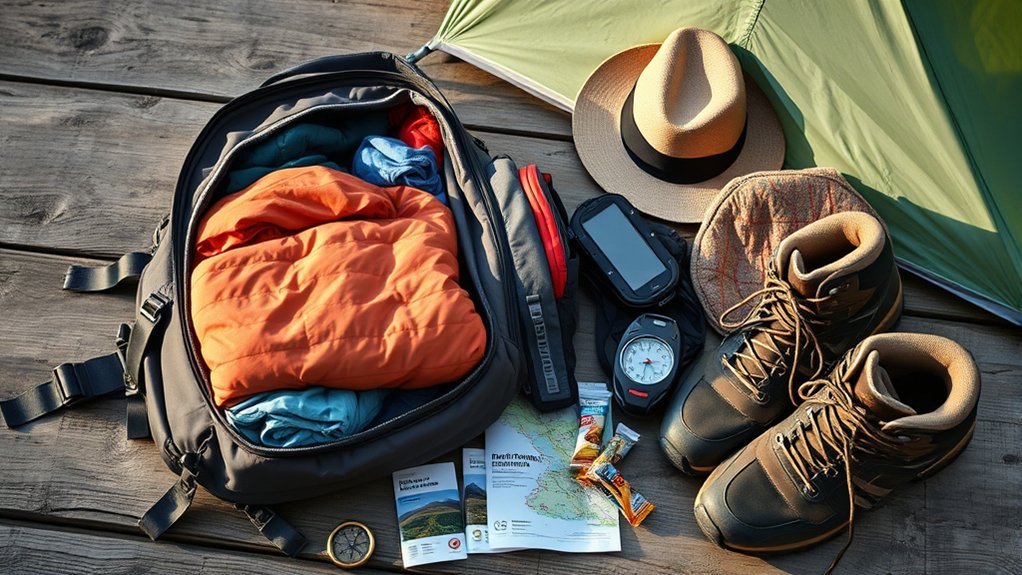
A well-packed hiking backpack should feel stable, keep essential gear easy to reach, and protect critical items from rain, leaks, and wildlife. The best setup depends on whether you are taking a short day hike or an overnight trip, but the same rule applies: carry only what the route, weather, and emergency plan require.
Quick Answer
Pack light, bulky camp items at the bottom; dense items in the middle and close to your spine; and rain gear, snacks, navigation, water, and first aid where you can reach them quickly. Balance both sides, secure loose gear, protect clothing with a pack liner, and adjust the hip belt before the shoulder straps.
Key Takeaways
- Choose capacity by trip length and gear volume, then confirm the pack matches your torso and hip size.
- Keep the heaviest, densest gear centered near your back instead of at the very top or far from your spine.
- Carry the Ten Essentials and adapt them to the trail, weather, season, water sources, and local rules.
- A waterproof bag does not satisfy wildlife-storage rules; check whether the area requires a bear canister or locker.
- Test the loaded pack before leaving and fix swaying, pressure points, loose straps, or hard-to-reach emergency gear.
At a Glance
| Time Required | 20–30 minutes, plus a short test walk |
| Difficulty | Easy |
| Tools Needed | Trip checklist, bathroom scale or luggage scale, pack liner or dry bags, and required wildlife-storage container |
| Cost | $0 if you already own the gear; about $10–$40 for liners, stuff sacks, or replacement straps |
Disclosure: As an Amazon Associate I earn from qualifying purchases. Some links on this page are affiliate links, at no extra cost to you.
Importance of a Personal Packing System
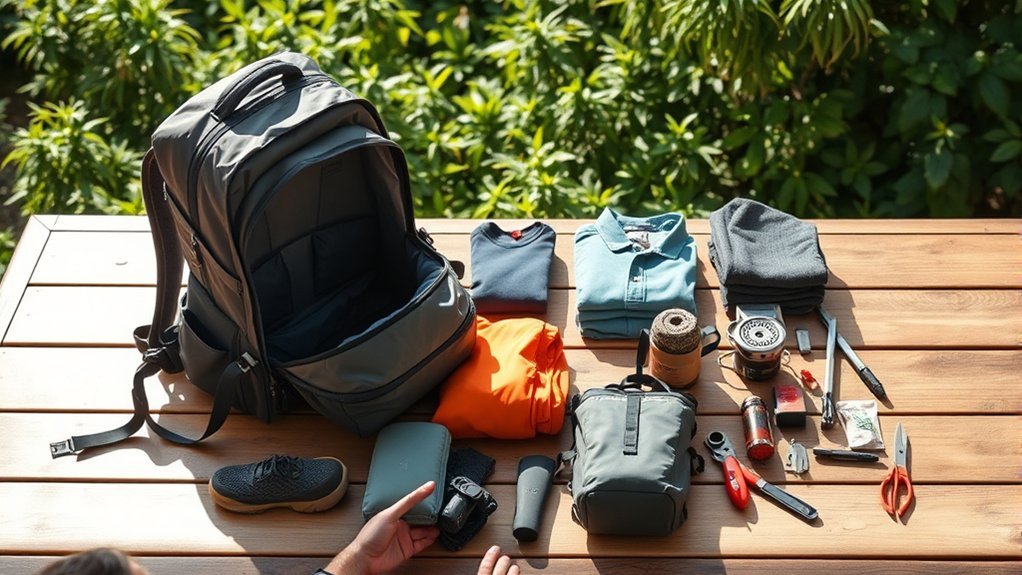
A personal packing system makes it easier to find gear without emptying your backpack on the trail. Group items by purpose, such as shelter, sleep system, clothing, food, cooking, water, hygiene, and emergencies. Use the same pockets and stuff sacks on each trip so reaching for a headlamp or rain shell becomes automatic.
Your system should remain flexible. A warm, dry day hike needs less space than a cold-weather overnight trip. Before packing, review the forecast, route distance, elevation, available water, expected trail conditions, permit rules, fire restrictions, and wildlife-storage requirements. The National Park Service Ten Essentials provide a strong safety baseline, but they must be adjusted for the specific trip.
Pro Tip: Create a master checklist on your phone, then duplicate it for each trip. Mark every item as packed, worn, shared, or not needed. This reduces forgotten gear without encouraging overpacking.
Build a Trip-Specific Packing List
Pack for the conditions you may reasonably face, not only the conditions at the trailhead. Every hiker should carry navigation, sun protection, insulation, illumination, first aid, fire-starting supplies where permitted, a repair kit and tools, food, water or treatment equipment, and emergency shelter. A phone is useful, but it should not be your only map, light, or emergency plan.
Day-Hike Packing List
- Map, compass, downloaded route, and any required permit
- Water and a backup treatment method when natural sources may be used
- Food for the planned hike plus an extra no-cook snack
- Rain shell, insulating layer, hat, and gloves as conditions require
- Headlamp with working batteries
- Small first-aid and blister-care kit
- Sun protection, insect protection, hygiene supplies, and a waste bag
- Emergency shelter, whistle, repair tape, and a compact tool
Overnight Backpacking List
For an overnight trip, add a shelter, sleeping bag or quilt, sleeping pad, stove and fuel when cooking is allowed, pot and utensils, additional food, sleep clothing, sanitation supplies, and the food-storage method required by the land manager. Share group items only after assigning who will carry each part.
Warning: Do not remove emergency gear simply to reach a target pack weight. Route difficulty, heat, cold, water availability, medical needs, and remoteness matter more than a single percentage.
Choosing the Right Backpack
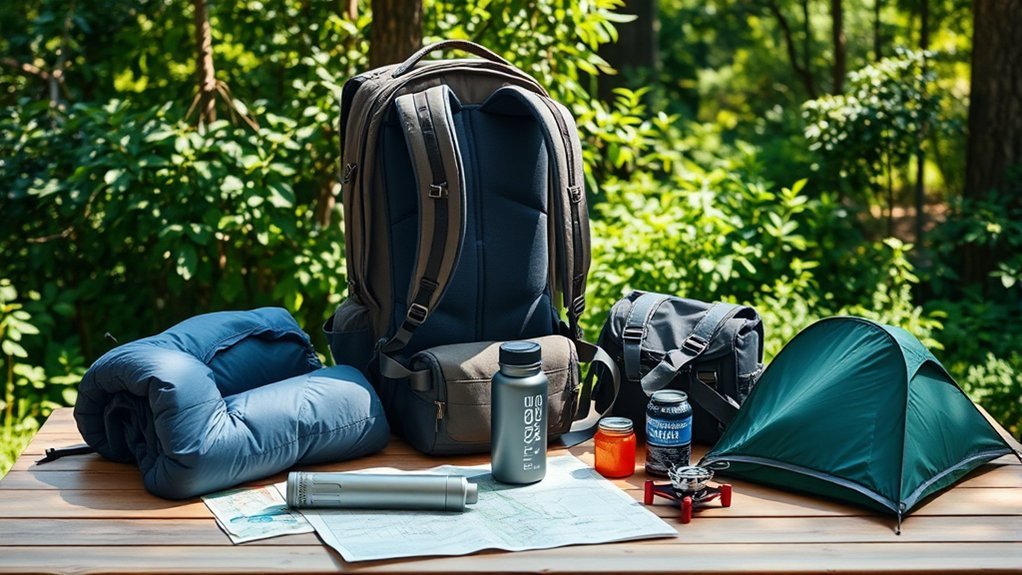
Choose a backpack only after you know the volume of the gear you must carry. The following ranges, based on common trip-capacity guidance in REI’s backpack selection guide, are useful starting points rather than strict rules:
- 10–20 liters: short hikes with mild weather and limited gear
- 20–35 liters: full-day hikes, winter day hikes, or trips requiring extra water and layers
- 30–50 liters: many one- to three-night trips with compact gear
- 50–70 liters: longer trips, cold-weather equipment, bear canisters, or bulky group gear
The pack must also fit your torso and hips. Look for an adjustable suspension, a supportive hip belt, comfortable shoulder straps, load lifters on larger packs, compression straps, and pockets that match how you hike. A panel-opening pack offers easier access, while a top-loader is simple and often lighter. Review the manufacturer’s load recommendation because a lightweight pack may not carry heavy loads comfortably.
Most hiking backpacks are water-resistant rather than completely waterproof. A rain cover helps shield the outside, but wind-driven rain and water running down your back can still enter. Use a waterproof pack liner or sealed dry bags for a sleeping bag, spare clothes, electronics, and other items that must stay dry.
Understanding Weight Distribution
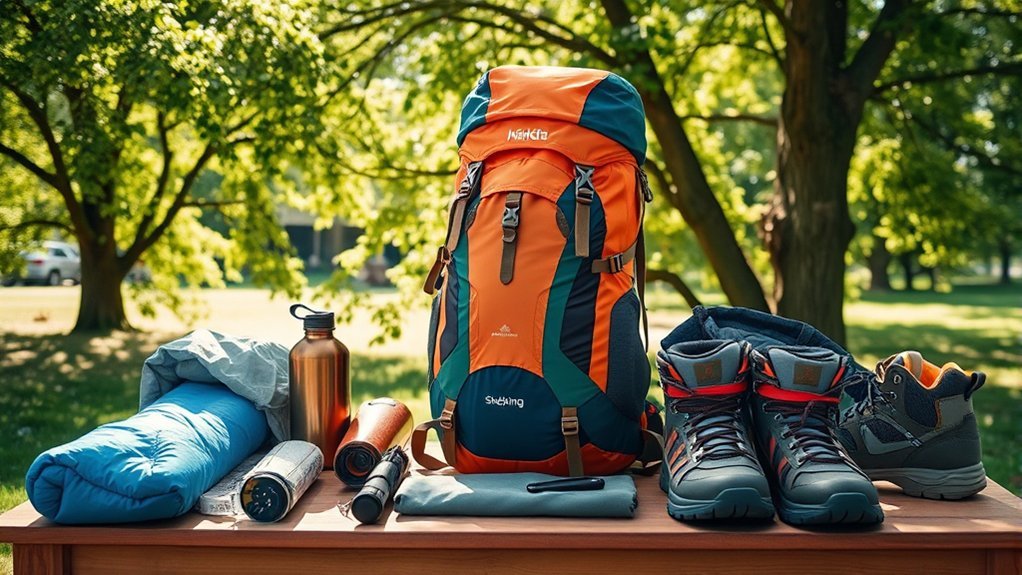
Good weight distribution keeps the load close to your natural center of gravity. Put dense items in the middle of the pack and close to your spine. If heavy gear sits far from your back, the pack pulls backward. If it sits too high, the load may feel unstable; if it sits too low, the pack can sag.
Use Four Packing Zones
- Bottom zone: place soft, bulky items you will not need while hiking, such as a sleeping bag, sleep clothes, and part of the sleeping pad.
- Core zone: center dense items near your back, such as food, a bear canister, cooking gear, or carried water. Pad hard edges with clothing.
- Top zone: keep a rain shell, warm layer, first-aid kit, and other items needed during the day near the opening.
- Exterior pockets: carry water, snacks, map, sunscreen, insect repellent, hygiene items, and a waste bag. Secure everything so it cannot fall out or swing.
Balance the left and right sides, compress the load, and avoid attaching heavy gear far behind the pack. Trekking poles, tent poles, or a sleeping pad may ride outside when the attachment points are secure and the items do not block movement or catch on branches.
A stable pack keeps dense gear centered near your spine and quick-access safety items near the top—not the heaviest items piled above your shoulders.
Organizing Food and Snacks
Organize food by when you will eat it. Keep the day’s snacks and lunch in a small, reachable bag. Store later meals deeper in the core zone, where their weight stays close to your back. Waterproof or odor-resistant bags can contain crumbs and moisture, but they do not make perishable food safe and they do not replace an approved wildlife-storage system.
Store Food and Smellables for Wildlife
Before leaving, check the land manager’s current rules. Some areas require a bear-resistant canister or food locker, while others allow a specific hanging method. Store food, trash, toiletries, sunscreen, lip balm, and other scented items together when regulations require it. The National Park Service advises that rules vary by location, so a method that is legal on one trail may be prohibited on another.
When carrying a bear canister, place it in the pack’s core close to your back and keep it centered. Do not assume an ordinary dry bag is animal-resistant. At camp, follow the site-specific distance and placement rules rather than relying on one universal number.
Separate Food, Water, and Fuel
- Close fuel valves and caps tightly, keep fuel upright when practical, and separate it from food in case of leakage.
- Carry water where it stays balanced and cannot leak onto dry clothing or a sleeping bag.
- Pack at least one no-cook food option in case a stove fails or fire restrictions change.
- Keep wrappers and food scraps in a sealable trash bag and pack them out.
If you plan to collect water, carry treatment equipment and know how to use it before the trip. The CDC recommends treating water of uncertain safety; boiling is the most reliable germ-killing method, and filtering followed by disinfection is the next-best general approach. Follow the treatment product’s instructions and contact times.
Packing Gear and Clothing
Pack clothing as a system rather than as separate outfits. Choose a moisture-managing base layer, an insulating layer, and a shell suited to the forecast. Keep the layer you are most likely to add first near the top. Store dry sleep clothing and insulation in a waterproof liner or dry bag.
Organizing Essential Gear
- Sleeping bag: compress only as much as needed and place it at the bottom inside a waterproof liner or dry bag.
- Spare clothes: group them by purpose. Keep camp-only clothes dry and place an on-trail layer near the top.
- Tent: split the body, fly, poles, and stakes when sharing the load. Keep the shelter near the top when rain is likely or you expect to pitch it quickly; otherwise secure it where it balances well.
- Stove and fuel: protect the stove from damage, keep the fuel container closed, and separate fuel from food.
Clothing Layering Strategy
Pack only the layers needed for the expected temperature range, wind, precipitation, and exposure. Roll or fold soft garments to fill spaces around hard gear, but do not bury the rain shell, gloves, beanie, or insulation you may need during a sudden weather change. Avoid cotton for cold or wet conditions because it holds moisture and dries slowly.
Optimizing Space Utilization
Use empty spaces inside a pot, mug, or bear canister only for clean items that belong there. Small toiletries can fill gaps, but first aid, navigation, and emergency gear should remain easy to identify. Compress soft items enough to stop shifting, not so tightly that you damage insulation or create a hard, uncomfortable lump against your back.
- Fill safe gaps with soft, lightweight items.
- Center dense items instead of forcing them into leftover spaces.
- Use compression straps to limit movement.
- Keep wet, leaking, sharp, and fuel-related items isolated.
Weatherproofing Your Backpack
Line the main compartment with a purpose-made pack liner or a durable plastic bag. Seal the sleeping bag, dry clothing, electronics, and paper maps separately. A rain cover is useful, especially in steady rain, but it can blow loose and does not protect the harness side of the pack. Keep wet rain gear in an outside pocket so it does not soak dry equipment.
Note: Waterproof storage protects gear from water; it does not keep food cold, stop spoilage, or make a container bear-resistant.
Essential Items for Easy Access
Quick-access storage should focus on safety and the items you use while moving. Put frequently used gear in the lid, hip-belt pockets, side pockets, or top of the main compartment. Avoid loading pockets so heavily that the backpack becomes unbalanced.
Prioritize Quick-Access Gear
- Navigation: map, compass, route notes, and a protected phone or GPS device
- Weather protection: rain shell, warm layer, gloves, and hat
- Emergency items: first-aid kit, whistle, headlamp, and emergency shelter
- Daily-use items: water, snacks, sunscreen, insect repellent, and hygiene supplies
- Camp setup: tent or tarp near the top when quick shelter is a realistic need
Organize Snacks Strategically
Place the food you expect to eat that day in one labeled bag. Keep a few snacks in a hip-belt pocket or top pocket and the rest in the pack’s core. Dense or heavy food should not sit at the very top merely for convenience because it can make the pack feel top-heavy. Refill the quick-access bag at camp.
Keep Essentials Within Reach
Water bottles must be secure yet reachable. A hydration reservoir can improve access, but check the cap, hose, and bite valve for leaks before packing. Keep a headlamp accessible even on a daytime hike because delays happen. Store a cup, camp shoes, and toiletries where they are convenient, but never ahead of navigation, first aid, water, or weather protection.
Utilizing Gaps in Your Pack
Gaps are useful for soft, lightweight gear such as socks, a rolled jacket, camp shoes, or a small towel. Place soft items around a pot, bear canister, or stove to stop hard gear from shifting. Do not stuff every opening so tightly that you cannot remove one item without disturbing the whole load.
Protect electronics from impact, water, and temperature extremes in a padded, sealed pouch. Keep spare batteries insulated in cold weather and prevent loose battery terminals from contacting metal. Avoid placing electronics in an exposed gap simply because space is available.
Check the outside of the pack after filling gaps. Nothing should dangle, block your arms, press sharply into your back, or interfere with a helmet, trekking poles, or visibility. Tighten compression straps after the final load is balanced.
Pre-Hike Preparation Steps
Pack at least the day before departure so you have time to weigh the load, find missing items, check batteries, treat or replace damaged gear, and confirm the forecast and regulations. Tell a responsible person where you are going, your route, your expected return time, and whom to contact if you are overdue.
Check Pack Weight
Weigh the backpack with food, water, fuel, and shared equipment included. There is no universal safe pack-weight percentage for every hiker or trip. Fitness, body size, terrain, altitude, heat, medical conditions, pack design, required water, and emergency equipment all change what is manageable. Treat any body-weight percentage as a rough screening tool, not a pass-or-fail safety rule.
Reduce unnecessary duplicates and excess packaging first. Do not cut water, insulation, navigation, first aid, emergency shelter, or required wildlife equipment just to meet a number. When a necessary load feels too heavy, shorten the route, improve gear sharing, cache supplies only where legal, or choose a trip with easier access.
Adjust Straps Properly
- Set the torso length according to the pack maker’s instructions.
- Loosen the hip belt, shoulder straps, load lifters, and sternum strap before putting the pack on.
- Center the padded hip belt over the top of the hip bones and tighten it firmly.
- Tighten the shoulder straps until they wrap smoothly without carrying the entire load.
- Snug the load lifters so the pack moves closer to your upper back; do not crank them down.
- Buckle the sternum strap at a comfortable height and tighten only enough to stabilize the shoulder straps.
- Tighten compression and side-stabilizer straps so the load does not sway.
Load lifters should feel snug rather than rigid. If tightening them creates pinching or pulls the shoulder straps away from the body, loosen them and recheck the torso setting and hip-belt position.
Take a Loaded Test Walk
Walk for 10–15 minutes with the complete load. Include stairs, a slope, and a few careful step-ups when available. The pack should not sway, bounce, pull backward, or create numbness, sharp pressure, or rubbing. Repack the load before trying to solve every problem by tightening straps.
Adjusting Your Backpack for Comfort
Fine-tune the pack during the hike. Small changes can relieve pressure as terrain and fatigue change. On a climb, slightly snugging the shoulder straps may keep the load close. On level ground, loosening them a little can shift more weight to the hips. Keep the hip belt centered and make one adjustment at a time so you can tell what helped.
Stop when you notice a hot spot, rubbing, numbness, or pain. Check for a twisted strap, uneven side load, hard object against the back panel, loose compression strap, or incorrect torso length. Persistent pain is a reason to reduce the load or turn back, not simply tighten the pack harder.
Common Packing Problems and Quick Fixes
- The pack pulls backward: move dense items closer to your spine and tighten compression straps.
- The pack feels tippy: lower heavy items from the top and center them in the core.
- One shoulder hurts: check left-to-right balance, shoulder-strap routing, and hip-belt position.
- The pack sags: move dense gear higher into the middle zone and tighten lower compression straps.
- Gear is hard to find: group items by purpose, label sacks, and keep emergency gear in fixed locations.
- Dry gear becomes wet: use a pack liner, isolate wet items, and check bottle, reservoir, and fuel caps.
- The load rattles or sways: fill safe gaps with soft gear and compress the pack without crushing fragile items.
- The hip belt slips: confirm the pack size and torso setting, remove bulky clothing beneath the belt, and retighten it over the hip bones.
Tips for a Successful Hiking Experience
Use a repeatable order: check the trip plan, lay out every item, remove unnecessary duplicates, waterproof critical gear, load the four pack zones, balance both sides, compress the load, fit the straps, and take a test walk. Keep frequently used items accessible, but do not sacrifice balance to place every convenience item on top.
Before stepping onto the trail, confirm that water containers are closed, fuel is sealed and separated, food storage meets local rules, batteries work, and nothing hangs loose. Recheck the weather and trail notices. If the forecast includes thunderstorms, identify safe shelter options and change the route or timing when necessary.
Visualize the first few hours of the hike: where you will get water, when you may add a layer, what you will eat, and how you will respond if the pace is slower than planned. That mental walk-through is most useful when it leads to a clear plan, not extra gear carried “just in case.”
Frequently Asked Questions
How do I choose the right hiking shoes?
Choose shoes or boots that fit the terrain, expected load, weather, and your feet. Try them with your hiking socks, leave enough toe room for descents, and check that the heel does not lift excessively. Break them in before a long trip and use footwear with traction suited to the trail surface.
What should I do if it rains during my hike?
Put on rain gear before clothing becomes soaked, protect insulation and electronics, slow down on slippery surfaces, and reassess exposed crossings or ridges. If you hear thunder, follow National Weather Service lightning guidance: do not shelter under an isolated tree or rely on a tent. Move toward a substantial building or hard-topped vehicle when possible and avoid high points, water, and tall isolated objects.
How can I prevent blisters on my feet?
Wear well-fitting, broken-in footwear and clean wool or synthetic socks. Keep feet as dry as practical, stop as soon as you feel a hot spot, and cover the area with moleskin or medical tape before it becomes a blister. Carry spare socks and basic blister-care supplies.
What snacks are best for energy on the trail?
Choose foods you already tolerate and can eat while tired. Useful options include nuts, nut-butter packets, dried fruit, trail mix, tortillas, cheese suited to the conditions, energy bars, crackers, and chocolate. Combine quick carbohydrates with fat or protein, and carry an extra no-cook snack for delays.
How do I stay hydrated while hiking?
Start hydrated, drink regularly, and carry enough water for the route or a reliable treatment plan for available sources. Needs vary with heat, altitude, pace, humidity, body size, and medical factors, so avoid one fixed amount for every hike. Treat water when its safety is uncertain and follow the product directions.
Where should I carry water in my backpack?
Keep water close to your back and balanced from side to side. A centered hydration reservoir works well when the pack supports one. Bottles can ride in side pockets if they are secure and similar in weight; rebalance the load as you drink.
Should the tent always go at the top of the pack?
No. Put it near the top when you may need shelter quickly, such as in expected rain or a late arrival. In other conditions, place or split the tent wherever it remains secure and balanced. Keep wet tent fabric separate from dry insulation and clothing.
Conclusion
A comfortable hiking backpack is built in layers: the right pack and fit, a trip-specific checklist, balanced packing zones, protected dry gear, legal food storage, and a final test walk. Keep dense items centered near your spine and the gear you may need quickly within reach. Once the load feels stable and nothing shifts, leaks, dangles, or presses into your back, tighten the final straps and head out with a clear route and safety plan.
Sources
- U.S. National Park Service: Ten Essentials — minimum emergency and preparedness categories for hiking
- REI Co-op: How to Choose a Backpack — capacity, access, features, and trip-length considerations
- REI Co-op: How to Pack and Hoist a Backpack — loading zones and weight distribution
- National Weather Service: Lightning Myths and Facts — why trees and tents are unsafe thunderstorm shelter
- Centers for Disease Control and Prevention: Backcountry Water Treatment — treating water of uncertain safety
- U.S. National Park Service: Bear Safety and Food Storage — safe storage of food and scented items
