Last Updated on July 30, 2026 by Caleb Warren
Packing for a trip that combines hiking and city sightseeing takes more planning than packing for either one alone. You need trail-ready layers and safety gear, but you also want clean, comfortable clothes for restaurants, museums, and long walks. The best approach is to build a small capsule wardrobe, pack a separate day-hike kit, and choose items that can serve more than one purpose.
Quick Answer
Pack moisture-managing layers, one rain shell, two pairs of comfortable shoes, and a compact daypack. Plan outfits around three sample days, then repeat and wash pieces as needed. Keep the National Park Service Ten Essentials in your hiking kit, separate wet or dirty gear, and check trail rules, weather, and airline restrictions before leaving.
Key Takeaways
- Build a small capsule wardrobe instead of packing a separate outfit for every day.
- Choose trail clothing that can also work for casual city activities.
- Treat hiking safety gear as essential, even when the hike is only one part of the trip.
- Carry water based on the route, heat, altitude, and local guidance—not one universal amount.
- Keep wet, dirty, and clean items in separate bags or packing cubes.
At a Glance
| Time Required | About 30–45 minutes, plus time to check the forecast and trail rules |
| Difficulty | Easy |
| Tools Needed | Packing list, luggage, daypack, packing cubes or zip bags, and a weather app or official forecast |
| Cost | $0–$50 if you already own suitable clothes and hiking gear |
Disclosure: As an Amazon Associate I earn from qualifying purchases. Some links on this page are affiliate links, at no extra cost to you.
Use the 3-Day Packing Method as a Planning Tool

The 3-Day Packing Method is a simple planning trick, not an official travel standard. Instead of choosing clothes for every calendar day, plan complete outfits for three types of days:
- Essential Day: Pack for the activity that has the strictest needs, such as a full-day hike, a special dinner, or a guided tour.
- Typical Day: Build an outfit for ordinary sightseeing, transit, cafés, and casual meals.
- Flexible Day: Prepare for a weather change, an unplanned walk, or a dressier evening.
Use those three outfits as the base for the rest of the trip. Repeat pants, jackets, and midlayers. Rotate shirts and underwear, and plan one laundry stop for longer travel. This method works best when the colors coordinate and every major item can be worn at least twice.
Pro Tip: Lay out all three outfits before packing. Remove any item that works with only one outfit unless it is required for safety or a specific event.
Select Versatile Clothing for Hiking and City Exploration

Start with clothes that handle movement, changing temperatures, and repeated wear. Synthetic performance fabrics and merino wool are useful for base layers because they dry faster than heavy cotton and are comfortable across a wider range of conditions. In cool or wet places, the National Park Service recommends layers and warm-when-wet materials such as wool, polypropylene, or fleece.
A Practical Hiking-and-City Capsule Wardrobe
- Three to five tops: Choose quick-drying T-shirts or long-sleeve shirts that can be worn alone or under a jacket.
- Two bottoms: Pack lightweight hiking pants, travel pants, or one pair that converts to shorts. Add a casual skirt, dress, or second city-friendly bottom only when you will use it.
- One warm layer: A light fleece, wool sweater, or packable insulated jacket works for cool trails, air-conditioned buildings, and evenings.
- One rain shell: Choose a waterproof, breathable jacket with a hood. A shell is more useful on exposed trails than an umbrella.
- Underwear and socks: Pack enough for several days, then wash and air-dry them. Bring at least one spare pair of hiking socks in your daypack.
- One sleep set: Lightweight sleepwear can also serve as an emergency clean outfit.
- One multi-use accessory: A scarf, buff, or hat can provide sun protection, warmth, or a cleaner look in the city.
Note: Cotton can be comfortable in town, but it dries slowly. Avoid relying on cotton as your only trail layer in cold or wet conditions.
Footwear Essentials: Comfort Meets Style
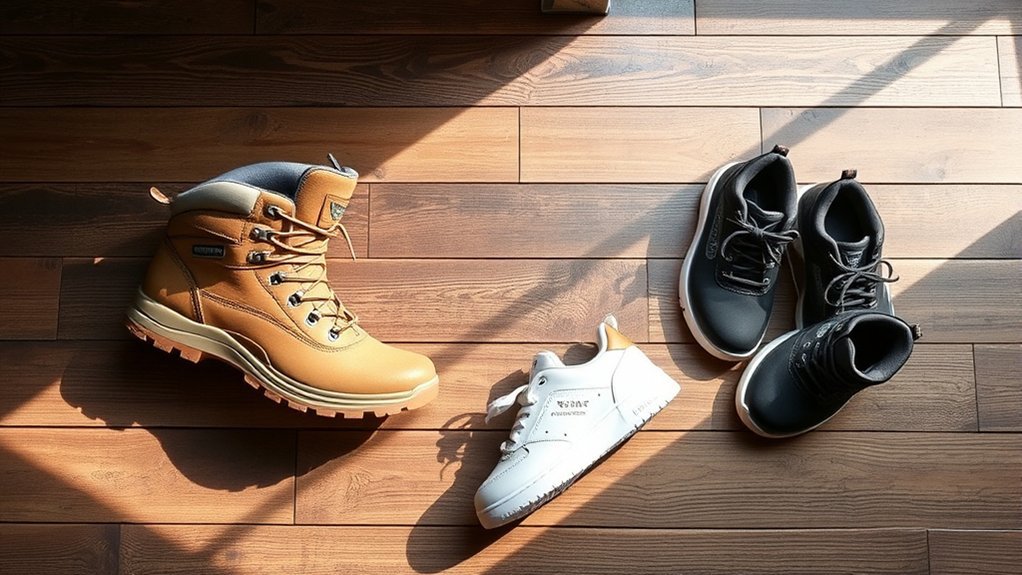
Footwear is often the hardest part of a mixed trip because trail traction and city style do not always come in the same shoe. For most travelers, two pairs are enough:
- Trail pair: Wear well-fitting hiking shoes, trail runners, or boots with traction suited to the route. Waterproof footwear can help in steady rain or mud, but breathable non-waterproof shoes may dry faster in hot weather.
- City pair: Pack lightweight sneakers, supportive sandals, flats, or slip-ons for museums, restaurants, and recovery days.
Wear the heavier pair during transit to save luggage space. Test both pairs before the trip, and do not make a long hike the first outing for brand-new shoes. Fit matters more than whether the footwear is labeled stylish, rugged, or waterproof.
Warning: Do not choose footwear based on appearance alone. Poor fit, worn tread, or a shoe that is wrong for the terrain can lead to blisters, slips, and an early end to the hike.
Pack Essential Gear for Outdoor Adventures
A first-aid kit, water bottle, and rain jacket are a good start, but they are not a complete hiking safety kit. The National Park Service Ten Essentials cover the minimum categories that help you respond to delays, changing weather, navigation problems, and minor injuries.
Ten Essentials Checklist
- Navigation: A map, compass, downloaded offline map, or GPS device—and the knowledge to use it.
- Sun protection: Sunscreen, sunglasses, a hat, and protective clothing.
- Insulation: Extra layers for the coldest conditions you may face.
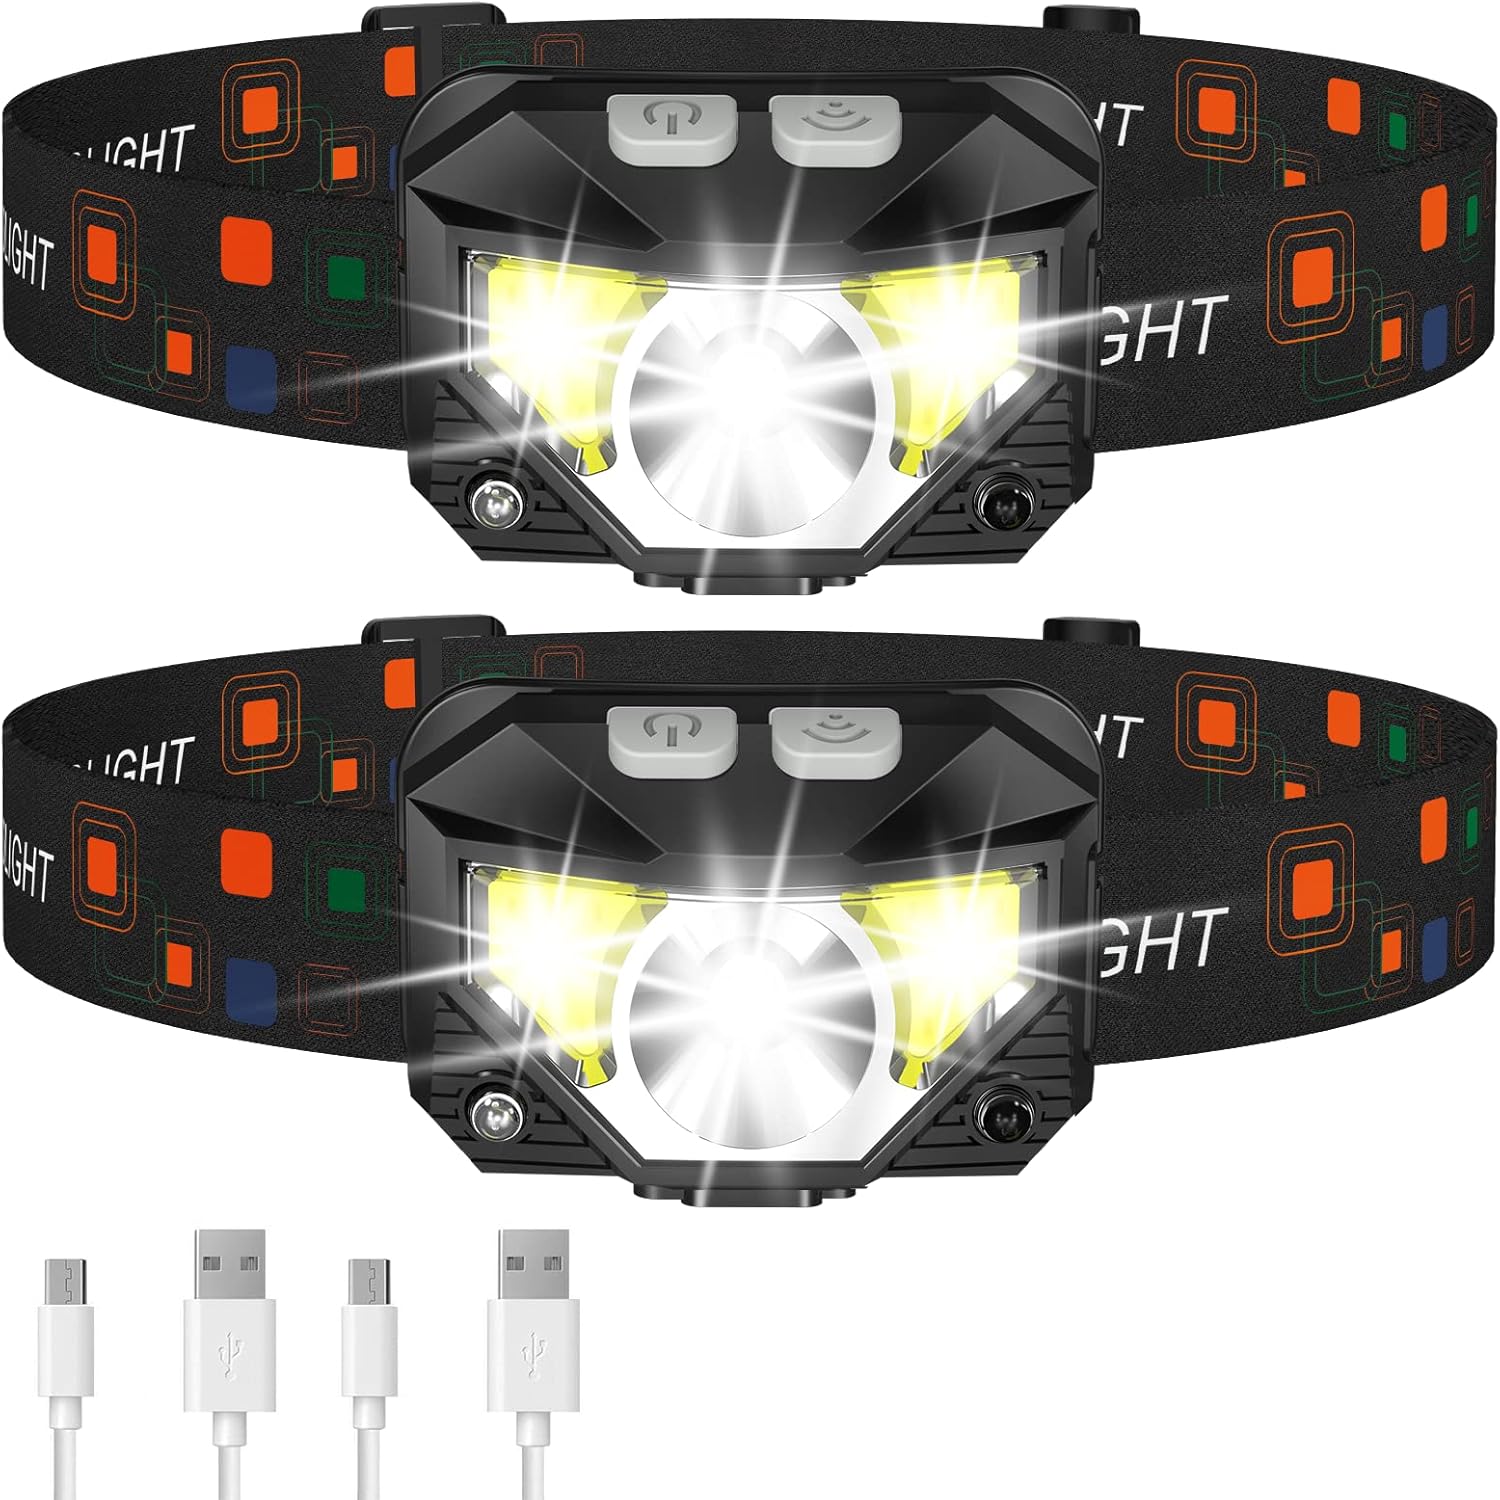
- Illumination: A headlamp or flashlight with spare power.
- First aid: Bandages, antiseptic supplies, blister care, personal medication, and any trip-specific items.
- Fire: A lighter, matches, or fire starter where fires are legal and appropriate.
- Repair kit and tools: Tape, a small multi-tool, and gear-specific repair items. Follow airline rules for blades and sharp tools.
- Nutrition: More food than you expect to eat during the planned outing.
- Hydration: Water plus a treatment method when the route depends on natural water sources.
- Emergency shelter: A space blanket, bivy, tarp, or another lightweight shelter suitable for the route.
Adjust the list to the trail, season, local hazards, and group needs. A short paved walk near services does not require the same load as a remote mountain route, but you should not remove an item simply because the planned hike is short.
How Much Water Should You Carry?
There is no safe universal answer for every full-day hike. Water needs change with heat, humidity, altitude, pace, body size, route exposure, and access to safe water. Review the managing agency’s guidance, identify reliable refill points, and carry extra for delays. Never assume that a stream or spring is safe to drink without treatment.
Your hiking kit should be built around the conditions you could face—not only the conditions you hope to face.
Choose the Right Luggage and Daypack
Your main suitcase or travel backpack holds the full trip wardrobe. Your daypack carries trail gear and daily city essentials. Keeping those roles separate makes it easier to leave unnecessary items at the hotel without forgetting safety equipment.
For many day hikes, a pack in the 20- to 30-liter range provides room for water, food, layers, and the Ten Essentials. A smaller pack may work for a short, low-risk outing near services, while cold weather, long routes, family gear, or camera equipment may require more space. Multi-day backpacking is a different activity and usually calls for a larger pack designed to carry shelter, sleep gear, and food.
Capacity is only one part of the choice. Load the pack before the trip and check that the shoulder straps, sternum strap, and hip belt sit comfortably. The pack should not pull you backward, rub your neck, or bounce as you walk.
Organize Your Suitcase With Packing Cubes
Packing cubes make it easier to find items and keep clean clothes away from trail gear. Standard cubes organize; compression cubes may reduce bulk, but neither type creates unlimited space. Use them as a system rather than filling every cube as tightly as possible.
- Sort by use: Place hiking layers, city clothes, underwear, and accessories in separate cubes.
- Choose sizes carefully: Use a small cube for socks and underwear, a medium cube for tops, and a larger cube for pants or warm layers.
- Label or color-code: A simple system helps you find what you need without unpacking the whole bag.
- Reserve a wet-gear bag: Pack a waterproof sack or sturdy zip bag for damp rainwear, muddy shoes, and used clothing.
Roll or fold clothes based on the fabric and cube shape. Place dense items close to the suitcase wheels or near your back in a travel backpack. Keep medication, identification, valuables, and one basic change of clothes in your personal item when flying.
Pack Personal Items and Accessories
Small items can have a major effect on comfort and convenience. Build one pouch for daily city use and another for the trail so you do not have to rebuild your kit each morning.
Personal Item Checklist
- Identification, payment cards, travel documents, and copies stored separately
- Prescription medication in its original labeled container when practical
- Phone, charging cable, plug adapter, and portable power bank
- Reusable water bottle or hydration reservoir
- Small toiletry kit and any needed menstrual or personal-care supplies
- Lightweight daypack with secure pockets for valuables
- Hat, sunglasses, scarf or buff, and compact sun protection
- Laundry soap sheets or a small amount of travel detergent
- Reusable bag for groceries, laundry, or extra layers
Warning: When flying, spare lithium batteries and power banks belong in carry-on baggage, not checked baggage. Protect the terminals from short circuits and check your airline’s watt-hour and quantity limits. See the FAA PackSafe guidance.
Prepare for Weather Changes and Unexpected Events
Check the forecast when you first pack, again the night before the hike, and once more before leaving. Look beyond the chance of rain. Review temperature, wind, heat, lightning, air quality, trail closures, and sunset time.
- Rain: Carry a hooded rain shell and protect insulation, electronics, and spare clothes inside waterproof bags.
- Cold: Add a warm layer, gloves, and a hat based on the lowest expected temperature and route exposure.
- Heat: Adjust water, sun protection, pace, and start time. Turn back if conditions exceed your ability or supplies.
- Thunderstorms: Do not depend on an umbrella, tree, tent, or open shelter for lightning protection. The National Weather Service advises moving to a substantial enclosed building or hard-topped vehicle when thunder is heard and waiting 30 minutes after the last thunder before resuming outdoor activity.
- Delays: Carry extra food, a headlamp, emergency shelter, offline navigation, and a written trip plan shared with someone who is not on the hike.
Note: A compact umbrella can still be useful for city streets, but it should not replace a rain shell or a safe weather plan on exposed trails.
Step-by-Step Packing Checklist
- List the fixed activities. Note hikes, restaurant reservations, special events, transit days, and laundry access.
- Check local conditions. Review the official forecast, trail status, terrain, permits, wildlife guidance, and sunset time.
- Build three sample outfits. Plan an essential day, a typical city day, and a flexible weather-change day.
- Create the capsule wardrobe. Add only the pieces needed to repeat those outfits for the full trip.
- Select two footwear options. Choose one trail-ready pair and one lighter city pair.
- Pack the hiking kit. Use the Ten Essentials as the base, then add route-specific gear.
- Organize by purpose. Separate clean clothes, trail gear, toiletries, electronics, and wet or dirty items.
- Test the load. Carry the packed daypack and main bag. Remove duplicate or single-use items that are not essential.
- Review transport rules. Check airline baggage limits and restrictions for batteries, hiking poles, tools, fuel, and other outdoor equipment.
- Run a final departure check. Confirm identification, medication, weather, trail access, water plan, and emergency contact details.
Common Packing Problems and Quick Fixes
The Bag Is Too Heavy
Remove duplicate layers, bulky “just in case” outfits, full-size toiletries, and items available at the destination. Do not solve the problem by removing water, medication, navigation, or emergency gear required for the hike.
Your Gear Gets Wet
Move wet items into a separate waterproof bag so they do not soak dry clothing. At the first safe chance, open the bag, shake out water, blot items with a towel, and air-dry them with good airflow. Do not store damp clothing or footwear in a sealed cube longer than necessary.
Clothes Smell Stale
Let worn clothes dry before packing them, rotate outfits, and wash quick-drying items in a sink or laundry facility. A breathable laundry bag helps control odor better than sealing sweaty clothing while it is still damp.
Your City Outfit Feels Too Casual
Use one clean overshirt, scarf, simple accessory, or lightweight second shoe to change the look without adding a complete dress outfit. Check dress requirements for planned venues before the trip.
Frequently Asked Questions
What fabrics are best for hiking and city travel clothing?
Quick-drying synthetic fabrics and merino wool work well for base layers, socks, and shirts. Lightweight nylon or polyester pants are practical for trails and casual sightseeing. Cotton can be comfortable in town, but it dries slowly and should not be your only layer in cold or wet hiking conditions.
How can I keep my clothes fresh during a multi-day trip?
Rotate outfits, let damp clothes dry before repacking, and wash quick-drying basics every few days. Store dry dirty laundry in a breathable bag. Keep muddy or wet gear in a separate waterproof bag only until you can clean and dry it.
What should I do if my gear gets wet while hiking?
Protect dry insulation, electronics, and spare clothes first. Put wet gear in a separate bag, then air-dry it as soon as conditions allow. If your warm layers or sleeping equipment are soaked and you cannot stay warm, shorten the route or seek safe shelter rather than continuing as planned.
How do I choose the right backpack size for my trip?
Choose the pack after listing what it must hold. A 20- to 30-liter daypack is a useful starting point for many day hikes, but weather, route length, water needs, family gear, and camera equipment may change that. Multi-day camping requires a larger backpacking pack. Test the loaded pack for fit before traveling.
Can I bring my pet while hiking or traveling in the city?
Sometimes, but rules vary by trail, park, transit system, hotel, and city. Many protected areas do not allow pets on hiking trails. Check every location before leaving, keep your pet leashed where required, carry water and waste bags, avoid wildlife, and choose a route that matches your pet’s fitness. The National Park Service hiking-with-pets guide explains common trail precautions.
Conclusion
Good packing for hiking and city travel is less about squeezing in more and more about choosing the right system. Build a small wardrobe around three realistic days, bring two dependable footwear options, and keep your hiking safety kit separate from your city items. Check conditions and local rules before each outing, then adjust your load instead of following a rigid list. You will move more comfortably, find your gear faster, and stay better prepared when the plan or weather changes.
Sources
- U.S. National Park Service — Ten Essentials — navigation, hydration, first aid, extra food, and emergency gear.
- Olympic National Park — Wilderness Travel Basics — layering, rain protection, navigation, and wet-weather preparation.
- National Weather Service — Outdoor Lightning Safety — safe shelter and the 30-minute rule.
- Federal Aviation Administration — PackSafe Lithium Batteries — carry-on rules for power banks and spare batteries.
- U.S. National Park Service — Hiking With Pets — trail restrictions, leash guidance, water, and pet safety.
- Deuter — Hiking Backpack Guide — day-hike pack capacity and fit considerations.