Last Updated on July 30, 2026 by Caleb Warren
Packing a backpack for winter travel is easier when you plan around the weather instead of trying to fit an entire cold-weather wardrobe into one bag. Start with a properly sized backpack, build outfits from thin layers, wear your bulkiest coat and boots in transit, and organize the remaining gear by weight and how often you will need it.
Quick Answer
To pack a backpack for winter travel, use a base, insulating, and weatherproof layering system; wear your bulkiest items; compress only soft clothing; place dense items near the middle and close to your back; and keep liquids, documents, medication, electronics, and one warm layer easy to reach.
Key Takeaways
- Check your destination forecast, planned activities, laundry access, and airline baggage limits before choosing what to pack.
- Pack thin, interchangeable base and mid layers instead of relying on several bulky sweaters.
- Keep heavy or dense items near the middle of the backpack and close to the back panel—not loose at the bottom.
- Wear your largest coat and boots in transit, but remove excess layers if you become hot or sweaty.
- Keep travel documents, medication, liquids, valuables, and spare lithium batteries in accessible carry-on compartments.
At a Glance
| Time Required | 30–60 minutes, plus time to check weather and baggage rules |
| Difficulty | Easy to moderate |
| Tools Needed | Packing list, scale, packing cubes or compression bags, liquid bag, and waterproof pouch |
| Cost | $0–$40 if you already own the backpack and winter clothing |
Disclosure: As an Amazon Associate I earn from qualifying purchases. Some links on this page are affiliate links, at no extra cost to you.
Plan for the Weather, Trip, and Baggage Rules
Before choosing clothing, check the forecast for each destination and consider more than the daytime high. Wind, precipitation, nighttime temperatures, altitude, and the amount of time you will spend outside all affect what you need. Pack differently for a city break with heated buildings than for skiing, winter hiking, or travel in a remote area.
Also check whether you can wash clothes during the trip. Access to a sink, hotel laundry, or laundromat lets you pack fewer base layers, socks, and shirts. A practical capsule wardrobe is usually more useful than packing a separate outfit for every day.
If you are flying, review your airline’s current allowance for your fare and route. Carry-on dimensions, weight limits, and personal-item rules are not universal. The Federal Aviation Administration advises travelers to check directly with their airline before packing.
Note: A soft backpack may compress into an airline sizer, but overfilled outer pockets, rigid frames, wheels, and handles still count toward its dimensions. Measure the fully packed bag rather than relying only on its advertised capacity.
Choosing the Right Backpack for Winter Travel
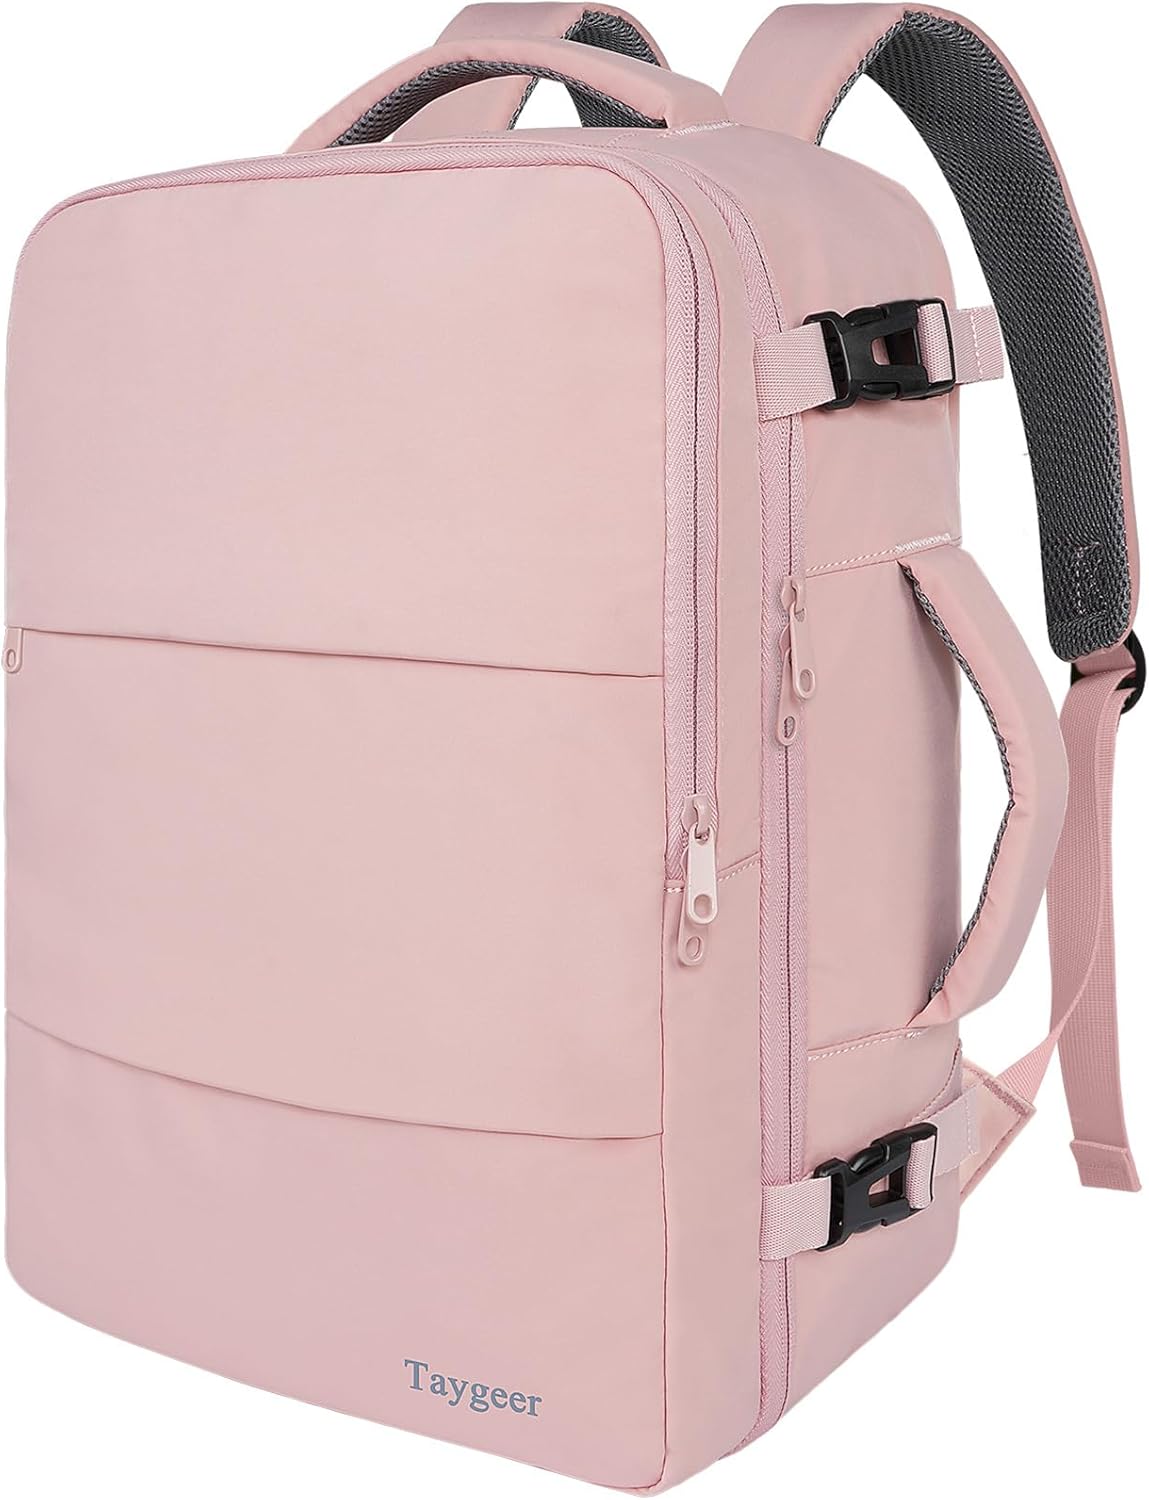
A clamshell backpack opens like a suitcase and makes folded clothing, packing cubes, and toiletries easy to see. A duffel-style travel backpack may offer a large main compartment and useful front pockets. Neither design is automatically better; choose the one that fits your body, transportation plans, and packing style.
The original examples mention Tilena and Light Flight bags, but product names and specifications can change or refer to multiple listings. Compare the actual bag’s measurements and features instead of assuming a model name guarantees suitability.
Look for these practical features:
- Correct dimensions: The packed bag must meet the rules for your airline and fare.
- Comfortable harness: Padded shoulder straps, an adjustable sternum strap, and a supportive back panel help control the load.
- Useful access: A clamshell or wide U-shaped opening reduces digging through bulky clothing.
- Compression straps: Internal or external straps help prevent the contents from shifting.
- Protected electronics storage: A padded sleeve keeps a laptop or tablet close to the back panel.
- Weather protection: Water-resistant fabric, covered zippers, or a fitted rain cover helps in snow and sleet.
- Wet-item storage: A lined pocket is useful, but a separate dry bag or sealed waterproof pouch works too.
Choose enough capacity for your planned layers without filling every pocket tightly. A completely packed backpack should still close without forcing the zipper, remain stable when lifted, and feel comfortable during a short test walk.
Essential Clothing Items for Layering

An effective winter wardrobe uses several thin layers that can be added or removed as conditions change. The National Park Service recommends dressing in layers and choosing wool or suitable synthetic materials for wet winter conditions instead of relying on cotton.
Pack a Moisture-Managing Base Layer
The base layer sits next to your skin. Choose lightweight or midweight thermal tops and bottoms made from wool or quick-drying synthetic fabric. These pieces take less room than heavy sweaters and help manage moisture when you walk between cold streets, public transportation, and heated buildings.
Bamboo-labeled shirts may feel comfortable, but the label alone does not guarantee warmth, moisture control, durability, or odor resistance. Evaluate the finished garment’s fabric blend and care instructions. For a weeklong trip with laundry access, two or three base-layer tops and one or two thermal bottoms may be enough.
Add Insulating Mid Layers
Fleece, wool, or a lightweight insulated jacket can trap warm air without taking as much room as several thick fashion sweaters. One or two versatile mid layers are usually easier to pack than four bulky sweaters and a cardigan.
If you prefer more outfit variety, four sweaters and one cardigan can still work, but they may require a larger bag or fewer shoes and accessories. Lay everything out before packing and remove any item that does not work with at least two outfits.
Pack a Weatherproof Outer Layer
Your outer layer should match the destination. This may be a wind-resistant insulated coat, a waterproof shell worn over a packable insulated jacket, or a heavier winter coat for very cold urban travel. A hood helps protect your head and neck from wind, snow, and freezing rain.
Include Winter Accessories
- Warm hat that covers the ears
- Insulated gloves or mittens
- Scarf, buff, or neck gaiter
- Two to four pairs of wool or synthetic socks
- Comfortable sleepwear
- Leggings or thermal bottoms for layering
- Sunglasses and sunscreen for bright snow conditions
For bottoms, one pair of jeans can work for an urban trip if you wear it in transit and have another quick-drying or weather-resistant option. Jeans become heavy and slow to dry when wet, so they are less suitable for prolonged snow, hiking, or wet outdoor activities.
Choose Winter Footwear
Wear your heaviest pair of footwear while traveling whenever it is comfortable and practical. For snowy or wet destinations, choose boots with suitable insulation, water resistance, secure traction, and enough room for warm socks without squeezing your toes. Pack no more than one lighter backup pair unless your activities require specialized footwear.
Warning: Ordinary smooth-soled boots may not provide enough grip on ice. For winter hiking or severe conditions, research the route and use activity-specific footwear or traction equipment. Urban packing advice is not a substitute for backcountry winter preparation.
Packing Techniques for Efficient Space Management
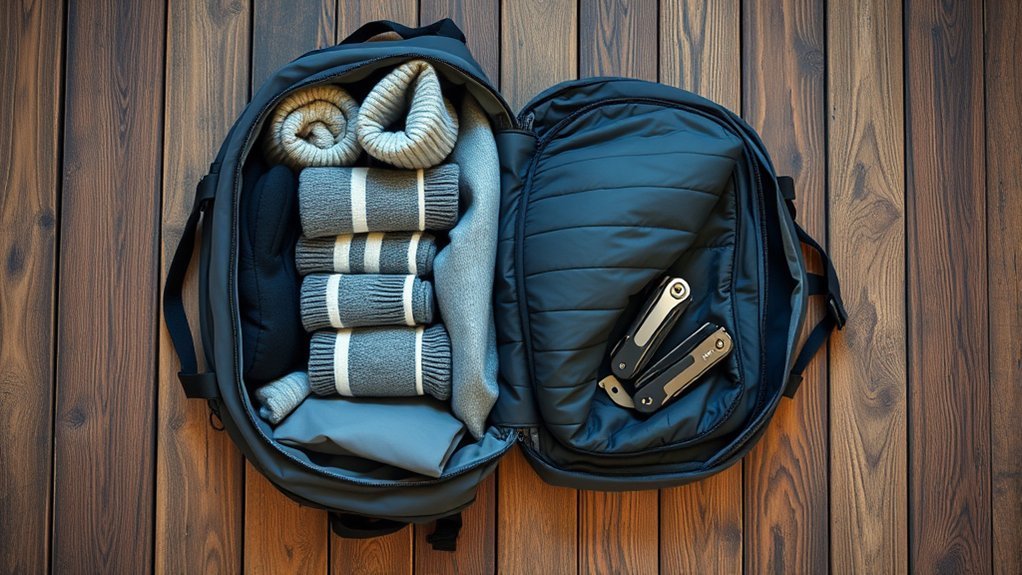
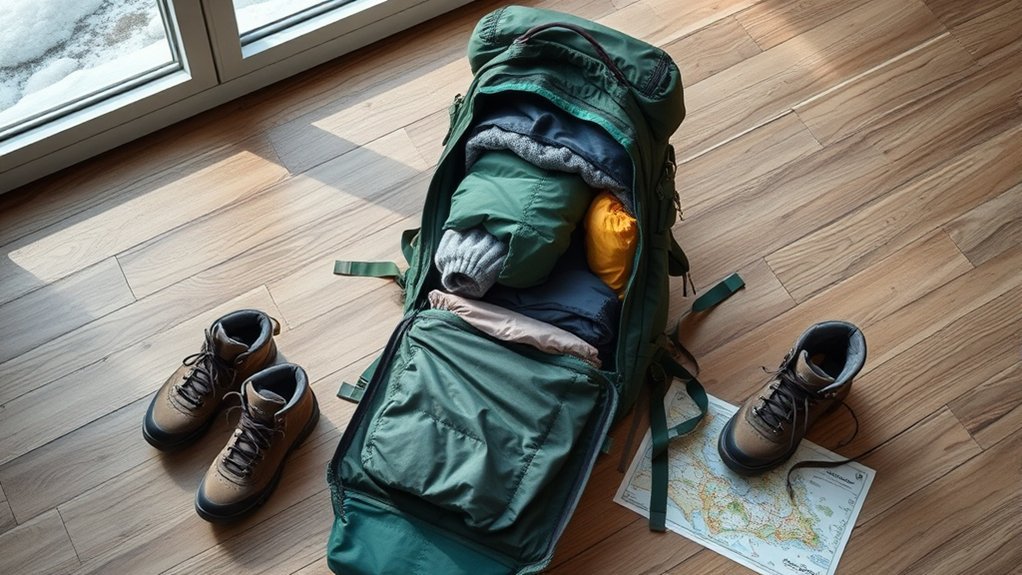
Winter packing works best when each method is matched to the item. Roll thin shirts and base layers, fold structured clothing, compress soft insulation, and use small gaps for socks or accessories. Do not compress the backpack so aggressively that zippers, electronics, medication, or fragile items are placed under pressure.
Compression for Bulky Clothing
Compression bags or compression cubes can reduce the volume of sweaters, fleece, sleepwear, and other soft clothing. They do not reduce weight, so a smaller-looking bag can still exceed an airline limit or feel uncomfortable.
Release only enough air to make the clothing compact. Extreme compression can create a stiff block that is difficult to position and may encourage overpacking. Avoid long-term compression of down or other insulation when the manufacturer advises storing it uncompressed.
Pro Tip: Pack your compression cube, place it in the backpack, and then tighten it. A cube compressed outside the bag can become too rigid to fit the available shape.
Flat Packing Essentials
Flat-fold bulky sweaters, cardigans, trousers, and structured garments so they form even layers. Roll thinner base-layer tops, underwear, leggings, and pajamas to fill narrow spaces. Place socks inside clean shoes or boots, but keep dirty soles inside a shoe bag.
Compression cubes are helpful for organization, but every item does not need its own pouch. Too many organizers add weight and create unused gaps. Group clothing by purpose, such as base layers, mid layers, underwear, and sleepwear.
Organized Toiletry Storage
Use a dedicated toiletry pouch that can be removed without disturbing the clothing. A small in-flight comfort pouch—sometimes called an airline comfort bag—can hold a toothbrush, lip balm, tissues, eye mask, and other items you may need during the journey.
Keep liquid containers upright when possible, close their caps firmly, and place leak-prone products in a sealed bag. Front pockets are useful for screening access, but do not overfill them because a bulging exterior can affect the bag’s dimensions and balance.
Pack the Backpack in the Right Order
The correct order improves comfort and keeps important items available. Manufacturer guidance from Osprey places heavy items in the middle of the pack and close to the wearer’s back.
- Bottom: Place light, compressible items such as pajamas, a soft sweater, or a laundry bag at the bottom.
- Middle and close to the back: Position dense items such as a laptop, packed toiletry kit, compact shoes, or heavy charging equipment near the back panel.
- Around the dense items: Use clothing cubes to stop the load from shifting from side to side.
- Top: Add a warm layer, gloves, rain cover, or other items you may need soon after arrival.
- Quick-access pockets: Store travel documents, snacks, liquids bag, medication, charging cable, and tissues.
- Side pockets: Balance the weight. Avoid carrying a heavy full bottle on one side with nothing comparable on the other.
After closing the bag, tighten its compression straps and try it on. The load should feel close to your body rather than pulling backward. Walk, climb stairs, and set the bag down several times to check whether anything shifts.
Pack for the conditions you will face most often, then add one sensible backup layer—not a second wardrobe for every possible forecast.
Organizing Toiletries for Easy Access
Keep solid toiletries separate from liquids when practical. Solid soap, shampoo bars, and stick products may reduce the number of liquid containers you need, although individual products can still be subject to screening decisions.
Travel Pouch Selection
Choose a washable, leak-resistant pouch that fits the backpack without creating a large bulge. Silicone collapsible bottles can save space as they empty, but the bottle material does not determine whether it meets airport rules.
At standard U.S. security checkpoints, the TSA liquids, aerosols, and gels rule generally limits carry-on containers to 3.4 ounces or 100 milliliters or less, with the containers fitting in one quart-size bag per passenger. Exceptions can apply to medications and other necessary items. Rules outside the United States may differ, so check the departure airport’s authority.
Wet Item Storage
Store damp gloves, socks, swimwear, or snow gear in a designated wet pocket, dry bag, or sealed waterproof pouch. Do not leave damp clothing sealed longer than necessary; air it out or wash and dry it when you reach your accommodation.
Here is a practical toiletry-storage reference:
| Item | Storage Method | Best Location |
|---|---|---|
| Shampoo | Properly sized, tightly closed bottle inside liquids bag | Accessible toiletry pocket |
| Toothbrush | Ventilated cover or small comfort pouch | Front pocket |
| Conditioner | Properly sized bottle or solid bar | Toiletry pocket |
| Face wash | Liquids bag or solid cleanser case | Front or top compartment |
| Deodorant | Protective cap inside toiletry pouch | Front or top compartment |
| Damp accessories | Wet pocket or sealed waterproof bag | Separate from clean clothing |
Pack Medication, Documents, and Electronics
Keep essential medication in your carry-on rather than in a bag that may be checked. Leave prescription labels intact when possible, bring enough for foreseeable delays, and review destination-specific documentation requirements before international travel.
Store your passport or identification, wallet, tickets, reservation details, insurance information, emergency contacts, and any required visas in an accessible but secure pocket. Keep a protected digital copy of important documents separate from the originals.
Group cables in one pouch and pack only the adapters you will use. Cold weather can reduce battery performance, so keep your phone or camera protected from prolonged exposure and bring a charging plan.
The FAA requires power banks and spare lithium batteries to remain in carry-on baggage. Protect exposed terminals from short circuits. If your backpack is gate-checked, remove power banks and spare batteries and keep them with you in the cabin.
Balancing Your Load for Comfort
Good balance depends on both item placement and backpack fit. Keep dense items near the center and close to the back panel. Place similarly weighted items on each side and use soft clothing to prevent hard objects from moving.
Put the backpack on and tighten the straps in a controlled order. Position any hip belt as the manufacturer directs, then adjust the shoulder and sternum straps so the load remains close without restricting breathing or movement. Tuck away loose straps before boarding transportation.
Frequently used items belong in secure, easy-to-reach pockets, but avoid loading every small item into the front of the bag. Too much front-pocket weight can pull the center of gravity away from your body.
Before departure, walk with the fully packed bag for at least 10 minutes. If your shoulders, neck, or lower back become uncomfortable, remove nonessential items or reposition the load instead of assuming you will adjust during the trip.
Tips for Keeping Dirty Clothes Separate
Use a designated laundry cube, packing cube, or washable bag to separate worn clothing from clean items. A waterproof laundry bag is useful for damp or heavily soiled pieces, but completely sealed storage can trap moisture and odor.
Place the laundry bag near the bottom or outer edge of the backpack, away from medication, food, and clean base layers. A collapsible silicone or lightweight nylon bag takes little room when empty and expands as the trip progresses.
Do not wait until the last day to manage damp clothing. Dry wet socks, gloves, and base layers as soon as possible. If laundry access is available, washing a small load midway through the trip can free space and reduce the number of garments you need.
Winter Safety and Emergency Items
For ordinary urban travel, carry a compact first-aid kit with adhesive bandages, blister care, pain relief you can safely use, personal medication, and any condition-specific supplies. Also consider a small flashlight, emergency contact information, hand warmers, and an insulated snack.
If your plans involve winter hiking, skiing, driving through remote areas, or spending extended time outside, the safety list must be expanded for the activity and local hazards. The National Park Service advises winter travelers to check conditions, carry suitable layers and emergency gear, and understand hazards before leaving. Cold exposure can lead to frostbite or hypothermia, especially when clothing becomes wet.
Warning: Confusion, slurred speech, unusual drowsiness, loss of coordination, or uncontrollable shivering can indicate a cold-related emergency. Move to shelter and seek urgent assistance. Do not continue an outdoor activity simply to stay on schedule.
Final Packing Checklist for Winter Adventures
This sample list suits a flexible urban winter trip of about one week with possible laundry access. Adjust it for the actual forecast, your size, planned activities, and personal needs.
Clothing
- 2–3 base-layer or long-sleeve tops
- 1–2 thermal bottoms or leggings
- 1–2 insulating mid layers, such as fleece or wool
- 1 weather-appropriate coat or shell system
- 2 pairs of trousers, including the pair worn in transit
- 1 set of sleepwear
- Enough underwear for the laundry plan
- 3–5 pairs of socks, including warm wool or synthetic pairs
- Hat, gloves or mittens, and scarf or neck gaiter
Footwear
- 1 pair of weather-appropriate boots worn in transit
- 1 lighter pair of indoor or backup shoes if needed
- Shoe bag for wet or dirty soles
- Activity-specific traction equipment when conditions require it
Toiletries and Health
- Properly sized liquid containers and liquids bag
- Toothbrush, toothpaste, deodorant, and skin-care essentials
- Prescription medication and necessary documentation
- Small first-aid kit and blister care
- Lip balm and moisturizer for dry conditions
- Sunscreen and sunglasses
Documents and Electronics
- Passport or identification
- Wallet, payment cards, and emergency cash
- Tickets, reservations, insurance details, and emergency contacts
- Phone, charging cable, and destination-compatible adapter
- Power bank or spare batteries kept in the cabin
- Headphones and any work equipment
Organization and Weather Protection
- Compression cube for soft clothing
- Regular packing cube for base layers and underwear
- Laundry bag
- Wet-item bag
- Backpack rain cover or internal waterproof liner
- Reusable water bottle packed empty before airport screening
- Compact snacks
Once everything is packed, weigh and measure the bag, confirm that the zippers close without strain, and conduct a test walk. Remove duplicate clothing, full-size toiletries, unnecessary shoes, and “just in case” items that can be purchased easily at the destination.
Frequently Asked Questions
What footwear is best for winter travel?
Choose footwear for the expected conditions and activities. Waterproof or water-resistant insulated boots with secure traction work well for snow and slush. Make sure they fit comfortably with warm socks. Hiking, ice, and deep-snow conditions may require specialized boots or traction devices.
How do I prevent my backpack from getting wet?
Use a fitted rain cover or waterproof pack liner and place clothing, documents, and electronics in sealed internal bags. A rain cover protects the exterior, but wind-driven rain or melting snow can still enter around the harness or zippers, so internal protection is important.
Can I pack snacks in my backpack?
Yes. Pack lightweight, non-perishable foods such as nuts, granola bars, crackers, or dried fruit in sealed packaging. International destinations may restrict fresh fruit, meat, seeds, or other agricultural products, so check the destination’s customs rules.
What are the best materials for winter clothing?
Wool and suitable synthetic fabrics work well for base and insulating layers because they can manage moisture and retain useful insulation better than ordinary cotton when damp. Choose a wind- and water-resistant outer layer for snow, sleet, and cold rain.
How do I clean my backpack after winter travel?
Empty the backpack, shake or brush out debris, and follow its care label. Spot-clean with mild soap and a soft cloth or brush when permitted, rinse away residue, and air-dry the bag fully in a ventilated place away from direct heat and strong sunlight. Do not machine-wash it unless the manufacturer specifically permits that method.
Should I roll or fold winter clothes?
Roll thin base layers, underwear, leggings, and sleepwear. Flat-fold bulky sweaters, trousers, and structured garments. Use compression for soft clothing, but avoid creating rigid cubes that are difficult to position or that place pressure on fragile items.
Where should heavy items go in a travel backpack?
Place dense items near the middle of the backpack and close to the back panel. Use lighter clothing at the bottom and around the dense items to prevent movement. Keep the two sides reasonably balanced.
Can a power bank go in a checked backpack?
No. Power banks and other spare lithium batteries must remain in carry-on baggage. If an airline gate-checks your backpack, remove the power bank and spare batteries and keep them with you in the cabin.
Conclusion
The best winter packing system is based on layers, not a large stack of bulky outfits. Check the forecast and baggage limits, wear your heaviest coat and boots, pack a flexible base/mid/shell wardrobe, and keep dense items close to your back. Protect liquids, wet gear, medication, documents, and electronics in separate accessible compartments.
Finish by weighing the backpack and taking a short test walk. If the load pulls backward or feels uncomfortable, remove duplicates and reposition the remaining items before you leave. A lighter, balanced backpack is easier to carry and gives you more room to adapt when winter conditions change.
Sources
- Transportation Security Administration: Liquids, Aerosols, and Gels Rule — U.S. carry-on liquid-container and bag requirements.
- Federal Aviation Administration: Carry-On Baggage Tips — airline baggage limits, safe stowage, and gate-check preparation.
- Federal Aviation Administration: PackSafe—Lithium Batteries — power-bank, spare-battery, capacity, and terminal-protection rules.
- National Park Service: Be Winter Ready for Your Adventure — layering, footwear, weather planning, and winter-safety guidance.
- Osprey: Backpacking Checklist — backpack load placement and organization guidance.
- Osprey: How to Clean Your Backpack — mild cleaning and ventilated air-drying instructions.