

Last Updated on July 30, 2026 by Caleb Warren
Most backpacks are water-resistant rather than fully waterproof, but you can greatly improve protection with a layered system. Use a pack liner or dry bags to protect the contents, add a fitted rain cover for prolonged rain, and restore the outer fabric’s water repellency only with a treatment approved for that material. Always check the care label before applying sprays, waxes, or seam sealers.
Quick Answer
To waterproof a backpack at home, protect the contents first with a roll-top liner or dry bags, fit a rain cover, and restore the pack fabric with a compatible water-repellent treatment. Seal leaking seams only with the correct product for the coating, then air-dry and test the pack before your trip.
Key Takeaways
- A rain cover protects the outside, but a liner or dry bags provide the most dependable protection for clothing, electronics, and sleep gear.
- “Water-resistant” and “waterproof” are not the same. A spray or wax can improve water beading without making every seam, zipper, or opening waterproof.
- Match the treatment to the material. Synthetic fabric, wax-compatible canvas, smooth leather, suede, and silicone-coated fabric require different products.
- Clean the pack first and follow the treatment label exactly. Some products go on damp fabric, while others require a clean, dry surface.
- Reapply when water stops beading or the manufacturer recommends it—not by one fixed schedule for every backpack.
At a Glance
| Time Required | 15–30 minutes for a liner and rain cover; several hours to a full day when cleaning, treating, curing, and testing |
| Difficulty | Easy for covers, liners, and dry bags; moderate for seam sealing, canvas waxing, or leather treatment |
| Tools Needed | Care label, soft brush or sponge, clean cloths, pack liner or dry bags, rain cover, and an optional material-compatible treatment |
| Cost | About $5–$50 or more, depending on whether you use a budget liner, purpose-built dry bags, a rain cover, or specialty treatments |
Disclosure: As an Amazon Associate I earn from qualifying purchases. Some links on this page are affiliate links, at no extra cost to you.
Why Waterproof Your Backpack?
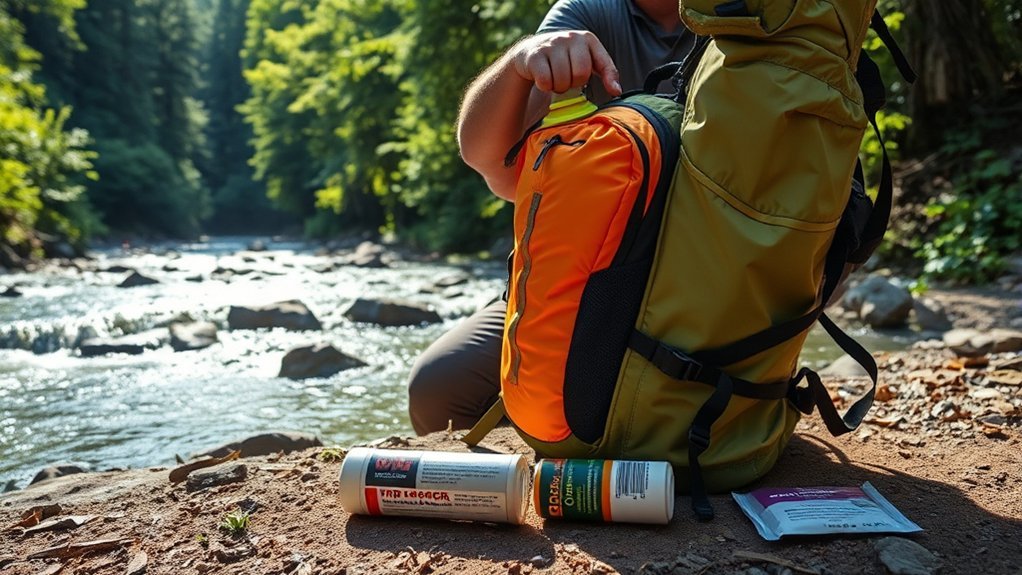
Rain can soak spare clothing, damage unprotected electronics, add weight to absorbent fabric, and leave a backpack damp long after a trip. Better water protection also reduces the need to unpack wet gear in bad weather and helps prevent musty odors or coating damage caused by storing a damp pack.
You do not need to turn every backpack into a submersible dry pack. For hiking, commuting, and travel, the practical goal is to keep the contents dry during rain and prevent the outer fabric from becoming saturated. The most reliable approach combines an internal barrier with external protection.
Waterproof vs. Water-Resistant Backpacks
A water-resistant backpack can shed light rain for a limited time, but water may eventually pass through seams, zipper openings, needle holes, or saturated fabric. A waterproof backpack should have a clear manufacturer claim or rating supported by waterproof fabric and sealed, taped, or welded construction.
Note: A spray test can show whether water beads on the surface, but it cannot prove that the whole backpack is waterproof. Check the product specifications for terms such as taped seams, welded seams, roll-top closure, hydrostatic-head rating, or an IPX rating.
Overview of Waterproofing Methods
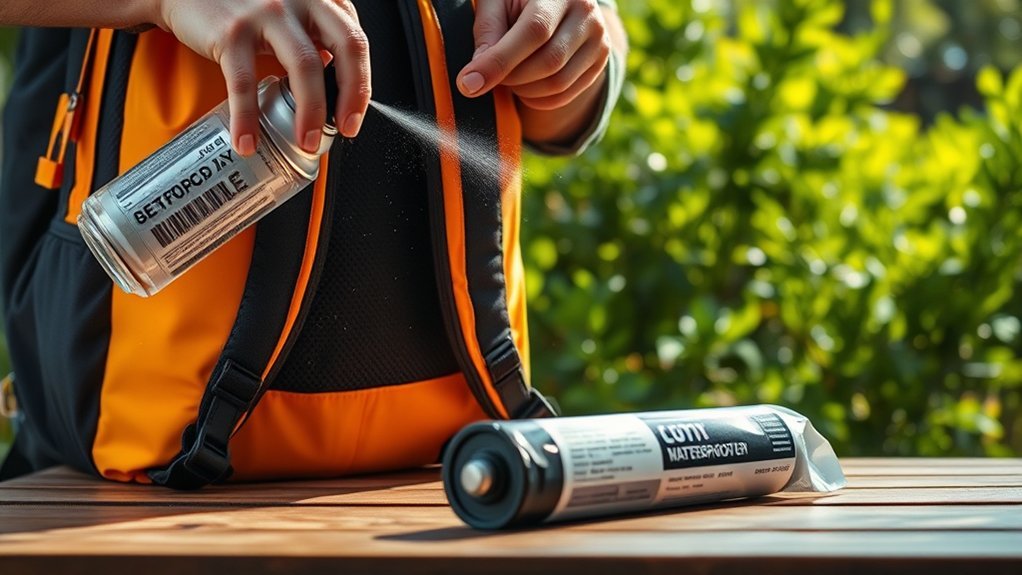
Choose the method according to the trip, the backpack material, and the items you need to protect. Several methods can be used together:
- Backpack rain cover: Shields most of the exposed pack body from direct rain and helps prevent the fabric from becoming saturated.
- Waterproof pack liner: Creates one large internal barrier around the main contents.
- Individual dry bags: Separate and protect high-priority items such as electronics, clothing, food, and sleep gear.
- Fabric water-repellent treatment: Restores water beading on compatible synthetic or fabric surfaces but does not seal open seams or zipper gaps.
- Wax for compatible canvas: Improves water resistance on fabrics specifically designed to accept wax.
- Leather treatment: Helps smooth leather resist moisture when the product is approved for that leather type.
- Seam sealer or repair adhesive: Targets specific leaking seams, pinholes, or small tears when compatible with the pack’s coating.
Backpack protection works best in layers: the outer treatment sheds water, a cover blocks direct rain, and a liner or dry bag protects the contents.
Check the Material and Care Label First
Before applying anything, read the backpack’s care label and the manufacturer’s online care instructions. Identify whether the outer material is nylon, polyester, cotton canvas, waxed canvas, smooth leather, suede, nubuck, or silicone-treated fabric. Also check for foam padding, printed graphics, laminated panels, or coatings that may react to solvents or heat.
- Empty every pocket and remove detachable parts.
- Brush off loose dirt and inspect the fabric, seams, zipper tracks, and base for damage.
- Clean the pack according to its care instructions. Many technical packs should be hand-cleaned with mild soap and warm water rather than machine-washed.
- Test any spray, wax, cleaner, or balm on a hidden area first.
- Protect buckles, mesh, leather trim, reflective graphics, and hardware if the product label excludes them.
Warning: Use waterproofing products only as directed. Work outdoors or in a well-ventilated area when required, keep aerosols and solvent-based sealers away from flames, and allow the backpack to cure fully before packing clothing or food.
Use a Backpack Rain Cover
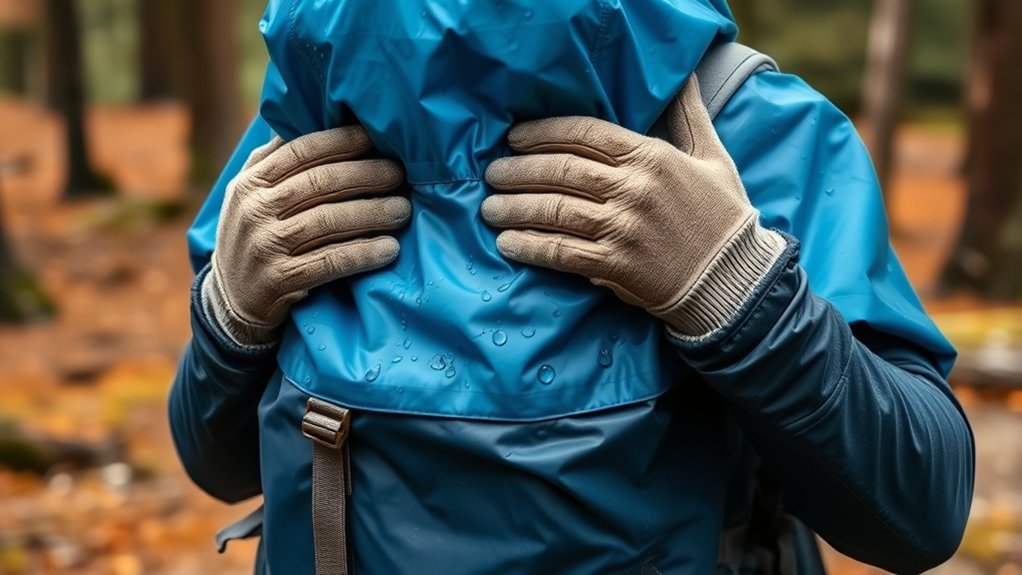
A backpack rain cover is a fast, reusable way to protect the pack body during an unexpected downpour. Most covers use coated nylon or polyester and tighten with a drawcord, elastic edge, keeper strap, or clips. Choose the size from the cover maker’s capacity chart rather than assuming one range fits every pack shape.
For example, current Osprey ultralight covers are sold in different capacity ranges, while the Sea to Summit Ultra-Sil Pack Cover is offered in five sizes. A cover should fit over a fully loaded backpack without large loose areas, yet it should not be stretched so tightly that seams or elastic are under strain.
- Pack the backpack before fitting the cover.
- Stretch the cover over the top, sides, and bottom of the pack.
- Keep the shoulder straps and back panel exposed so you can wear the pack.
- Tighten the drawcord or keeper strap so wind cannot easily pull the cover off.
- Check that water can drain from the bottom rather than pooling inside the cover.
Pro Tip: Use a bright or reflective rain cover for road commuting or low-visibility hiking, but do not rely on color alone as a substitute for proper lights or reflective safety gear.
A rain cover is not a complete seal. Wind-driven rain can reach the harness side, and water may still enter through openings or wick around the back panel. Protect sensitive contents with a liner or dry bags as well. After use, inspect the cover for tears and dry it completely before storage.
Line Your Backpack With a Waterproof Liner
A waterproof pack liner protects most of the main compartment with one barrier. It is usually the best balance of low weight, simple packing, and dependable rain protection. A purpose-built liner with taped seams and a roll-top closure is the most reusable option. A clean, heavy-duty trash compactor bag can work as a low-cost liner, but it is easier to puncture and does not have a rated closure.
Selecting Suitable Liners
- Choose enough volume: The liner should hold the items that must remain dry without being stretched tight.
- Match the closure to the risk: A roll-top liner is easier to close consistently than an open plastic bag.
- Look for taped or welded seams: These reduce leakage through needle holes.
- Inspect before every trip: Hold the liner up to light and check the base, folds, and closure for pinholes or peeling seam tape.
- Keep sharp objects separate: Stove parts, tent stakes, tools, and metal cookware can puncture a liner.
Proper Liner Installation
- Place the empty liner inside the main compartment and press it into the corners.
- Pack soft items first so they cushion the liner against the frame and hardware.
- Keep essential dry gear below the closure line.
- Squeeze out excess air without forcing sharp items against the fabric.
- For a roll-top liner, align the top edges and roll them at least as many times as the manufacturer directs before buckling or folding the closure.
- For a compactor bag, twist the top tightly, fold it over, and secure it without puncturing the plastic.
Two liners can add redundancy in very wet conditions, but a second layer also adds bulk and can trap unnoticed moisture between layers. It is usually better to combine one sound liner with separate protection for the most vulnerable items.
Use Individual Dry Bags for Your Gear
Individual dry bags protect selected items and make the backpack easier to organize. They are especially useful for electronics, a sleeping bag, insulated clothing, medications, maps, and emergency supplies. Choose products with waterproof fabric, sealed seams, and a closure suited to the expected conditions.
Benefits of Dry Bags
- Organized packing: Separate clothing, food, sleep gear, and electronics for faster access.
- Targeted protection: Use the strongest bag for the most water-sensitive equipment.
- Adjustable volume: A roll-top closure can reduce trapped air and compress soft items within the product’s limits.
- Backup protection: If the backpack fabric wets through, critical items remain inside a second barrier.
- Easy identification: Different colors or labels help you find gear without unpacking everything.
Choosing the Right Sizes
Dry-bag size depends on how bulky the item is after packing, so treat the following as a starting point rather than a guarantee:
| Dry Bag Size | Typical Use |
|---|---|
| 2–5L | Small electronics in protective cases, first-aid supplies, maps, or accessories |
| 8–13L | A compact sleeping bag, puffy jacket, or one clothing group |
| 20–35L | Bulky clothing, a larger sleep system, or several items together |
Close a roll-top bag exactly as directed. Sea to Summit instructs users to fold over the sealing strip and roll the closure at least two more times. Even then, standard roll-top dry bags are generally designed for rain, splashes, and brief surface exposure—not prolonged submersion. The company notes that water can eventually seep through a submerged roll-top closure.
Note: A dry bag does not replace a padded case for a laptop, camera, or other fragile device. Use impact protection as well as moisture protection.
Apply a Fabric Water-Repellent Treatment
A compatible fabric treatment can restore the durable water repellent (DWR) effect that makes water bead and roll off the outer surface. It can reduce wetting, but it does not repair holes, seal every seam, or convert a conventional backpack into a submersible waterproof bag.
Choose a product specifically approved for the backpack material. The current Nikwax Tent & Gear SolarProof instructions cover synthetic packs and call for application to clean, wet fabric from about 6 inches away, followed by wiping away surplus and air-drying. By contrast, Nikwax TX.Direct Spray-On is marketed for waterproof clothing, so it should not be treated as the default backpack product.
Scotchgard Heavy Duty Water Shield is another product currently labeled for backpacks and several outdoor fabrics. Its label and the backpack manufacturer’s instructions should determine surface preparation, number of coats, drying time, ventilation, and reapplication.
- Clean the backpack as directed and remove all soap residue.
- Protect the work area and mask any surfaces excluded by the treatment label.
- Shake or mix the product only as directed.
- Apply an even coat from the stated distance. Do not saturate foam, zipper teeth, or unrelated materials unless permitted.
- Remove excess treatment if the instructions require it.
- Air-dry or cure for the full stated time before using or storing the pack.
Reapply when water no longer beads after proper cleaning or when the product maker recommends it. A fixed “every 3 to 12 months” rule is too broad because wear, washing, abrasion, weather, and product chemistry vary.
Seal Seams and Repair Small Leaks
If water enters through a specific seam or pinhole, a surface spray alone may not solve the problem. First identify the leak by testing the pack after it is fully dry. Then confirm the fabric coating and use only a compatible seam sealer or repair product.
- Silicone-treated or silnylon fabric: Use a silicone-compatible sealer. Gear Aid states that its Seam Grip SIL is intended for silicone-treated fabrics and will not serve as a general sealer for other coatings.
- Nylon, polyester, canvas, leather, or vinyl: A urethane-type product may be suitable, but the pack maker’s instructions take priority.
- Factory seam tape that is peeling: Contact the manufacturer before applying adhesive, especially if the backpack is under warranty.
- Large tears, structural seams, or damaged harness attachments: Use a professional repair service rather than treating the problem as simple waterproofing.
Apply only a thin film in the location directed by the sealant maker, allow the full cure time, and keep the pack open so fumes can dissipate. Do not apply seam sealer across zipper teeth or moving hardware.
Wax a Compatible Canvas Backpack
Wax can increase the water resistance of some canvas or poly-cotton backpacks, but not every “canvas” bag is designed to be waxed. Check the fabric specification first. Wax may darken the color, change the hand of the fabric, attract dust, or reduce airflow.
Use a wax recommended by the backpack maker. For example, Fjällräven says Greenland Wax is for its G-1000 fabric and specifically warns that only G-1000 portions of mixed-material products should be waxed. The company also describes the result as water-resistant, not waterproof.
- Clean the backpack according to the care label and let it reach the condition required by the wax maker.
- Test a hidden patch for color and texture changes.
- Rub on a thin, even layer, paying extra attention to exposed panels and seams.
- If the official instructions require heat, use only the allowed low-to-moderate setting and keep the heat source moving.
- Repeat with another thin layer only if more resistance is needed.
- Let the fabric cool and buff away any unwanted residue.
Warning: Do not improvise with high heat or an open flame. Foam, coatings, synthetic panels, adhesives, and trim can deform or ignite, and many backpacks are made from mixed materials that should not be waxed.
Treat Leather Backpacks With a Compatible Balm
Smooth leather can often be treated with a manufacturer-approved conditioner, wax, or waterproofing balm. The treatment may help the leather resist moisture and remain supple, but it can also darken the finish or change the sheen. Suede and nubuck need products made for their raised texture; a smooth-leather wax can flatten or permanently alter the nap.
- Check the backpack maker’s care instructions and identify the leather type.
- Remove surface dirt with the recommended cleaner or a barely damp cloth.
- Let the leather dry as directed before treatment.
- Test the balm on a hidden area and wait long enough to see the final color.
- Apply a thin, even layer with a clean cloth, avoiding fabric panels and unfinished lining.
- Let it absorb, then buff only if the product instructions call for it.
Do not assume that every leather bag needs treatment every three to six months. Reapply according to the leather maker, the product label, exposure, and visible loss of water resistance. Atsko, for example, warns that its beeswax leather treatment darkens leather and is not recommended for suede.
Test the Backpack Before Your Trip
Wait until every treatment or repair has fully dried or cured. Place dry towels or plain paper inside the main compartment, close the backpack as you would during travel, and spray it with a gentle shower or garden-hose mist for several minutes. Do not use a pressure nozzle, and do not submerge a conventional backpack.
Check the towels, seams, zipper ends, hydration ports, lid, base, and back panel. If you find moisture, mark the entry point and choose the matching fix:
- Fabric darkens but the inside stays dry: Restore the outer water-repellent finish if the care instructions allow it.
- One seam leaks: Repair that seam with a compatible sealer or ask the manufacturer about service.
- Water enters around a zipper or opening: Use a liner or dry bag; a surface spray may not solve the construction gap.
- Many areas leak or the coating is flaking: The pack may need professional repair or replacement.
Maintenance and Storage
Regular maintenance keeps the protective layers working:
- Empty dirt, food, and damp items after every trip.
- Clean the backpack with the method approved by its manufacturer.
- Inspect the rain cover, liner, dry bags, seams, and zipper areas for wear.
- Retreat the surface when cleaning no longer restores water beading.
- Open all compartments and air-dry the backpack in a well-ventilated place away from direct sunlight and strong heat.
- Store the backpack only when every layer, including the rain cover and liner, is fully dry.
Frequently Asked Questions
How do I know if my backpack is waterproof?
Check the official product specifications for a waterproof claim or rating, plus construction details such as taped or welded seams and a roll-top or sealed closure. Water beading on the fabric only proves surface repellency; it does not prove that every seam and opening is waterproof.
Can I waterproof my backpack at home?
You can improve rain protection at home with a liner, dry bags, a fitted cover, and compatible treatments. However, sprays and waxes do not automatically turn a standard sewn backpack into a fully waterproof or submersible bag.
How often should I reapply a waterproofing treatment?
Follow the product and backpack maker’s instructions. In general, clean the pack first and reapply when water no longer beads or after wear, washing, or abrasion has reduced performance. There is no reliable universal interval for every fabric and treatment.
Will waterproofing affect my backpack’s breathability?
It depends on the treatment and material. Some fabric sprays are designed to preserve breathability, while wax can reduce airflow by making the weave denser. Follow the care label and treat only compatible areas.
What should I do if my backpack gets wet?
Empty it, remove detachable parts, shake or blot away excess water, open every zipper, and hang it upside down or in its normal shape in a well-ventilated area. Keep it away from direct sunlight, heaters, dryers, and open flames unless the manufacturer specifically permits a drying method.
Is a rain cover enough to keep everything dry?
Not for sensitive gear. A cover leaves the harness side open and may not stop wind-driven rain or water entering around openings. Use a pack liner or individual dry bags for electronics, sleep gear, medications, and spare clothing.
Can I use a trash bag as a backpack liner?
A clean, heavy-duty trash compactor bag can be a useful budget liner for ordinary rain. Protect it from sharp gear, close it tightly, inspect it often, and replace it when punctured. A purpose-built roll-top liner is usually more durable and easier to seal consistently.
Can a roll-top dry bag be submerged?
Do not assume it can. Many roll-top dry bags have waterproof fabric and taped seams but are not designed for prolonged submersion because water can seep through the rolled closure. Check the exact product rating and use a submersible container when immersion is expected.
Conclusion
Waterproofing a backpack is less about one miracle coating and more about using the right layers. Protect the contents with a sound liner or dry bags, add a secure rain cover, and restore the outer material only with a compatible treatment. Test the result, repair specific leaks, and dry every component before storage. This approach keeps your gear safer without overstating what a standard backpack can withstand.
Sources
- Osprey: How to Clean Your Osprey Backpack — hand-cleaning, rinsing, air-drying, and pack-care guidance
- Nikwax: Tent & Gear SolarProof — product suitability and application instructions for synthetic packs
- Sea to Summit: Dry Bag Guidance — roll-top limitations and non-submersible use
- Fjällräven: How to Wax G-1000 — fabric compatibility, waxing method, and water-resistance limits
- Gear Aid: Which Sealant Should I Use? — matching seam sealers to silicone-treated and other fabrics
- Atsko: Sno-Seal Application Tips — smooth-leather application and darkening/suede cautions
