Last Updated on July 30, 2026 by Caleb Warren
An organized travel backpack saves time, protects fragile gear, and makes the load more comfortable to carry. The best system is simple: pack for the actual trip, group similar items, place dense items close to your back, and reserve easy-access pockets for documents, liquids, and anything you will use in transit.
Quick Answer
Organize a travel backpack by grouping clothing, toiletries, electronics, documents, and in-transit essentials. Put soft, low-priority items at the bottom, dense items in the middle close to your back, and frequently used items near the top or in outer pockets. Keep liquids and electronics ready for airport screening.
Key Takeaways
- Check the weather, activities, laundry access, and airline baggage limits before choosing what to pack.
- Use packing cubes or pouches by category, but do not compress the bag until it becomes rigid or oversized.
- Place the heaviest, densest items near the middle of the pack and close to your spine.
- Keep travel documents, medication, liquids, a charging cable, and one warm layer easy to reach.
- Test the fully packed backpack for fit, balance, weight, and airport compliance before leaving home.
At a Glance
| Time Required | 20–30 minutes for an average carry-on backpack |
| Difficulty | Easy |
| Tools Needed | Packing checklist, cubes or pouches, resealable liquids bag, and an optional luggage scale |
| Cost | $0 with items you own; about $10–$40 for optional organizers |
Disclosure: As an Amazon Associate I earn from qualifying purchases. Some links on this page are affiliate links, at no extra cost to you.
Assessing Your Travel Needs
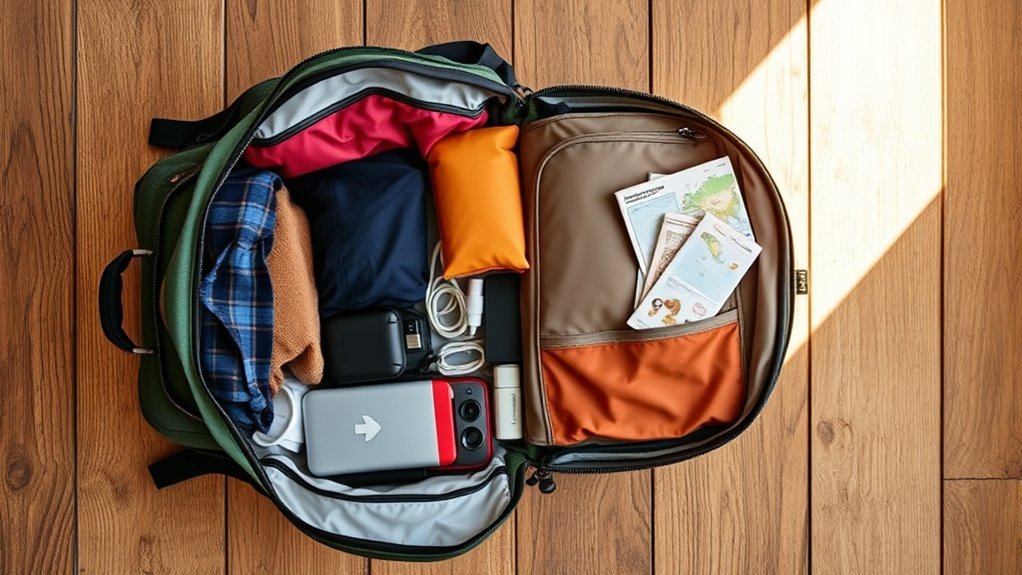
Start with the trip, not the backpack. The duration, destination, weather, planned activities, and access to laundry determine what you need. A three-day city break, a beach trip, and a hiking holiday require different clothing, footwear, and safety gear.
Check the forecast close to departure, then build a small clothing system around pieces that work together. Choose layers that can be worn more than once and matched in different combinations. One light insulating layer and a compact rain shell are usually more useful than several bulky, single-purpose outfits.
Create a checklist with these categories:
- Clothing: tops, bottoms, underwear, sleepwear, socks, outerwear, and activity-specific clothing.
- Footwear: wear the bulkiest pair when practical and pack only the additional pair you will truly use.
- Toiletries and medication: daily care items, prescriptions, and a small health kit suited to the destination.
- Electronics: phone, laptop or tablet, chargers, adapters, headphones, and power bank.
- Documents and money: passport or ID, tickets, insurance details, payment cards, and emergency information.
- Transit essentials: water bottle, snack, warm layer, eye mask, tissues, and anything needed during the journey.
For international travel, review required documents and destination rules before packing. The U.S. Department of State recommends organizing travel documents and checking destination-specific requirements before departure.
Note: Pack from a written list, then remove every “just in case” item that does not solve a realistic need. This is faster and more reliable than filling empty space simply because it is available.
Choosing the Right Backpack
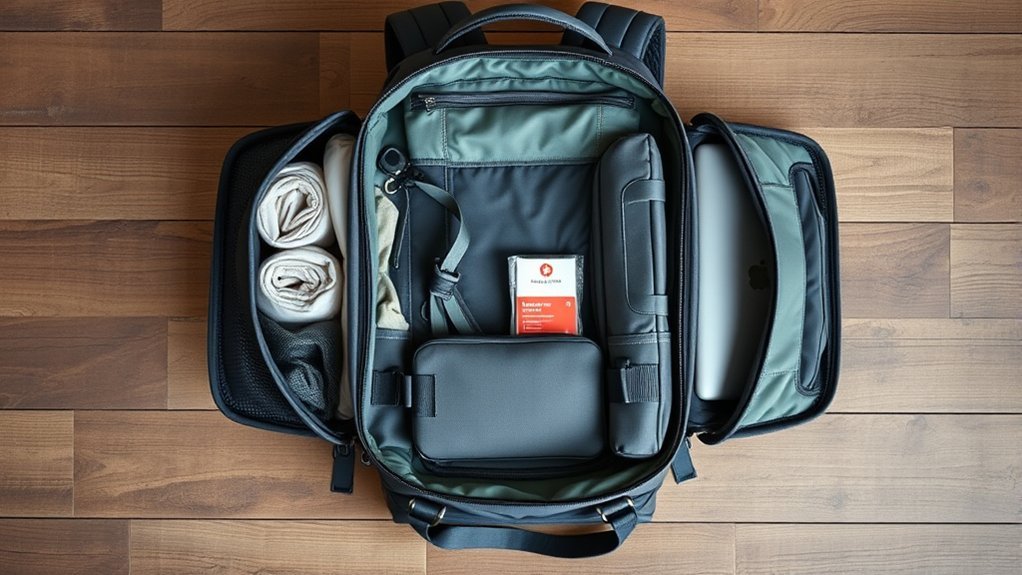
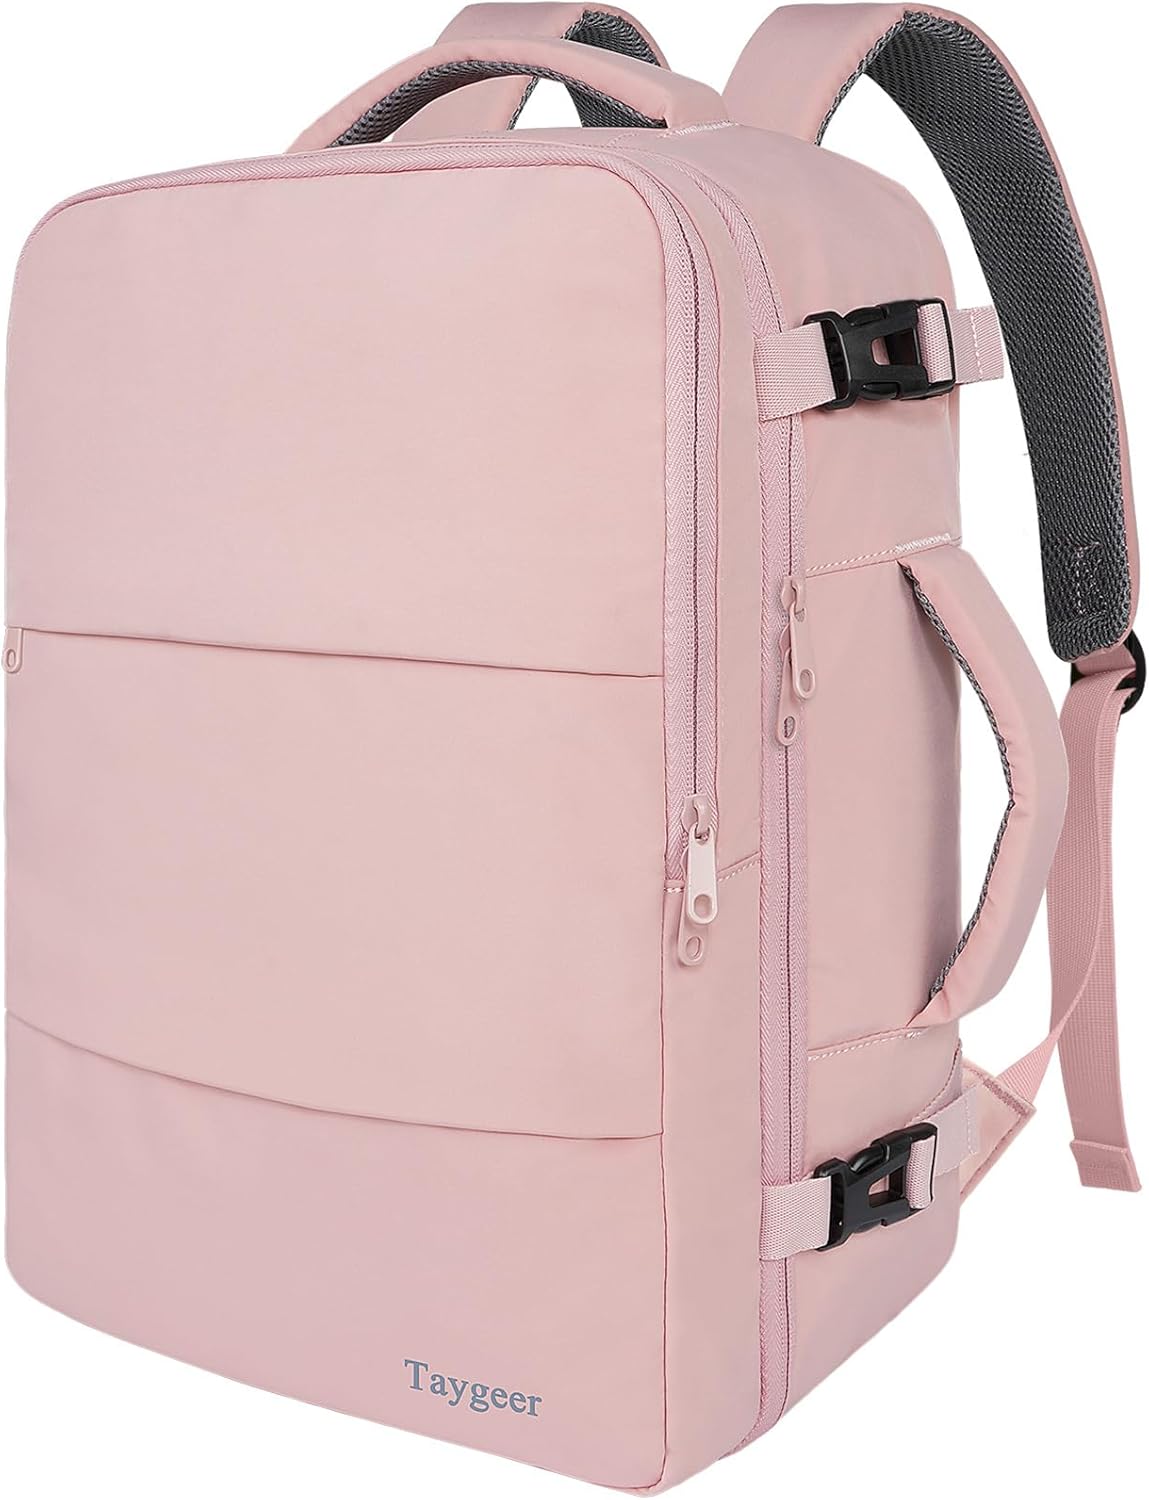
The right backpack should match your body, trip length, transportation, and packing style. Look for padded shoulder straps, a supportive back panel, durable zippers, and enough compartments to separate quick-access items from the main load. A sternum strap improves stability, while a supportive hip belt can help on longer walks with a heavier pack.
Do not assume that a 40- or 50-liter backpack automatically qualifies as carry-on luggage. Cabin-bag size and weight rules vary by airline, fare, route, cabin class, and aircraft. Check your airline’s current limits, measure the packed bag at its widest points, and include handles, wheels, and overfilled pockets in the measurement.
Choose the smallest capacity that holds your confirmed packing list without forcing the seams or creating a rounded, overstuffed shape. A clamshell opening makes clothing easier to organize, while a top-loading pack can work well when you arrange items in the order you will need them.
Water-resistant fabric can handle light exposure, but it does not make every seam or zipper waterproof. For rain or spill protection, use an internal pack liner, dry bag, or sealed pouch for clothing, documents, and electronics.
Pro Tip: Load the backpack with your actual trip items before deciding it fits. Adjust the straps, walk for 10 minutes, climb stairs, and check whether the pack pulls backward, shifts from side to side, or creates pressure points.
Categorizing Your Items
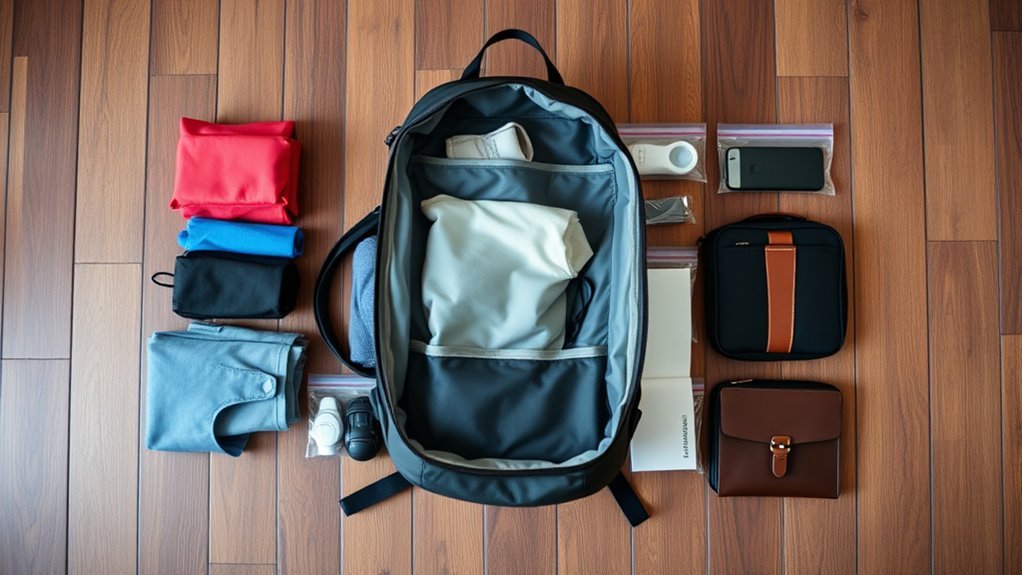
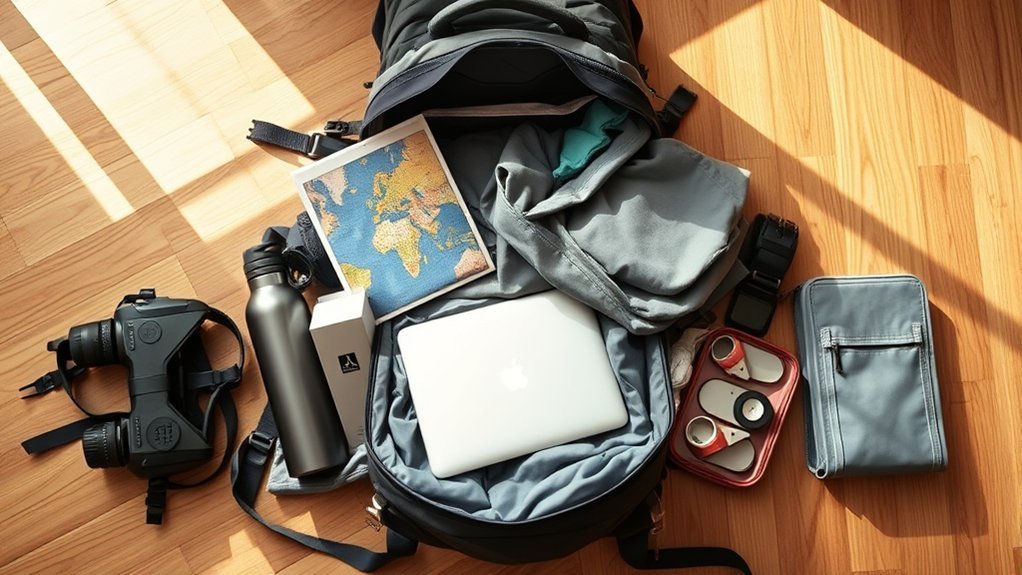
Categorizing items keeps the backpack organized after the first day. Use packing cubes, reusable zip pouches, or small dry bags to create a clear home for each group. A practical system is clothing, underwear and sleepwear, toiletries, electronics, documents, snacks, and laundry.
Choose organizers that fit the shape of the backpack. Two or three well-sized cubes are often easier to pack than many small containers. Label similar pouches or use different colors so you can identify them without opening each one.
Use three access zones:
- Quick-access zone: passport, wallet, phone, boarding pass, medication, water bottle, snack, and a light layer.
- Main storage zone: clothing cubes, spare shoes, toiletry pouch, and items needed at the destination.
- Protected zone: laptop, tablet, documents, and fragile electronics in padded or water-resistant compartments.
Keep cash, cards, and identification in a secure pocket that is reachable to you but difficult for someone behind you to open. Avoid storing every payment method and all identification in the same pouch. For international travel, keep a separate backup copy of essential document details in a secure location.
Efficient Packing Techniques
Efficient packing is less about forcing in more items and more about creating a stable load that remains easy to use. Pack in layers, fill gaps without distorting the bag, and keep both sides balanced.
Step-by-Step Packing Order
- Empty and inspect the backpack. Open every pocket, remove old items, and check the seams, straps, and zippers.
- Add weather protection. Insert a pack liner or place moisture-sensitive items in sealed pouches if rain or spills are possible.
- Pack soft, low-priority items first. Sleepwear, a laundry bag, or other light items can fill the bottom without making the pack sag.
- Place dense items close to your back. Put the heaviest clothing cube, shoes, or other dense gear in the middle of the pack against the back panel. Keep the load balanced from left to right.
- Fill gaps with small soft items. Socks, underwear, or a compact scarf can stop the load from shifting.
- Add lighter items toward the front and top. Keep a rain layer or warm layer near the top if you may need it quickly.
- Set up the screening zone. Place the liquids bag and electronics where you can remove them easily when required.
- Load outer pockets last. Add only genuine quick-access items and avoid making one side heavier than the other.
- Close, compress, and test. Tighten compression straps evenly, confirm the bag still meets size limits, and walk with it before departure.
A useful packing system lets you reach the next thing you need without unpacking everything above it.
Packing Cubes Organization
Packing cubes keep categories together and simplify unpacking. Separate tops, bottoms, underwear, and accessories in a way that matches your routine. For a short trip, one cube for clean clothing and one for underwear and sleepwear may be enough. For a longer trip, divide clothing by type or by complete outfits.
- Choose lightweight cubes that fit the backpack’s dimensions.
- Fold or roll clothing to create a flat, stable cube rather than a hard lump.
- Use compression cubes carefully; they reduce volume but not weight.
- Do not overfill cubes until their zippers or seams are strained.
- Keep a separate bag for worn clothing so clean items stay fresh.
Efficient Folding Techniques
Rolling works well for T-shirts, casual trousers, workout clothing, and other soft garments. Folding is usually better for structured shirts, jackets, and items that crease easily. The best method is often a combination: fold structured pieces flat and roll flexible pieces to fill narrow spaces.
Vacuum bags can reduce volume, but they may create a dense, rigid bundle and make repacking difficult without a vacuum. For most carry-on travel, compression cubes or ordinary packing cubes are easier to use throughout the trip.
Managing Shoes, Laundry, and Wet Items
Place shoes in individual bags or with the soles facing outward against an easy-to-clean surface. Fill clean shoes with socks or other small items, but do not place loose toiletries or fragile objects inside them. Keep dirty laundry in a breathable or washable bag. Damp swimwear and wet towels should go in a separate waterproof pouch and be aired as soon as possible to reduce odor and mildew.
Organizing Electronics and Tech Gear
Keep electronics together in a compact organizer so cables do not tangle or disappear into the main compartment. Store a laptop or tablet in a padded sleeve close to the back panel, where it is protected and does not pull the backpack away from your body. Use a water-resistant pouch for small electronics, but do not rely on an untested pouch as fully waterproof.
- Coil charging cables loosely and secure them with reusable ties.
- Label similar cables and adapters.
- Keep the charger needed during transit near the top.
- Protect camera lenses and other fragile items from hard chargers or plugs.
- Download essential tickets, maps, and confirmations before leaving Wi-Fi.
Warning: Spare lithium batteries and power banks must stay in carry-on baggage, not checked baggage. Protect terminals from short circuits. Most personal lithium-ion batteries are limited to 100 Wh; larger batteries may require airline approval, and airline rules can be stricter.
If a carry-on bag is checked at the gate, remove power banks and spare lithium batteries and keep them with you in the cabin. Do not travel with a damaged, swollen, overheating, or recalled battery.
Managing Toiletries and Personal Items
For standard U.S. airport screening, the TSA 3-1-1 rule allows liquids, gels, creams, pastes, and aerosols in containers of 3.4 ounces (100 milliliters) or less, packed in one quart-size clear resealable bag. The bag does not need a special “TSA-approved” label. Rules outside the United States may differ, so check the departure airport and airline before traveling.
Decant shampoo, lotion, and similar products into clearly labeled travel bottles. Tighten caps, cover openings when practical, and keep the liquids bag upright in an easy-to-reach pocket. Solid toiletries can reduce liquid volume, but confirm that each product suits your trip and skin-care needs.
Do not decant prescription medication into unmarked travel bottles for international travel. The CDC advises keeping medicine in original, labeled containers, carrying enough for the trip plus extra for delays, and packing it in carry-on baggage. Check whether each medication is legal at the destination and during layovers.
Medically necessary liquids can be allowed in larger reasonable quantities through U.S. screening, but they must be declared for inspection. Keep medication and supporting information accessible rather than buried in the main compartment.
- Pack a toothbrush, toothpaste, floss, deodorant, and other daily essentials.
- Use a leak-resistant toiletry pouch that can be wiped clean.
- Keep medication separate from ordinary cosmetics.
- Carry an empty reusable water bottle through security and fill it afterward.
- Bring only the amount of each product needed for the trip.
Maintaining Balance and Accessibility
A balanced backpack should feel close to your body and remain stable as you walk. Dense items belong near the middle of the back panel, not hanging at the bottom or far from your spine. Keep the left and right sides similar in weight, especially when using side pockets.
- Place heavy, dense items close to your back.
- Keep soft, lighter items farther from the back panel.
- Use both shoulder straps and tighten them evenly.
- Fasten the sternum strap so it stabilizes the load without restricting breathing.
- Position a supportive hip belt over the top of the hip bones when the backpack is designed to transfer weight there.
- Keep the passport, wallet, medication, and phone accessible but secure.
- Do not hang heavy bottles or accessories from one side of the pack.
After packing, lift the bag by its haul loop, set it on a stable surface, and put it on using controlled movement. Walk, turn, sit, and climb stairs. If the bag sways, pulls backward, or presses into one shoulder, repack before simply tightening the straps harder.
Final Pre-Departure Backpack Check
Run one final check the day before travel. This catches weight, access, and compliance problems while there is still time to fix them.
- Confirm the packed dimensions and weight against the airline’s current allowance.
- Verify that liquids, medication, batteries, and restricted items follow the rules for every airport and airline on the route.
- Check that zippers close without force and compression straps are secure.
- Make sure no sharp object presses against the fabric or your back.
- Confirm that travel documents, medication, and one payment method are reachable.
- Wear the backpack for at least 10 minutes and remove unnecessary items if it feels tiring.
- Leave a little free space for food, a removed layer, or small items acquired during the trip.
Troubleshooting Common Packing Problems
The Backpack Will Not Close
Remove duplicate clothing, bulky “just in case” items, full-size toiletries, and extra shoes first. Do not solve the problem by forcing the zipper or tightening compression straps until the bag exceeds the airline’s size limit.
The Backpack Pulls Backward
Move dense items closer to the back panel and toward the middle of the pack. Remove heavy items from the outermost pocket and tighten the compression straps evenly.
Items Are Hard to Find
Reduce the number of loose objects. Group small items in labeled pouches, create one transit pouch, and keep each item in the same place after use.
One Shoulder Hurts
Check for an uneven side pocket, a hard object pressing against the back panel, or unequal strap adjustment. Rebalance the load before continuing. Persistent pain is a reason to reduce weight or change the pack fit.
Airport Screening Takes Too Long
Place liquids and any electronics that may need separate screening near the top. Empty water bottles before the checkpoint and review the official “What Can I Bring?” guidance for uncertain items.
Frequently Asked Questions
How do I choose the best packing cubes for my backpack?
Measure the backpack’s main compartment and choose two or three lightweight cubes that fit without bulging the bag. A mix of medium and small cubes is usually more useful than one large cube. Look for durable zippers, breathable panels, and enough structure to hold shape without adding much weight.
What items should I leave behind to save space?
Remove duplicate outfits, bulky extra shoes, full-size toiletries, unnecessary gadgets, and items available at the destination. Keep versatile clothing and essential safety, health, and document items. Never cut weight by removing medication, required weather protection, or trip-specific safety gear.
Can I bring liquids in my backpack on flights?
Yes. For standard TSA screening, each ordinary liquid, gel, cream, paste, or aerosol must be in a container of 3.4 ounces (100 milliliters) or less, and all containers must fit in one quart-size clear resealable bag. Medically necessary liquids have separate provisions. Check local rules for flights outside the United States.
How do I prevent my backpack from getting too heavy?
Use a checklist, weigh the packed bag, wear the bulkiest practical clothing, choose travel-size toiletries, and limit shoes and electronics. Set a personal comfort limit below the airline maximum, because a technically permitted bag can still be uncomfortable to carry.
What are the best lightweight materials for travel gear?
Nylon and polyester are common because they can provide good durability at a relatively low weight. Ripstop construction can help limit the spread of small tears. Material name alone does not determine quality, so also check fabric thickness, coatings, seams, zippers, repairability, and the manufacturer’s care instructions.
Where should the heaviest items go in a travel backpack?
Place dense items in the middle of the pack and close to your back, then balance them from side to side. Light, soft items can sit at the bottom or farther from the back panel. Keep heavy objects out of the outermost pockets, where they can pull the bag backward.
Can a power bank go in checked baggage?
No. Power banks and spare lithium batteries must be carried in the cabin. Protect the terminals from short circuits, check the watt-hour rating, and confirm any stricter airline limits. Remove the power bank if your carry-on backpack is checked at the gate.
Conclusion
Organizing a travel backpack becomes easier when every item has a purpose and a fixed place. Plan from the trip requirements, group similar items, keep dense gear close to your back, and protect liquids, electronics, medication, and documents. Finish with a fit and compliance check. A well-packed backpack should close easily, feel balanced, and let you reach travel essentials without unpacking the entire bag.
Sources
- International Air Transport Association: Travel & Baggage — airline-specific cabin-bag rules and international liquids guidance.
- Transportation Security Administration: TSA Travel Tips — U.S. 3-1-1 liquids and screening guidance.
- Federal Aviation Administration: PackSafe—Lithium Batteries — power-bank placement, terminal protection, and watt-hour limits.
- CDC Travelers’ Health: Traveling Abroad with Medicine — medication labeling, supply, and carry-on advice.
- U.S. Department of State: International Travel Checklist — travel documents and destination preparation.
- Deuter: How to Pack a Backpack — load placement and weight distribution.