
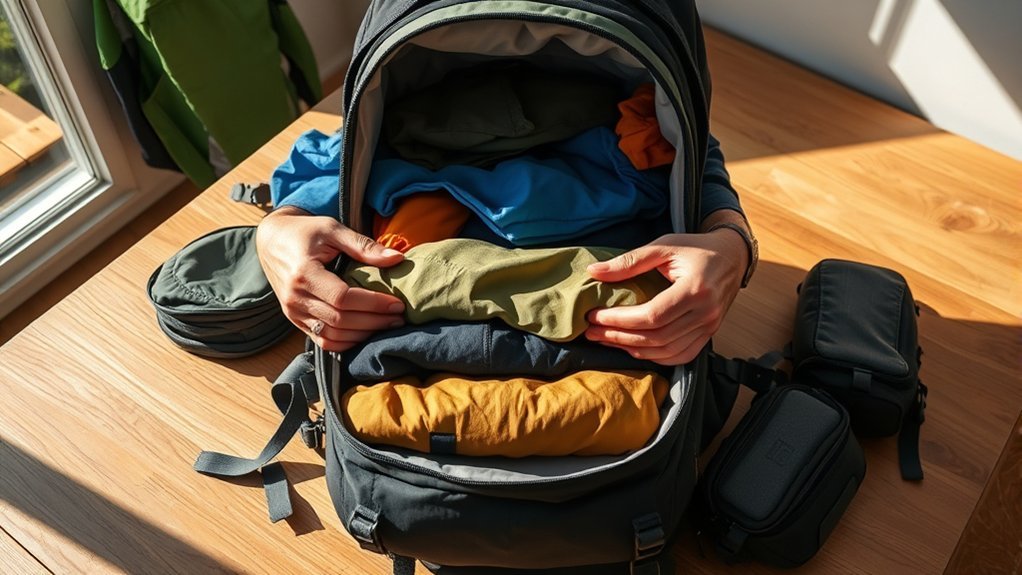
Last Updated on July 30, 2026 by Caleb Warren
Good backpack weight distribution keeps the load stable, close to your body, and balanced from left to right. The goal is not to make a heavy pack feel weightless. It is to prevent sagging, swaying, pressure points, and unnecessary strain while keeping rain gear, water, navigation tools, and emergency items easy to reach.
Quick Answer
Pack light, bulky gear at the bottom; place the heaviest items in the middle, close to your spine; and use lighter or frequently needed items at the top. Balance both sides, tighten compression straps, and adjust the hipbelt first so the load stays stable instead of pulling on your shoulders.
Key Takeaways
- Keep heavy gear close to your spine, not at the bottom or far from your back.
- Use soft, light items to fill gaps and stop the heavy core from shifting.
- Balance water bottles, food, and other dense items from side to side.
- Fit the pack from the hips upward: hipbelt, shoulder straps, load lifters, then sternum strap.
- Test the loaded pack before leaving and repack if it leans, sways, sags, or causes numbness.
At a Glance
| Time Required | 10–15 minutes, plus a short test walk |
| Difficulty | Easy |
| Tools Needed | Your backpack and gear; luggage scale, dry bags, or packing cubes are optional |
| Cost | $0 with gear you already own |
Disclosure: As an Amazon Associate I earn from qualifying purchases. Some links on this page are affiliate links, at no extra cost to you.
Understanding the Importance of Proper Distribution
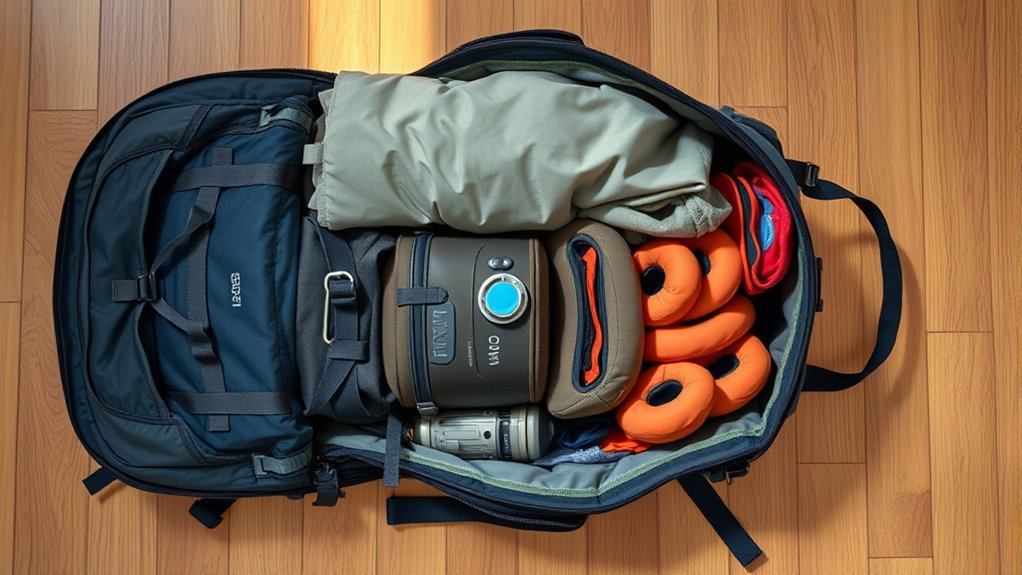
A backpack changes your center of mass. As the load gets heavier or moves farther away from your body, you may lean forward, work harder to control the pack, and feel more pressure through your shoulders, back, hips, and feet. A controlled study of adults carrying a pack equal to 20% of body weight found that carrying the load increased oxygen use, heart rate, and perceived exertion compared with walking without a pack.
The most useful rule is simple: keep dense gear close to your body and stop it from moving. Deuter recommends placing the heaviest items in the middle of the pack, close to the spine, while using lighter gear to support and stabilize that core.
A balanced pack should feel like one stable unit: it should rest on your hips, stay close to your back, and move with you instead of swinging behind you.
Recommended Packing Order for Optimal Weight
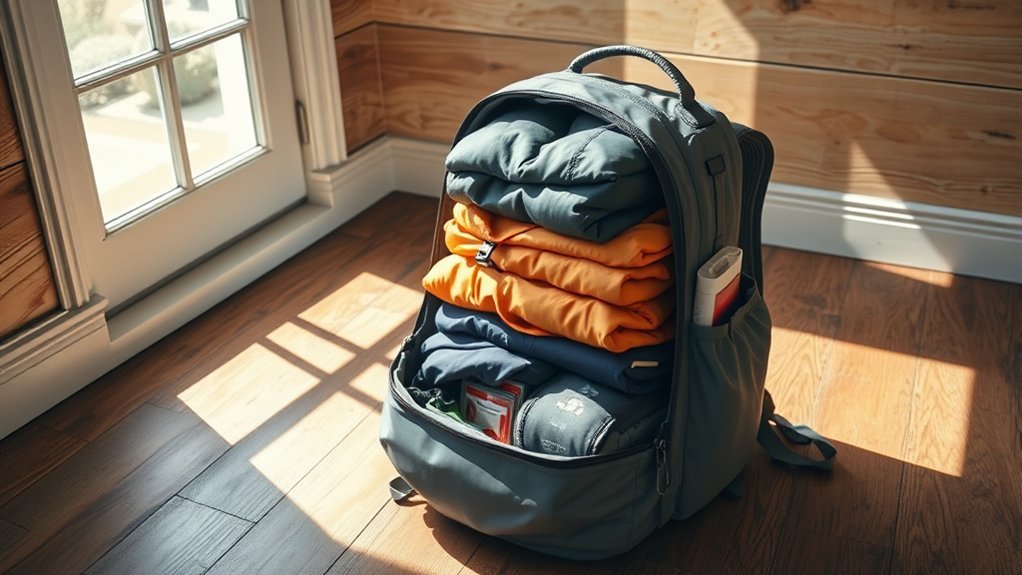
Think of the main compartment as three packing zones. The bottom holds light, compressible camp gear. The middle holds the dense core close to your back. The top holds lighter items and gear you may need during the day. This arrangement is more stable than placing heavy equipment at the bottom.
Bottom Layer Essentials
Use the bottom for bulky, lightweight items that you will not need until camp. Common choices include a sleeping bag, sleep clothes, a compressible jacket, or a soft liner bag. These items create a base without pulling the pack downward.
Do not rely on the bottom layer to protect fragile gear by itself. A soft sleeping bag can absorb some movement, but cameras, electronics, and lenses still need a fitted padded case or sleeve.
Middle Section Gear
Build the heavy core in the middle of the pack and as close to your spine as the pack design allows. Food, a full hydration reservoir, cooking gear, a bear canister, or dense tent parts often belong here. Center the weight rather than pushing it too high or letting it sink into the bottom.
Wrap softer items around the heavy core to fill empty spaces. This keeps dense objects from sliding when you step over rocks, descend, or change direction. Keep hard corners away from the back panel so they do not create pressure points.
Top Layer Lightweight Items
Use the top for lighter items that must stay accessible. Good choices include a rain shell, warm layer, first-aid kit, headlamp, toiletries, map, snacks, and pack cover. Avoid filling the lid with many small, dense objects because their combined weight can make the pack feel top-heavy.
- Rain shell or insulation layer
- First-aid kit and personal medication
- Headlamp and spare batteries
- Navigation tools
- Snacks needed before the next break
Balance the Left and Right Sides
Check dense items on both sides of the pack. One full water bottle can outweigh several clothing layers, so pair it with another bottle or a similar amount of food on the opposite side. Uneven side pockets can twist the pack and create one-sided shoulder or hip pressure.
Pro Tip: Set the packed backpack upright on a flat surface. If it immediately tips to one side, reopen it and rebalance the dense items before adjusting the straps.
Adjust the Pack After Loading
Even a well-packed load can feel uncomfortable if the suspension is loose or the torso length is wrong. Put on the fully loaded pack and adjust it in this order:
- Hipbelt: Center the padding over your hip bones and tighten it firmly. A supportive hiking pack should transfer much of the load to the hips rather than hanging from the shoulders.
- Shoulder straps: Pull them snug so the pack follows your back without lifting the hipbelt or creating gaps.
- Load lifters: If your pack has them, tighten gently to bring the upper pack closer. Do not crank them until the shoulder straps lift away from your shoulders.
- Sternum strap: Fasten it at a comfortable height to improve control. It should not restrict breathing.
- Compression straps: Tighten them enough to prevent internal movement and reduce the pack’s depth.
Osprey’s suspension guide explains how the hipbelt, shoulder straps, load lifters, and sternum strap work together to stabilize a backpack and transfer weight.
Warning: Stop and adjust the pack if you develop numbness, tingling, sharp pain, loss of balance, or a strap that rubs the same spot with every step. Persistent symptoms are a reason to shorten the trip and reassess the pack’s fit and total weight.
Utilizing Pockets and Compartments Effectively
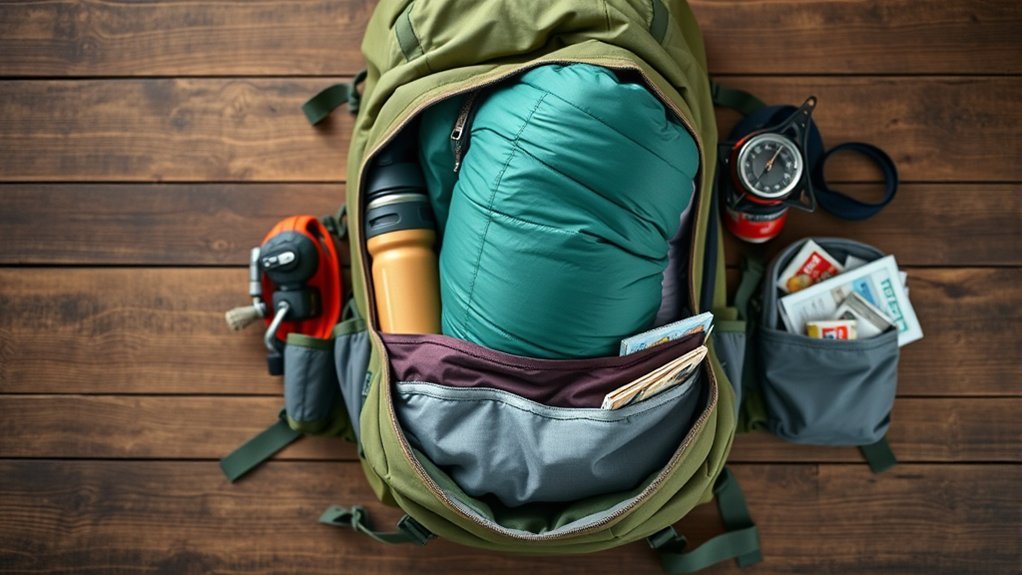
Pockets should support access without creating a lopsided load. Keep frequently used items easy to reach, but do not place all dense objects in one hipbelt pocket, side pocket, or lid.
Quick Access Pockets
- Hipbelt pockets: Snacks, lip balm, sunscreen, or a small camera.
- Side pockets: Water bottles, trekking poles when stowed, or a compact tripod. Balance both sides.
- Front stretch pocket: Damp rain gear, a sit pad, or a lightweight layer that can handle abrasion.
- Lid or top pocket: Headlamp, map, first-aid items, gloves, and other small essentials.
- Shoulder-strap attachment: Whistle, small navigation device, or sunglasses case if the attachment is secure.
Compartment Organization Strategies
Group small items by purpose instead of scattering them through the pack. A waterproof bag for electronics, a small first-aid pouch, and a food bag make retrieval faster. Use clear or consistently colored bags so you can identify the right kit without emptying the main compartment.
Keep liquids that could leak upright and below food. Close fuel bottles tightly and separate them from food, clothing, and electronics. Do not overfill packing cubes or stuff sacks until they become rigid blocks that are hard to balance.
Adjust Weight Distribution for Terrain and Weather
The best vertical position is not identical for every route. On smooth or moderate trails, a slightly higher heavy core near shoulder-blade level can feel efficient. On steep, rough, exposed, or scrambling terrain, moving the heavy core a little lower can reduce the top-heavy feeling and improve balance. Keep it close to the spine in either position.
Weather changes what must be accessible more than it changes the basic packing zones. Put a rain shell, warm layer, gloves, and pack cover near the top before bad weather arrives. Protect sleeping gear, spare clothing, and electronics with a waterproof pack liner or dry bags. The National Park Service’s Ten Essentials guidance also recommends extra clothing, illumination, first aid, food, water treatment, and emergency shelter for outdoor trips.
Note: Water and food are often the heaviest items at the start of a trip. As you drink and eat, the pack’s balance changes. Consolidate partially full bottles and move the remaining dense items toward the center when you stop.
Advantages of Balanced Weight Distribution
Thoughtful packing improves control and comfort, but it does not cancel the physical cost of carrying weight. Research shows that the load itself has a larger effect on exertion than small changes between high and low placement. Pack placement still matters for stability, pressure, access, and how the load feels.
- Reduces swaying and sudden load shifts.
- Keeps dense gear from pulling backward on the shoulders.
- Improves balance on turns, steps, and uneven ground.
- Limits one-sided pressure caused by uneven pockets.
- Makes emergency and weather gear easier to reach.
- Helps the hipbelt and frame transfer weight as designed.
Tips for Packing Fragile Gear Safely
Place cameras, lenses, electronics, and other fragile items in padded cases. Keep them near the middle of the pack so surrounding soft gear can control movement, but do not put a hard case directly against your spine. Avoid placing a bear canister, cookware, or a full water container on top of an unprotected fragile item.
For quick access, use a padded insert or dedicated compartment that remains close to the body. A front pocket is convenient but receives more impact when you set the pack down or brush against rocks. Waterproof sensitive electronics even if the backpack fabric is described as water-resistant.
Strategies for Quick Access to Essential Items
Access is part of safe weight distribution. You should not need to unload the heavy core to find a rain shell, headlamp, medication, map, or first-aid kit. Before closing the pack, ask which items you may need while walking and which can wait until camp.
- Keep rain gear and an insulating layer at the top.
- Carry water where you can drink without repacking.
- Put navigation tools in a secure top, hipbelt, or shoulder pocket.
- Keep first aid and personal medication in a clearly marked pouch.
- Place camp-only items low in the pack.
- Do not bury a headlamp, even when you expect to finish before dark.
Common Weight Distribution Problems and Fixes
| Problem | Likely Cause | Fix |
|---|---|---|
| Pack pulls backward | Heavy gear is too far from the spine or the load lifters are loose | Move dense items inward and snug the load lifters |
| Pack sags | Heavy items are too low or compression straps are loose | Raise the heavy core and compress the load |
| One shoulder hurts | Uneven side weight, twisted straps, or poor torso fit | Rebalance the sides, equalize the straps, and check pack sizing |
| Pack feels tippy | Too much dense weight is high in the pack | Lower the heavy core slightly, especially on technical terrain |
| Contents thump or sway | Empty space or loose external attachments | Fill gaps with soft gear and secure compression straps |
How Heavy Should Your Backpack Be?
There is no single percentage that is comfortable or safe for every hiker. Trip length, terrain, elevation gain, heat, pack design, footwear, conditioning, age, and previous injuries all matter. Manufacturer guidance commonly treats 20%–25% of body weight as a demanding upper range rather than a target.
Newer research in long-distance hikers found that plantar pressure increased as pack weight rose and identified measurable changes above about 10% of body weight in that study. The authors described this as an exploratory benchmark, not a universal safe limit. The practical lesson is to carry the lightest load that still includes the gear, water, food, and emergency supplies required for the route.
- Day hike: Aim for a light pack and avoid carrying duplicate or unnecessary items.
- Overnight trip: Weigh the complete pack, including food, fuel, and water.
- New hiker or new pack: Start below your expected trip weight and build gradually.
- Any trip: Reduce the route or turn back if the load causes pain, poor balance, or unusual fatigue.
Test Your Pack Before the Trip
Load the exact gear you plan to carry, including the expected amount of water. Walk for at least 10 minutes, climb stairs or a hill, step down carefully, and turn in both directions. The pack should stay close without knocking you off balance.
After the test, check for hot spots, numb areas, strap gaps, hipbelt slipping, and items that moved. Repack first; then fine-tune the straps. Do not solve a badly positioned load by overtightening every strap.
Warning: During a swift-water or uncertain stream crossing, a tightly secured backpack can make escape harder if you fall. Follow local ranger guidance; the National Park Service advises unbuckling pack straps for some crossings and turning back when a crossing is unsafe.
Final Thoughts on Efficient Backpack Management
Efficient backpack management combines weight placement, pack fit, access, and regular adjustment. Use the following check before leaving and again after major food or water changes:
| Packing Strategy | Benefit |
|---|---|
| Heavy core near the spine | Limits backward pull and keeps the load controlled |
| Balanced side pockets | Reduces twisting and one-sided pressure |
| Soft gear around dense items | Prevents shifting and cushions hard edges |
| Essentials near the top | Provides fast access without unloading the pack |
| Hipbelt adjusted first | Transfers load and improves stability |
Frequently Asked Questions
How does weather affect backpack weight distribution?
Weather mainly changes access and waterproofing needs. Keep a rain shell, warm layer, gloves, and pack cover near the top, while protecting dry clothing, sleeping gear, and electronics inside a liner or dry bags. Do not move all heavy gear to the bottom simply because rain is expected.
Can I add weight evenly across both shoulder straps?
Use both shoulder straps and keep them adjusted evenly, but do not make them carry the entire load. Tighten the hipbelt first so it supports much of the weight, then snug both shoulder straps and use the sternum strap for control.
What are the best materials for lightweight backpacks?
Ripstop nylon and polyester are common because they balance weight, durability, and cost. UHMWPE-based laminates can be lighter for their strength but may cost more and behave differently under abrasion or repeated folding. Fit, frame design, seam quality, and load rating matter more to comfort than fabric alone.
How do I determine the ideal pack weight for my body?
Use body-weight percentages only as rough planning guides. Start with the lightest complete load that meets the trip’s safety needs, then test it on similar terrain. Fitness, pack fit, route difficulty, heat, elevation, trip length, and injury history can matter as much as body weight.
Should I adjust my backpack weight during hikes?
Yes. Rebalance water, food, and wet gear during planned stops because their weight and location change. Do not discard essentials on the trail. If the pack remains painful or unstable after repacking and strap adjustment, shorten the route or turn back.
Where should I put a hydration reservoir?
Use the pack’s hydration sleeve, which is usually positioned close to the back panel. Fill and test it for leaks before packing. Because water is dense, keep the reservoir centered and secure so it does not slump or shift as it empties.
Why does one shoulder hurt more than the other?
Common causes include uneven side-pocket weight, shoulder straps adjusted to different lengths, a twisted harness, a slipping hipbelt, or a pack that does not match your torso length. Rebalance the load and refit the pack. Stop if pain, tingling, or numbness continues.
Conclusion
Good backpack weight distribution starts with a light bottom layer, a centered heavy core close to the spine, and accessible gear at the top. Balance both sides, control movement with soft gear and compression straps, and fit the hipbelt before the shoulder straps. A short loaded test walk will reveal problems that are much easier to fix at home than on the trail.
Sources
- Deuter: How to Pack a Backpack — packing zones, center of gravity, and terrain-specific load placement.
- Golriz et al. (2018): Backpack Load Placement and Exertion — physiological and perceived effects of carrying a 20%-body-weight load.
- Osprey: Backpack Suspension Systems — hipbelt, load lifter, shoulder-strap, and sternum-strap functions.
- National Park Service: Ten Essentials — outdoor emergency, weather, navigation, food, and hydration planning.
- National Park Service: North Cascades Safety — backpack precautions during stream crossings.
- Moya-Cuenca et al. (2026): Backpack Load and Plantar Pressure — load-related changes in long-distance hikers.

