

Last Updated on July 30, 2026 by Caleb Warren
Choosing the right camera backpack is less about buying the biggest bag and more about matching the pack to your gear, body, shooting style, and travel plans. A good fit protects your camera without wasting space, slowing access, or putting all the weight on your shoulders. Use the steps below to compare capacity, protection, comfort, access, and long-term value.
Quick Answer
Choose a camera backpack that fits your current kit with a modest amount of spare room, supports the packed weight comfortably, and gives you the access style you need. Check internal dimensions, divider depth, weather protection, laptop and tripod storage, airline limits, warranty terms, and comfort with the bag fully loaded.
Key Takeaways
- List every camera body, lens, battery, charger, filter, laptop, tripod, and personal item you plan to carry.
- Compare internal measurements and divider layout, not just the bag’s liter rating or exterior size.
- Test comfort with realistic weight; shoulder straps, torso length, sternum strap, back panel, and hip belt all affect fit.
- Treat weather resistance and a rain cover as added protection, not permission to submerge the bag or leave it in heavy rain.
- For flights, confirm the airline’s current carry-on rules and keep spare lithium batteries in the cabin with protected terminals.
At a Glance
| Time Required | 30–60 minutes to inventory, measure, compare, and perform a loaded fit test |
| Difficulty | Easy, but careful measurements prevent an expensive mismatch |
| Tools Needed | Tape measure, gear list, luggage scale or bathroom scale, and the equipment you normally carry |
| Cost | Free to assess; backpack prices vary widely by size, materials, harness design, and included features |
Disclosure: As an Amazon Associate I earn from qualifying purchases. Some links on this page are affiliate links, at no extra cost to you.
Assessing Your Gear and Future Needs
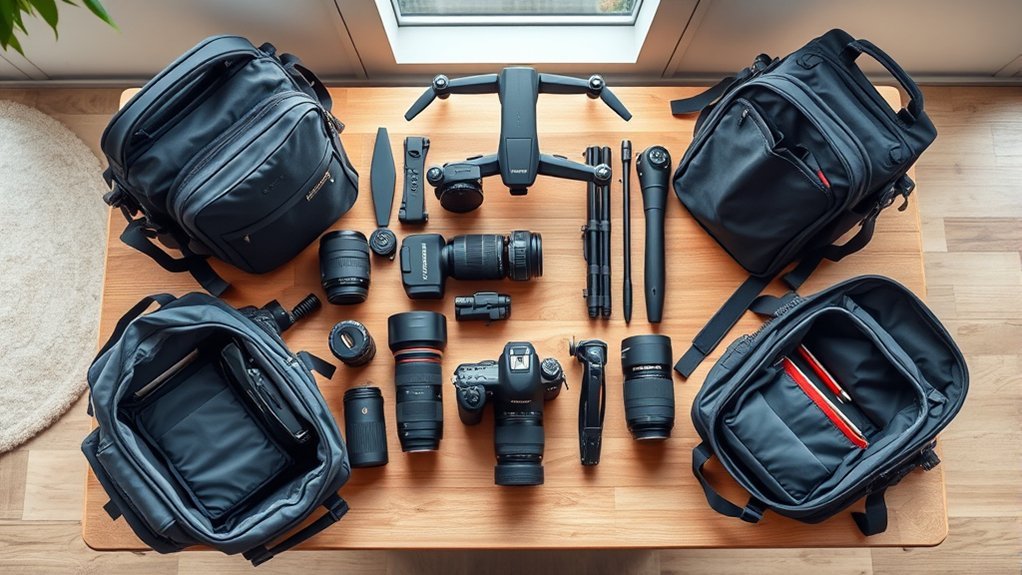
Start by cataloging your current equipment. Include camera bodies, mounted and loose lenses, flashes, microphones, filters, batteries, chargers, memory-card cases, cleaning tools, a laptop or tablet, a tripod, a water bottle, and any jacket or personal items that must share the bag. This list defines the minimum usable capacity more accurately than a generic small, medium, or large label.
Measure your largest packed setup, such as a camera with its longest lens attached. Also measure deep items such as a gripped body, large lens hood, drone controller, or battery charger. Compare those measurements with the backpack’s published internal dimensions, camera-compartment depth, laptop sleeve, and divider layout. A bag can have enough total volume but still be too shallow for one important item.
Plan for likely additions, but avoid buying far more space than you need. Extra room can encourage overpacking and allow poorly secured gear to move. A better approach is to leave a modest reserve for one planned lens, a second body, or personal items while keeping every current item supported by padded dividers.
Measure the kit in the way you will actually carry it. A lens that fits loose may not fit when attached to the camera, and a bag that feels light empty can feel very different after adding a laptop, tripod, water, and batteries.
Choosing the Right Capacity and Divider Layout
Capacity in liters is useful for broad comparisons, but it does not tell you how much camera gear will fit. Divider thickness, curved walls, laptop sleeves, access doors, and split compartments all reduce usable space. Check product diagrams and internal measurements, then map each major item to a divider bay before buying.
- Full camera compartment: Best when most of the pack is dedicated to bodies and lenses.
- Split or hybrid layout: Useful when you need camera storage plus a jacket, food, headphones, or other everyday items.
- Removable camera cube: Adds flexibility and can turn a normal travel or hiking pack into a protected camera carrier.
- Long-lens layout: Needed when you carry a telephoto lens attached to the camera or with the hood extended.
Pro Tip: Photograph your packed divider layout after you find a setup that works. The photo makes it easier to rebuild the arrangement after cleaning the bag or changing gear for a different shoot.
Key Features to Look For
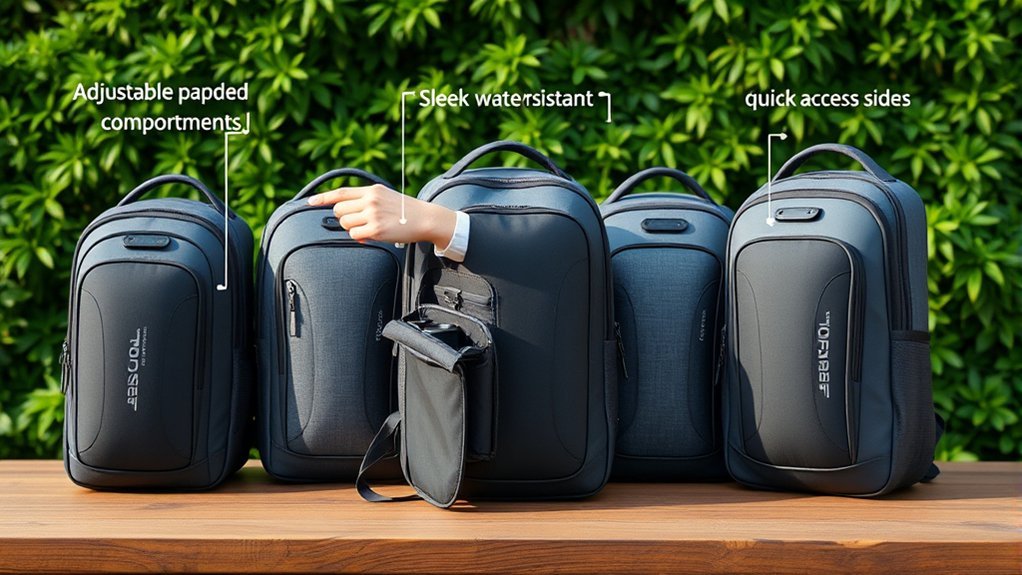
The right features keep equipment protected, organized, and easy to reach. Padding matters, but thickness alone is not enough. Look for dividers that stay attached, a padded base, reinforced corners, smooth zipper paths, and enough structure to prevent lenses from pressing against each other.
| Feature | Why It Matters | What to Check |
|---|---|---|
| Padding and structure | Reduces impact and pressure between items | Firm dividers, padded base, reinforced edges, and no hard contact points |
| Internal size | Determines whether your real kit fits | Compartment depth, longest dimension, laptop sleeve, and divider geometry |
| Weather protection | Adds protection from rain, snow, dust, and splashes | Coated fabric, covered zippers, seam-sealed rain cover, and a dry place to store the cover |
| Access style | Controls speed, security, and how you work from the bag | Rear, front, top, or side opening; zipper stops; ability to reach gear without setting the bag down |
| Harness | Stabilizes the load and reduces shoulder strain | Contoured straps, sternum strap, usable hip belt, breathable back panel, and torso fit |
| External carry | Keeps bulky items out of the camera compartment | Tripod straps, bottle pockets, compression straps, and secure attachment points |
Weather-Resistant Does Not Mean Waterproof
Weather-resistant fabric and a fitted rain cover provide useful extra protection, but seams, zipper openings, and access panels can still admit water. Lowepro describes its All Weather Cover as added protection from rain, snow, dust, and sand rather than a guarantee against immersion. Keep electronics in separate protective pouches when conditions are severe, and never place a wet cloth or rain cover directly against uncovered camera gear.
Note: A rain cover protects the outside of the pack, but it can also block access. Practice fitting it before a trip so you know which straps, tripod mounts, or openings remain usable.
Comfort, Fit, and Weight Distribution
Do not judge comfort with an empty display bag. Load the backpack with gear close to your normal carrying weight, then wear it for at least several minutes while walking, turning, bending, and reaching. The pack should stay close to your back without pulling you backward or creating sharp pressure on your shoulders.
General backpack-fitting guidance from Osprey’s size and fit guide recommends centering the hip belt over the hip bones, tightening the shoulder harness, using load lifters to bring the pack closer, and checking torso length so the harness follows the shoulders without gaps. Camera packs vary, but these fit checks are useful whenever the bag includes a structured hiking-style harness.
- Shoulder straps: They should wrap the shoulders without digging into the neck or armpits.
- Sternum strap: It should stabilize the straps without restricting breathing.
- Hip belt: A real padded belt should transfer part of a heavy load to the hips; a thin webbing strap mainly limits sway.
- Back panel: Check airflow, lumbar pressure, and whether hard items press through the padding.
- Balance: Keep dense items near the center of the back and avoid placing all heavy lenses on one side.
Access, Security, and Shooting Workflow
Choose an access type that matches how you shoot. Rear-panel access keeps the main opening against your back while worn and can keep the harness off wet or dirty ground when the opened bag becomes a work surface. Side access is useful for quick lens or camera retrieval without fully removing the pack. Front access gives a full view of the layout but normally requires a safe place to set the bag down.
No opening style makes a bag theft-proof. Look for lockable zipper pulls, discreet styling, an internal pocket for passports or trackers, and zippers you can monitor in crowded areas. Avoid attaching expensive-looking accessories to the outside when moving through airports, cities, or events.
Types of Camera Backpacks
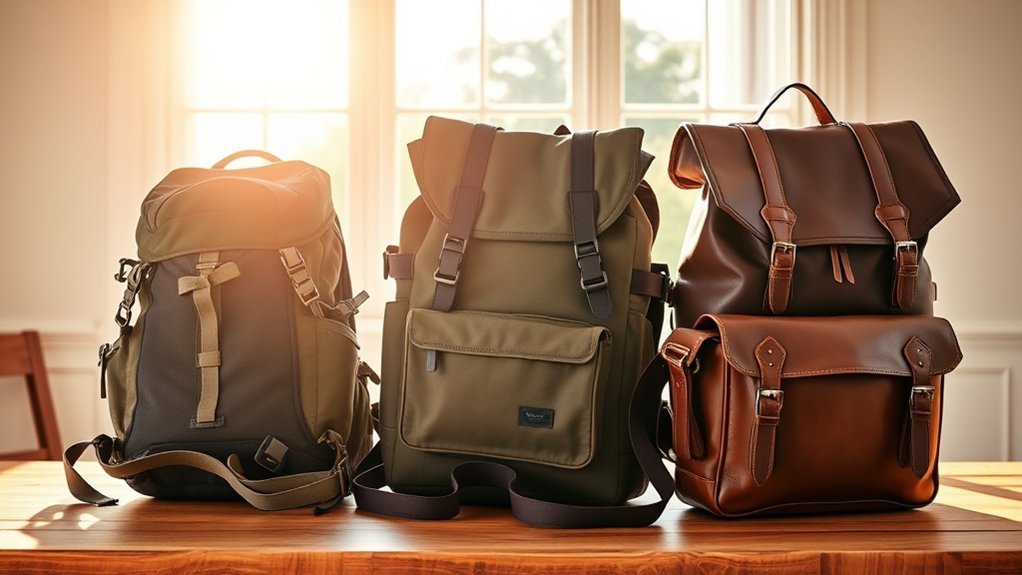
Different camera backpacks solve different problems. A travel pack emphasizes compact dimensions, laptop storage, handles, and easy screening access. A hiking camera backpack focuses on torso fit, load transfer, ventilation, hydration, and room for clothing or food. Urban packs often favor discreet looks and quick access, while professional equipment packs prioritize maximum organization and protection.
- Travel camera backpack: Best for flights, trains, hotels, and mixed camera-plus-personal-item packing.
- Hiking or outdoor camera backpack: Best for longer carries, uneven terrain, water, layers, and a more supportive harness.
- Mirrorless or compact-kit backpack: Best for a smaller body and lens set when a full professional pack would be excessive.
- Long-lens or wildlife backpack: Best for large telephoto lenses, reinforced support, and stable external tripod carry.
- Hybrid everyday backpack: Best when the camera compartment shares space with work or travel items.
Use exact product names when comparing models. Lowepro’s older ProTactic BP 350 AW II is a 16-liter pack with published internal dimensions and room for a camera body, lenses, and accessories, while Lowepro now lists the updated ProTactic BP 350 AW III. Think Tank’s Mirrorless Mover name covers compact shoulder bags as well as a separate 18-liter Mirrorless Mover Backpack, so confirm whether a review refers to the shoulder bag or backpack version.
Air Travel and Battery Safety
A bag advertised as carry-on ready is not automatically accepted on every flight. The U.S. Department of Transportation states that there is no single federal carry-on size standard and advises travelers to check each airline’s current size, weight, and quantity limits. Measure the packed bag, including bulging pockets, handles, and attached tripod parts.
Warning: The FAA requires spare lithium batteries and power banks to stay in carry-on baggage. Protect battery terminals from short circuits with original packaging, terminal covers, tape, or separate battery cases. If a carry-on is gate-checked, remove all spare batteries and power banks first.
Keep fragile and valuable camera equipment accessible in case the airline requires a last-minute gate check. A removable camera insert or small personal-item bag can make it easier to separate batteries, camera bodies, lenses, storage cards, and other critical equipment from the larger backpack.
Quality and Brand Considerations
Price and brand reputation can help narrow the field, but neither proves that a bag fits your gear or body. Think Tank, Lowepro, Tamrac, Peak Design, Billingham, and other established brands sell bags with different designs and protection levels. Country of manufacture alone is not a reliable quality test; inspect the materials and construction of the specific model.
Check stitching at load points, divider attachment, zipper movement, buckles, handle reinforcement, tripod straps, and the base. Budget bags, including basic house-brand models, may work for light use, but do not assume they have weak padding or unreliable zippers without examining the exact product. Compare specifications and long-term user reports rather than relying on a blanket brand claim.
Read the written warranty before buying. The Federal Trade Commission recommends checking the length of coverage, exclusions, claim process, and whether the company repairs, replaces, or refunds. Some camera-bag warranties cover defects for the life of the product but exclude normal abrasion, zipper wear, accidents, misuse, and improper care.
Budget and Long-Term Value
A rough $50 to $300 shopping range may include many camera backpacks, but it is not a fixed rule. Current prices change, and specialized travel, long-lens, rolling, or expedition packs can fall outside that range. Set your budget after identifying non-negotiable features, then compare the final packed fit rather than choosing the cheapest or most expensive option.
Value comes from useful features, not feature count. Paying more can make sense for a better-fitting harness, stronger structure, weather cover, replaceable parts, or a clear warranty. It does not make sense to pay for a large laptop sleeve, modular belt system, or expedition harness you will never use.
Tips for Purchasing and Testing
Research user reviews for repeated patterns, not isolated praise or complaints. Look for comments from photographers carrying gear similar to yours, and pay attention to zipper failures, divider collapse, strap slippage, rain-cover fit, airline problems, and comfort after an hour or more. Compare current prices across authorized retailers and check the return policy before loading the bag outdoors.
Loaded Fit-Test Checklist
- Pack the camera, longest lens, spare lenses, batteries, charger, laptop, tripod, water, and personal items you normally carry.
- Confirm that every item is supported and that no glass, screen, or control presses against another hard object.
- Weigh the complete pack and compare the result with your comfort level and any airline weight limit.
- Adjust the hip belt, shoulder straps, sternum strap, and load lifters in that order when the design includes them.
- Walk, climb stairs, bend, rotate, and reach for gear. Check for sway, pressure points, restricted movement, and zipper interference.
- Test every access point with the tripod and water bottle attached.
- Place the bag on a table and the ground to see whether it tips, exposes straps to mud, or opens farther than expected.
- Confirm that the rain cover fits the fully packed bag and does not leave the camera compartment exposed.
Packing and Maintaining a Camera Backpack
Place the heaviest dense items close to the center of your back and use dividers to stop movement. Keep small batteries, cards, and filters in closed pockets so they cannot slide under a lens. Do not let a tripod make one side much heavier than the other, and avoid hanging loose items where they can snag.
For routine care, empty the bag, shake out grit, vacuum loose debris with a soft attachment, and spot clean according to the manufacturer’s instructions. Do not machine-wash a structured camera pack unless the care label specifically allows it. Air-dry the bag fully before reinstalling equipment, and store it in a cool, dry place with zippers relaxed and the rain cover dry.
Inspect the base, seams, zipper tracks, buckles, shoulder-strap anchors, and divider hook-and-loop areas before major trips. A camera backpack has no universal five- or ten-year lifespan. Replacement time depends on load, abrasion, moisture, UV exposure, care, and whether structural parts still protect the equipment.
Frequently Asked Questions
Can I use a regular backpack for camera gear?
Yes, if you add a properly sized padded camera cube or protective cases and keep the equipment from moving. A regular backpack may lack a structured base, customizable dividers, fast access, and weather protection, so test the complete setup before trusting it with valuable gear.
How much should I budget for a camera backpack?
A rough $50 to $300 range covers many entry-level through premium backpacks, but current prices vary and specialized packs can cost less or more. Budget for the smallest model that safely fits your gear and includes the protection, harness, access, and travel features you will actually use.
Are there specific backpacks for different photography styles?
Yes. Wildlife photographers often need long-lens support and secure tripod carry. Hikers need a stronger harness and space for water and layers. Travelers need airline-friendly dimensions and easy laptop access. Street photographers may prefer a smaller, discreet pack with fast side access.
How do I clean and maintain my camera backpack?
Empty it, remove loose dirt, and spot clean with the method approved by the manufacturer. Keep sand out of zipper tracks, dry the pack and rain cover completely, inspect seams and strap anchors, and store the bag away from prolonged heat, dampness, and direct sunlight.
What is the average lifespan of a camera backpack?
There is no dependable universal average. A lightly used quality bag may serve for many years, while frequent travel, heavy loads, rough ground, moisture, and UV exposure can shorten its life. Replace or repair it when the harness, base, zippers, seams, or dividers no longer protect the equipment reliably.
Can I take a camera backpack on a plane?
Usually, but acceptance depends on the airline’s current size, weight, and bag-count limits for the specific flight. Measure the packed exterior, including full pockets and attached items. Keep spare lithium batteries and power banks in the cabin with protected terminals.
Is a camera backpack waterproof?
Most are weather-resistant rather than fully waterproof. Coated fabrics, covered zippers, and a rain cover help, but openings and seams can still leak. Use an additional protective pouch or dry bag in severe weather, and never submerge the backpack unless the manufacturer specifically rates it for immersion.
Conclusion
The best camera backpack is the one that protects your actual kit, fits your torso and carrying weight, and supports the way you shoot. Measure before buying, test the bag fully loaded, verify weather and travel limits, and read the warranty instead of relying on brand reputation alone. A careful choice gives your gear secure storage without turning every photographic outing into a struggle with excess size, poor access, or uncomfortable weight.
Sources
- Lowepro ProTactic BP 350 AW III — current model features, divider system, access points, harness, and included weather cover.
- Think Tank Mirrorless Mover Backpack — current backpack capacity, divider layout, access, laptop sleeve, tripod carry, and rain cover.
- Federal Aviation Administration: PackSafe Lithium Batteries — carry-on rules, watt-hour limits, and terminal protection for spare batteries.
- U.S. Department of Transportation: Carry-On Baggage Advice — airline-specific size, weight, and quantity limits.
- Osprey Backpack Size and Fit Guide — loaded fitting sequence, hip-belt position, harness fit, and torso adjustment principles.
- Federal Trade Commission: Warranties — what to compare in written warranty coverage and claims terms.

