

Last Updated on July 30, 2026 by Mason Reed
A compression sack is useful when you need to fit a tent into a backpack, bike bag, or small vehicle. It is not the best place to leave the tent between trips. The safest approach is to compress the tent only for transport, then dry it fully and store it loosely at home so moisture, coatings, seam tape, and fabric are not placed under needless stress.
Quick Answer
Use a compression sack only for transport when pack space matters, and tighten it just enough to reduce bulk. For storage at home, remove the tent, dry it completely, and place it loosely in a breathable oversized bag—or drape it in a cool, dry, dark area. Never store a damp tent compressed.
Key Takeaways
- Compression saves packed volume, but it does not reduce the tent’s actual weight.
- Long-term pressure can stress fabric, coatings, and seam tape, especially when the tent is damp or dirty.
- Dry the tent completely before storage and use a breathable, oversized sack, pillowcase, shelf, or hanging space.
- Keep poles and stakes controlled in their own sleeves so hard or sharp parts cannot snag the fabric.
At a Glance
| Time Required | 20–30 minutes of hands-on care, plus drying time |
| Difficulty | Easy |
| Tools Needed | Soft brush, damp sponge, manufacturer-approved cleaner if needed, pole and stake sacks, breathable storage bag |
| Cost | $0–$20 for a pillowcase, mesh sack, or oversized storage bag |
Disclosure: As an Amazon Associate I earn from qualifying purchases. Some links on this page are affiliate links, at no extra cost to you.
When a Compression Sack Makes Sense
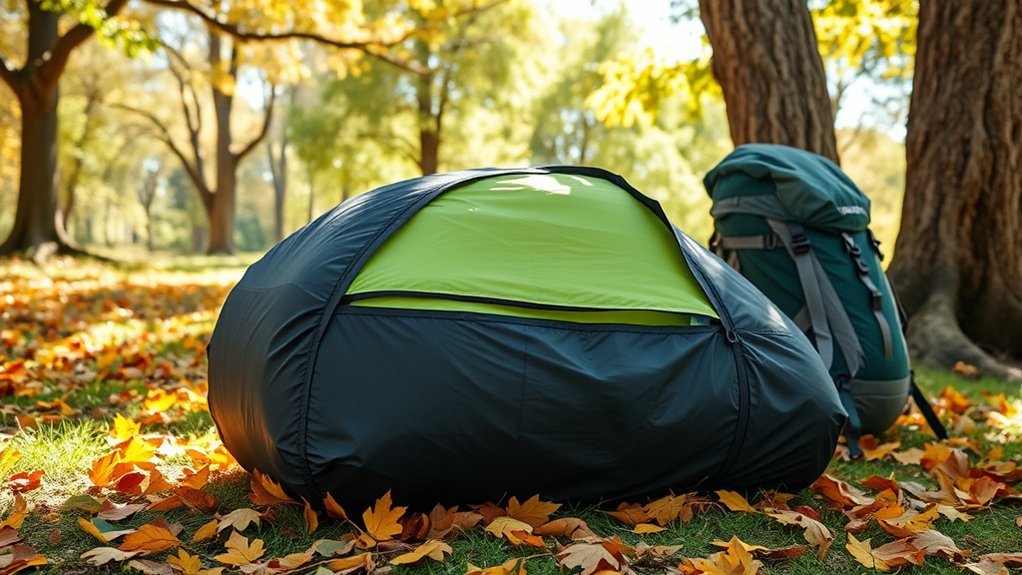
A compression sack can be helpful during a trip because it reduces the tent’s packed volume. That may free room for food, clothing, or other gear and can make a bulky shelter easier to fit inside a backpack. This is a space-saving benefit—not a weight-saving benefit. The tent weighs the same, and the compression sack itself adds a small amount of weight.
Use only as much pressure as needed to make the tent fit. Stop tightening when the package is compact and stable. Do not keep pulling the straps until the fabric is hard-packed, distorted, or forced against pole ends, stakes, buckles, or zipper sliders.
A compression sack is also not a ventilation tool. It restricts airflow, especially if it has a coated fabric or roll-top construction. That is acceptable for short-term transport when the tent is dry, but it is a reason to remove the tent soon after the trip.
Note: A compression sack, stuff sack, dry bag, and long-term storage bag serve different purposes. Use a compression or stuff sack for travel, a dry bag only when temporary water protection is needed, and a large breathable bag for storage at home.
Potential Risks of Long-Term Compression
Long-term compression places steady pressure on thin tent fabrics, waterproof coatings, seam tape, zippers, mesh, and hardware. NEMO advises against storing a tent in its normal stuff sack for long periods because compression can damage tent materials and seam tape. Its guidance favors a loosely rolled tent in a breathable storage sack.
Moisture is the greater danger. A damp tent packed tightly has little chance to dry. Moisture can support mildew and can contribute to hydrolysis, a chemical breakdown that may leave a polyurethane coating sticky, flaky, smelly, or no longer waterproof. Sea to Summit’s gear-care guidance recommends storing a tent bone dry and loosely packed rather than tightly compressed or sealed in an airtight container.
Repeated pressure can also create hard contact points. A loose stake, exposed pole end, buckle, or zipper pull can rub or press against the canopy or rainfly. This does not mean a compression sack automatically breaks poles or stakes; the risk comes from forcing rigid parts against delicate fabric or using a sack that is too small.
Warning: Never put a damp tent into long-term storage. If weather forces you to pack it wet, unpack it as soon as you reach shelter and dry the body, rainfly, footprint, guylines, and storage sacks completely.
For long-term tent storage, dry, dark, and cool matter more than achieving the smallest possible package.
Best Practices for Packing Your Tent for Travel

Trail packing is different from off-season storage. During a trip, the goal is to protect the tent while making it fit your pack. Use the following steps:
- Shake out dirt and debris. Grit left inside the tent can abrade coatings and fabric while the bundle moves in your pack.
- Dry what you can. Wipe or shake condensation from the rainfly and floor. If the tent must be packed wet, separate the wet fly when practical and dry everything at the first opportunity.
- Collapse poles carefully. Start near the middle so shock-cord tension is spread more evenly, then place the poles in their pole sack.
- Bag the stakes. Remove soil and put stakes in a durable stake sack. Do not leave loose stakes against the canopy or rainfly.
- Fold, roll, or stuff according to the manufacturer. There is no universal winner. REI’s tent-care guide notes that either rolling or stuffing can work, while Big Agnes provides a model-specific folding and rolling method.
- Compress gradually. Tighten opposing straps in small steps so the load stays even. Stop when the bundle fits; do not crush it into the smallest theoretical size.
How Tight Should the Compression Sack Be?
The sack should be snug enough that the tent does not expand and fill unwanted pack space. You should still be able to handle the bundle without seeing sharp bulges, strained seams, heavily bent zipper tracks, or hardware pressing through the fabric. If the sack closes only after extreme force, use a larger sack or pack the components separately.
Do not assume that tighter is safer. Compression does not prevent abrasion by itself. Clean fabric, smooth packing, protected hardware, and reduced movement inside the pack do more to prevent damage.
Pro Tip: Keep the rainfly near the outside of the packed bundle or in a separate sack when it is damp. This makes it easier to dry at a break and helps keep the tent body from absorbing more moisture.
Tent Care Before You Pack
Always check the tent before closing the sack. Remove leaves, sand, mud, and food crumbs. Close doors and zippers without trapping fabric in the sliders. Look for small tears, loose seam tape, damaged guylines, and bent hardware so you can repair them before the next trip.
For routine cleaning, use a soft brush or damp sponge. If a deeper wash is needed, follow the tent maker’s instructions and use a suitable non-detergent or technical cleaner. Avoid bleach, harsh household cleaners, machine washing, and machine drying unless the manufacturer specifically permits them. High heat and aggressive agitation can harm mesh, seams, coatings, and adhesives.
Alternative Storage Methods for Tents
For long-term storage, give the fabric room to relax and allow air to move around it. Good options include:
- An oversized mesh or cotton sack: A large gear-storage bag or clean pillowcase is inexpensive and breathable.
- A loose roll on a shelf: Support the tent so heavy bins and sharp objects cannot press on it.
- Draped or hung storage: This works well when you have a clean closet or gear room and can keep the fabric away from hooks or edges that may snag it.
- The original sack, packed loosely: Use this only when space is limited and the manufacturer allows it. Do not add compression, and take the tent out periodically to inspect and air it.
Keep the tent in a cool, dry, dark, temperature-stable area. Avoid a hot car trunk, damp basement, or attic with large temperature and humidity swings. Big Agnes recommends a dry, temperature-controlled storage area and advises airing a tent every three to four months when it must remain in a storage sack.
How to Prepare a Tent for Long-Term Storage
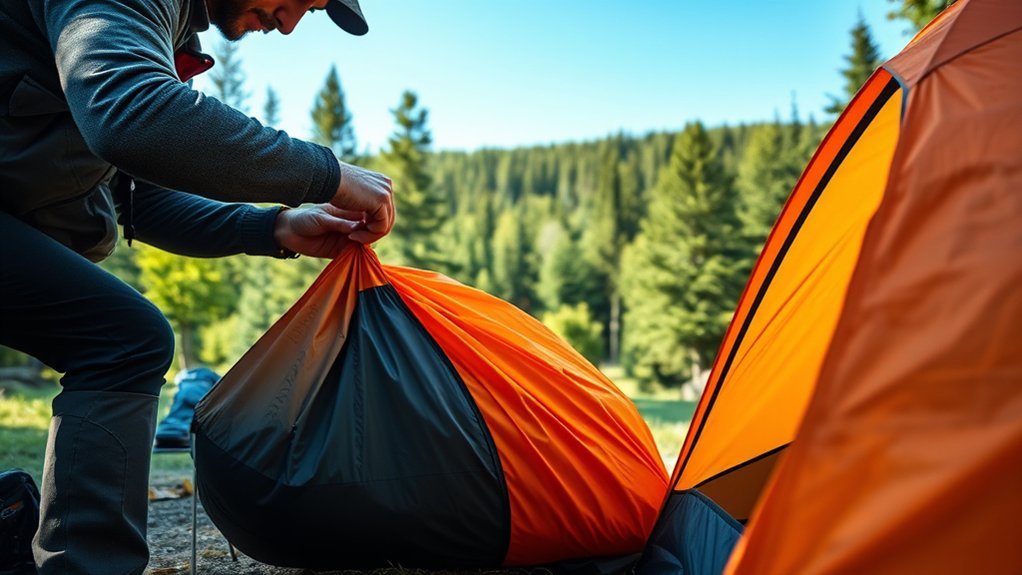
- Dry every component. Pitch the tent, drape it, or hang it in a shaded, ventilated area until the canopy, floor, rainfly, footprint, guylines, and sacks are dry on both sides.
- Clean only as needed. Brush away loose dirt and spot-clean stains. Rinse away any approved cleaner and allow the tent to dry again.
- Inspect high-stress areas. Check corners, pole sleeves, clips, zippers, mesh, seam tape, waterproof coatings, and guy-out points.
- Repair before storage. Patch small tears with a compatible repair product and use the correct seam sealer for the tent’s fabric and coating.
- Separate and organize hardware. Clean and dry poles and stakes. Store them in their sleeves so edges cannot rub against fabric.
- Pack loosely. Place the tent in a breathable oversized bag or store it draped or loosely rolled. Avoid heavy objects on top.
- Choose the location. Store indoors where temperature and humidity are reasonably stable and where rodents, insects, sunlight, and chemicals are unlikely to reach it.
If your tent has an integrated battery-powered light system, remove the batteries before off-season storage to prevent leakage or corrosion.
Signs That Storage Has Damaged the Tent
Inspect the tent before the next trip. A musty odor, visible mildew, sticky or flaking coating, peeling seam tape, brittle fabric, corroded hardware, damaged shock cord, or a zipper that no longer runs smoothly may signal a storage or age-related problem. A small fabric tear can often be patched, but widespread coating failure or severe mildew may require professional repair or replacement.
NEMO’s tent-care guidance specifically recommends complete drying, loose breathable storage, and a cool, dry, dark location to protect waterproof finishes and seam tape.
Choosing the Right Tent Storage Method
Use the storage method that fits the situation:
- Backpacking or bikepacking: Use the tent’s stuff sack or a correctly sized compression sack for short-term transport.
- Car camping: Use the original roomy sack when possible; extreme compression usually offers little benefit.
- One wet travel day: Pack the tent only as long as necessary, isolate wet parts when practical, and dry everything at camp or at home.
- Weeks or months at home: Store the tent clean, completely dry, loose, breathable, cool, dark, and protected from pressure.
Regular repacking is less important than correct conditions. You do not need to follow an arbitrary six-month inspection rule. Check the tent after trips, before important outings, and periodically during a long off-season—especially if it must stay bagged or the storage area is not climate controlled.
Frequently Asked Questions
Can I use any compression sack for my tent?
Use a sack large enough to accept the dry tent without extreme force. Smooth interior surfaces, strong seams, and evenly tightening straps are helpful. Avoid a sack that leaves hard hardware pressing against thin fabric, and follow any packing limits in the tent manufacturer’s instructions.
How tight should I compress my tent?
Compress it only enough to fit the intended pack space. Stop if the sack seams are straining, the bundle becomes rock-hard, or poles, stakes, buckles, or zipper pulls create sharp pressure points.
Is it safe to store a wet tent in a compression sack?
No. A wet tent may be packed temporarily during travel, but it should be unpacked and dried as soon as possible. MSR warns that mildew can begin forming after a wet tent is stored for as little as 24 hours in warm conditions.
How often should I inspect a stored tent?
Inspect it after trips and before the next season or any important outing. If it must remain inside a sack for months, airing and checking it every three to four months is a reasonable manufacturer-backed schedule. There is no universal six-month rule for every tent.
Can compression sacks damage tent poles or stakes?
Compression alone usually does not damage properly packed poles or stakes. Problems arise when an undersized sack bends components, strains pole joints, or forces rigid and sharp parts into the tent fabric. Use the pole and stake sleeves and avoid extreme pressure.
Can I store my tent in a waterproof dry bag?
A dry bag can protect a dry tent during short-term transport, but an airtight bag is not ideal for long-term storage because it limits ventilation and can trap unnoticed moisture. Use a breathable storage bag at home.
What if I do not have room to hang my tent?
Fold, roll, or loosely stuff the completely dry tent into a large mesh sack or clean pillowcase and place it on a shelf. Do not stack heavy bins on it, and take it out periodically to air and inspect it.
Conclusion
A compression sack is a transport tool, not a long-term home for your tent. Use light, even compression when pack space is limited, and keep poles and stakes controlled so they cannot press into the fabric. After the trip, clean the tent as needed, dry every part completely, inspect it, and store it loosely in a cool, dry, dark place. Those simple habits do more to protect waterproof coatings, seam tape, fabric, and hardware than squeezing the tent into the smallest possible bundle.
Sources
- NEMO Equipment: Cleaning, Repairing, and Storing Your Tent — long-term compression, drying, seam tape, and breathable storage.
- Sea to Summit: How to Clean, Fix and Store Your Camping and Hiking Gear — moisture, hydrolysis, cleaning, and loose storage.
- Big Agnes: How to Pack Your Tent — drying, pole organization, folding, rolling, and travel packing.
- Big Agnes: Seasonal Tent Maintenance — storage location, periodic airing, coatings, seam tape, and zipper care.
- REI Co-op: How to Clean, Waterproof and Care for a Tent — packing methods, cleaning limits, drying, and long-term storage.
- MSR: Tent Care and Mildew Guidance — wet-storage risk, mildew, polyurethane coating damage, and cleaning.
