
Last Updated on September 10, 2026 by Daniel Globe
First, shake the handlebars to find where the wobble starts, whether it’s the stem, clamp, or folding joint. Then use the correct Allen wrench or socket to tighten the stem bolts and handlebar clamp evenly in a crisscross pattern, aiming for snug, not over-tight. Check that the folding latch fully locks and inspect for worn bearings, loose hardware, or stripped threads. If the play stays, there’s more to diagnose.
Disclosure: As an Amazon Associate I earn from qualifying purchases. Some links on this page are affiliate links, at no extra cost to you.
Find the Source of the Wobble
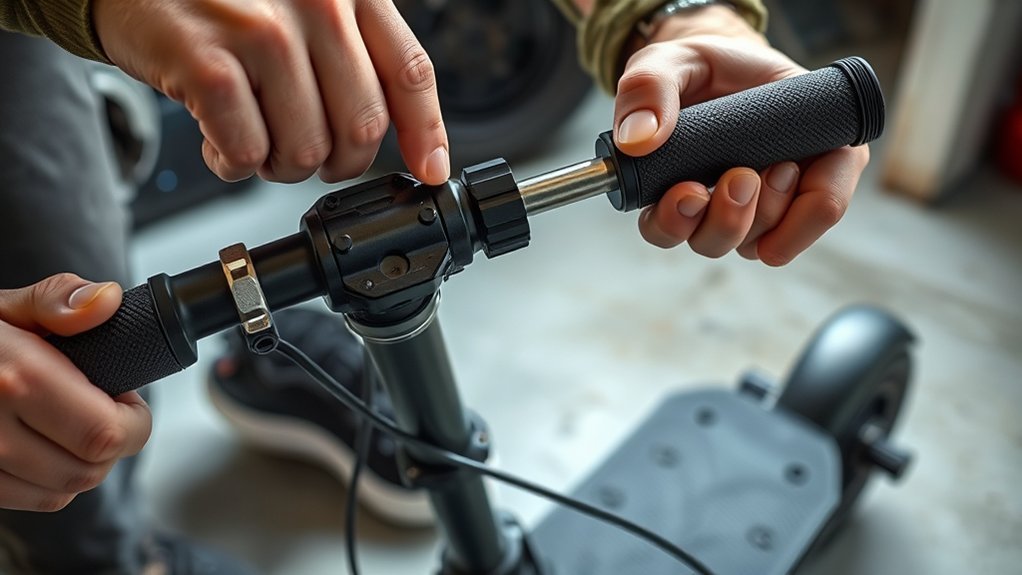
Start by gently shaking the handlebars to pinpoint where the play is coming from. Use this first of your inspection techniques to separate wobble causes at the stem from movement at the grips or controls. If the stem rocks as a unit, the instability usually starts at the base. If the grips, brake levers, or display shift independently, you’ve narrowed the fault to those parts. Look closely at the screws or bolts that secure the stem to the deck; loose hardware is a common source of instability. Don’t overlook signs of wear around the joint, since damaged bearings or bushings can let the bar drift even after you’ve checked the fasteners. Regular checks help you stay ahead of failure, keep the scooter responsive, and protect your freedom of movement. When you can identify the source quickly, you can fix the right point without wasting time.
Tighten the Stem Bolts
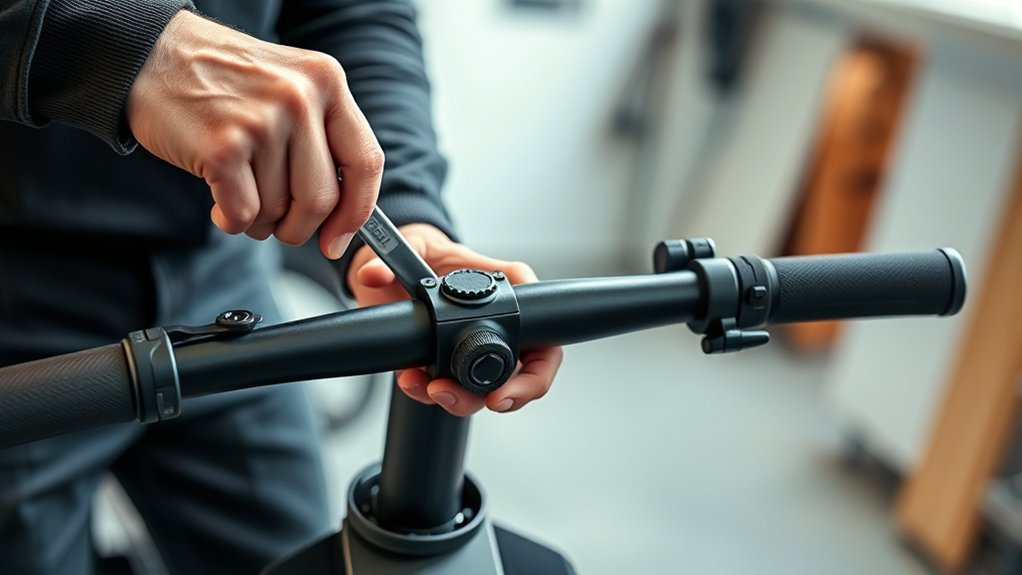
Locate the stem bolts at the base of the handlebar stem, where it connects to the scooter deck. Use the correct-size Allen wrench or socket so you get a solid fit. Tighten the bolts evenly in a crisscross pattern to keep pressure balanced and reduce thread damage.
Locate Stem Bolts
At the base of the handlebar where it connects to the deck, you’ll find the stem bolts. Use this access point to inspect handlebar alignment and start bolt maintenance with purpose. Choose the correct Allen wrench or socket so you don’t strip the heads and weaken your ride’s freedom.
- Stand the scooter on level ground.
- Trace the stem joint at the deck.
- Identify each bolt around the clamp.
- Keep the tool fitted before turning.
Check for any visible movement after your inspection; looseness signals a problem, while solid contact confirms the connection’s stability. Regular checks help you keep control, protect the components, and ride with confidence.
Tighten Evenly
Using the correct-sized Allen wrench, tighten the stem bolts in a crisscross pattern so pressure stays even and the handlebars stay aligned. Turn each bolt a little at a time, then move to the opposite one. This method protects handlebar alignment and keeps the clamp loaded evenly. Aim for moderate torque specifications, usually 5 to 8 Nm, unless your scooter manual says otherwise. Don’t overtighten; excess force can strip threads, crush the stem, or lock parts in a bad position. After you finish, test the bars for play and recheck the bolts after rough rides. If they keep loosening, add a small amount of threadlocker to resist vibration. Tight fasteners give you steadier control and safer, freer riding.
Tighten the Handlebar Clamp
Check the handlebar clamp bolt and find the Allen head screw that secures it. Use the correct Allen wrench to tighten it by hand until it’s snug, but don’t overtighten. Keep the scooter stable while you work so you get better leverage and avoid shifting.
Clamp Bolt Check
Give the clamp bolt at the base of the handlebar stem a quick shake test first; if you see any movement or looseness, tighten it with the correct-size Allen wrench. This safety inspection protects riding comfort and keeps your steering firm.
- Shake the stem gently and watch for play.
- Fit the right Allen wrench, then snug each bolt in a crisscross pattern.
- If there are multiple bolts, tighten them gradually for even pressure and alignment.
- Stop before overtightening; stripped threads or a damaged clamp can wreck stability.
Check this bolt monthly, or after hard rides, so your setup stays secure and ready for the road.
Hand Tighten Securely
Locate the handlebar clamp near the base of the handlebars and inspect the accessible screws or bolts for looseness. Use the correct Allen wrench to hand-tighten each fastener until it feels snug. Don’t force it; overtightening can strip threads or crack the clamp. Keep your pressure controlled so you preserve freedom of motion without sacrificing rigidity. After tightening, verify that the handlebars line up with the front wheel. This alignment keeps steering precise and predictable. Add this step to your handlebar maintenance routine and repeat safety checks after rides on rough ground, where vibration can loosen hardware. If the clamp still shifts, apply a small amount of threadlocker to the screws for extra security and longer-lasting stability.
Check the Folding Mechanism
A secure folding mechanism is essential for handlebar stability, so make sure the latch fully engages and locks before every ride. You’re checking for secure engagement, not guessing. A loose latch can let the bars shift, so test the folding mechanism by opening and closing it with firm pressure. Look closely for wear, cracks, bent parts, or weak springs that could stop a clean lock. If the bolts feel short on resistance, apply threadlocker to help them stay put against vibration.
Make sure the latch locks fully before every ride; a loose fold can let the bars shift.
- Inspect the latch surface for damage.
- Confirm the lock clicks in fully.
- Move the bars to verify zero play.
- Retest after tightening or threadlocking.
When the mechanism works smoothly, your steering stays tight and controlled. Repeat this check often, especially after rough rides or transport. That keeps the handlebar assembly solid and lets you ride free with confidence.
Adjust the Left Handlebar Side
With the folding mechanism locked, check the left handlebar for any side-to-side movement. Gently shake it; if you feel play, you need an adjustment. Look near the base of the stem for the Allen head screw inside the handlebar tightener. Use the correct-size Allen wrench and turn the screw to loosen the tightener just enough for correction, then retighten it evenly so the bar sits straight. Don’t force it; controlled turns protect alignment and keep handlebar maintenance clean and efficient. After tightening, hand-tighten the fastener to lock in the setting and confirm the left side feels firm. Repeat your safety checks before each ride, especially after transport or rough pavement. Regular attention to this side helps prevent instability, supports precise steering, and keeps your scooter ready for freer, safer movement.
Troubleshoot Persistent Wobble
If the handlebars still wobble after tightening, inspect the stem bolts and surrounding hardware for looseness, and secure them with the correct Allen wrench. Check each fastener for play, then test the stem again under load. If movement persists, look for worn bearings or bushings; bearing replacement may restore a rigid, safe front end. Also inspect bolt threads for stripping, because damaged threads won’t hold torque and may need a thread repair kit or new bolts.
- Tighten stem bolts evenly.
- Verify the bearings and bushings.
- Replace stripped hardware.
- Lubricate moving joints lightly.
Keep the assembly clean and lubricated to reduce creaks and friction. Log your inspections and repairs so you can spot wear early. These maintenance tips help you keep control, protect your ride, and stay free from unstable handling.
Frequently Asked Questions
How to Tighten Electric Scooter Handle Bars?
Tighten your electric scooter handle bars by checking the handlebar adjustment bolts, then use the correct Allen wrench to secure them evenly. During scooter maintenance, test stability, add threadlocker if needed, and ride carefully.
How Do I Tighten My Handlebars?
Tighten your handlebars by checking handlebar adjustments, then use the correct Allen wrench to snug stem bolts evenly. You’ll want safety checks on folding joints and controls, and don’t overtighten. Inspect monthly for stable, liberated riding.
How to Make Scooter Brakes Tighter?
Make your scooter brakes tighter by turning the brake adjustment screws clockwise with a screwdriver or Allen wrench. Check pad alignment, inspect cables for wear, and test carefully. Good brake maintenance keeps you free and safe.
Why Are My Scooter Bars Wobbly?
About 80% of wobble issues come from loosened fasteners. You’re losing handlebar stability from vibration, wear, or poor assembly. Check stem bolts, grips, and clamps during scooter maintenance; tighten evenly to restore control and freedom.
Conclusion
With the wobble traced and each bolt tightened, you’re almost done—but don’t stop yet. Give the stem, clamp, and folding joint one last firm check, then test the left handlebar side for any hidden play. If the bars still shift, the problem may be deeper than a loose fastener. In that case, inspect the components again before you ride. A tight handlebar setup now can keep a small issue from becoming a dangerous surprise later.
