
Last Updated on September 10, 2026 by Daniel Globe
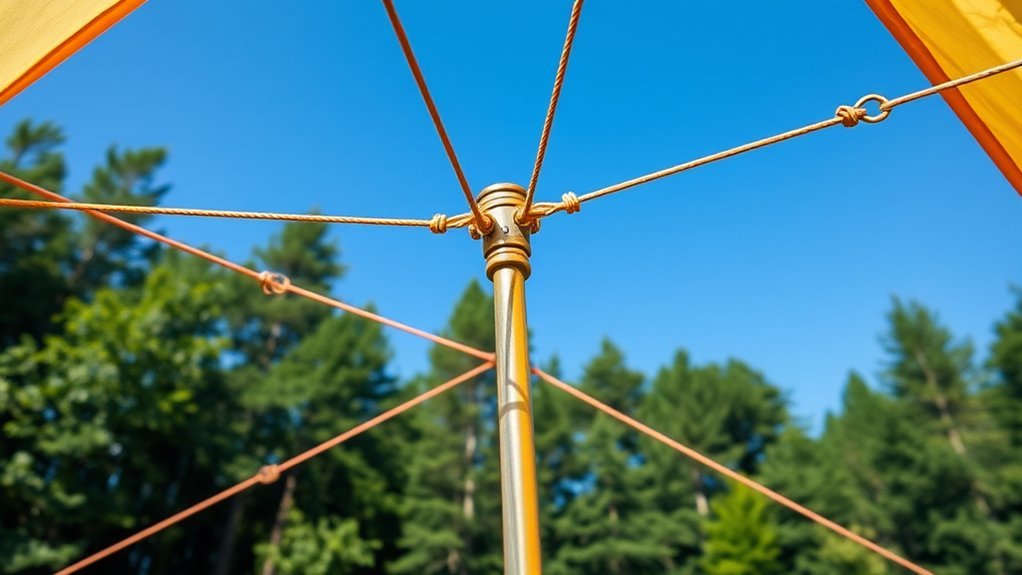
Tent guylines help the rainfly hold its shape, support the pole structure, reduce flapping, and keep wet fabric away from the inner tent. The key is not to force every line into one fixed angle. Route each guyline according to the tent’s structure, choose an anchor that suits the ground, and tighten only until the shelter is smooth, balanced, and free of visible strain.
Quick Answer
Attach each guyline to a structural guyout, route it directly outward from the supporting pole or seam, and anchor it in firm ground away from foot traffic. Tighten only until the fly is smooth and separated from the inner tent. Do not force every line or stake to 45°; follow the tent and stake maker’s instructions.
Key Takeaways
- Use the tent manual to identify structural guyout points before attaching extra cord.
- Route a guyline directly outward from the pole, seam, or panel it is intended to support.
- Stake angle is not universal; it depends on the stake design, soil, and manufacturer instructions.
- Tension the fly until it is smooth, but stop before poles, seams, corners, or doors become distorted.
- Recheck the pitch after strong wind, rain, temperature changes, or any visible sagging.
At a Glance
| Time Required | About 5–10 minutes after the main tent is pitched |
| Difficulty | Easy, with extra care needed in wind, loose ground, sand, or snow |
| Tools Needed | Tent guylines, compatible stakes or anchors, line tensioners or adjustable knots, and an optional stake mallet |
| Cost | $0 when the required cord and stakes are included; replacement cord and specialized anchors vary by tent and ground type |
Warning: Guylines improve stability, but they cannot make a tent safe in weather beyond its design rating. If poles are collapsing, anchors will not hold, flooding is possible, or severe weather threatens the site, move to safer shelter rather than relying on tighter lines.
Disclosure: As an Amazon Associate I earn from qualifying purchases. Some links on this page are affiliate links, at no extra cost to you.
Understanding the Importance of Guylines
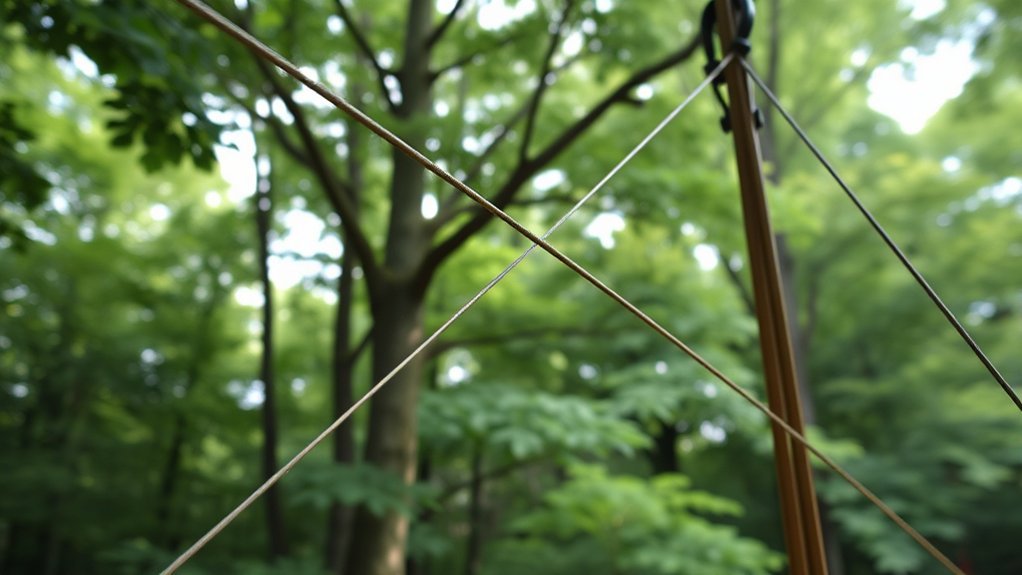
Guylines connect reinforced points on the tent or rainfly to stakes or other anchors. When they are routed correctly, they share wind loads with the poles, reduce movement, help the fly shed rain, and preserve space between the fly and inner tent.
That separation matters in damp weather. Moisture on the inside of the rainfly should be able to run down and away instead of touching the mesh or fabric below. A taut, balanced pitch also reduces noisy flapping and limits repeated stress on the same pole or seam.
Not every loop serves the same purpose. Some loops stabilize a pole-supported panel, while lower loops may stake out a vestibule, improve ventilation, or hold the fly away from the tent body. The REI tent setup guide recommends identifying the pole beneath a structural guyout and pulling the line directly outward from that support.
Before You Start
Set up the tent body, poles, rainfly, and corner stakes before applying final guyline tension. This lets you see the shelter’s intended shape and prevents one early adjustment from pulling the entire frame out of alignment.
Check the following before you begin:
- Tent instructions: Confirm which loops are structural guyout points and whether every line is needed for the expected conditions.
- Guylines: Look for cuts, fuzzing, melted areas, severe knots, or cord that no longer holds in the line-lock.
- Tensioners: Make sure each line-lock is threaded correctly and can move before it is loaded.
- Stakes: Match the stake shape and length to the soil. Carry broader anchors for sand or snow when needed.
- Site: Avoid drainage channels, unstable slopes, dead branches, sharp rocks, doorways, and heavily used walking paths.
- Campsite limits: Keep all stakes and guylines inside the assigned site. Some managed campgrounds, including Zion National Park campgrounds, specifically require the entire tent setup to remain within campsite boundaries and off vegetation.
Identifying the Correct Direction for Guylines
Direction matters more than forcing the cord into a fixed number of degrees. Start at the attachment point and identify the pole, seam, or fly panel that the line is meant to support.
For a structural guyout positioned over a pole, pull the line directly outward from that pole. When the tent design allows it, route the line approximately perpendicular to the fly panel instead of dragging it sideways along the wall. This gives the guyout a clean pull and reduces twisting stress.
Front, rear, and side guylines may point in different directions because the tent panels and pole intersections differ. Do not cross lines, route them through doorways, or pull a guyout sharply sideways unless the tent instructions show that configuration.
The best guyline direction follows the tent’s structure: directly outward from the supporting pole or seam and, where possible, perpendicular to the fly panel.
Determining the Proper Angle for Guylines and Stakes

Two separate angles are often confused during tent setup:
- Guyline direction: The direction the cord travels away from the tent when viewed from above.
- Stake insertion angle: The angle at which the stake enters the ground.
The guyline should create a direct pull from the reinforced guyout to the anchor. Avoid a nearly vertical line that pulls mostly upward on the stake, and avoid a sideways route that twists the fly or pole structure.
Stake insertion does not have one universal answer. Big Agnes describes inserting a conventional stake at about 45°, with the lower end angled toward the tent and the top angled away. In contrast, an REI report on its designers’ wind-tunnel testing says stakes were strongest when driven straight into the ground. Different stake profiles, soils, and load directions can produce different results.
Note: Follow the instructions supplied with the tent or stake. Fully seat the anchor, align the guyline with the stake’s intended load direction, and pull firmly by hand to test whether it creeps before relying on it overnight.
Choosing the Right Placement for Stability
There is no universal rule that every stake must be exactly two feet, three feet, or five feet from a tent. The correct location depends on guyline length, tent height, the intended pull direction, ground strength, campsite boundaries, and nearby walking areas.
Optimal Stake Positioning
Move the anchor outward until the line forms a clean pull from the guyout and the tensioner remains easy to reach. The stake should be far enough away that the cord is not almost vertical, but it should not extend into another campsite, a trail, a doorway, or vegetation.
In strong wind, use separate stakes for important structural guylines when the tent maker recommends them. Sharing one small stake between several heavily loaded lines can make the entire group fail if that anchor loosens.
Direction for Maximum Stability
| Guyout Location | Preferred Pull Direction | What to Check |
|---|---|---|
| Side pole guyout | Directly outward from the pole or reinforced seam | The pole remains centered and the panel does not twist |
| Front or rear structural guyout | Along the reinforced panel’s natural load direction | The fly becomes smooth without pulling the vestibule off-center |
| Windward guyout | Toward the approaching wind, while following the tent structure | The wind-facing panel and pole receive direct support |
| Ventilation or lower fly pullout | Away from the inner tent according to the manual | The fly clears the inner fabric without carrying an unintended structural load |
Avoiding Trip Hazards
Keep guylines away from doors, cooking areas, routes to vehicles, and paths between tents. Use reflective cord, reflective sleeves, or brightly colored stakes so the setup is visible under a headlamp.
Remove excess loose cord or secure it close to the tensioner. Do not leave coils on the ground where shoes can catch them. Walk around the shelter once after dark to confirm that every line can be seen and avoided.
Securing Guylines With the Right Stake Technique
Why Stake Installation Matters
A correctly routed guyline will still fail if the anchor is unsuitable or only partly inserted. Use the stake’s strongest face against the expected pull, place the hook or notch so the cord cannot slip off, and drive the stake until only the attachment area remains accessible.
Do not rely on a stake that rotates, lifts, or creeps when the line is pulled firmly. Move it to stronger ground, use a longer or broader stake, change the load direction, or switch to a different anchor method.
Using Tension Adjusters
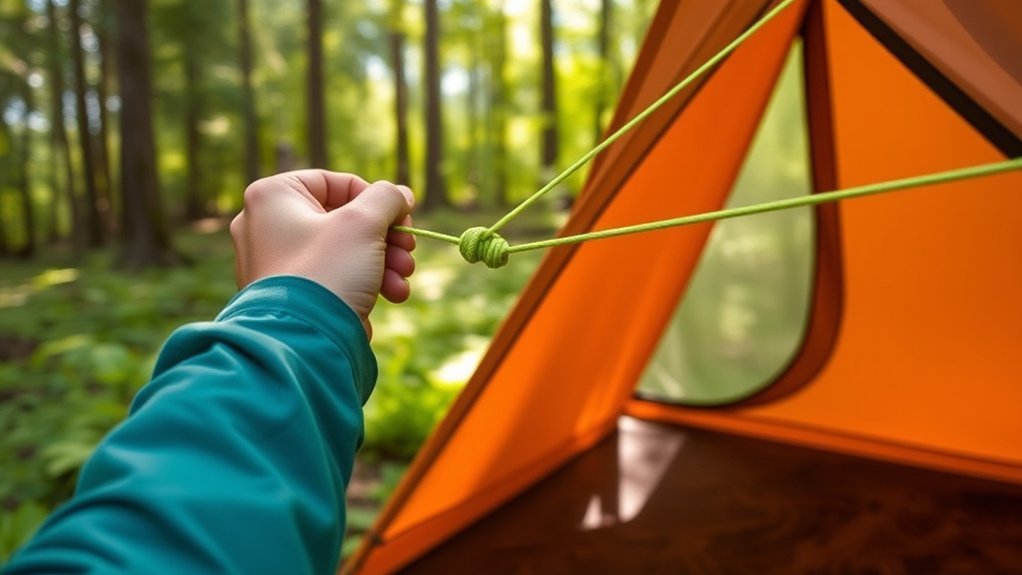
Line-locks make small adjustments quick. Start with enough slack to attach the line without pulling the tent out of shape. Once the anchor is secure, slide the tensioner until the cord is snug.
If a tensioner is missing, a fixed bowline can attach the cord to the tent, while an adjustable taut-line hitch or trucker’s hitch can control tension near the anchor. The REI setup instructions specifically recommend a bowline at the guyout and a trucker’s hitch when a tensioner is unavailable.
Test any knot on the actual cord before the trip. Very slick or narrow cord may not hold reliably in every adjustable knot.
Initial Setup Technique
- Pitch and stake the tent body according to the manufacturer’s instructions.
- Seat every pole fully and center the rainfly.
- Attach guylines to the intended structural loops.
- Route each line outward along the pole, seam, or panel it supports.
- Install suitable anchors without applying full tension yet.
- Walk around the tent and remove slack in small, even adjustments.
- Check doors, zippers, seams, pole alignment, and fly clearance before making final adjustments.
How to Tension Guylines Step by Step
- Confirm the tent is square. Corners should be positioned as the instructions show, and poles should be fully seated.
- Center the fly. Match the fly corners, doors, and vents to the tent body before tightening the guylines.
- Choose one structural guyline. Begin on the windward side when wind is present.
- Remove visible slack. Slide the line-lock or adjust the knot until the line supports the panel.
- Stop at a smooth pitch. The fly should be taut enough to resist flapping and remain separated from the inner tent.
- Adjust the opposite side. Use small changes so one line does not pull a pole or seam out of alignment.
- Inspect the whole shelter. Repeat around the tent until tension is balanced.
A properly tensioned guyline is firm but not rigid. The supported panel should be smooth, and the line may move slightly when pressed. Reduce tension if a pole bows unnaturally, a seam puckers, a corner lifts, or a door becomes difficult to zip.
Pro Tip: After the first adjustment, stand several steps away and compare both sides of the tent. Uneven pole curves, an off-center ridge, or one unusually tight panel is easier to see from a distance.
Anchoring Guylines in Different Ground Conditions
Firm Soil
Use the stakes supplied with the tent when they match the soil. Seat each stake fully, orient it for the expected pull, and test it by tensioning the line firmly. If the stake begins to move, relocate it before increasing tension.
Loose or Soft Soil
Choose a longer or broader stake with more surface area. An anchor that holds in compact soil may pull out easily after rain softens the ground. Check these stakes again after sustained rain or repeated gusts.
Hard or Rocky Ground
Do not force a lightweight stake against buried rock until it bends. Search for a nearby soil pocket while preserving the correct pull direction. Where regulations permit, a sufficiently large, stable rock can serve as an anchor. Protect the cord from sharp edges and make sure the rock cannot roll toward the tent.
Sand or Snow
Use broad stakes designed for low-density ground or bury an anchor horizontally as a deadman. The MSR Blizzard stake, for example, has a broad profile for sand and snow and can be buried as a deadman anchor.
Attach the guyline near the center of the buried object, place it perpendicular to the direction of pull, bury it deeply enough for the conditions, and compact the sand or snow over it. Allow packed snow time to firm before applying full tension.
Ground Where Stakes Are Not Allowed
Some campgrounds, platforms, and sensitive sites prohibit driving stakes. Use approved platform anchors, built-in eyelets, weighted anchors, or other methods permitted by the site manager. Never attach cord to trees, vegetation, railings, or park structures unless local rules expressly allow it.
Avoiding Common Mistakes in Guyline Setup
Incorrect Line Direction
Do not route every line diagonally simply to reach an open patch of ground. A line that pulls sideways across a panel can twist a pole, distort a vestibule, or leave the intended support point ineffective.
Move the anchor until the cord follows the natural direction of the reinforced seam or pole. If the ideal spot is blocked, lengthen the guyline or use another approved anchor rather than accepting a severe sideways pull.
Placing the Anchor Too Close
An anchor positioned almost directly below a high guyout creates a steep line that may pull upward on the stake instead of bracing the tent outward. Move the anchor farther away until the line creates a clean supporting pull.
Distance alone does not guarantee strength. A farther stake in loose soil may be weaker than a closer stake in firm ground, so evaluate both geometry and holding power.
Overly Tight Guylines
More tension is not always more secure. Stop tightening when the fly is smooth and supported. Excessive tension can:
- Bend a pole away from its intended curve
- Pucker or stretch reinforced seams
- Pull a tent corner out of position
- Make doors or vestibule zippers difficult to operate
- Concentrate wind loads on one guyout or anchor
Release a small amount of tension and rebalance the opposite side if any of these signs appear.
Troubleshooting Sagging, Slipping, and Flapping
| Problem | Likely Cause | What to Do |
|---|---|---|
| Fly still sags | Fly is off-center, corners are uneven, fabric is wet, or the wrong pullout is being used | Center the fly, square the tent, shake off pooled water, and retension the correct points |
| Stake pulls out | Loose ground, shallow insertion, unsuitable stake, or excessive upward pull | Move to firmer ground, use a broader or longer anchor, and correct the line direction |
| Line-lock slips | Incorrect threading, incompatible cord diameter, worn hardware, or contamination | Rethread it, clean and dry the cord, or use manufacturer-compatible replacement cord |
| Tent flaps in wind | Loose panel, missing structural guyline, or poor windward support | Use the designated guyout, remove slack, and add permitted windward support |
| Door is hard to zip | One side is overtightened or the tent corners are out of square | Reduce tension, reposition the corner stakes, and rebalance opposing lines |
| Fly touches the inner tent | Wet-fabric stretch, loose lower pullouts, or an uneven pitch | Retension after the fly becomes wet and restore even clearance around the tent |
Maintenance Tips for Guylines and Equipment
Inspect guylines before and after each trip. Replace cord with deep cuts, melted areas, severe abrasion, damaged reflective strands, or a reduced diameter that no longer holds in the line-lock.
Brush off dirt, rinse muddy cord with clean water when needed, and let it dry fully before storage. Check stakes for bends, cracks, damaged hooks, or burrs that could cut the cord. Confirm that line tensioners are not split and still lock under load.
Use replacement cord that matches the diameter and grip requirements of the original tensioner. The best choice is usually the cord specified by the tent manufacturer. Hilleberg’s guyline specifications, for example, emphasize strength, low stretch, low water absorption, UV resistance, and visibility rather than treating one basic fiber as universally best.
Do not apply silicone, oil, waterproofing spray, or another coating to guylines or line-locks unless the tent manufacturer specifically recommends it. A coating can change the grip between the cord, knot, and tensioner.
Store each line neatly attached to the tent or bundled separately so it cannot tangle around poles and stakes. Keep the entire shelter clean and fully dry before long-term storage.
Streamlining Your Setup Process
- Leave manufacturer-supplied guylines attached when the tent is designed for them to remain in place.
- Bundle each line separately with a loose chain, small elastic loop, or the storage method recommended by the tent maker.
- Keep extra cord, spare tensioners, and ground-specific stakes together in one labeled pouch.
- Practice threading line-locks and tying backup knots at home.
- Count stakes before leaving camp so none remain in the ground.
- Photograph a successful pitch if the tent has an unusual guyline layout.
During setup, attach all anchors loosely first and then make one balanced circuit around the shelter. This is faster and more accurate than fully tightening each line as soon as it is attached.
Preparing for Different Weather Conditions
Windy Conditions
Use the structural guyout points on the windward side first, then stabilize the rest of the tent as the manufacturer directs. Point the tent’s intended wind-facing end into the prevailing wind when the model instructions identify one.
Use separate anchors for heavily loaded guylines when possible, and recheck stakes if the wind changes direction. A secure line on one side does not protect an unsupported panel after the wind shifts.
Rainy Conditions
Do not deliberately leave the rainfly slack. Keep it smooth and adequately tensioned so water can shed and the fly remains separated from the inner tent.
Some nylon rainflies stretch after absorbing moisture. Big Agnes advises campers to shake off excess water, re-stake the tent if needed, and tighten wet, sagging guylines until the fly is taut again. Make small adjustments so you do not overtighten the fabric after it later dries and contracts.
Changing Temperatures and Frozen Ground
Temperature changes can alter fabric tension and ground firmness. Recheck the shelter before sleeping and after a major temperature drop. In freezing conditions, avoid burying hardware that cannot be removed without damaging it. Pack snow around deadman anchors and allow it to firm before loading the lines.
When to Recheck the Setup
There is no universal requirement to inspect guylines every two hours. Check them:
- After the initial pitch
- Before going to sleep
- After strong gusts or a wind-direction change
- After the rainfly becomes saturated
- When soil softens or snow warms
- Whenever a panel sags, flaps, or touches the inner tent
- Whenever a stake, knot, or line-lock visibly moves
Frequently Asked Questions
What materials are best for tent guylines?
Use the cord specified by the tent maker whenever possible. Good guyline cord is strong, abrasion resistant, easy for the line-lock to grip, and visible at night. Low-stretch polyester or blended cords work well for many tents, while extremely low-stretch high-strength cords must be tensioned carefully to avoid concentrating loads.
How can I tell if my guylines are too tight?
A guyline is too tight if it bends a pole unnaturally, puckers seams, distorts the fly, lifts a tent corner, or makes a door or zipper difficult to operate. Back off the tension until the fabric is smooth and supported without visible strain.
Can I use knots instead of line tensioners?
Yes. A bowline works for a fixed attachment at the tent, and an adjustable taut-line hitch or trucker’s hitch can control tension at the anchor. Practice the knot before the trip and confirm that it holds on the specific cord.
What should I do if my tent is still sagging?
Check that the tent corners are square, the poles are fully seated, the fly is centered, the correct guyout loops are being used, and the stakes are not creeping. Wet nylon can stretch, so shake off pooled water and retension the fly after it becomes wet.
How often should I check my guylines during use?
There is no universal two-hour schedule. Check them after pitching, before sleeping, after strong gusts or rain, and whenever the fly sags, a stake moves, or the ground softens.
Do I need to use every guyline on my tent?
Follow the tent manual. In calm weather, a basic pitch may use fewer lines, but windward and structural guyout points should be used when wind or heavy rain is expected. In severe conditions, use all manufacturer-designated points and extra anchors if the manual allows.
Should every tent stake be driven at a 45-degree angle?
No. Stake angle depends on the stake design, soil, and manufacturer instructions. Some brands recommend an angled insertion, while REI has reported stronger results with stakes driven straight down in its testing. Fully seat the stake, align the pull correctly, and test the anchor before relying on it.
Conclusion
Proper guyline tension comes from alignment, suitable anchors, and balanced adjustments—not from applying one angle or distance to every tent. Route each cord along the structure it supports, tighten until the fly is smooth without distorting the frame, and test every anchor before settling in.
Recheck the setup when wind, rain, temperature, or ground conditions change. A final walk around the tent should confirm that the poles are aligned, doors work normally, the fly clears the inner tent, stakes remain firm, and every line is visible and outside normal walking paths.
Sources
- REI Co-op: How to Set Up a Tent — structural guyout identification, guyline direction, tensioners, and backup knots
- REI Co-op: Common Camping Setup Mistakes — wind-tunnel observations about stake insertion and perpendicular guyline support
- Big Agnes: Tent Setup and Rain Guidance — guyline use, angled stake guidance, taut rainflies, and wet-weather retensioning
- Hilleberg: Guy Line and Line Runner Specifications — cord strength, stretch, water absorption, visibility, and line-runner compatibility
- MSR: Blizzard Tent Stakes — broad anchors and deadman use in sand and snow
- National Park Service: Zion Camping Regulations — campsite boundaries, vegetation protection, and placement of tents, stakes, and guylines
