Last Updated on August 22, 2026 by Caleb Warren
To service your electric scooter, clean it with a damp cloth and mild soap, then dry it fully. Check tire pressure before every ride and inspect for cuts or wear. Test the brakes for firm, smooth stopping and replace pads at 3 mm or less. Charge the battery before it drops too low, and store it at 60–70% charge. Check fastener torque against your owner’s manual and lubricate moving parts monthly; more detail follows below.
Quick Answer
Electric scooter maintenance means cleaning the frame monthly, checking tire pressure and tread before every ride, replacing brake pads at 3 mm thickness, keeping the battery between 20–80% charge day-to-day (60–70% for storage), and checking fastener torque and lubricating moving parts monthly. Together these habits prevent most mechanical failures.
Key Takeaways
- Inspect tires, brakes, and fasteners before every ride — this is the single most effective habit for avoiding mechanical failure.
- Replace brake pads once they reach 3 mm thickness, including the metal backing plate.
- Avoid draining the battery to zero; recharge around 20–30% remaining and store at 60–70% charge if parking the scooter for weeks.
- Never guess at fastener torque — check your owner’s manual, since specs vary by model and component.
- Clean and lubricate monthly, and know when an issue (motor noise, battery swelling, brake grinding) needs a professional instead of a DIY fix.
At a Glance
| Time Required | 10–15 minutes daily/weekly checks; 30–45 minutes for the monthly service |
| Difficulty | Beginner-friendly for cleaning, tire, and battery checks; brake pad and torque work is intermediate |
| Tools Needed | Tire pressure gauge, torque wrench or Allen key set matching your model, caliper (for pad thickness), silicone lubricant, damp cloth, mild soap |
| Cost | Routine maintenance is largely free with basic tools; replacement brake pads typically run $10–$25 a set |
Disclosure: As an Amazon Associate I earn from qualifying purchases. Some links on this page are affiliate links, at no extra cost to you.
Why E-Scooter Maintenance Matters
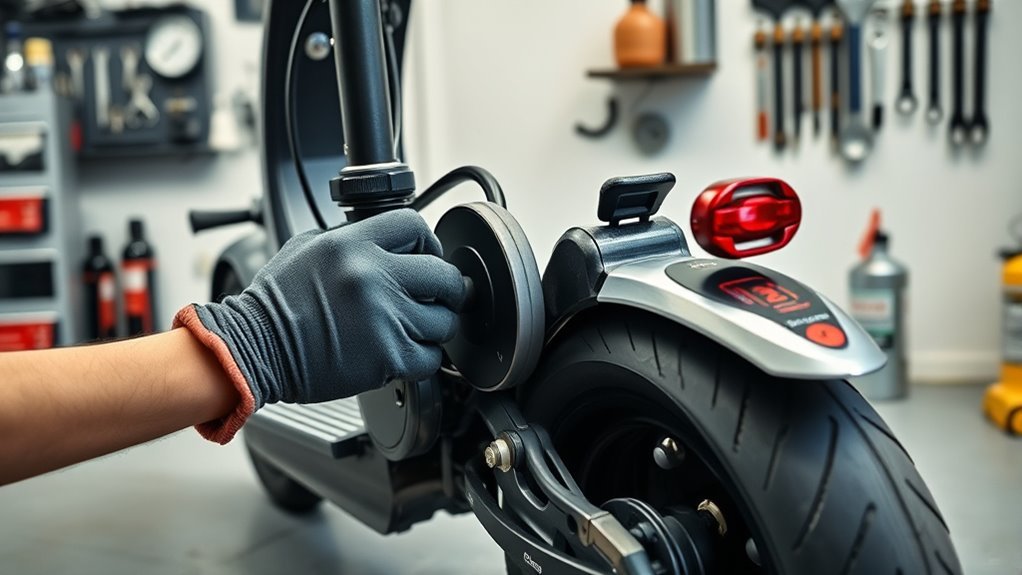
Regular electric scooter maintenance matters because it directly reduces the risk of accidents caused by mechanical failure, from loose hardware to worn brakes and battery problems. The U.S. Consumer Product Safety Commission specifically recommends that riders routinely check all nuts and bolts to be sure they are secure and test brakes before riding, since damage to the scooter can cause loss of control. You protect yourself and others when you inspect fasteners, test braking response, and watch for battery irregularities. Monthly checks give you early warning, so you can fix small faults before they become dangerous or expensive. Tightening loose hardware and lubricating moving parts preserves smooth operation and lowers wear, which delivers cost savings over time. When you maintain your scooter proactively, you extend its service life and keep control in your hands — fewer breakdowns and less downtime.
Micromobility injury data shows that rider falls, not collisions, cause the large majority of e-scooter injuries — and a mechanical fault you could have caught in a two-minute pre-ride check is one of the most preventable causes.
Clean Your Electric Scooter
Start by wiping down the deck, handlebars, and frame with a damp cloth and mild soap to remove dirt and grime without exposing electrical components to excess moisture. This deck cleaning routine keeps your scooter responsive and presentable without risking damage. Use only a damp cloth, never high-pressure water, so moisture can’t invade sensitive areas around the battery compartment and display. Focus on grime removal around joints, seams, and controls where buildup hides wear. Check the wheels for trapped debris and clear it away so they rotate freely and don’t grind down parts. After cleaning, dry every surface thoroughly with a clean cloth, especially near wiring and fasteners, to prevent rust and moisture-related electrical faults. Consistent cleaning also gives you a clear view of scuffs, cracks, or loose hardware, letting you act early.
Note: If your scooter has an IP rating for water resistance, that rating covers rain splashes during a ride — it does not mean the scooter can be hosed down or submerged. Wipe it dry immediately after riding in wet conditions, and avoid charging a scooter that’s still damp.
Check Tires and Tire Pressure
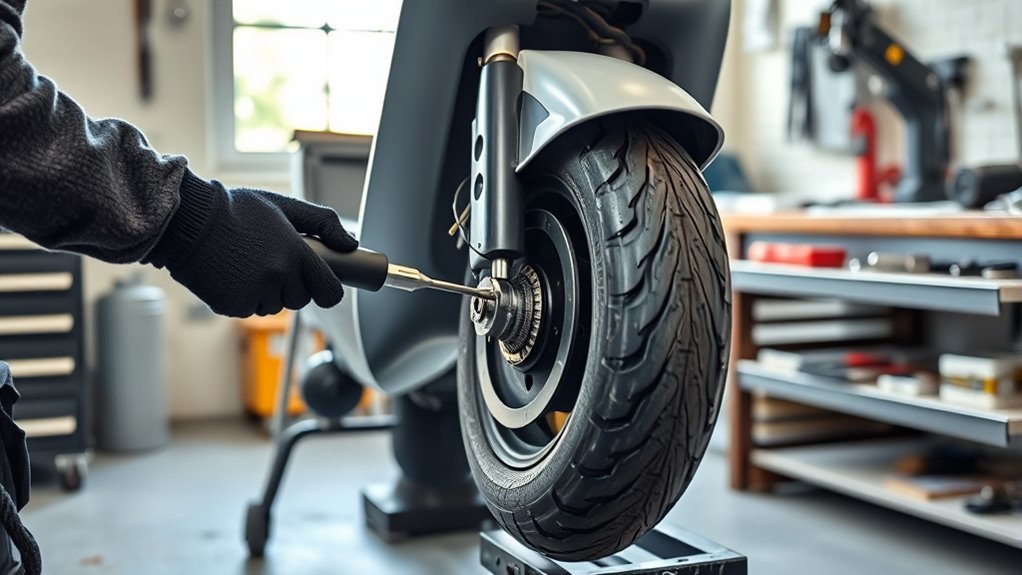
Check your tires before each ride with a pressure gauge and adjust them to the PSI listed on the tire sidewall or in your user manual. Correct tire pressure keeps your scooter efficient, smooth, and responsive, and it reduces rolling resistance so you waste less energy. During each tire inspection, look closely for cuts, cracks, embedded debris, bulges, or punctures. If you find damage, replace the tire before you ride. Also check tread depth; worn tread cuts traction and weakens control, especially on wet pavement. Verify that both wheels sit straight and spin evenly, because misalignment can cause uneven wear and degrade handling. Keep tires inflated to the recommended pressure to prevent premature wear and maintain stable performance.
Pro Tip: Check tire pressure when tires are cold, before the scooter has been ridden, since heat from riding temporarily raises the reading and can mask under-inflation.
Check Your Brakes Before Riding
Before every ride, test your brakes at low speed to confirm they engage smoothly and slow the scooter effectively. Inspect the brake pads and replace them once thickness reaches 3 mm, including the metal backing plate — this is the standard replacement threshold used across disc-brake systems, from bicycles to e-scooters, per REI’s expert brake guide. Check the levers and cables for smooth engagement, excess play, fraying, or damage, and adjust or service any component that doesn’t respond correctly.
Brake Responsiveness Check
Tap the brake levers and verify that your scooter slows promptly and smoothly, with no lag or sponginess in response. If braking feels weak, use your manual’s brake adjustment instructions to set proper tension so the system engages firmly. While testing, apply steady pressure and confirm the scooter stops in a controlled, predictable way. Listen closely for squeaking, grinding, or other odd sounds — those noises signal friction or alignment issues that need immediate attention. A responsive brake system gives you command and protects your margin for error. Make this check part of your routine before every trip.
Pad Wear Inspection
Inspect your brake pads regularly, and once they measure 3 mm thick or less, replace them right away to preserve stopping power. Measure pad thickness with a caliper, then examine both sides for uneven wear that signals misalignment. During braking, listen for grinding noises; they mean the pad may be contacting metal and needs immediate service.
| Check | Action |
|---|---|
| Pad thickness | Replace at 3 mm or less |
| Wear pattern | Note uneven wear |
| Sound | Investigate grinding noises |
| Cables | Keep brake cable tight and intact |
These checks help you catch damage early, sustain braking efficiency, and avoid preventable failures.
Lever And Cable Test
Check the brake lever for smooth, immediate response; it should engage the brakes without extra force or delay. If the lever feels vague, inspect the cable path and make cable adjustments per your manual.
- Check cables for fraying, corrosion, or kinks.
- Confirm pad thickness stays above 3 mm.
- Test braking in a safe area at different speeds.
Apply the brakes firmly and listen for scraping, grinding, or other unusual noises. Any visible cable damage can weaken stopping power. Replace worn pads before they fail, and use the manufacturer’s instructions rather than guessing at adjustment settings, since improper tension can reduce control.
Warning: Never ride a scooter with brakes that feel spongy, delayed, or noticeably weaker than usual. Stop, inspect the pads and cables, and don’t ride again until braking is firm and predictable.
Care For Your Scooter Battery
To keep your electric scooter battery working efficiently, avoid regularly draining it to zero, since full discharge reduces both lifespan and performance. Instead, recharge when it’s around 20–30% remaining rather than waiting until it’s nearly dead. Treat your battery like a critical power system, not a disposable cell. Follow the manufacturer’s charging practices: use the correct charger, stop charging when it’s full, and unplug it promptly to prevent overcharging. If you won’t ride for weeks, store the scooter with the battery at about 60–70% charge — a level several manufacturers and battery-chemistry guidance point to as healthier than a full or empty pack, since lithium-ion cells are most chemically stable in roughly the 40–70% state-of-charge range. Keep storage temperatures moderate, ideally between 10°C and 30°C (50°F–86°F), because heat and cold both stress capacity and longevity. Inspect the battery case regularly for swelling, cracks, or leakage. If you see damage, stop using the scooter and get it checked immediately.
Note: Torque specs, charge percentages, and temperature ranges can vary by manufacturer and battery chemistry. Always check your owner’s manual for the exact numbers for your model — the figures here are common industry guidance, not a universal spec.
Lubricate Moving Parts
Keep the scooter’s moving parts lubricated to reduce friction and slow wear, especially at the folding mechanism and bearings. First, inspect and clean each joint, hinge, and bearing so grit can’t cut into surfaces. Then apply lubricant sparingly; excess only traps dirt and grime.
- Use silicone-based lubricant for exposed pivots and folding hardware.
- Choose light machine oil for bearings when the manufacturer allows it.
- Avoid heavy sprays like WD-40 as your primary lubricant.
These lubricant types minimize dirt attraction and keep motion smooth. Wipe away any excess immediately, then cycle the mechanism to distribute the film evenly. Make this a monthly maintenance check so you catch stiffness before it becomes failure.
Check the Motor and Electrical Connections
Once a month, take a moment to look over the parts you can’t clean or lubricate: the motor housing, wiring harnesses, and connector plugs. Look for loose connectors, frayed insulation, or corrosion where cables meet the frame, and listen for new grinding, whining, or clicking sounds from the motor while riding at low speed. Minor dust on the motor housing is normal; visible corrosion, a burning smell, or a motor that cuts out intermittently are not, and are signs to stop riding and have the scooter inspected. Electrical and motor repairs sit outside most riders’ DIY comfort zone and often involve the battery pack, so unless you’re trained to work on it safely, this is the point to take the scooter to a qualified repair shop rather than opening the motor housing yourself.
Follow a Scooter Maintenance Schedule
You should check your scooter daily and weekly for tire pressure, loose fasteners, and visible wear so you can catch problems early. Each month, verify fastener torque against your owner’s manual and inspect the battery, keeping it at 60–70% charge when stored. This routine helps you maintain safety, reduce wear, and extend component life.
Daily And Weekly Checks
Daily and weekly checks help catch small issues before they turn into costly repairs or safety hazards. Your daily tire inspection should confirm pressure matches the manufacturer’s spec, so you keep control, range, and efficiency. Build a weekly cleaning habit to wipe the frame, deck, and joints with a damp cloth and mild soap; dirt buildup can grind down parts fast.
- Inspect brakes for firm, immediate response.
- Check that handlebar, stem, and folding-mechanism screws are snug — refer to your manual for exact torque if you’re using a torque wrench.
- Lubricate the folding mechanism and bearings with silicone-based lubricant.
If you feel looseness, hear scraping, or notice weak stopping power, fix it right away. These quick tasks keep your scooter reliable and reduce wear.
Monthly Service Routine
Once a month, run a full service check to catch wear before it affects performance. Verify all screws and bolts against your manual’s torque spec — folding-mechanism and stem bolts commonly fall in the 15–25 N·m range on many consumer scooters, but this varies by model, so don’t apply a single number across every fastener. Check tire pressure against the maker’s spec; correct inflation improves efficiency and reduces wear. Inspect brake response and adjust if needed. Clean the deck, handlebars, and frame with a damp cloth and mild soap to cut grit and friction, and give the motor housing and connectors a visual check.
| Task | Monthly action |
|---|---|
| Fasteners | Verify torque against manual |
| Tires | Set pressure |
| Brakes | Test and adjust |
| Motor/wiring | Visual and sound check |
This routine protects safety features and keeps your ride precise, responsive, and reliable.
Frequently Asked Questions
What maintenance do electric scooters need?
Regular fastener checks, lubrication, frame and tire inspections, battery care, brake tests, and gentle cleaning. Keep tires inflated to spec, store the battery at 60–70% charge, and replace brake pads once they reach 3 mm.
What is the most common problem with electric scooters?
Battery issues and tire punctures are the most frequently reported problems. Watch your charge cycles, storage habits, and tire pressure closely, since these three factors drive most preventable failures.
Are scooters good for autistic kids?
Scooters can support independence, motor-skill development, and calming repetitive movement for some autistic children, when matched to their needs and abilities. Choose a model with a speed limiter and sturdy, responsive brakes, and always pair riding with a properly fitted helmet.
Can you use WD-40 on an electric scooter?
Not as a primary lubricant. WD-40 works fine for cleaning off grime, but it doesn’t provide lasting lubrication and can attract dirt over time. Use a silicone-based lubricant on moving parts instead, and keep any spray well away from electronics and the battery compartment.
Do I need any special tools to maintain my scooter at home?
Most routine maintenance only needs a tire pressure gauge, an Allen key or torque wrench matching your scooter’s fasteners, a caliper for checking brake pad thickness, and silicone lubricant. Motor or electrical work is best left to a qualified repair shop.
Conclusion
By keeping up with basic e-scooter maintenance, you extend your scooter’s lifespan and keep it safer to ride. Clean it, check tire pressure, test the brakes, protect the battery, lubricate moving parts, and give the motor and wiring a monthly once-over before small issues snowball into expensive repairs — or dangerous failures. Follow a regular maintenance schedule and check your manual for model-specific specs, and you’ll ride smoother, safer, and with far fewer surprises.
Sources
- U.S. Consumer Product Safety Commission — Electric-Powered Scooters Safety Alert — pre-ride checks for handlebars, brakes, and fasteners
- REI Expert Advice — Bike Disc Brake Care — the 3 mm brake pad replacement threshold
- Large Battery — Optimal SOC for Lithium-Ion Battery Storage — recommended state-of-charge range for storing lithium-ion battery packs
- Fluid Free Ride — Electric Scooter Battery Guide — charging habits and storage temperature guidance for scooter batteries