
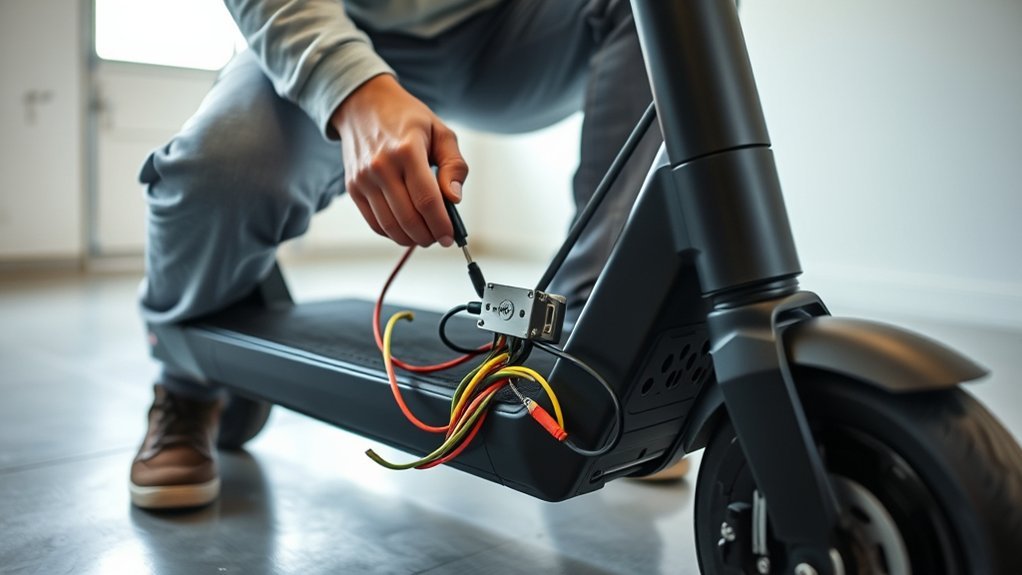
Last Updated on August 26, 2026 by Caleb Warren
Resetting an electric scooter controller is not a one-size-fits-all procedure. Some scooters offer a factory reset through the display or app, some use a specific brake-throttle-power button combination, and others have no user-accessible controller reset at all. Start by identifying your exact scooter model and checking its manual or manufacturer support page before disconnecting the battery or opening the deck.
Quick Answer
To reset an electric scooter controller safely, turn the scooter off and unplug the charger, then check the official instructions for your exact model. Use its documented app, menu, or button-sequence reset. Do not open the battery compartment or disconnect internal battery wiring unless the manufacturer specifically instructs you to do so.
Key Takeaways
- There is no universal electric scooter controller reset procedure.
- Check the exact model and error code before clearing settings or opening the scooter.
- Use manufacturer-documented app, menu, or button-combination resets first.
- Do not assume your scooter has a physical reset button near the charging port.
- Only disconnect an internal battery if the manufacturer specifically describes that procedure for user service.
- Stop troubleshooting if the battery is swollen, leaking, unusually hot, burned, smoking, or badly water-damaged.
At a Glance
| Time Required | About 5–15 minutes for basic checks and a documented software/button reset |
| Difficulty | Easy for app/menu resets; technician-level if internal battery or controller access is required |
| Tools Needed | Usually none; smartphone if the manufacturer app is required |
| Cost | Usually free for a reset; repair costs apply if a component has failed |
Disclosure: As an Amazon Associate I earn from qualifying purchases. Some links on this page are affiliate links, at no extra cost to you.
How Do You Reset an Electric Scooter Controller?
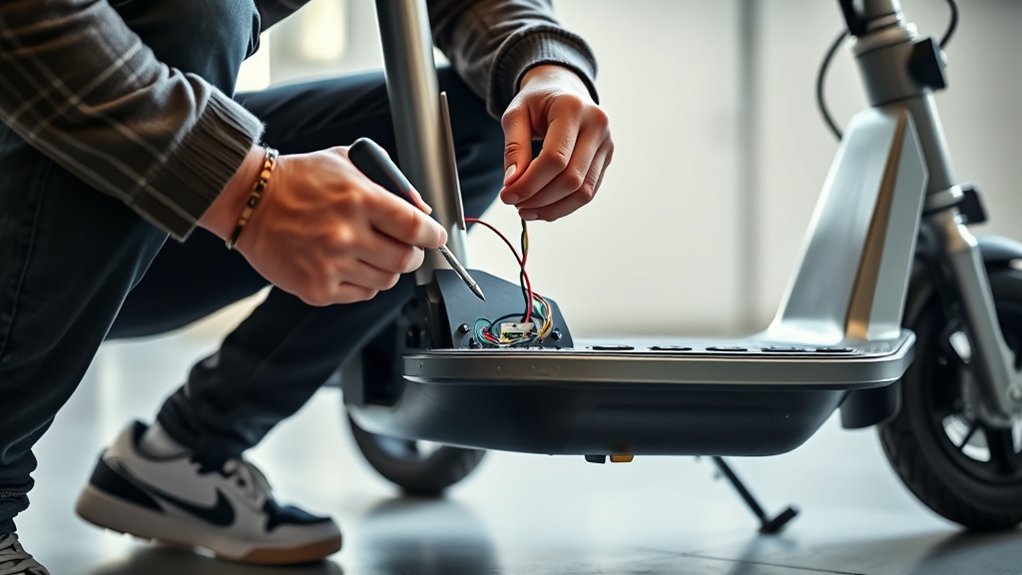
Start with the least invasive method. Identify the scooter’s exact model, note any error code on the display or app, and check the manufacturer’s instructions before changing anything. A controller-related symptom does not automatically mean the controller itself needs to be reset.
Depending on the scooter, the manufacturer may provide one of several procedures:
- A normal power-off and restart.
- A reset or restore option in the companion app.
- A factory-reset option in the dashboard menu.
- A model-specific combination of the brake, throttle, power button, or other controls.
- A service procedure intended for an authorized technician.
For example, Xiaomi documents a factory-reset procedure for the Electric Scooter 4 Pro (2nd Gen) in which the scooter is switched on and the rider holds the brake lever, accelerator, and power button together for seven seconds. That is an example of why generic instructions such as “turn it off and hold the reset button” cannot safely be applied to every scooter.
Note: A factory reset may erase saved settings, pairing information, passwords, ride preferences, or other stored data. Read the manufacturer’s description before confirming it.
Controller Reset vs. Factory Reset vs. App Reset
The word reset can describe several different actions, so determine what you are actually trying to fix before proceeding.
| Type | What It Does | Typical Use |
|---|---|---|
| Restart / reboot | Turns the scooter electronics off and back on | Temporary display or communication glitch |
| Factory reset | Returns supported settings to their defaults | Pairing problems, forgotten settings, or manufacturer-directed troubleshooting |
| Bluetooth/app reset | Resets wireless pairing or app-related configuration | Phone cannot connect to the scooter |
| Battery/BMS protection recovery | Depends on the battery system and fault condition | Only according to manufacturer battery/service instructions |
A factory reset also does not repair burned components, broken wires, water damage, a failed throttle, a damaged motor, a defective battery, or a failed controller. Those faults need diagnosis and repair.
Safety Checks Before Resetting the Controller
Before troubleshooting, place the scooter on a stable surface, stop riding it, disconnect the charger, and inspect it for obvious damage. For procedures that require the scooter to be off, wait until the display is completely dark. If the manufacturer specifically requires the scooter to remain on for a documented reset sequence, follow that instruction instead.
Warning: Do not open, unplug, probe, charge, or continue riding a lithium-ion battery that is swollen, leaking, smoking, unusually hot, burned, making unusual popping or hissing sounds, or showing severe impact or water damage. Move away from the device if it is smoking or burning and contact emergency services when appropriate. Use manufacturer-approved repair or battery-recycling channels.
The U.S. Consumer Product Safety Commission recommends following manufacturer charging instructions, using the manufacturer-supplied or approved charger, and using only approved replacement battery packs. It also warns against batteries modified or reworked by unqualified personnel.
Power Off First
For ordinary inspection or service preparation, turn the scooter off and unplug the charger. This reduces the chance of the motor activating unexpectedly while you inspect cables, the throttle, brakes, or external connectors.
Before resetting anything, record custom ride settings that you may want to restore later. If the scooter is under warranty, check the manufacturer’s service requirements before opening the deck or removing tamper-resistant seals.
Remove Charger Connection
Disconnect the charger before performing ordinary troubleshooting unless the manufacturer specifically instructs otherwise. Then inspect only the parts that can be checked safely without opening the battery pack.
- Confirm the charging plug is fully removed.
- Inspect the charging port for dirt, corrosion, looseness, or visible damage.
- Look for damaged external cables.
- Check for impact or water damage.
- Do not insert metal tools into the charging port or electrical connectors.
Which Scooter Controller Reset Method Should You Use?
Use the method specifically documented for your scooter’s exact model. Start with software and normal controls before considering anything that requires opening the scooter.
Physical Reset Options
Do not assume your scooter has a recessed physical reset button. Some scooters use control combinations, while others rely on an app, dashboard menu, or service software.
If your manual identifies a dedicated reset switch, follow its specified location, scooter power state, hold time, and confirmation signal exactly. Do not push unidentified holes or switches with a paperclip because they may be unrelated service openings, microphones, fasteners, or components.
Pro Tip: Search the manufacturer’s support site using the complete model name plus the exact error code shown on the dashboard. An error-code explanation is usually more useful than resetting the scooter blindly.
Software Reset Paths
If your scooter has a companion app or dashboard settings menu, check there before opening the scooter. Depending on the model, the app may provide pairing, firmware, calibration, lock, password, or factory-reset functions.
| Method | Access | Best Use |
|---|---|---|
| App reset | Manufacturer phone app | Supported settings, pairing, or factory reset |
| Dashboard/menu reset | Scooter display controls | Models with an onboard settings menu |
| Button combination | Brake, throttle and/or power controls | Only when specified by the manufacturer |
| Service procedure | Authorized service documentation/tools | Hardware or persistent electronic faults |
If an app cannot connect, first restart the phone and scooter, confirm Bluetooth permissions, check that you are using the correct manufacturer app, and follow the model’s official re-pairing instructions. Do not install unofficial firmware merely to clear an error.
Battery Power Cycle
A battery disconnection is sometimes described online as a “hard reset,” but it is not a universal consumer procedure. Many modern scooters have sealed decks, high-current connectors, battery-management electronics, weather seals, and warranty restrictions.
Only disconnect an internal battery when the official manual or manufacturer service instructions explicitly say the owner may do so and explain the correct procedure. Otherwise, use an authorized service center.
Never guess connector identity by wire or plug color. There is no universal “yellow battery connector” across electric scooters.
How Do You Reset the Scooter Controller Step by Step?
- Identify the exact scooter. Find the brand, complete model name, and if available the hardware or regional variant.
- Write down the error code. Photograph the display or app message before clearing anything.
- Check the manufacturer documentation. Look for the error-code explanation, restart procedure, factory reset, Bluetooth reset, or calibration instructions.
- Stop and inspect the scooter. Unless the official reset requires otherwise, switch it off, unplug the charger, and check for visible damage.
- Try a normal restart first. Turn the scooter back on and see whether the problem returns.
- Use the documented reset method. Follow the exact app, menu, or button sequence for that model.
- Reconfigure erased settings. Re-pair the app and restore safe manufacturer-supported settings if the reset removed them.
- Test while stationary. Check the display, lights, brake activation, and error messages before riding.
- Perform a cautious low-speed test. In a safe area, verify smooth acceleration and predictable braking before returning to normal use.
A successful reset can clear a software or configuration problem, but it cannot repair damaged wiring, failed sensors, a defective battery, or burned controller electronics.
When Should You Not Reset an Electric Scooter?
Do not keep resetting the scooter when there are signs of a physical or safety-critical fault. Stop using it and seek manufacturer or qualified repair support if you notice:
- A swollen, leaking, smoking, burned, or unusually hot battery.
- A burning smell, melted connector, or discolored wiring.
- Repeated shutdowns accompanied by excessive heat.
- Unexpected acceleration that continues after releasing the throttle.
- Brakes that fail, engage unpredictably, or generate recurring electronic errors.
- Major water intrusion or flooding.
- A cracked battery enclosure or severe impact damage.
- An error code that the manufacturer identifies as requiring service.
Electrical-system safety matters because the battery, charger, BMS, wiring, controller, and motor operate as an interconnected system. UL Solutions explains that ANSI/CAN/UL 2272 evaluates electrical systems in personal e-mobility devices such as e-scooters, including battery and drivetrain-related safety requirements.
If the Reset Still Doesn’t Fix It
If the same problem returns immediately after the correct reset, the fault may be hardware-related rather than a temporary software problem. Start with non-invasive checks.
- Record the recurring error code.
- Inspect accessible cables for cuts, pinching, corrosion, or looseness.
- Check the throttle for physical damage or sticking.
- Check brake levers and brake sensors for obvious damage.
- Verify that the dashboard powers up normally.
- Confirm the charger and battery behavior match the manufacturer’s instructions.
- Check the manufacturer’s support portal for the exact error code.
Do not install a random replacement controller for testing. Electric scooter controllers can differ in battery voltage, motor phase configuration, current limits, connectors, dashboard communication protocol, firmware, braking system, lighting circuits, and sensor support.
If replacement testing is needed, it should use a part confirmed compatible with the exact scooter model. Manufacturer service channels such as the Segway support portal provide model-specific manuals, repair information, and service resources.
How Do You Reset the Battery and BMS?
A scooter’s Battery Management System (BMS) monitors and protects the battery pack, but there is no universal BMS reset procedure. Protection behavior varies by battery design and manufacturer.
If the battery appears unresponsive:
- Turn the scooter off.
- Use only the manufacturer-approved charger.
- Inspect the external charging port and charger cable for visible damage.
- Check the manual for charging-temperature limits and battery error codes.
- Allow an overheated or very cold battery to return to the manufacturer’s permitted charging-temperature range before charging.
- Follow any documented manufacturer recovery or service procedure.
Do not short battery terminals, bridge connectors, bypass the BMS, apply an external voltage directly to the pack, or open a lithium-ion battery to “wake it up.” Those actions can create fire, electrical, and cell-damage risks.
If the battery remains dead or will not charge after the approved checks, contact the manufacturer or a qualified battery service provider. Use only a replacement battery confirmed by the scooter manufacturer as suitable for that model. CPSC also advises consumers not to use battery packs modified or reworked by unqualified personnel.
Do not salvage individual lithium-ion cells from a failed scooter battery for reuse. A damaged or internally compromised cell may appear normal while still presenting a serious risk. Follow local rules for damaged lithium-ion battery disposal and recycling instead of placing the battery in household trash or ordinary recycling.
Repair or Replace the Scooter Controller?
If the scooter continues showing a controller-related fault after you have followed its official troubleshooting procedure, professional diagnosis can determine whether the controller, wiring, dashboard, motor, throttle, brake sensor, battery, or communication system is responsible.
Consider these points before replacing the controller:
- Verify that the error code actually identifies a controller fault.
- Inspect accessible wiring and connectors for obvious external damage.
- Check whether the scooter is still under warranty.
- Use the manufacturer’s exact replacement part number where available.
- Confirm voltage, current, motor, display, connector, firmware, and communication compatibility.
- Avoid soldering or modifying battery/controller wiring unless you have appropriate electrical repair training.
A controller that contains burned components, severe corrosion, melted connectors, or repeat internal faults usually needs replacement rather than repeated resets. If the controller enclosure must be opened for diagnosis, use an authorized service center or technician familiar with that model.
Frequently Asked Questions
How do I reset my electric scooter controller?
Find the exact model and check its official manual or manufacturer support page. Start with a normal restart, then use the documented app, dashboard, or button-combination reset if one exists. Do not assume your scooter uses the same procedure as another brand or model.
How do I force reset an electric scooter controller?
There is no universal “force reset.” Some manufacturers provide a factory-reset button sequence, while others use an app or service procedure. Avoid disconnecting internal battery wiring unless the official instructions specifically authorize that procedure for your model.
How can I tell if an electric scooter controller is bad?
Possible signs include a controller-specific error code, loss of motor drive despite a healthy battery, intermittent power delivery, or visible heat damage. However, throttle, brake-sensor, dashboard, motor, wiring, battery, and BMS faults can cause similar symptoms, so use the manufacturer’s diagnostic information before replacing the controller.
Where is the reset button on an electric scooter?
Many electric scooters do not have a dedicated user-accessible reset button. Reset controls vary by model and may instead use an app, dashboard menu, or combination of the brake, throttle, and power controls. Check your model’s official documentation rather than probing unidentified openings.
Will resetting the controller clear an error code?
It may clear a temporary software or communication fault, but an error caused by failed hardware will usually return. Record the code before resetting so you can look up its meaning in the manufacturer’s troubleshooting documentation.
Can disconnecting the battery reset an electric scooter?
Removing power may reboot electronics on some designs, but battery disconnection is not a universal owner-level reset method. On sealed scooters it can expose high-current electrical connections and compromise seals or warranty coverage. Only do it when the manufacturer provides an appropriate procedure for your model.
Conclusion
The safest way to reset an electric scooter controller is to use the procedure specified for the exact scooter model rather than relying on a generic reset button, wire color, or battery-disconnection trick. Record error codes first, try the least invasive restart or manufacturer-supported reset, and test the throttle, brakes, display, and lights before returning to normal riding.
If the same error comes back, treat it as a diagnostic clue rather than repeatedly resetting the scooter. Battery, BMS, throttle, brake-sensor, wiring, dashboard, motor, and controller faults can produce similar symptoms. Stop using the scooter immediately if you see battery swelling, smoke, unusual heat, melted wiring, or other signs of electrical damage, and use qualified service.
Sources
- Xiaomi Support — Electric Scooter 4 Pro (2nd Gen) factory reset — confirms a model-specific brake, accelerator, and power-button reset sequence.
- U.S. Consumer Product Safety Commission — Micromobility Safety — battery, charger, replacement-pack, charging, and fire-safety guidance.
- UL Solutions — Personal e-Mobility Testing and Certification — explains UL 2272 electrical-system safety coverage for personal e-mobility devices.
- Segway Service and Support — manufacturer manuals, FAQs, repair resources, error-code help, and model-specific service information.
- CPSC — 2026 Proposed Micromobility Lithium-Ion Battery Safety Standard — current safety and regulatory context for lithium-ion micromobility systems.
