Last Updated on August 22, 2026 by Caleb Warren
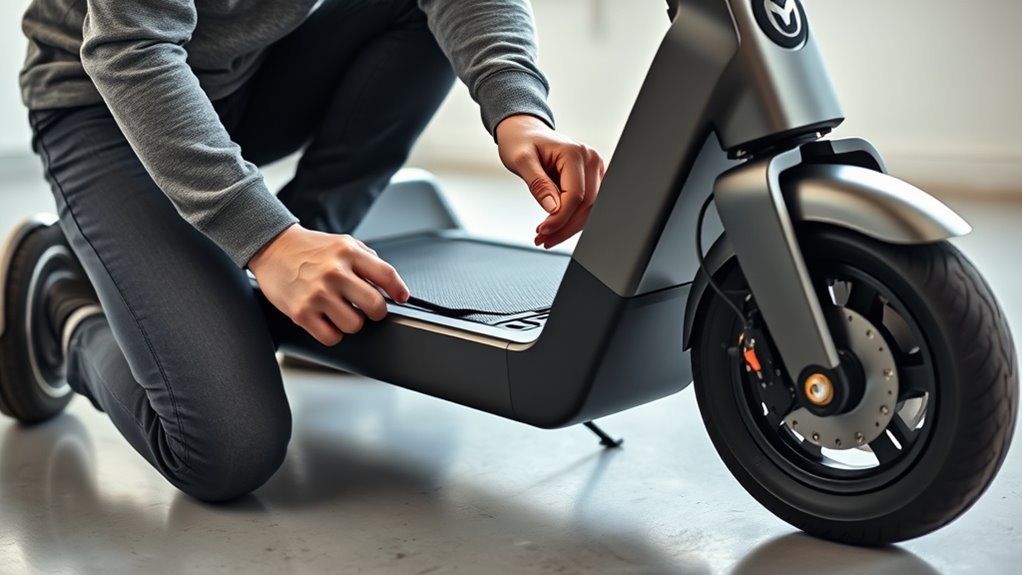
To reset an electric scooter battery, turn the scooter off completely and wait at least 30 seconds. If your model has a reset button, press and hold it for 10 to 15 seconds — or use the correct button combination for your brand. If it doesn’t have one, you can disconnect and reconnect the battery terminals if they’re user-accessible, following the manufacturer’s sequence. Afterward, charge the battery to 100% in one uninterrupted session so the fuel gauge can recalibrate. If the reset fails, check connections, error codes, and battery health before deciding whether the pack needs replacing.
Quick Answer
Power the scooter off, wait 30 seconds, then hold the reset button (or your model’s button combo) for 10–15 seconds. If there’s no button, follow your manual’s terminal-reconnection steps. Then charge to 100% in one session to let the fuel gauge recalibrate. A reset clears soft glitches and pairing errors — it can’t restore a physically worn-out battery.
Key Takeaways
- A “reset” usually clears Bluetooth pairing and stored error codes — it doesn’t repair a chemically degraded battery.
- Charging fully in one uninterrupted session helps the fuel gauge relearn true capacity, which is what actually fixes many “won’t charge to 100%” readings.
- Reset button locations and combinations vary by brand — always check your manual before opening any panel.
- Never attempt to open or reset a battery that’s swollen, punctured, or hot to the touch; that’s a safety issue, not a reset issue.
- Lithium-ion packs typically last 300–500 full charge cycles before capacity drops to about 80%, and keeping charge between 20–80% can extend that.
Disclosure: As an Amazon Associate I earn from qualifying purchases. Some links on this page are affiliate links, at no extra cost to you.
Why Reset Your Electric Scooter Battery
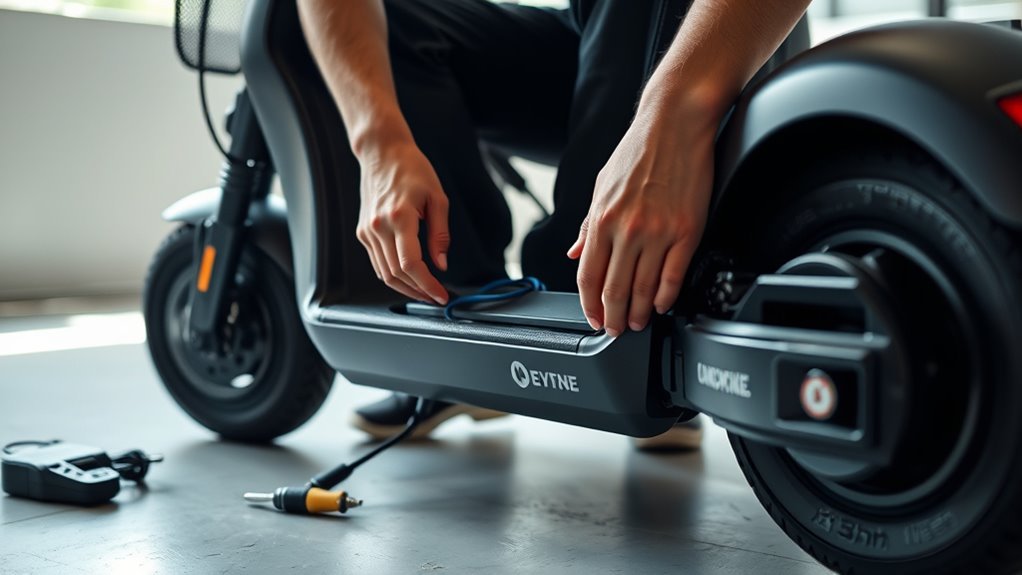
If your scooter starts showing inconsistent power delivery, won’t charge fully, or suddenly drops voltage, a reset is worth trying before you assume the battery is failing. Most consumer scooters don’t give riders direct access to the internal Battery Management System (BMS) chip itself. What riders call a “reset” is usually one of three different things: a simple power cycle, a factory/Bluetooth reset that clears pairing data and stored fault codes, or a full charge cycle that lets the battery’s fuel gauge relearn its true capacity. Doing one of these can clear temporary glitches and cached controller data that make performance look worse than it is.
You should treat resets as practical maintenance, not a cure-all. Regular full-charge cycles can help you get the most out of your pack before lithium-ion cells naturally lose capacity, which manufacturers generally rate at 300 to 500 full discharge/charge cycles before capacity falls to around 80%. That means a reset protects against confusing software glitches with real wear — but it won’t undo the wear itself once it’s happened.
At a Glance
| Time Required | 5–15 minutes for the reset itself; 2–4 hours if a full charge cycle is needed to recalibrate the fuel gauge |
| Difficulty | Easy for button-based resets; moderate if you need to access the battery compartment |
| Tools Needed | Usually none; a plastic or rubber (non-metal) spudger for recessed buttons |
| Cost | Free — unless the battery itself needs professional inspection or replacement |
Signs Your Scooter Battery Needs a Reset
If your scooter delivers power inconsistently during rides, a reset may clear the glitch causing it. If it won’t charge to 100%, that also points to a reset or recalibration. Sudden voltage drops while you ride, even with a charged battery, suggest a fault code or connection issue that a reset can correct.
Inconsistent Power Delivery
Inconsistent power delivery often points to a controller or BMS fault code that a reset can clear. You may notice sudden drops in speed, erratic acceleration, or the scooter refusing to hold a steady pace. Those fluctuations usually mean the controller is cutting power as a protective measure, often in response to a stored error. If the scooter stumbles at startup or shuts off without warning, a reset that clears stored fault codes is worth trying before assuming the pack has failed.
Fails To Charge Fully
Another sign a reset might help is when the battery won’t charge to 100% even after a full charging cycle. You may see the charger finish normally, yet the battery meter stalls below full. That often points to the fuel gauge being out of sync with the actual cell capacity, not a dead cell. When the system misreads capacity, you get charging issues that limit usable range and make the pack look worse than it is. If you also notice error codes or flashing lights during charging, a factory reset can clear stored faults and restore normal communication between the charger and battery pack.
Sudden Voltage Drops
Sudden voltage drops during a ride can point to a stored fault code or a loose connection that needs a reset or an inspection. Sharp dips can also reveal genuinely degraded battery health, not just a bad reading. If you feel abrupt speed changes, inconsistent power delivery, or an unexpected shut-off, check connections first, then try a reset.
| Sign | What You Notice | Action |
|---|---|---|
| Voltage dips | Sudden low readings | Check connections, then reset |
| Power loss | Weak acceleration | Inspect pack for damage |
| Shut-offs | Scooter dies early | Recheck cells and cables |
| Erratic output | Speed fluctuates | Monitor voltage over several rides |
| Low performance | Range drops fast | Schedule a reset and full charge |
Track the battery during each ride. If readings stay unstable after a reset and full charge, the issue is more likely the battery itself than a software glitch.
Safety Checks Before Resetting
Before you reset your electric scooter battery, make three quick checks: turn the scooter fully off, wait at least 30 seconds for any residual power to clear, and make sure you’re working in a dry area. These precautions reduce electrical hazards and help you avoid shorts or unnecessary damage. If the deck, charger port, or buttons are damp, stop and dry the scooter first.
Next, inspect the reset control. If it sits recessed, use a plastic or rubber tool, not metal, so you don’t bridge contacts. Check your manual before you proceed — models vary, and the manufacturer’s reset steps may require a specific sequence or hold time.
Warning: Never open, disconnect, or attempt to reset a battery that is swollen, leaking, punctured, or unusually hot. The Consumer Product Safety Commission warns that damaged lithium-ion battery packs can overheat or catch fire, and that riders should never use a device with a battery pack that’s been modified or opened by unqualified people. If you see any of those signs, stop, unplug the charger, move the scooter away from flammable materials, and contact the manufacturer or a qualified repair shop instead of resetting it yourself.
How to Reset an Electric Scooter Battery
Follow these steps to perform a standard reset on most electric scooters. Always check your model’s manual first, since exact button combinations vary by brand.
- Power down completely. Turn the scooter off and wait at least 30 seconds for residual charge to clear.
- Use the reset button or combo, if your model has one. Press and hold it for 10 to 15 seconds, or use the specific button combination listed in your manual.
- If there’s no button, disconnect and reconnect the battery terminals only if they’re user-accessible per your manual — never force open a sealed compartment.
- Reassemble and power on. Confirm the scooter starts normally with no error codes on the display.
- Charge to 100% in one uninterrupted session so the fuel gauge can relearn the pack’s full range.
- Test ride and monitor for the warning signs you started with — error codes, flashing lights, or weak throttle response.
Regular full-charge cycles like this support the fuel gauge’s accuracy and help you get full use out of a lithium-ion pack’s rated cycle life. You’re not fixing every possible fault this way, but you are ruling out software glitches before assuming the battery itself has failed.
Where to Find the Reset Button
You’ll usually find a physical reset button near the charging port, underneath the deck, or inside the battery compartment. On Razor scooters, check the battery compartment first and then the area near the motor. If your scooter has a recessed reset button, use a non-conductive tool and press it gently without forcing it.
Common Button Locations
Reset buttons on electric scooters are usually placed in a few predictable spots, so start by checking near the charging port, where a recessed button is often tucked under a rubber cap. If it isn’t there, move through these locations methodically:
- Under the deck: look for a small reset button marked RESET or a circular arrow.
- Battery compartment: inspect the compartment or BMS board for a hidden switch.
- Control module: check around the power button or display for an integrated reset.
You should also scan the motor area and controller box, especially on models with tucked wiring. Use gentle pressure and avoid forcing panels.
Pro Tip: Photograph the battery compartment and cable layout before disconnecting anything. It takes ten seconds and makes reassembly foolproof if you’re not sure which connector goes where.
Brand-Specific Placements
Brand layouts vary, so check the reset method the manufacturer specifies before opening anything. On Razor scooters, you’ll usually find the button inside the battery compartment or near the motor, so inspect those access points first. Levy places its reset button on the underside of the deck, and you may need a pin or thin tool to press it cleanly. Xiaomi M365 and M365 Pro don’t use a standalone reset button; instead, power the scooter off, then press and hold the power button, throttle, and brake lever together for about 3 seconds until it beeps — many models also offer a factory reset inside the Xiaomi Home app’s settings menu. Segway Ninebot models generally rely on a brake-and-power-button combo pressed together for a few seconds rather than a physical switch. Gotrax asks you to power off, wait 30 seconds, then hold the power button 10–15 seconds. Match your action to the exact model, and when in doubt, use the app-based reset if your scooter supports one — it’s less likely to trigger accidentally than a manual button combo.
When No Button Exists
If your scooter doesn’t have a visible reset button, check the battery compartment, charging port area, and control module first, since manufacturers often hide the reset option there. If you still can’t find it, use the user manual to confirm your model’s exact sequence.
- Power the scooter off, wait 30 seconds, then press and hold Power for 10–20 seconds.
- Try model-specific combinations like Power + Brake or Power + Throttle; many Xiaomi and Segway Ninebot units also support app-based resets.
- If nothing works, and your manual permits it, disconnect the battery for several minutes, then reconnect it carefully.
These steps can clear a locked system without tools, but improper battery removal may void your warranty.
How to Reset a Scooter Without a Button
When your scooter doesn’t have a physical reset button, start by turning it off completely and waiting at least 30 seconds before powering it back on. Then hold the power button for 10-20 seconds to clear temporary glitches. If your model supports it, use a power-and-brake button combo exactly as listed in the manual. Some manuals also permit disconnecting the battery for 5-10 minutes to force a manual reset, but only do this if the terminals are user-accessible and you accept possible warranty loss. After each attempt, inspect connectors and harnesses for looseness or corrosion. If faults remain, open the manufacturer’s app and run its diagnostic tools for deeper troubleshooting.
When a Reset Won’t Fix It
Not every problem is a reset problem. These signs mean you’re looking at a hardware issue, not a software glitch:
- Physical damage: swelling, dents, cracks, or leaking on the battery casing — stop immediately and don’t attempt a reset.
- Won’t hold any charge: the battery drains to zero within minutes of a full charge, even after a reset and recalibration cycle.
- Repeated error codes after a proper reset: if the same fault code returns immediately after every reset attempt, the underlying cell or connection is likely failing.
- Age and cycle count: a battery that’s several years old or has seen heavy daily use has likely passed its rated 300–500 cycle life, and a reset can’t add capacity back.
In any of these cases, contact the manufacturer’s support line or a qualified repair shop about a replacement battery rather than continuing to reset a pack that’s genuinely worn out.
Recharge and Recalibrate the Battery
After resetting, fully charge your scooter battery to 100% so the fuel gauge can relearn its true capacity and report it accurately. Keep the charger connected until the indicator shows a complete charge cycle; this lets the system record accurate capacity data. Because lithium-ion packs drift over time, this recalibration supports better range reporting and helps you spot real degradation sooner.
- Charge from empty or near-empty to full in one uninterrupted session.
- Use only the charger that came with your scooter, matching its voltage and current specs.
- Repeat this full-cycle practice periodically to reduce inconsistent power readings.
If the battery still refuses to reach full charge after this, recalibration alone likely won’t solve it — move on to the troubleshooting steps below.
Troubleshoot a Failed Reset
If your scooter still won’t reset after a full charge and recalibration, check the battery connections for loose plugs, damaged wires, or corrosion that could interrupt communication with the BMS. Then confirm the scooter is fully powered down and wait the recommended interval before trying again; leftover charge can block the reset sequence. If your model uses a reset button, press it exactly as the manual specifies, since some units need a tool or a hidden access point. These steps help you isolate whether the fault sits in the battery, the switch, or the control logic. When repeated attempts don’t restore normal operation, seek professional service, since persistent failures can point to hardware damage that a simple reset can’t clear.
How to Keep the Battery Healthy Longer
To keep your electric scooter battery healthy longer, charge it regularly and try to maintain the charge between 20% and 80% to reduce strain on lithium-ion cells and avoid deep discharges.
Charge regularly and keep your scooter battery between 20% and 80% to protect capacity and extend life.
- Recharge promptly after use, and don’t let the pack sit empty for long periods.
- Avoid unnecessary overcharging, and always use the manufacturer’s charger.
- Store and inspect the system: keep the scooter in a cool, dry place, clean battery contacts, and check for secure connections before each ride.
Note: Heat and moisture accelerate battery wear more than normal use does. Storing your scooter in a garage that swings from freezing to hot, or leaving it in direct sun, will shorten battery life faster than an extra charge cycle or two will.
Frequently Asked Questions
How Do I Reset the Battery on My Electric Scooter?
Power off your scooter, unplug the charger, then hold the reset button 10–15 seconds, or use your model’s specific button combo. If there’s no button, follow your manual’s terminal-reconnection steps. Reconnect, fully charge it in one session, and monitor the next few rides.
How to Bring an Electric Scooter Battery Back to Life?
Try a full charge cycle from near-empty to 100% in one uninterrupted session to let the fuel gauge recalibrate, then reset the controller if fault codes remain. Check connections for corrosion. If the battery still won’t hold a charge, it’s likely worn out rather than glitched, and needs replacing rather than resetting.
How to Reset a Dead Lithium Battery?
If the terminals are user-accessible per your manual, disconnect them, wait 5–10 minutes, then reconnect and try any reset button or combo your model uses. Then charge fully. If the battery shows no signs of life at all, or looks swollen or damaged, stop and have it inspected rather than continuing to reset it.
Is There a Reset Button on a Scooter?
Sometimes — but many scooters, including Xiaomi’s M365 line, use a button combination or app-based reset instead of a standalone button. Check near the charging port, under the deck, or inside the battery compartment, and confirm the exact method in your manual.
How Long Does a Scooter Battery Reset Take?
The reset itself typically takes under 15 minutes. If you also need a full charge cycle for the fuel gauge to recalibrate, plan for 2–4 hours of uninterrupted charging on top of that.
Conclusion
Resetting your electric scooter battery can clear glitches and restore accurate power readings, but you should always start with safety checks and the manufacturer’s instructions. A reset fixes software-level issues — it won’t repair a battery that’s physically worn out or damaged. If your reset fails, inspect the charger, connectors, and battery health before trying again, and don’t hesitate to involve a professional if you see swelling, damage, or repeated fault codes. Keep the battery stored correctly and charged between 20% and 80% when you can, and you’ll reduce how often you need to reset it in the first place.
Sources
- Battery University — How to Prolong Lithium-Based Batteries — backs the 300–500 cycle life figure and 20–80% charging guidance
- Battery University — How to Define Battery Life — backs cycle-life-to-capacity relationship
- U.S. Consumer Product Safety Commission — Micromobility Information Center — backs safety guidance on damaged/modified battery packs
- U.S. Consumer Product Safety Commission — Batteries — backs fire and shock hazard information
- New York State Division of Homeland Security — Lithium-Ion Battery Consumer Safety Guide — backs guidance on handling damaged lithium batteries