
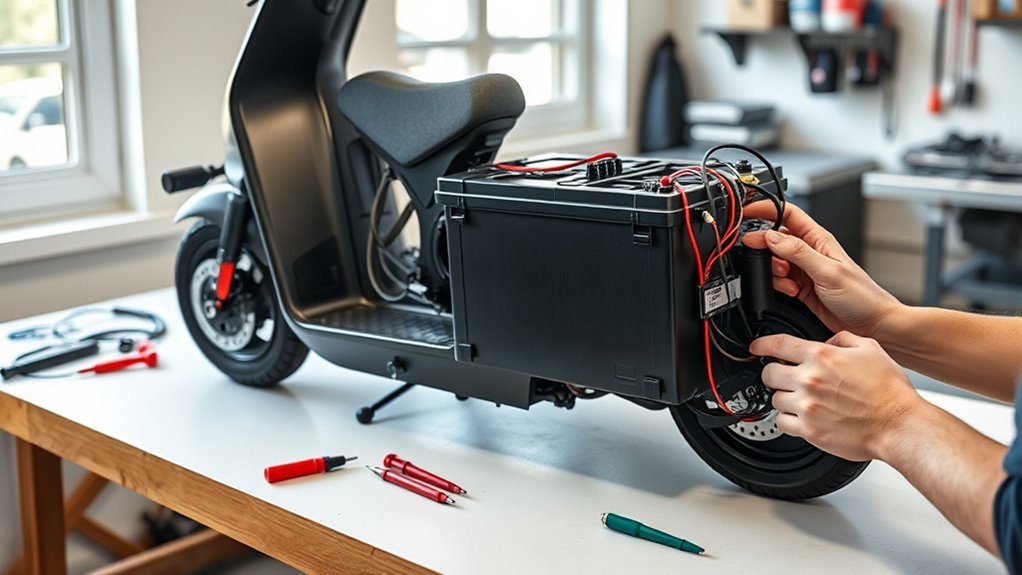
Last Updated on August 26, 2026 by Caleb Warren
Adding an extra battery to an electric scooter can increase usable range, but the safest approach is not to match a random pack by voltage and wire it into the scooter yourself. First confirm that your scooter manufacturer officially supports a second or replacement battery for your exact model. Use the approved battery, mounting hardware, connector and charger, then follow the manufacturer’s installation and charging instructions.
Quick Answer
You can add an extra battery to some electric scooters, but only when the manufacturer supports a compatible secondary pack or battery kit. Do not assume that matching voltage or amp-hours makes two batteries safe to connect. Use the approved battery, charger, mounting system and connection method for your exact scooter model.
Key Takeaways
- Check whether your scooter manufacturer officially supports a second battery before buying anything.
- Matching voltage alone does not prove that two battery packs, BMS units, connectors and chargers are compatible.
- Use only a secondary or replacement battery that is approved for your exact scooter model.
- Do not build a homemade parallel harness, open the battery pack or bypass its protection electronics.
- Use the manufacturer-approved charger and remain present while the scooter is charging.
- Stop using a battery that becomes unusually hot, swollen, damaged, leaking, noisy or produces an unusual odor.
At a Glance
| Time Required | Varies by model; follow the installation time and procedure in the approved battery-kit manual |
| Difficulty | Easy to moderate for an official bolt-on accessory; electrical modification should be handled by an authorized technician |
| Tools Needed | Only the hand tools and hardware specified by the battery or scooter manufacturer |
| Cost | Depends on the scooter model and manufacturer-approved battery kit |
Warning: Lithium-ion scooter batteries store a large amount of energy. Do not open a battery pack, reuse loose cells, build a makeshift battery pack, splice into unknown battery wiring or connect two packs with a homemade parallel harness. The U.S. Consumer Product Safety Commission recommends using only secondary or replacement packs tested and approved for the device.
Disclosure: As an Amazon Associate I earn from qualifying purchases. Some links on this page are affiliate links, at no extra cost to you.
Check Your Scooter Battery Specs
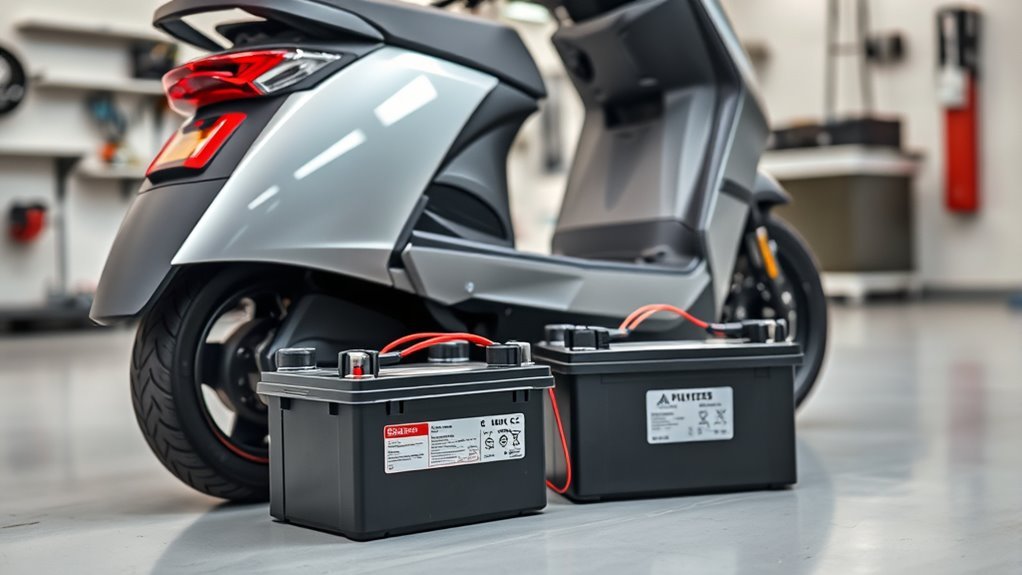
Start with your scooter’s user manual or official support page. Look for a manufacturer-approved secondary battery, external battery, range extender or removable replacement pack for your exact model. The U.S. Consumer Product Safety Commission advises consumers to use only a replacement or secondary battery pack that has been tested and approved for use with the device and confirmed suitable by its manufacturer.
Voltage still matters, but it is only one part of compatibility. The scooter’s battery-management system, controller, connectors, current limits, charging system, firmware and physical mounting must also support the second pack. A battery that happens to display the same nominal voltage is not automatically interchangeable.
Check the official documentation for the battery’s nominal voltage, capacity, connector, mounting method, charger requirements, permitted operating temperatures and any restrictions on installation. Also confirm that adding the battery does not exceed the scooter’s maximum permitted weight or interfere with the folding mechanism, brakes, steering or ground clearance.
Pick a Compatible Extra Battery
The best choice is an OEM or manufacturer-approved secondary battery specifically listed for your scooter. A properly engineered second-battery system is designed around the scooter’s controller, battery-management electronics and charger rather than relying on voltage alone.
A matching voltage label does not make two scooter batteries compatible; the complete battery, charger, controller and protection system must be designed to work together.
- Confirm model approval: verify that the battery is explicitly supported for your scooter model.
- Check system specifications: use the voltage, capacity, connector and battery type specified by the manufacturer.
- Check certification: where applicable, look for products certified by an accredited laboratory to the relevant micromobility safety standards.
- Use the correct charger: never substitute a so-called universal charger simply because the plug fits or the voltage appears similar.
- Use the approved hardware: install only the rail, bracket, enclosure, cable and fasteners supplied or specified for the battery.
UL Solutions explains that ANSI/CAN/UL 2272 evaluates the electrical drivetrain, battery system and charger system combination of personal e-mobility devices. That system-level approach is one reason an unapproved battery should not be treated as safe merely because its basic specifications resemble the original pack.
Pro Tip: Search your exact scooter model plus “external battery,” “second battery,” “range extender” or “replacement battery” on the manufacturer’s official website. If the manufacturer does not document a supported second-battery system, treat that as a strong reason not to create one yourself.
Choose a Safe Mounting Spot
Use only the location specified by the scooter or battery-kit manufacturer. Do not choose an arbitrary spot simply because the battery physically fits. Battery placement affects impact exposure, handling, folding, cable routing, water sealing and structural loads.
A properly designed accessory normally uses a dedicated rail, enclosure or mounting points. For example, Segway’s official KickScooter external-battery instructions use a model-specific rail and supplied hardware rather than generic straps or an improvised enclosure.
Under-Deck Placement
Do not drill into the scooter deck or attach a battery underneath it unless the manufacturer specifically provides an approved under-deck system. Many scooters house the original battery, controller and wiring inside the deck, and drilling can damage hidden components or compromise the enclosure’s structural strength and water resistance.
- Use only factory-specified mounting holes and hardware.
- Maintain the clearance specified by the manufacturer.
- Keep cables away from wheels, suspension, brakes and folding joints.
- Inspect the approved mount periodically for looseness, damage or corrosion.
If no approved under-deck installation exists for your model, do not improvise one.
Stem And Base Mounting
Some scooters are designed for a manufacturer-approved external battery on the stem. In that case, use the supplied rail, fasteners and connector exactly as the manual specifies. Do not substitute zip ties, straps, self-tapping screws or an untested bracket for the official mounting system.
Keep the battery clear of steering cables, folding latches and moving joints. After installation, confirm that the handlebars turn freely, the scooter folds normally and the pack does not move when the scooter is gently rocked by hand.
Wire the Extra Battery for Parallel Use
Do not create a generic parallel connection between two scooter batteries. In an approved dual-battery scooter, the electrical architecture may share power between packs, but that does not mean the user should connect positive terminals together and negative terminals together manually.
An official second-battery system may have a dedicated connector, communication interface, controller circuitry or battery-management logic that regulates how the packs charge and discharge. Use that interface exactly as designed.
Parallel Voltage Matching
Two packs with the same nominal voltage can still differ in cell configuration, state of charge, internal resistance, protection thresholds, BMS behavior, connector pinout and permitted current. Those differences are why voltage matching alone cannot establish that direct parallel connection is safe.
- Verify that the second battery is listed for your exact scooter.
- Use the connection method specified by the manufacturer.
- Do not bypass either battery’s BMS or protection electronics.
- Do not probe, bridge or modify battery terminals that are not intended to be user-serviceable.
Safe Wiring Steps
For an approved external battery kit, keep the installation limited to the user-serviceable steps in its manual. Power the scooter off, disconnect the charger and inspect the supplied connectors and cables for damage before installation.
| Step | Action |
|---|---|
| 1 | Confirm that the battery kit is approved for the exact scooter model |
| 2 | Power off the scooter and unplug the charger |
| 3 | Install only the supplied or manufacturer-specified mount, cable and connector |
| 4 | Route cables exactly as instructed so they cannot be pinched or rubbed |
| 5 | Complete the manufacturer’s post-installation check before riding |
If installation requires cutting wires, opening the battery enclosure, altering the BMS, soldering directly to battery conductors or fabricating a connection that is not documented by the manufacturer, stop and use an authorized service provider instead.
Connect the Batteries in Parallel
For a manufacturer-approved dual-battery system, let the scooter’s designed connector and control electronics handle the relationship between the batteries. Do not directly join the positive and negative terminals of separate packs unless the manufacturer explicitly designed and documented that procedure for the exact batteries and scooter involved.
Use the scooter’s approved second-battery interface rather than creating a homemade terminal-to-terminal parallel connection.
- Confirm the official battery part number or compatibility listing.
- Inspect the connector for bent pins, corrosion, moisture or damage.
- Install the pack with the specified mounting hardware.
- Connect only through the approved user-accessible battery interface.
- Stop if the scooter displays a battery, charging or communication error.
This approach preserves the protection features the manufacturer built into the battery and scooter instead of bypassing them with improvised wiring.
Test the Setup Before Riding
After installing an approved battery accessory, follow the manufacturer’s startup or pairing procedure. Confirm that the scooter recognizes the battery correctly and that the dashboard or app shows no battery, charging or controller error.
Inspect the installation before the first ride. The pack should be rigidly mounted, connectors should be fully seated, and no cable should be pinched, stretched or close to a moving part. Do not probe exposed battery terminals unless the manufacturer specifically provides a user-serviceable test procedure.
Begin the first ride in a controlled area at low speed. Check steering, braking, folding hardware and overall balance. The additional battery adds weight, so handling may feel different even when the installation is correct.
Stop riding immediately if you notice unusual heat, an electrical smell, smoke, battery swelling, leaking, unusual noises, intermittent power or repeated error messages.
Check Certification, Warranty and Water Resistance
Before modifying a scooter, consider what the change does to the complete tested system. UL 2272 evaluates personal e-mobility electrical systems as a combination of battery, charger, drivetrain and related protection circuitry. Replacing part of that system with an unapproved component can defeat the assumptions behind the original design.
Also check your warranty. Some manufacturers exclude damage caused by unauthorized batteries, chargers, wiring changes or disassembly. Drilling holes, opening the deck or changing cable entries can also compromise seals and reduce the water resistance provided by the original enclosure.
Note: Certification does not mean every aftermarket component is interchangeable with a certified scooter. Compatibility should still be confirmed by the device manufacturer.
Charge the Second Battery Safely
Charging is one of the most important parts of lithium-ion battery safety. Follow the scooter or battery manufacturer’s instructions and use only the charger supplied with or specifically recommended for that battery system.
The CPSC advises users to remain present while charging micromobility products and not to charge them while sleeping or when away from home. It also warns against modified or reworked battery packs and recommends only approved replacement batteries.
- Use the manufacturer-approved charger.
- Charge in the location and temperature range specified in the manual.
- Keep the scooter and charger away from combustible materials.
- Do not charge a wet, damaged, swollen or unusually hot battery.
- Remain present while charging.
- Do not charge while sleeping.
- Unplug the charger when charging is complete, as directed by the manufacturer.
CPSC has also warned that chargers marketed as “universal” can be incompatible even when they are sold for batteries with the same advertised voltage. A charger should therefore be matched by manufacturer approval, not by plug shape or voltage label alone.
Maintain Battery Health
Once the approved second-battery system is installed, inspect both the scooter and accessory regularly. Follow the manufacturer’s storage and charging instructions rather than applying generic charge-cycle rules that may not fit your battery chemistry or BMS.
- Keep the battery within the storage and operating temperature ranges listed in its manual.
- Keep connectors clean, dry and protected from physical damage.
- Check the battery mount and supplied fasteners regularly.
- Use only the approved charging equipment.
- Do not use a battery that has been submerged, crushed, punctured or involved in a serious crash until the manufacturer or qualified service provider confirms what to do.
- Follow the manufacturer’s recommendations for long-term storage and charge level.
Battery capacity naturally changes with age, temperature and use. Instead of assuming every lithium-ion pack will retain a specific percentage after a fixed number of cycles, check the specifications and warranty published for your exact battery.
Recognize Battery Warning Signs
Lithium-ion battery problems can escalate quickly. The FDNY identifies overheating, leaking, unusual smells, odd noises and changes in battery shape or color as important warning signs.
Warning: If a battery is smoking, burning, rapidly overheating or showing other signs of an active fire, move away from the device, alert others and contact emergency services. Do not continue charging or riding the scooter.
Do not throw a damaged or unwanted lithium-ion scooter battery into household trash. Follow your local hazardous-waste or battery-recycling requirements and the manufacturer’s disposal instructions.
Fix Range and Power Problems
If the scooter still has poor range after an approved second battery is installed, do not assume that heavier wire or another parallel connection will solve the problem. Start with normal operating factors and manufacturer diagnostics.
- Check tire pressure: low pressure increases rolling resistance.
- Consider temperature: cold conditions can temporarily reduce lithium-ion battery performance.
- Check riding mode: high-power or sport modes normally consume energy faster.
- Consider rider and cargo weight: higher loads increase energy use.
- Look for brake drag: a rubbing brake increases resistance.
- Inspect the approved battery connector: stop using the scooter if it is damaged, overheated or repeatedly disconnects.
- Check for error codes: use the manufacturer’s app, manual or service documentation.
If one pack is not recognized, charging becomes abnormal, or the scooter repeatedly loses power, discontinue use and contact the manufacturer or an authorized technician rather than bypassing the BMS or controller.
Consider a Swappable Battery Instead
If your scooter does not support an integrated second battery, a scooter designed around a removable or swappable OEM battery may be a safer way to gain more practical range. With a manufacturer-supported removable system, you can exchange packs according to the scooter’s normal operating procedure instead of electrically combining two independent packs.
Never carry an unprotected loose lithium-ion battery where its terminals can contact metal objects. Transport and store spare batteries according to the manufacturer’s instructions.
Frequently Asked Questions
Can I Add an Extra Battery to My Electric Scooter?
Yes, if your scooter manufacturer supports a secondary or external battery for your exact model. Use the approved battery, mounting hardware, connector and charger. If the manufacturer does not document a compatible second-battery system, do not create a homemade parallel connection.
Is 30 Mph Fast for an E-Scooter?
Yes. Thirty mph is a high speed for a standing electric scooter and greatly increases stopping distance and crash consequences compared with lower speeds. Ride only within the scooter manufacturer’s rated limits, use appropriate protective equipment and follow the laws that apply where you ride.
How Do I Remove the Speed Limiter on an E-Scooter?
Use only speed or riding modes officially provided by the scooter manufacturer. Avoid firmware modifications, controller replacements or wiring changes intended to defeat built-in limits. Those changes can exceed the design limits of the motor, controller, battery, tires or brakes and may affect warranty coverage or local legality.
Can I Put a Bigger Battery in My E-Scooter?
Only if the scooter manufacturer lists that battery as compatible. A larger capacity or physically larger pack can affect the BMS, charger, controller, mounting system, weight distribution and enclosure. Do not substitute a larger aftermarket pack based only on voltage.
Does the Second Battery Need the Same Voltage?
An approved second battery will use the electrical specifications required by the scooter manufacturer. Matching nominal voltage by itself is not enough to establish compatibility because the BMS, connectors, current limits, charger and controller must also work with the pack.
Can I Use an Aftermarket Scooter Battery?
Use an aftermarket pack only when the scooter manufacturer confirms that the specific battery is suitable for the device. CPSC recommends using secondary and replacement battery packs that have been tested and approved to work safely with the product.
Can I Charge Two Scooter Batteries at the Same Time?
Only if the manufacturer designed the scooter and charger for that charging arrangement. Do not connect two independent packs to one charger or use an improvised splitter. Follow the official charging instructions for the scooter and second-battery system.
What Should I Do if My Scooter Battery Gets Hot or Swells?
Stop using and charging the battery. Keep people away from the device and follow the manufacturer’s safety instructions. If the battery is smoking, burning or rapidly overheating, leave the area and contact emergency services. Do not puncture, open or attempt to repair a swollen battery.
Conclusion
Adding an extra battery can extend an electric scooter’s useful range when the scooter was designed to support one. The safest path is to use a manufacturer-approved battery, mounting system, connector and charger rather than building a generic parallel setup. Check the installation regularly, follow safe charging practices and stop using any pack that shows signs of damage, overheating or swelling. A properly supported battery upgrade gives you more range without bypassing the electrical protections built into the scooter.
Sources
- U.S. Consumer Product Safety Commission — Micromobility Information Center — secondary battery, charger and micromobility safety guidance.
- U.S. Consumer Product Safety Commission — Micromobility Battery Charging Safety — approved batteries, charging supervision and modified-pack warnings.
- UL Solutions — Personal e-Mobility Evaluation, Testing and Certification — UL 2272 and system-level electrical safety testing.
- Segway KickScooter External Battery User Manual — example of a manufacturer-designed second-battery mounting and connection system.
- New York City Fire Department — Lithium-Ion Battery Safety — charging, warning signs and fire-safety guidance.
