
Last Updated on August 22, 2026 by Caleb Warren
Testing an electric scooter controller starts with finding whether the problem comes from the controller, battery, motor, throttle, or wiring. Check symptoms, inspect connections, measure electrical signals, and compare results with your scooter manufacturer’s specifications before replacing parts.
Quick Answer
A bad electric scooter controller usually shows signs like power loss, error codes, overheating, jerky acceleration, or no motor output. Test the battery, throttle, motor, and controller connections first. Replace the controller only after confirming other components are working correctly.
Key Takeaways
- A controller problem can look similar to a battery, throttle, or motor failure.
- Use a multimeter and visual inspection before replacing parts.
- Match replacement controllers by voltage, current rating, motor type, and wiring.
At a Glance
| Time Required | 30–90 minutes depending on the fault |
| Difficulty | Intermediate electrical troubleshooting |
| Tools Needed | Multimeter, screwdrivers, flashlight, manufacturer wiring information |
| Cost | Testing is low cost; replacement controllers vary by model |
Disclosure: As an Amazon Associate I earn from qualifying purchases. Some links on this page are affiliate links, at no extra cost to you.
Diagnose Common Electric Scooter Controller Failures
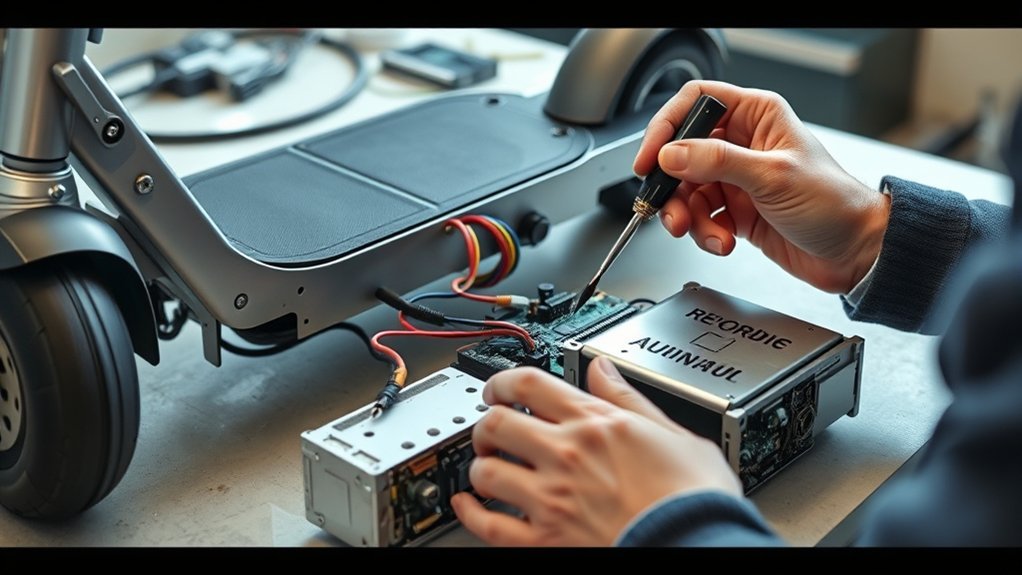
Start by checking the symptoms before opening the controller. Common warning signs include sudden power loss, a motor that does not respond, repeated error codes, overheating, burning smells, or inconsistent acceleration.
Inspect the controller housing, connectors, and wiring for damage. Look for melted insulation, corrosion, loose plugs, damaged terminals, or visible burn marks. Error codes from the display can also help identify whether the issue points toward the controller or another component.
Warning: Disconnect the battery before opening electrical connections. Lithium-ion batteries and damaged wiring can create fire or shock risks. Follow your scooter manufacturer’s repair guidance.
Test the Battery, Motor, and Throttle
Before replacing a controller, confirm that the battery, motor, and throttle are working correctly.
| Test | Expected result |
|---|---|
| Battery voltage | Matches the scooter’s rated battery voltage |
| Battery under load | Voltage remains stable within manufacturer limits |
| Motor inspection | No damaged wires, grinding, or abnormal resistance |
| Throttle signal | Signal changes smoothly when operated |
| Hall sensors | Switching signal changes when the wheel rotates |
If these components test correctly, the controller becomes a stronger suspect. Avoid connecting components in ways not recommended by the manufacturer because incorrect testing can damage electronics.
Repair Wiring, Fuses, and Solder Joints
Inspect wiring harnesses, fuses, and connectors carefully. A loose connector or damaged wire can create symptoms that look like controller failure.
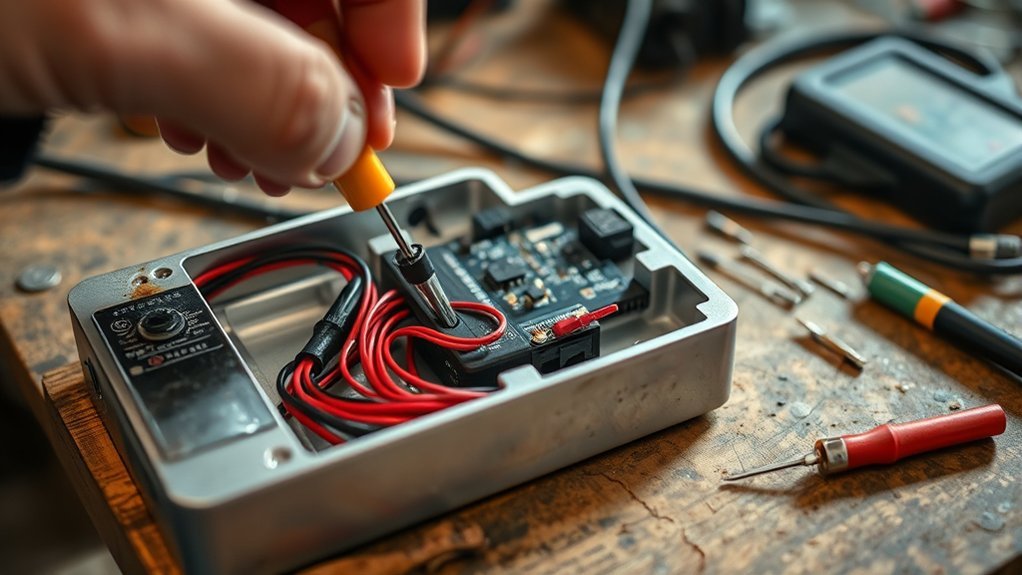
Check for broken insulation, crushed wires, corrosion, and loose terminals. Replace damaged wiring sections and secure repairs properly. Inspect solder joints for cracks or overheating marks, but replace the controller if the board is severely damaged or unsafe to repair.
Pro Tip: Take clear photos of every connector before disconnecting anything. This makes controller replacement much easier.
Replace Damaged Controller Components
Some experienced technicians repair controller circuit boards by replacing damaged components such as MOSFETs or capacitors. However, many riders are better served by replacing the complete controller because incorrect repairs can create new electrical failures.
If replacing the controller, match the voltage rating, current rating, motor type, connector style, and communication system. A controller that does not match the scooter can cause poor performance or damage other components.
Install and Test the Replacement Controller
Reconnect the replacement controller using the correct wiring layout from the manufacturer. Confirm battery polarity, secure connectors, and mount the controller so vibration and moisture do not damage it.
Test the scooter while stationary first. Check throttle response, display operation, brake cutoff function, and error messages. Then perform a slow test ride in a safe area and stop immediately if you notice overheating, unusual sounds, or unstable acceleration.
Frequently Asked Questions
How do I know if my electric scooter controller is bad?
Common signs include power loss, error codes, overheating, dead throttle response, or a motor that does not receive proper control signals after the battery and other components test correctly.
Can I replace an electric scooter controller myself?
Yes, many controllers can be replaced if you match specifications and wiring correctly. Always disconnect power and verify compatibility before installation.
What is the most common electric scooter problem?
Power loss can come from several sources, including batteries, wiring, throttles, brakes, motors, and controllers. Testing each part helps avoid replacing the wrong component.
Conclusion
Diagnosing an electric scooter controller requires a careful process. Check the battery, motor, throttle, wiring, and connectors before replacing the controller. When a controller is confirmed faulty, install a compatible replacement and test every function before riding normally.
Sources
- U.S. Consumer Product Safety Commission Micromobility Safety — battery and charging safety guidance.
- CPSC Battery Safety Information — battery standards and hazards.
