
Last Updated on August 26, 2026 by Caleb Warren
An E2 error on an electric scooter does not have one universal meaning. On some scooters it points to the throttle, while on others it can indicate an electronic-brake or another control-system fault. Before replacing anything, identify your exact scooter model, check its official error-code chart, power the scooter off, and inspect only the controls and wiring the manufacturer allows you to access.
Quick Answer
To fix an E2 scooter error, first confirm what E2 means for your exact brand and model. If it is a throttle or brake fault, stop riding, restart the scooter with both controls fully released, inspect the control movement and visible wiring, and check user-accessible connectors. Persistent faults usually require the affected control, harness, or controller to be professionally diagnosed.
Key Takeaways
- E2 is model-specific. Do not buy a throttle, battery, controller, or brake until you verify your scooter’s official fault-code definition.
- Pure Electric currently uses E2 for a throttle communication fault, while Razor’s Raven uses E2 for an electronic-brake fault.
- If the throttle or brake sticks, behaves unpredictably, or the error returns while riding, stop using the scooter until the fault is repaired.
- External wiring and connector checks are reasonable DIY steps; opening a lithium-ion battery pack or performing internal controller repairs is not.
- There is no universal battery voltage or 30-second reset procedure for every electric scooter.
Warning: Do not ride the scooter if the throttle sticks, the motor accelerates unexpectedly, the electronic brake is not responding normally, wiring is burned or exposed, or the battery shows swelling, leaking, unusual heat, smoke, or a strong odor. Do not open or probe a lithium-ion battery pack unless you are trained and the manufacturer specifically provides a service procedure.
At a Glance
| Time Required | About 10–30 minutes for basic external checks; longer if parts or professional diagnosis are needed |
| Difficulty | Easy for visual checks; moderate to advanced for electrical diagnosis |
| Tools Needed | Owner’s manual or official support page, flashlight, and only the basic tools specified by your scooter manufacturer |
| Cost | $0 for inspection; replacement parts and professional service vary by model |
Disclosure: As an Amazon Associate I earn from qualifying purchases. Some links on this page are affiliate links, at no extra cost to you.
What Does E2 Mean?
An E2 error means the scooter’s electronics have detected a fault, but the component involved depends on the manufacturer and model. That distinction matters because the same letters and numbers can describe completely different problems.
For example, Pure Electric’s current error-code guidance identifies E2 as a throttle communication problem between the throttle and vehicle control unit. In contrast, the Razor Raven owner’s manual identifies E2 as a faulty electronic brake and tells the user to check the e-brake-to-controller connection.
There is another reason to check the model carefully: “E2” can also be part of a scooter’s model name. For the Segway E2 Pro, for example, the manufacturer’s service documentation associates an abnormal finger-throttle Hall signal with error code 14, not E2.
| Example scooter | What the manufacturer says | First response |
|---|---|---|
| Pure Electric models covered by its current support guide | E2 = throttle communication error | Stop riding, restart as directed, and seek support if it persists |
| Razor Raven | E2 = faulty electronic brake | Check the e-brake connection according to the manual |
| Segway E2 Pro | Throttle Hall abnormality = code 14 | Check that the throttle returns normally and follow Segway’s service procedure |
Note: Search results, forum posts, and videos about another scooter can send you toward the wrong component. Match the error code to the exact model number printed on your scooter or its identification label before troubleshooting.
Confirm the E2 Code for Your Exact Scooter
Start with the scooter’s owner manual, official support site, or manufacturer app. Search for the exact model number plus “error codes” or “E2.” If the scooter has an app, also check whether it provides a longer fault description than the dashboard.
- Write down the exact code. E2, E02, 02, and code 2 are not necessarily interchangeable.
- Confirm the make and model. Use the model label rather than relying on appearance.
- Note when the fault appears. Does it show at startup, only when pressing the throttle, after using the brake, after turning the handlebars, or while riding?
- Follow the manufacturer’s fault description. A throttle-specific procedure should not be used when your E2 code refers to a brake.
Pro Tip: Before disconnecting anything, take a clear photo of the scooter’s model label and any visible error screen. That information is often more useful to manufacturer support than the words “my scooter has E2.”
Restart the Scooter With the Controls Released
If the manufacturer’s instructions allow a normal restart, place the scooter on level ground, release the throttle completely, release the brake lever, switch the scooter off, wait briefly, and switch it on again. Do not hold the throttle or brake while starting unless the manual specifically tells you to do so.
This matters because some scooters check the neutral position of their controls during startup. Pure Electric, for example, uses a separate F2 throttle fault when the throttle is not returning to its zero position. Segway also documents a throttle-related fault when the throttle does not rebound correctly on the E2 Pro.
If the error clears but returns when you touch the throttle or brake, that pattern is useful diagnostic information. Stop riding and inspect the control associated with your model’s error definition rather than repeatedly resetting the scooter.
Check the E2 Error Throttle Wiring
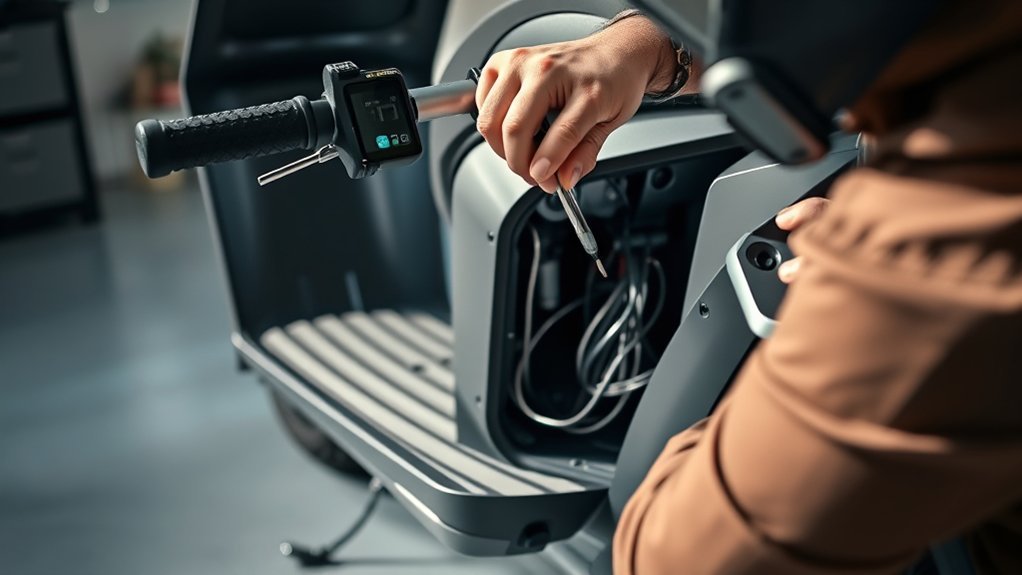
If your manufacturer’s documentation specifically identifies E2 as a throttle fault, inspect the throttle and its visible wiring. Start with the scooter powered off. Check whether the throttle moves smoothly and springs back to its resting position without sticking.
Next, inspect the throttle wiring for kinks, cuts, pinches, abrasion, or crushed sections, especially around the handlebars and folding or steering areas. High-flex points can develop internal conductor damage even when the outer jacket looks mostly intact.
Gently turn the handlebars through their normal range while watching the cable. It should not become stretched, trapped, or sharply bent. If a fault appears mainly after turning the bars, after a handlebar adjustment, or after a fall, a stressed cable or connector deserves particular attention.
Do not intentionally operate a scooter with exposed conductors or a throttle that behaves intermittently. Replace visibly damaged wiring or have it serviced using a manufacturer-approved part.
Reseat the Scooter Connections
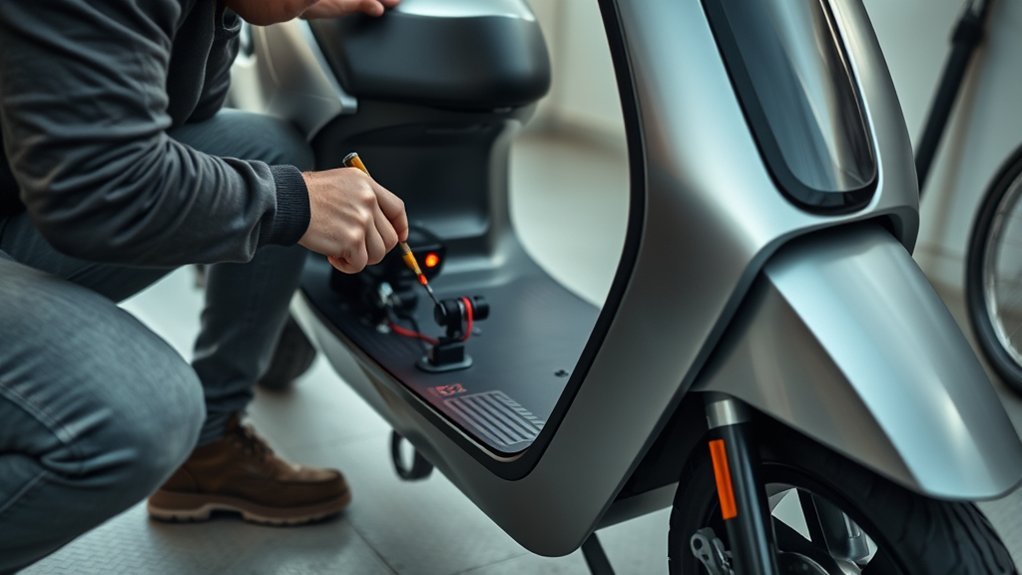
With the scooter powered off, inspect only the user-accessible connectors that your manufacturer permits you to service. Look for a plug that is loose, partly separated, dirty, corroded, bent, or physically damaged.
If your scooter has a safely removable battery, follow the manufacturer’s shutdown and battery-removal procedure before disconnecting electrical connectors. If the battery is built into the deck and the manual does not provide a user-service procedure, do not open the deck merely to reach a connector.
For a throttle-related code, check the throttle/dashboard harness. For a brake-related E2 code, check the electronic-brake connection specified by the manufacturer. Do not assume that reseating the throttle is appropriate for every E2 scooter.
After reconnecting an approved connector, make sure it is fully seated and that the cable is routed without tension. Restart the scooter and observe the display. If the code disappears, test the controls with the scooter stationary before attempting a slow test ride in a clear area.
A code that disappears temporarily is not proof that the repair is permanent. If moving the handlebars or touching a cable makes the fault return, the harness or connector may have an intermittent break that needs replacement.
Inspect the E2 Error Controller and Battery
Do not jump directly to the controller or battery simply because an E2 code appears. First confirm that your scooter’s fault chart actually points toward those components. On some scooters, low voltage has an entirely different error code.
You can safely look for external signs of trouble such as unusual heat, a burning smell, melted insulation, water intrusion around accessible areas, loose external wiring, or a battery that will not charge normally. Internal testing should follow the manufacturer’s service documentation.
Check Controller Damage
If the controller is located behind a cover that the manufacturer identifies as user-serviceable, inspect it only with the scooter fully powered down and according to the service procedure. Otherwise, leave the housing closed and have a technician inspect it.
| Check | What you want |
|---|---|
| Case | No cracks or deformation |
| Heat marks | None |
| Accessible wires | Secure and undamaged |
| Accessible plugs | Clean and fully seated |
| Control response | Predictable and stable |
If you see scorch marks, melted connectors, severe corrosion, or other electrical damage, stop using the scooter. Do not bypass protection circuits or bridge damaged wiring. Controller replacement should be based on a confirmed diagnosis because a bad throttle, brake sensor, connector, harness, dashboard, or communication cable can sometimes produce similar symptoms.
Verify Battery Voltage
There is no single “normal” battery voltage for all electric scooters. Some models use battery systems well below 36 V, while others use higher-voltage packs. Check the voltage printed on the battery label, charger specification, or exact-model manual instead of assuming a 36–60 V range.
If the scooter powers on normally and the manufacturer’s error chart identifies E2 as a throttle or brake fault, testing the battery is usually not the first step. For example, Pure Electric lists under-voltage separately from its E2 throttle error, and Razor’s Raven lists low voltage separately from its E2 brake fault.
A multimeter should only be used at test points that the manufacturer identifies as safe and accessible. Do not insert probes into a lithium-ion battery pack, dismantle the pack, or short battery terminals. If the battery is unusually hot, swollen, leaking, damaged, or producing an unusual smell, stop using and charging the scooter and follow the manufacturer’s battery-service guidance.
Replace a Damaged Throttle
Replace the throttle only after confirming that your scooter’s error code, symptoms, or manufacturer diagnostic procedure identifies the throttle as the likely failed component. An E2 code alone is not enough evidence on an unknown scooter.
Before replacing the throttle, power off the scooter. If the manufacturer provides a user-accessible battery-disconnection procedure, follow it. Do not open a sealed battery pack. Check the replacement part number carefully because throttle housings, Hall sensors, connector pinouts, wire colors, and mounting systems can vary even between similar-looking scooters.
When the manufacturer allows user replacement, note the old throttle’s position and cable routing before removal. Route the replacement cable exactly as specified, keep it clear of steering pinch points, tighten fasteners to the manufacturer’s specification, and make sure the throttle springs back freely.
After installation, power the scooter on while stationary and confirm that the throttle rests at zero without activating the motor. Check the brake cutoff and display before riding. Begin any test ride at very low speed in an open area. If the error remains or the motor response is abnormal, stop and have the scooter diagnosed professionally.
Check the Handlebar Harness for Damage
Check the handlebar harness for visible damage, including frayed wires, exposed insulation, sharp bends, pinched sections, damaged connector shells, or cable tension when the handlebars turn.
Use these wiring safety checks:
- Verify that user-accessible connectors are fully seated.
- Inspect accessible terminals for corrosion, discoloration, or bent contacts.
- Trace the visible harness for bends, crush points, cuts, and abrasion.
- Check whether the throttle and brake controls return smoothly to their resting positions.
- Note whether turning the handlebars causes the dashboard fault to appear or disappear.
An intermittent error associated with steering movement can indicate a damaged conductor or poor connection in the handlebar harness. Avoid repeatedly flexing a damaged cable to “make it work.” A compromised harness should normally be replaced with the correct model-specific part rather than temporarily patched.
If the fault is not obvious, a qualified technician can test sensor signals and wiring continuity without guessing which expensive component needs replacement.
When to Stop Troubleshooting and Get Service
Basic visual inspection is useful, but some symptoms should end DIY troubleshooting. Arrange manufacturer or qualified repair service when:
- The throttle does not return smoothly or the motor accelerates unexpectedly.
- The electronic brake or brake cutoff is not working normally.
- E2 returns after the approved restart and basic connector checks.
- The code appears only when the handlebar moves and no external damage is visible.
- You see burned wiring, melted plugs, serious corrosion, or water damage.
- Testing would require opening the battery pack or probing exposed battery terminals.
- The scooter is still under warranty and opening the deck or controller could affect coverage.
- You cannot find reliable documentation explaining what E2 means for your model.
Manufacturer support may ask for the serial number, model number, error code, photos, and a description of exactly when the fault occurs. Gathering those details before contacting support can shorten the diagnosis.
Prevent E2 Errors in the Future
You cannot prevent every electronic fault, but careful maintenance reduces stress on the components that commonly generate control-system errors.
- Check throttle and brake movement before riding.
- Keep control cables clear of sharp steering and folding pinch points.
- Do not pull the scooter by exposed wiring or accessories mounted around the harness.
- Inspect connectors and cable jackets after a fall or handlebar adjustment.
- Keep the scooter within the manufacturer’s water-exposure and storage limits.
- Use the correct charger and follow the battery instructions supplied with the scooter.
- Do not continue riding when a throttle, brake, or electrical fault appears intermittently.
- Use manufacturer-approved replacement parts with the correct connector and electrical specifications.
The U.S. Consumer Product Safety Commission recommends taking appropriate safety precautions with e-scooters and their lithium-ion electrical systems. A control fault should be treated as a safety issue rather than something to ignore until the scooter stops completely.
Frequently Asked Questions
How to Fix E2 Code on Electric Scooter?
First identify your exact scooter model and confirm what E2 means in its official manual or support documentation. Then follow the model-specific procedure. If E2 is a throttle fault, inspect throttle movement, visible wiring, and approved connectors. If it is a brake fault, inspect the electronic brake system specified by the manufacturer. Stop riding if the fault persists.
How to Reset an E2 Scooter?
There is no universal E2 reset. If your manual permits a normal restart, release the throttle and brake, switch the scooter off, wait briefly, and switch it on again. Do not use an undocumented button combination or battery-disconnection procedure. If E2 returns, diagnose the underlying fault instead of repeatedly resetting it.
How to Fix Error Code E2?
The repair depends on the scooter. Pure Electric currently uses E2 for a throttle communication fault, while Razor’s Raven uses E2 for an electronic-brake fault. Confirm the manufacturer definition before replacing a throttle, brake, controller, battery, or wiring harness.
How Do I Reset an Electric Scooter?
For a basic power cycle, place the scooter on level ground, release all controls, turn it off, and restart it according to the owner’s manual. Some scooters have additional manufacturer-specific procedures or app functions, so do not assume one reset sequence works across every brand.
Can I Ride an Electric Scooter With an E2 Error?
Do not ride until you know what the error means and the affected control works normally. This is especially important when E2 indicates a throttle, electronic brake, or communication problem because those systems can affect acceleration or stopping.
Can a Low Battery Cause an E2 Error?
It depends on the scooter, but low voltage should not be assumed to cause E2. Pure Electric separates its E2 throttle error from its under-voltage error, and Razor Raven uses a separate E6 code for low voltage. Check your exact model’s fault chart before testing or replacing the battery.
Why Did E2 Appear After Adjusting or Dropping the Handlebars?
A handlebar adjustment or impact can stress a control cable, connector, throttle, brake sensor, or dashboard harness. If the error began immediately afterward, inspect visible wiring for pinches, tension, damaged insulation, and partially disconnected plugs. Do not assume the throttle is responsible unless the model’s error chart says so.
Conclusion
An E2 error on an electric scooter is a fault code, not a universal diagnosis. The safest troubleshooting sequence is to identify the exact scooter model, verify the manufacturer’s E2 definition, restart the scooter with its controls released, inspect the relevant control and visible wiring, and check only manufacturer-approved connectors.
If E2 points to the throttle, focus on throttle movement, wiring, and communication. If it points to the electronic brake, troubleshoot that system instead. Avoid generic battery-voltage assumptions, undocumented resets, and unnecessary controller or battery replacement. If the throttle or brake behaves unpredictably or the fault requires internal electrical work, stop riding and use qualified service.
Sources
- Pure Electric — Error Codes — current manufacturer guidance showing E2 as a throttle communication fault and separate voltage-related error codes.
- Razor Raven Owner’s Manual — manufacturer troubleshooting chart identifying E2 as an electronic-brake fault.
- Segway E2 Pro Self-Test Manual — manufacturer service guidance for throttle Hall and other control-system fault codes.
- U.S. Consumer Product Safety Commission — Micromobility Safety — electrical, lithium-ion battery, and e-scooter safety guidance.
