
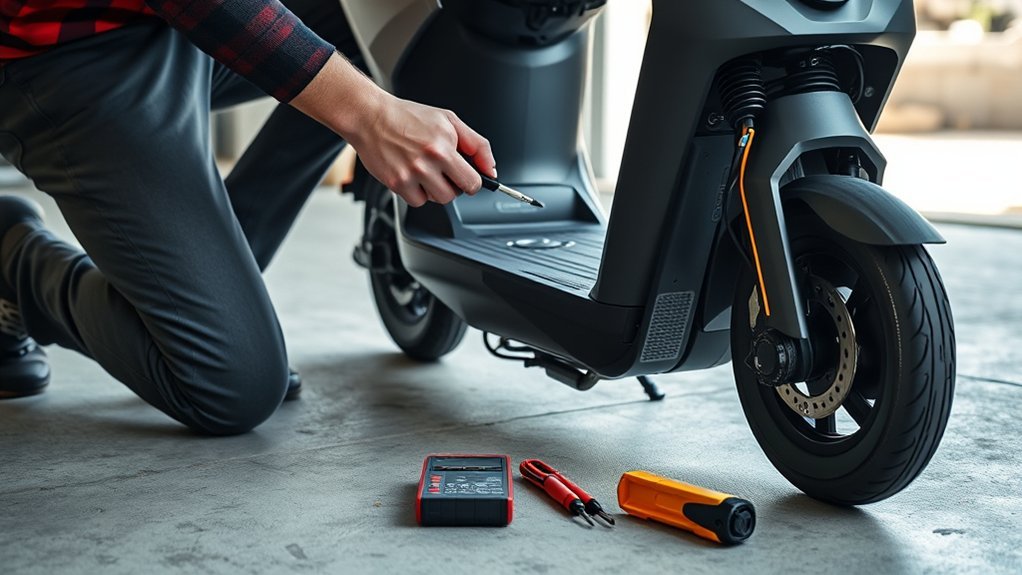
Last Updated on August 25, 2026 by Caleb Warren
An E4 error on an electric scooter indicates a critical signal failure in the powertrain system—most commonly triggered by a faulty throttle, damaged wiring harness, malfunctioning motor Hall effect sensors, an engaged brake cut-off sensor, or an internal motor controller fault. Resolving the issue requires a systematic diagnostic workflow using visual inspection and a digital multimeter to test baseline voltages across your throttle and motor Hall sensor signal lines before replacing damaged components.
Quick Answer
To fix an E4 error code, inspect handlebar wiring for crimped leads, then verify the throttle signal with a multimeter: you should see 5V input and a smooth 0.8V to 4.2V sweep on the signal wire. If the throttle tests normal, test the motor Hall sensor signal lines (Yellow, Green, Blue) for a 0V to 5V switching toggle while slowly rotating the wheel by hand.
Key Takeaways
- Brand Variations: On Kugoo and generic TF-100 displays, E4 designates a Motor Hall Sensor fault; on Hiboy models, E4 points to a Throttle or brake signal failure.
- Correct Testing Method: Hall sensors are active semiconductors and cannot be tested with passive resistance—they require 5V DC power to measure voltage switching.
- Inspect Physical Connectors First: Over 40% of E4 faults stem from loose Julet/Higo waterproof connectors in the folding stem or handlebar neck.
- Safety Protocol: Always elevate the drive wheel off the ground and isolate main battery power before disconnecting controller phase wires.
At a Glance
| Time Required | 25–45 minutes |
| Difficulty | Intermediate (Basic Multimeter & Screwdriver Skills) |
| Tools Needed | Digital Multimeter, 2.5mm–5mm Hex Keys, Phillips Screwdriver, Contact Cleaner |
| Replacement Cost | $0 (loose plug/cleaning) to $15–$65 (throttle/controller/sensor replacement) |
Disclosure: As an Amazon Associate I earn from qualifying purchases. Some links on this page are affiliate links, at no extra cost to you.
What Does the E4 Error Code Mean?
The E4 error code is a generic fault code programmed into brushless electric scooter motor controllers to protect the powertrain when a vital control or position signal is lost. When the controller cannot verify the position of the motor rotor or receives an out-of-spec throttle voltage upon boot, it locks the drive system to prevent runaway acceleration or phase short-circuits.
Because different manufacturers utilize varied display protocols and controller firmware, the exact meaning of E4 varies depending on your scooter brand and throttle display model:
| Brand / Display System | Primary E4 Designation | Most Common Root Cause |
|---|---|---|
| Kugoo (S1, S3, M4 / TF-100 Display) | Motor Hall Sensor Malfunction | Blown Hall IC in hub motor or severed 5-pin sensor harness |
| Hiboy (S2, S2 Pro, Max, Titan) | Throttle Signal Fault / Overvoltage | Thumb throttle magnet dislodged, water ingress, or pinched stem line |
| Generic LCDs (QS-S4, LH-100, JX-168) | Motor Communication / Undervoltage | Main communication bus disconnect or low battery sag cutoff |
| Zero, Kaabo & Apollo (Equivalents) | Throttle / Brake Interlock (Error 04) | Stuck brake cut-off reed switch holding signal low at start |
Warning: Before opening the deck or probing electrical terminals, turn the scooter power OFF and elevate the motorized drive wheel off the ground using a sturdy bench or stand. An intermittent throttle fault can cause the motor to suddenly spin at full speed.
Step 1: Check the Throttle and Handlebar Wiring
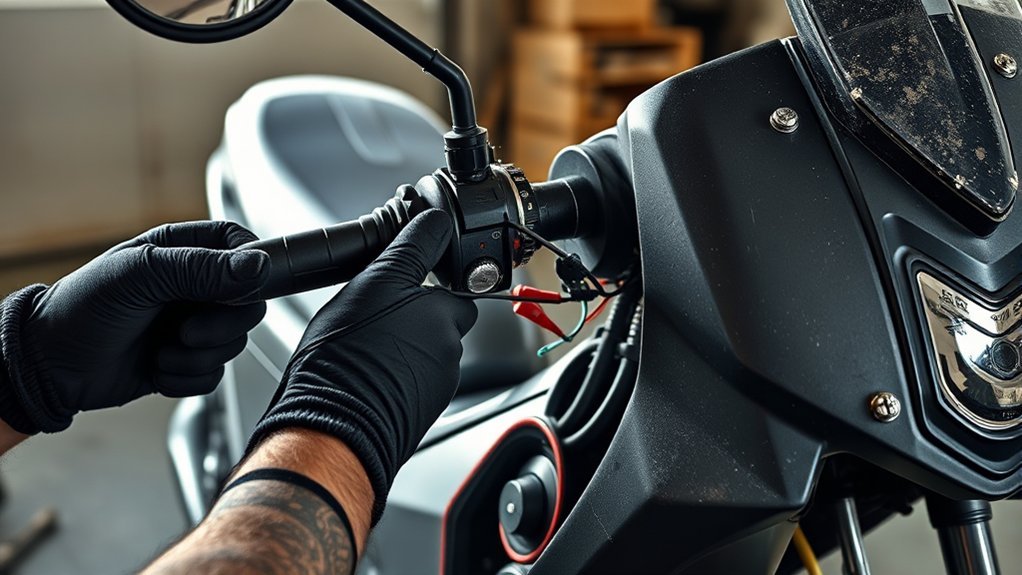
A high percentage of E4 error codes originate at the handlebar assembly. The mechanical movement of folding the handlebars and the continuous vibration of riding commonly causes wire fatigue, pinched harnesses, or loose waterproof quick-disconnect plugs.
- Inspect the Throttle Mechanism: Check your thumb or trigger throttle for physical sticking, cracked plastic, or foreign grit. If the spring fails to return the throttle completely to its zero-position stop, the controller detects an illegal starting voltage and throws an E4 code upon power-on.
- Examine the Folding Stem Cable: Trace the main wiring harness from the display down through the folding mechanism. Look for severe kinks, flattening, or chafing against sharp metal deck cutouts.
- Reseat the Waterproof Connectors: Locate the circular inline Julet/Higo connector near the handlebar stem. Unplug it, check for bent or recessed brass pins and moisture, spray with electrical contact cleaner, and firmly push the arrows together until fully seated.
Pro Tip: If your E4 error appeared immediately after riding in wet weather or washing your scooter, moisture inside the throttle casing is shorting the 5V rail to the signal line. Disassemble the throttle housing and dry the circuit board thoroughly with low-heat airflow.
Step 2: Test the Throttle Voltage with a Multimeter
Electric scooter throttles utilize a linear Hall-effect sensor that translates magnetic proximity into an analog voltage. Testing this signal confirms whether the throttle sensor is operational or dead.
- Power on the scooter and set your digital multimeter to DC Voltage (20V range).
- Access the three-pin throttle connector (typically colored Red = +5V VCC, Black = Ground, Green/White = Signal).
- Back-probe the connector by inserting the black multimeter probe into the Black (GND) pin and the red probe into the Red (+5V) pin. Verify that the controller is supplying a stable 4.8V to 5.2V DC.
- Move the red probe to the Green/White (Signal) wire while keeping the black probe on GND.
- Observe the voltage reading at rest and as you smoothly actuate the throttle:
- Normal Baseline:
0.8V – 1.0V DCat idle position. - Full Throttle: Smooth progressive rise reaching
3.8V – 4.2V DCat full press. - Fault Indicators: A constant 0V, a steady 5V, or erratic erratic jumps indicate a damaged internal Hall chip or broken signal trace.
- Normal Baseline:
Step 3: Test the Motor Hall Position Sensors
The motor Hall sensors detect the exact rotational angle of the permanent magnets inside the hub motor so the controller can fire the phase coils in sequence. If one of the three internal sensors burns out or loses connection, the controller triggers an E4 fault and the motor will stutter, grind, or fail to spin.
Correct Hall Sensor Multimeter Test Procedure
Never attempt to test Hall sensors on a passive resistance (Ohms) setting while spinning the wheel. Hall ICs are active open-collector semiconductors that must be tested under DC Voltage with operational power applied.
- Ensure the motor 5-pin/6-pin Hall harness (thin Red, Black, Yellow, Green, Blue wires) remains plugged into the powered controller.
- Set your digital multimeter to DC Voltage (20V scale).
- Connect the black meter probe to the Black (Ground) Hall wire.
- Probe the Yellow sensor signal wire with the red lead, then use your hand to rotate the hub motor wheel very slowly.
- Verify Voltage Switching: As each rotor magnet passes the sensor, the voltage must crisply toggle back and forth between 0V (Low) and ~4.5V–5.0V (High).
- Repeat this measurement on the Green and Blue signal wires.
If any signal line stays locked at 0V, hangs continuously at 5V, or floats around 2.5V without switching as the wheel turns, that specific Hall sensor is blown and requires replacement.
Physical Hall Sensor & Harness Inspection
Before replacing internal motor sensors, inspect the main motor axle cable exit. Because the motor cable passes through the hollow center of the axle, sharp turns, curb strikes, or road debris can sever or strip the thin 28 AWG Hall signal leads directly against the axle nut shoulder. Repair any compromised insulation or resolder pinched joints before replacing parts.
Step 4: Inspect the Motor Controller for Hardware Failure
The motor controller houses the micro-controller unit (MCU), 5V buck converter regulator, and high-power MOSFETs that power the scooter. An internal short circuit or failed 5V power bus will generate an E4 code.
Visual Inspection & Thermal Signs
Disconnect the battery pack connector before removing the controller from the deck. Open the aluminum controller casing and inspect the printed circuit board (PCB) for:
- Blackened or blistered MOSFET transistors attached to the heatsink bar.
- Swollen, leaking, or domed electrolytic filter capacitors.
- Pungent burnt electrical odor or discolored, scorched copper traces.
- Green or white crusty corrosion caused by standing moisture inside the deck tray.
5V Logic Bus & Phase Resistance Verification
Re-connect the main battery carefully. Measure the voltage across the controller’s 5V regulated output rail (Red and Black auxiliary leads). If the output reads below 4.5V or fluctuates erratically, the controller’s internal voltage regulator has degraded and cannot power the throttle or motor sensors, producing the E4 code. If visual or voltage damage is confirmed, replace the controller with an OEM unit.
Note: Electronic brake levers also contain Hall sensors or micro-switches that ground out the throttle circuit when pulled. A stuck brake sensor line sends a continuous cut-off command to the controller, which certain firmware registers as an E4 throttle error. Unplug both brake lever sensor cables; if the E4 code vanishes, your brake sensor is stuck.
Step 5: Verify Battery Pack Voltage and BMS Health
While an E4 error is primarily a signal communication fault, severe battery undervoltage or an unbalanced cell group can drop the 5V logic rail when the controller attempts to initialize the motor.
- Charge your scooter battery pack fully until the charger indicator turns solid green.
- Disconnect the charger, unplug the main XT60 or Deans power connector from the controller, and set your multimeter to DC Voltage (200V range).
- Measure total resting open-circuit voltage across the positive and negative discharge terminals:
- 36V Pack (10S): Full charge =
42.0V DC(Cutoff = ~30V–31V). - 48V Pack (13S): Full charge =
54.6V DC(Cutoff = ~39V–40V). - 52V Pack (14S): Full charge =
58.8V DC(Cutoff = ~42V–43V).
- 36V Pack (10S): Full charge =
- If your measured voltage sits significantly below standard full-charge thresholds, a depleted or degraded battery pack is triggering low-voltage protection modes.
How to Replace a Faulty Throttle or Sensor
Once you have isolated the defective component through multimeter diagnostics, follow these steps to install replacement hardware:
- Isolate Electrical Power: Power down the scooter and disconnect the battery connector inside the deck to eliminate any short-circuit hazard.
- Remove Handlebar Grip and Clamp: Slide off the rubber grip (use rubbing alcohol as a lubricant if tight). Loosen the 3mm or 4mm hex retaining bolt securing the throttle bracket to the handlebar.
- Unplug Harness: Follow the throttle lead to the stem disconnect or open the display casing to release the JST pin connector. Note connector polarity and wire orientation.
- Install the New Throttle: Mount the replacement OEM throttle onto the bar, secure the clamp screw without over-torquing the plastic housing, and reconnect the wire harness firmly.
- Test Operation: Power up the scooter, verify that the display clears the E4 code, and confirm that the throttle returns smoothly to its mechanical stop when released.
Preventing E4 Error Codes and Electrical Failures
Consistent preventive maintenance shields sensitive scooter electronics from the environmental and mechanical stresses that cause E4 errors:
- Apply Dielectric Grease to Connectors: Coat waterproof electrical couplings with non-conductive dielectric grease to block water entry and prevent pin corrosion.
- Install Spiral Cable Wrap: Protect exposed wiring harnesses at the folding stem and rear swingarm pivot with plastic spiral cable wrap to prevent pinch wear.
- Avoid Pressure Washing: Clean your scooter using a damp microfiber cloth. Never direct pressurized water at the throttle assembly, display screen, motor axle seals, or deck joints.
- Check Axle Nut Torque Regularly: Loose motor axle nuts allow the axle to twist inside the dropouts, instantly shearing the internal motor Hall wiring harness.
- Observe Payload Limits: Overloading your scooter forces excessive current through the motor controller, overheating MOSFETs and burning out 41F/43F motor Hall sensors.
Frequently Asked Questions
How do I clear or reset an E4 error on an electric scooter?
To perform a soft reset, power off the scooter, hold down the power and brake lever simultaneously for 10–15 seconds, and release. If the E4 code persists upon boot, the fault is hardware-based (such as a detached throttle magnet, damaged wire, or dead Hall sensor) and cannot be cleared until the underlying electrical component is repaired or replaced.
Can I safely ride my electric scooter while the E4 error is displayed?
No. When an E4 code is active, the motor controller automatically disables power output to the motor as a built-in safety interlock. Even if the motor engages intermittently, riding with a failing Hall sensor or corrupted throttle signal risks sudden motor lock-up, power cutouts in traffic, or permanent controller burnout.
Can I fix the E4 error code myself at home?
Yes. Most E4 errors involve external wiring issues or a plug-and-play throttle replacement that can be completed in under 30 minutes with a basic screwdriver and multimeter. However, if diagnostics reveal blown internal motor Hall sensors, soldering new 41F sensors inside the hub motor core requires intermediate micro-soldering experience.
Why does my scooter show an E4 code only when it rains?
Water entering unsealed throttle housings or handlebar wire splices conducts micro-currents between the 5V supply line and the signal return wire. This drives the baseline voltage above the controller’s safety threshold upon boot, triggering an E4 error. Drying the throttle and applying conformal coating or silicone sealant typically resolves rain-related faults.
Conclusion
Troubleshooting an E4 error code on your electric scooter does not have to involve expensive guesswork. By approaching the issue methodically—first inspecting handlebar harnesses and waterproof plugs, then verifying the throttle’s 0.8V–4.2V sweep, and checking for the 0V/5V toggle across motor Hall sensor lines—you can precisely pinpoint the root failure. In most cases, reseating a loose connection or installing an inexpensive OEM throttle resolves the error completely, returning your electric scooter to peak operating performance.
Sources
- Hiboy Official Support & Technical Manuals — Manufacturer error code definitions and throttle replacement specifications.
- Kugoo E-Scooter Technical Support — TF-100 and TF-200 display error code matrices and motor Hall sensor parameters.
- Electric Scooter Guide Technical Database — Brushless DC motor diagnostics, throttle voltage baselines, and electrical troubleshooting procedures.
- Texas Instruments Hall-Effect Applications Guide — Technical standards for brushless motor Hall-effect sensor switching thresholds and voltage states.
