
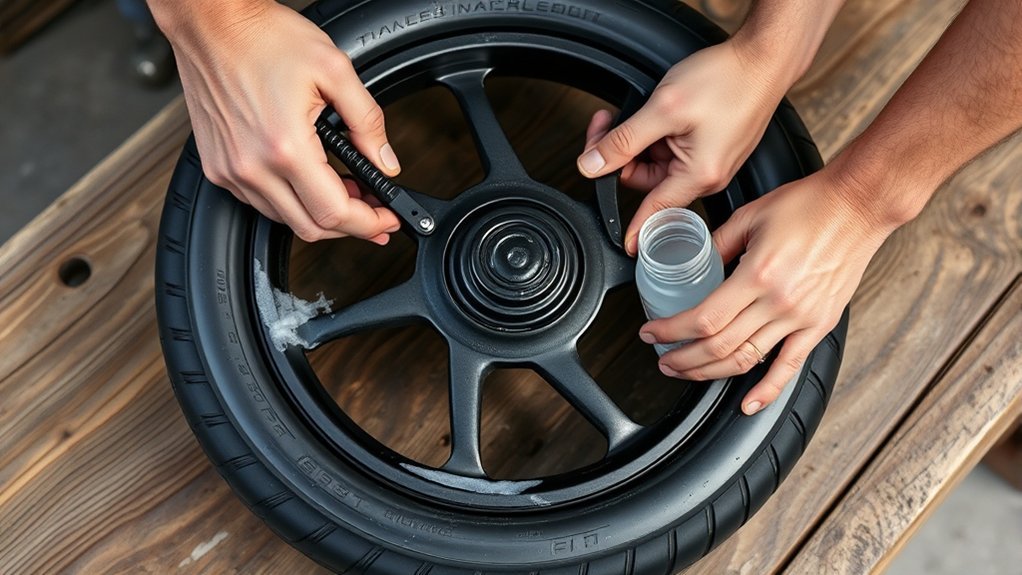
Last Updated on September 10, 2026 by Daniel Globe
Putting an electric scooter tire back on a rim requires careful bead alignment, tube positioning, and slow inflation. Clean the rim, check the tire fit, install the bead evenly, and inspect everything before riding. The right technique helps prevent pinched tubes, leaks, and uneven seating.
Quick Answer
To put an electric scooter tire on a rim, clean the rim and bead, place the tube correctly, install the tire bead by hand, use tire levers carefully on tight areas, then inflate slowly until the bead seats evenly. Always inspect the tire before riding.
Key Takeaways
- Clean the rim and bead before installation.
- Keep the inner tube centered to avoid pinching.
- Use tire levers carefully instead of forcing the bead.
- Inflate slowly and confirm the bead sits evenly.
At a Glance
| Time Required | 30–60 minutes depending on tire stiffness |
| Difficulty | Moderate |
| Tools Needed | Tire levers, soap solution, pump or compressor, cleaning cloth |
| Cost | Low if replacing the tire yourself |
Disclosure: As an Amazon Associate I earn from qualifying purchases. Some links on this page are affiliate links, at no extra cost to you.
Clean the Rim and Tire Bead
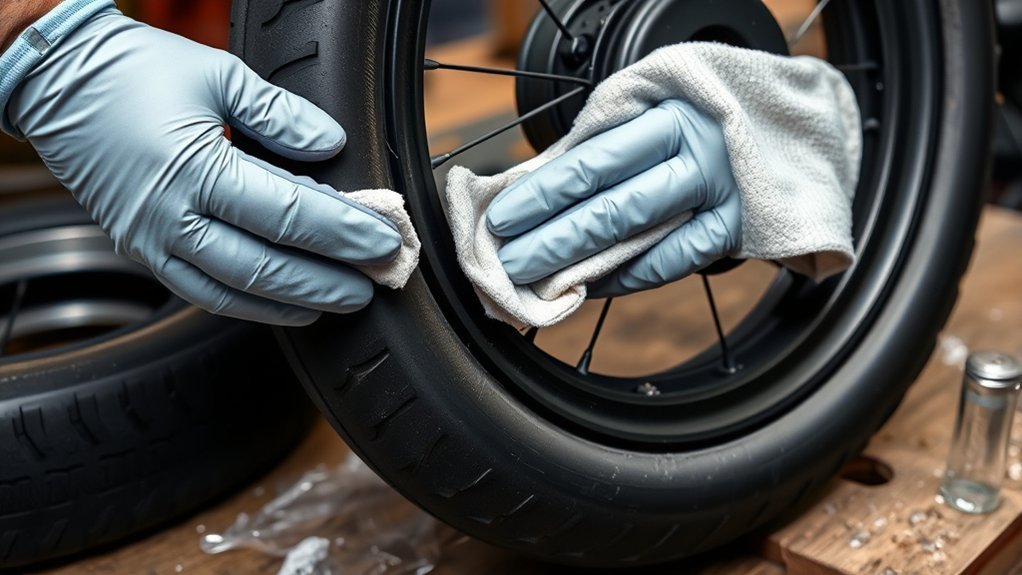
Start by cleaning the rim and tire bead with mild soap and water. Remove dirt, grease, old rubber pieces, and debris that could stop the tire from seating correctly.
Inspect the rim for sharp edges, dents, corrosion, or anything that could damage the tube. A clean mounting surface reduces friction and makes installation easier.
Warning: Never install a tire with a damaged rim or badly worn bead. These problems can cause air leaks or unsafe riding conditions.
Start the Bead by Hand
Place the inner tube inside the tire and align the valve stem with the rim hole. Add a small amount of air if needed so the tube keeps its shape without becoming fully inflated.
Push one tire bead onto the rim by hand, starting near the valve area. Work around the wheel while keeping the tube centered and free from twists.
Pro Tip: Keep the valve stem slightly loose while seating the tire so the tube can move naturally into position.
Work the Hard Spots Over the Rim
Apply a small amount of soapy water around the bead to reduce friction. For tight sections, use tire levers carefully and move only a few inches at a time.
- Advance the bead gradually around the rim.
- Reposition the lever instead of forcing one difficult area.
- Check that the tube is not trapped between the tire and rim.
If the tire refuses to fit, confirm that the tire size matches the scooter rim. A wrong tire specification can make installation difficult or unsafe.
Inflate the Tire Until the Bead Seats
Before adding full pressure, check that the tire bead is evenly positioned around both sides of the rim. Apply a light soap solution if needed, then inflate slowly.
Watch the sidewall as pressure increases. Stop if the bead moves unevenly, the tire bulges, or the tube appears trapped. Use the PSI listed on the tire or recommended by your scooter manufacturer.
Inspect the Bead, Tube, and Rim
Before riding, inspect the entire wheel. Check that the bead line is even, the valve stem sits straight, and there are no bulges or visible tube problems.
- Inspect bead damage.
- Confirm the tube is not pinched.
- Make sure the rim is clean and aligned.
- Spin the wheel and check for wobbling.
A final inspection helps prevent leaks and improves riding safety.
Frequently Asked Questions
How to Fix an E-Scooter Wheel?
Deflate the tire, remove the damaged tube or tire if needed, clean the rim, reinstall the tire carefully, inflate slowly, and verify the wheel rotates correctly.
What’s the Easiest Way to Put a Tire on a Rim?
The easiest method is to lubricate the bead, install as much as possible by hand, and use tire levers only for the final tight sections.
How to Put Electric Scooter Tire on Rim Reddit?
Common repair advice is to keep the tube slightly inflated, use lubrication, avoid pinching the tube, and confirm the tire size matches the rim.
Can I Replace a Tire on a Scooter Myself?
Yes, many riders can replace scooter tires themselves with the correct tools and careful technique. Follow your scooter manufacturer’s recommendations when available.
Conclusion
Putting an electric scooter tire back on a rim is easier when you focus on clean surfaces, correct alignment, and controlled pressure. Install the bead slowly, protect the tube, and inspect the finished wheel before riding. A careful installation helps your scooter stay reliable and ready for the road.
Sources
- U.S. Consumer Product Safety Commission — general consumer product safety information.
