
Last Updated on July 30, 2026 by Mason Reed
Packing a wet tent is sometimes unavoidable when rain continues through the morning or you need to leave camp on schedule. The goal is not to dry the tent inside your pack. Instead, remove as much water as possible, isolate the wet fabric from sleeping gear and clothing, and reopen the tent at the first safe opportunity so it can air-dry.
Quick Answer
Shake off and blot as much water as possible, keep the wet tent outside your pack liner or sealed in its own roll-top dry bag, and keep sleeping gear in a separate dry zone. Open and air the tent at the first safe break, then dry it completely before long-term storage.
Key Takeaways
- Treat a packed wet tent as temporary transport, not storage.
- Keep sleeping bags, quilts, dry clothing, and electronics inside a separate sealed pack liner.
- For double-wall tents, separate the wet fly and footprint from a relatively dry inner tent when practical.
- Air the tent during breaks and dry it completely as soon as conditions allow.
- Never use a clothes dryer, heater, camp stove, or open flame to speed drying.
At a Glance
| Time Required | 5–10 minutes to pack; 30 minutes to several hours to dry, depending on airflow and humidity |
| Difficulty | Easy |
| Tools Needed | Microfiber towel, dedicated roll-top dry bag or heavy-duty trash bag, pack liner, and optional clothesline |
| Cost | $0 with existing gear; approximately $5–$30 if you need a liner or dry bag |
Disclosure: As an Amazon Associate I earn from qualifying purchases. Some links on this page are affiliate links, at no extra cost to you.
Why You Shouldn’t Store a Tent Wet

Briefly packing a wet tent for travel is sometimes unavoidable. Leaving it damp and compressed for long-term storage is the real problem. According to REI’s tent-care guidance, trapped moisture can encourage mildew, create persistent odors, and contribute to the gradual breakdown of polyurethane waterproof coatings.
Damp storage may also aggravate peeling seam tape or delamination in an older tent. Steel stakes, zipper hardware, and other metal parts can develop corrosion if they remain wet and dirty. Sand and grit trapped in wet fabric can also abrade coatings, mesh, and zipper teeth while the tent is compressed.
The exact time before damage begins varies with temperature, humidity, contamination, ventilation, and the tent’s materials. The U.S. Environmental Protection Agency recommends drying wet materials within 24–48 hours to discourage mold growth. That is general moisture-control guidance rather than a tent-specific deadline, so the safest practice is to open and dry your tent at the first opportunity.
Warning: A roll-top bag or trash bag is only a temporary moisture barrier. Never leave a wet tent sealed in it after your trip, overnight in a warm vehicle, or during long-term storage.
How to Pack a Wet Tent Step by Step
- Keep your dry gear protected first. Place your sleeping bag, sleep clothes, insulated jacket, electronics, and other moisture-sensitive equipment inside a sealed pack liner or individual dry bags before handling the tent.
- Delay the final breakdown when practical. Pack everything else first so the tent has a few extra minutes to drain and air.
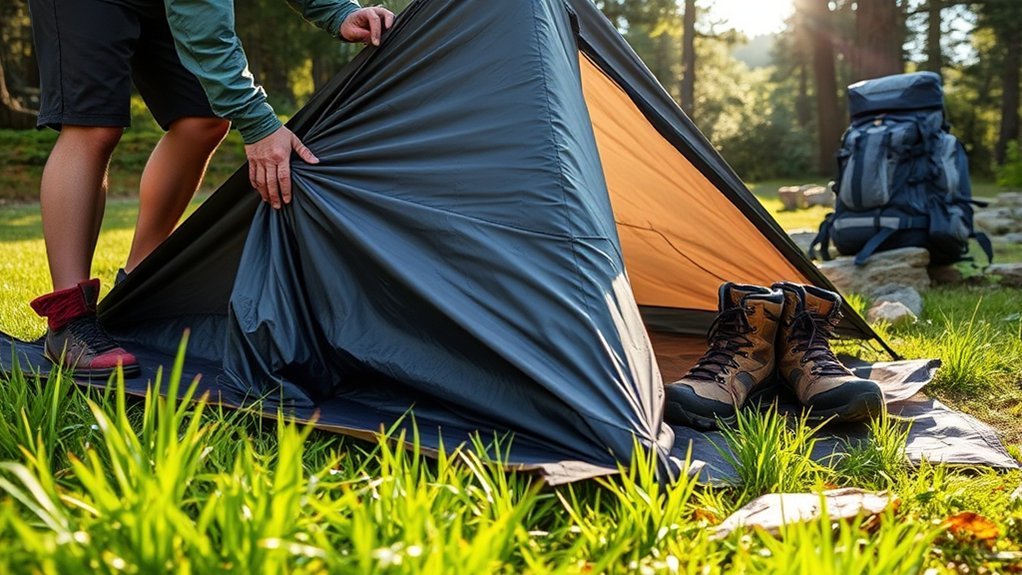
- Shake off loose water. Hold the rainfly, footprint, and tent body away from sharp branches or rocks and shake each component separately.
- Blot wet surfaces. Use a microfiber or travel towel on pooled water, corners, the underside of the fly, and the floor. Wring the towel away from the dry gear area.
- Separate wet and dry components. On a double-wall tent, keep a wet fly and footprint away from a relatively dry mesh inner when the design allows them to be detached easily.
- Contain the wet fabric. Put it in a dedicated roll-top dry bag, a heavy-duty trash bag, or an exterior stretch pocket. Do not put it inside the liner that protects your sleeping gear.
- Pack poles and stakes separately. Wipe them down and place them in their own sacks so grit and metal edges do not rub directly against wet tent fabric.
- Reopen the tent at the first safe stop. Drape or pitch it where airflow can reach both sides. Pack it again only when you need to continue.
Treat the wet tent as part of your wet zone. Your sleeping bag, sleep clothing, insulation, and electronics belong in a separate dry zone.
Note: A tent’s original stuff sack may organize and compress the shelter without being watertight. Use a true roll-top dry bag or an intact heavy-duty plastic bag when you need reliable moisture isolation.
Tips on How to Dry Out a Wet Tent
Air movement is usually more important than heat. Pitch the tent, hang it from a line, or drape it over a smooth railing or clean surface in a breezy location. Open doors and vents so moisture can escape from both the interior and exterior.
Shade or indirect sunlight is the safest default. NEMO’s tent-care instructions recommend line-drying or laying a tent flat in indirect sunlight because long periods of direct sun can damage technical fabrics. Brief gentle sun may help when no shaded drying area is available, but do not leave the tent exposed longer than necessary.
- Unclip or remove the rainfly so both sides can dry.
- Turn the footprint and floor over to expose trapped moisture.
- Check corners, pole sleeves, storage pockets, guyline loops, and folded door panels.
- Wipe poles, stakes, buckles, and zipper tracks separately.
- Move or rotate the tent if the surface touching the ground remains damp.
Warning: Do not use a tumble dryer, hair dryer, portable heater, camp stove, campfire, or other concentrated heat source. Heat can warp fabric, damage coatings, melt mesh, and create a fire or carbon-monoxide hazard.
Deep-Drying Tents & Camping Gear on Tour
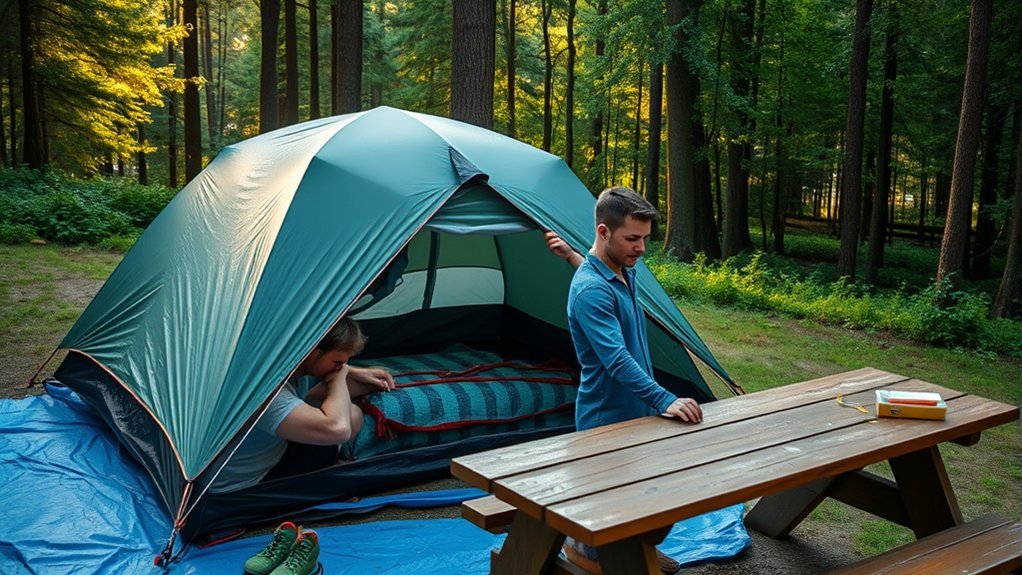
Rest days are a good time to deep-dry the tent and inspect it for problems. Choose a breezy, shaded campsite, covered porch, hostel drying room, garage, or other ventilated area. Pitching the tent is ideal because it separates layers and exposes corners, seams, vents, and pockets that remain damp when the fabric is folded.
If you cannot pitch it, hang the fly and body separately over smooth lines or rails. Avoid rough branches, wire fences, sharp hooks, and dirty pavement that may snag or abrade lightweight fabric.
Dry bags require active management. They are excellent for isolating wet equipment while traveling, but they also trap the moisture already inside. Open the bag during meal stops, rest breaks, or any dry-weather window. Even 15–30 minutes of airflow can remove surface moisture and reduce the amount that remains sealed during the next stage.
Pro Tip: Carry a small absorbent towel solely for the tent. Keep it in the wet zone after use so it does not transfer moisture to clothing or sleep equipment.
How to Protect a Packed Tent From Rain While Riding
When backpacking or cycle touring, give the wet tent a dedicated location instead of placing it between dry items. The best position depends on your luggage system:
- Backpack: Place the wet fabric in an exterior stretch pocket or inside its own sealed bag outside the main pack liner.
- Waterproof pannier: Use one pannier as the wet zone or place the tent in a separate liner so it cannot touch clothing, food packaging, or sleep equipment.
- Non-waterproof pannier: Seal the tent in a roll-top dry bag or heavy-duty plastic bag before loading it.
- Handlebar or rack carry: Strap the contained tent securely and keep it clear of wheels, brakes, lights, cables, and the drivetrain.
- Pack cover: Use it to limit new rain entering the pack, but do not rely on it to isolate moisture already inside the tent.
REI’s bike-touring guidance recommends waterproof panniers or waterproof inner sacks for equipment that must remain dry. Apply the same principle in reverse to the tent: isolate the wet shelter so its moisture cannot migrate into the dry load.
Warning: Secure every loose strap end before riding. Recheck the tent after the first few minutes because wet fabric may compress or shift, loosening the bundle. Keep the load balanced from side to side.
What’s the Best Way to Pack Away an Ultralight Tent?
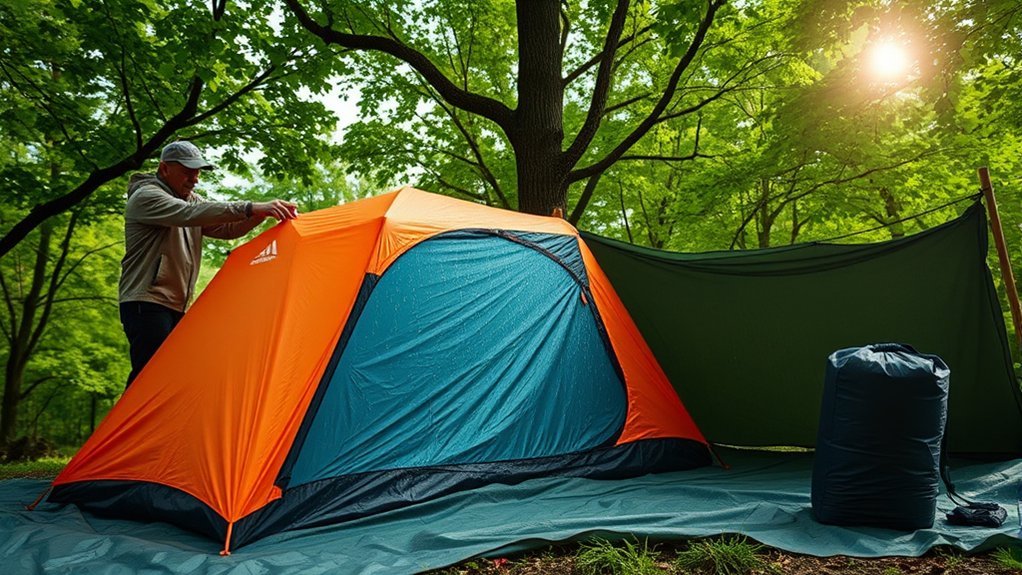
Ultralight fabrics require gentle handling because thin coatings and mesh can be damaged by grit, sharp pole ends, and repeated abrasion. Shake off water and debris before compressing the shelter. Do not drag the fly or inner tent across the campsite.
For a double-wall shelter, detach the wet fly from the inner tent when practical. Fold or stuff the fly and footprint together in the wet zone while keeping a dry or only slightly damp inner tent separate. For a single-wall tent, blot both surfaces and place the complete shelter in its dedicated wet bag.
There is no universal winner in the fold-versus-stuff debate. REI notes that either method can work. Follow your tent manufacturer’s instructions, vary fold lines when rolling, and avoid forcing fabric into an undersized sack.
Some brands instruct owners to roll a tent around poles secured in a pole sack. For example, Big Agnes uses this method for its packing system. Do not assume it applies to every ultralight tent. When the shelter is wet or gritty, keeping the poles separate can reduce abrasion and moisture transfer.
Here’s a practical summary of the process:
| Step | Action |
|---|---|
| 1. Shake | Shake off loose water, mud, sand, and debris. |
| 2. Separate | Keep a wet fly and footprint away from a relatively dry inner tent. |
| 3. Fold or stuff | Use the method recommended for your model without forcing or over-compressing the fabric. |
| 4. Pack poles | Roll around poles only when the manufacturer recommends it; otherwise, carry poles separately in their sack. |
| 5. Isolate | Place wet fabric outside the dry pack liner or inside a dedicated moisture barrier. |
What to Do When the Tent Cannot Dry
When It Keeps Raining
Use every short dry window. Open the tent bag under a shelter, tarp, pavilion, bridge overhang where access is permitted, hostel porch, or other protected area. Drape each component without blocking walkways or damaging property. Even when complete drying is impossible, removing surface water and allowing air to circulate reduces the amount of moisture you carry.
At the next campsite, pitch the wet fly first when the design permits. Keep the inner tent and sleeping gear protected until the rainfly provides cover. Once sheltered, wipe condensation and open all safe vents.
When the Tent Is Muddy, Sandy, or Salty
Do not aggressively scrub wet grit into lightweight fabric. Shake off loose debris and contain the tent for transport. At the next suitable location, rinse affected areas with clean cool or lukewarm water and follow the manufacturer’s cleaning instructions.
Saltwater residue deserves prompt attention because salt attracts moisture and can affect zippers and hardware. Rinse poles, stakes, buckles, and zipper tracks with fresh water, then dry them completely.
Signs the Tent Needs More Than Drying
Inspect the tent after it is clean and dry. Warning signs include a musty odor that returns, visible mold spots, sticky or flaky coatings, peeling seam tape, brittle fabric, corroded hardware, or water leaking through areas that previously stayed dry.
Minor seam-sealing and coating repairs may be possible with products made for the tent’s exact fabric and coating. Contact the manufacturer before applying a treatment because silicone-treated nylon, polyurethane-coated fabrics, and other materials require different products.
Long-Term Tent Care for Cycle Tourers
Once a riding day or trip ends, remove the tent from its transport bag even if it feels only slightly damp. Dry and inspect every component before putting it away. Keeping the wet shelter separate from sleeping equipment during the journey protects both the tent and the rest of your camping system.
Proper Drying Techniques
Pitch the tent in a ventilated location or hang the body, fly, and footprint separately. Open doors, vents, pockets, and folded panels. Turn each component at least once so areas touching the floor, line, or railing can dry.
Double-skin tents deserve extra attention because condensation can remain between the fly and inner tent or beneath the floor. Dry poles, stakes, guylines, and sacks separately. Do not repack the shelter until the seams, corners, and storage pockets feel dry.
Long-Term Storage Tips
Compact stuff sacks are useful during travel but are not ideal for seasonal storage. REI recommends storing a dry tent loosely in a cool, dry place. A breathable storage sack, mesh bag, or clean pillowcase allows the fabric to relax.
Avoid hot vehicle trunks, attics, damp basements, and places exposed to prolonged UV light. Keep the storage area away from fuel, solvents, household chemicals, sharp tools, and rodents. Inspect the tent before the next trip so you have time to address coating, zipper, pole, or seam problems.
Preventing Mold Growth
Moisture control is the most effective form of mold prevention. Do not assume a tent is dry because the outer fly feels dry; inspect seams, corners, pockets, and absorbent webbing. If the tent was packed wet, dry it the same day whenever practical and avoid leaving it sealed for more than 24 hours.
If visible mold or a strong musty odor appears, consult the tent manufacturer before cleaning it. Harsh detergents, bleach, aggressive scrubbing, and soaking beyond a cleaner’s instructions can damage coatings and water-repellent treatments.
Frequently Asked Questions
Can I use a regular bag instead of a trash bag?
Yes, provided the bag is durable, leak-resistant, and used only as temporary moisture containment. An ordinary cloth or mesh stuff sack will not isolate water. A roll-top dry bag or intact heavy-duty plastic bag is more reliable when the tent must ride inside a pack or pannier.
How long can a tent stay wet before it gets damaged?
There is no universal safe number of hours. Conditions such as warmth, humidity, dirt, coating type, and ventilation affect the risk. Open and dry the tent at the first opportunity. As a practical target, dry it the same day and avoid leaving it packed wet beyond 24 hours whenever possible.
Is it safe to fold a wet tent?
Yes, for temporary transport. Shake and blot it first, avoid grinding dirt into the fabric, and isolate it from dry gear. Do not leave the folded tent sealed after you reach a place where it can be opened and dried.
What if my pack does not have enough space for the wet tent?
Use an exterior stretch pocket or attach the tent in its own sealed bag with secure compression straps. Keep the load balanced and make sure no strap can reach a wheel, brake, chain, or moving component. Never sacrifice the protected space used for your sleeping bag and dry clothing.
Should I air out the tent immediately after packing?
Open it at the first safe and practical opportunity. You do not need to stop the moment it enters the bag, but airing it during a meal break, rest stop, or dry-weather window reduces the time moisture remains trapped.
Can I put a wet tent in a dry bag?
Yes. A dry bag can keep tent water away from other equipment, but it also traps the moisture inside. Use it for transport, open it during breaks, and remove the tent as soon as you reach camp or home.
How do I dry a tent when the rain does not stop?
Look for a ventilated covered area and hang the components separately. At home, use a garage, bathroom, laundry area, or non-carpeted room with open doors, windows, or a fan. Keep the tent away from heaters, flames, and concentrated hot air.
Conclusion
A wet tent does not have to soak the rest of your camping equipment. Remove surface water, separate wet components from dry ones, contain the tent in its own temporary moisture barrier, and reopen it whenever conditions permit. Once the trip ends, dry every component completely and store the tent loosely in a cool, dry location. These habits protect the shelter’s fabric, coatings, hardware, and the sleeping gear you depend on.
Sources
- REI Co-op: How to Clean, Waterproof and Care for a Tent — wet breakdown, drying, coating care, and moisture damage.
- REI Co-op: How to Store a Tent — complete drying and loose long-term storage.
- NEMO Equipment: Cleaning, Repairing and Storing Your Tent — indirect-light drying, heat precautions, and breathable storage.
- Big Agnes: How to Pack Your Tent — brand-specific folding, rolling, pole packing, and wet-tent care.
- U.S. Environmental Protection Agency: A Brief Guide to Mold, Moisture and Your Home — general 24–48-hour moisture and mold-prevention guidance.
