
Last Updated on July 29, 2026 by Mason Reed
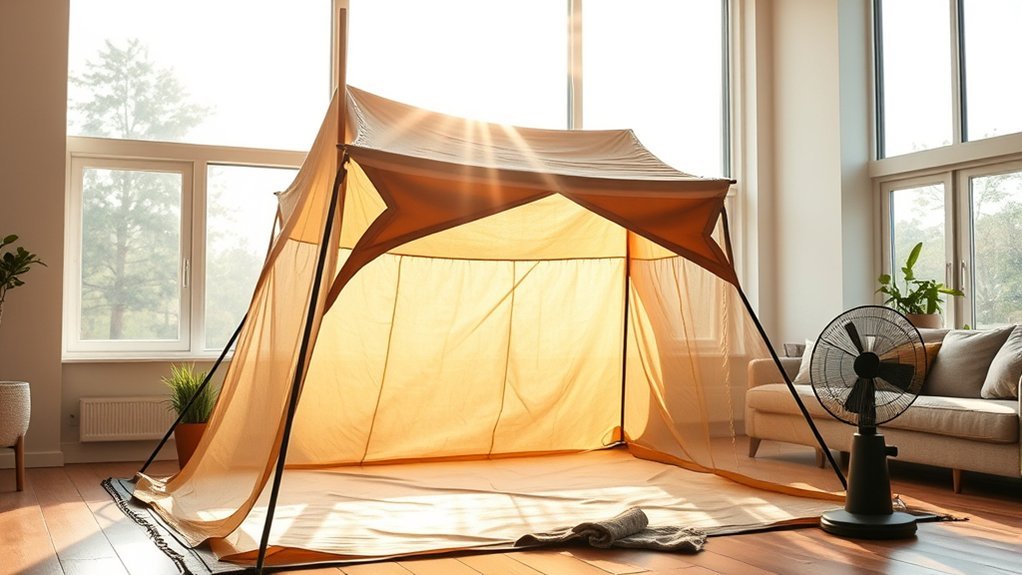
Drying a wet tent in an apartment is manageable when you control drips, separate the tent into parts, and keep air moving across every surface. Shake off water and debris before coming inside, protect the floor with a tarp or towels, and use a shower rod, drying rack, or sturdy furniture to keep the fabric spread out until it is completely dry.
Quick Answer
To dry a tent in an apartment without making a mess, shake it out outdoors, blot standing water, and place a tarp or towels under it. Separate the rainfly, tent body, footprint, poles, and stakes. Hang or drape each piece loosely, then use fans, ventilation, or a dehumidifier until every seam, corner, and storage bag feels fully dry.
Key Takeaways
- Remove as much water and dirt as possible before bringing the tent indoors.
- Dry the rainfly, tent body, footprint, poles, stakes, and stuff sack separately.
- Use airflow and low indoor humidity, not hairdryers, radiators, space heaters, or clothes dryers.
- Rotate and unfold the fabric so seams, corners, pockets, and pole sleeves can dry.
- Store the tent only when it is completely dry, preferably loose in a cool, dry place.
At a Glance
| Time Required | Several hours to overnight; longer for large tents, soaked seams, or humid rooms |
| Difficulty | Easy |
| Tools Needed | Tarp or towels, microfiber cloth, sturdy hangers or drying rack, and one or more fans; a dehumidifier is optional |
| Cost | Usually $0 with household supplies; optional drying equipment may add cost |
Disclosure: As an Amazon Associate I earn from qualifying purchases. Some links on this page are affiliate links, at no extra cost to you.
Why You Shouldn’t Store a Tent Wet
Putting a tent away damp can lead to mildew, bad odors, damaged seam tape, and the breakdown of polyurethane waterproof coatings. Moisture can speed a chemical process called hydrolysis, which may leave coated fabric sticky, flaky, or delaminated. REI’s tent-storage guidance recommends drying the tent completely before storage and keeping it loose in a cool, dry place.
Metal parts also need attention. Steel stakes and hardware can rust, while aluminum poles and connectors may corrode if they remain wet or salty. Dry these parts separately rather than rolling them inside damp fabric.
A tent is not ready for storage when the main panels feel dry; the seams, corners, pockets, sleeves, footprint, and stuff sack must be dry too.
How to Dry a Wet Tent in an Apartment
The safest indoor method uses three things: less standing water, more exposed surface area, and steady airflow. Work through the steps below instead of bunching the tent on one chair or leaving it packed in its sack.
1. Remove Water and Debris Before Coming Inside
When possible, shake the rainfly and tent body outdoors, in a hallway approved for wet gear, or over a bathtub. Brush away leaves, mud, sand, and pine needles. Use a clean microfiber towel to blot pooled water from the floor, rainfly, and corners. Blot rather than scrub so you do not abrade coated fabric.
2. Protect the Floor and Choose a Drying Zone
Lay down a clean tarp, waterproof mat, or several absorbent towels. A bathroom is often the easiest place because drips can fall into the tub and an exhaust fan can remove humid air. A living room near an open window can also work when outdoor air is not humid. Keep wet fabric off wood flooring, rugs, electronics, wall heaters, and upholstered furniture.
3. Separate Every Tent Component
Detach the rainfly from the inner tent. Remove the footprint, poles, stakes, guylines, and stuff sack. Open all doors, vents, pockets, and zippers. Separating the parts prevents the wetter rainfly from transferring moisture back to the tent body and gives hidden areas more air exposure.
4. Hang or Drape the Tent Without Straining It
Hang the tent over a sturdy shower rod, freestanding drying rack, or several wide hangers. You can also drape it loosely over chair backs or a clean railing. Spread the load across several support points so wet fabric does not pull hard on one loop, zipper, mesh panel, or seam. Make sure the shower rod or rack can safely hold the weight of the wet tent.
5. Use Fans for Circulation
Position fans so air moves across both sides of the fabric. Do not wad the tent directly in front of one fan. Rotate the fabric and change the fan angle every few hours so damp corners and folded layers receive airflow.
| Fan Placement | Purpose | Best Practice |
|---|---|---|
| A few feet from the tent | Moves air across broad panels | Use a low or medium setting and keep fabric clear of the blades |
| Across the room | Improves whole-room circulation | Pair with an open window, exhaust fan, air conditioner, or dehumidifier |
| Toward damp seams or corners | Targets moisture traps | Reposition the tent instead of blasting one small spot with heat |
Fans work best when humid air can leave the room. The U.S. Environmental Protection Agency recommends keeping indoor relative humidity below 60%, ideally around 30% to 50%, to reduce moisture and mold problems. A dehumidifier or air conditioner can help when outside air is humid. See the EPA’s moisture-control guidance.
Warning: Do not use a hairdryer, clothes dryer, space heater, radiator, fireplace, or other concentrated heat source. High heat can damage synthetic fabric, seam tape, waterproof coatings, and elastic parts. Keep wet fabric away from outlets and powered equipment.
6. Rotate the Tent and Check Hidden Areas
Flip or reposition the tent several times. Run a dry hand or cloth along seams, floor corners, pole sleeves, webbing, pockets, zipper flaps, and reinforced patches. These thicker areas often stay damp after the large panels feel dry. Leave the tent spread out longer when in doubt.
Using Your Apartment Space Effectively
A small apartment can still provide enough drying area when you use vertical space and divide the tent into manageable pieces.
Use Vertical Space
Hang the rainfly and tent body at different heights so they do not overlap. A collapsible drying rack works well for the rainfly, footprint, guylines, and stuff sack. Wide hangers can support doors or vestibules without pinching the fabric. Wall or ceiling hooks are useful only when they are securely installed and rated for the wet load.
Create a Drip Zone and a Drying Zone
Use the bathtub or a tarp-covered area as the initial drip zone. Once the tent stops dripping, move sections to a better-ventilated drying zone near a window, exhaust fan, or dehumidifier. Keeping these zones separate protects floors and makes it easier to track which pieces are still damp.
Pro Tip: Put the wettest item—the rainfly—over the bathtub first. Dry the less-wet inner tent elsewhere. This prevents the rainfly from dripping onto fabric that was already close to dry.
Alternative Drying Methods for Indoor Spaces
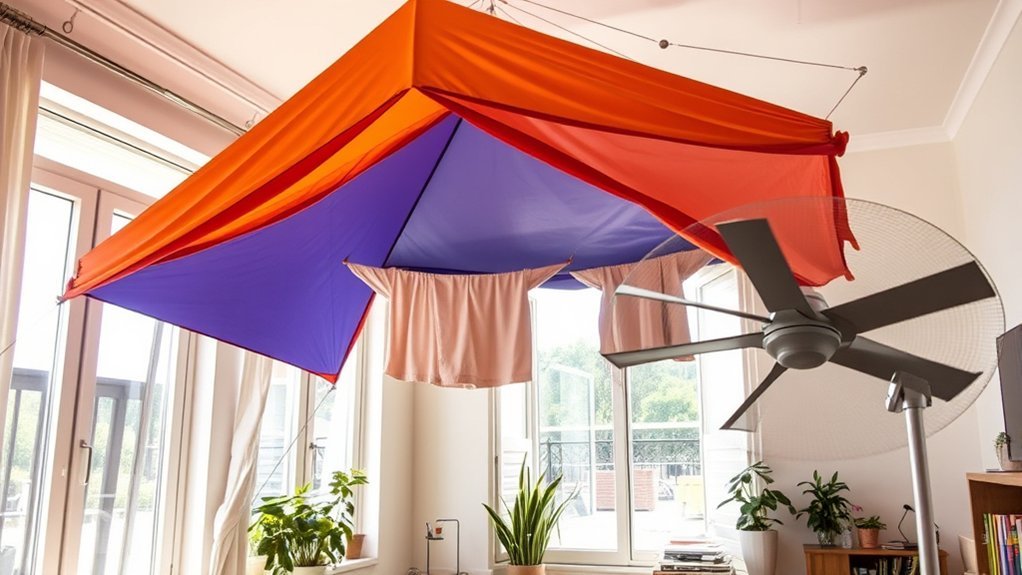
If you cannot pitch the tent indoors, use one of these compact setups:
- Bathtub setup: Drape the tent over a shower rod or freestanding rack so water falls into the tub. Run the bathroom exhaust fan.
- Doorway setup: Use a tension rod or sturdy over-door rack, but keep the fabric clear of hinges and dirty floors.
- Chair-back setup: Arrange several clean chairs in a row and drape the tent loosely across them. Place towels below the lowest points.
- Balcony or patio setup: Use a shaded, secure area with good airflow. Keep the tent off dirty or wet concrete and prevent it from blowing away.
- Indoor pitch: Set up the tent without staking it only if there is enough room and no risk of poles hitting lights, fans, sprinklers, or fragile objects.
Avoid prolonged direct sunlight. Big Agnes advises air drying while limiting long UV exposure because it can weaken waterproofing and fabric over time.
How to Prevent a Mess While Drying
Most indoor mess comes from water trapped in folds, mud transferred from the tent floor, or a dripping rainfly moved too soon. Use this simple order:
- Shake and brush the tent outdoors.
- Blot standing water before carrying it through the apartment.
- Carry wet parts in a clean plastic bin, laundry basket, or waterproof tote.
- Lay a tarp or towels beneath the full drying area.
- Keep the wettest edges over the bathtub or center of the tarp.
- Replace soaked towels before water reaches the floor.
- Wipe the floor and drying rack after the tent is moved.
Do not let coated fabric sit against painted walls, unfinished wood, leather, or delicate upholstery. Moisture, dirt, and coatings can leave marks.
Spot-Clean Before the Tent Fully Dries
If the tent is muddy, spot-clean it while the dirt is still easy to remove. Use cool to lukewarm water, a soft cloth or nonabrasive sponge, and the cleaner recommended by the tent manufacturer. MSR’s care instructions advise hand washing with mild, non-detergent soap when needed and warn against dishwashing liquid, detergent, bleach, machine washing, dry cleaning, and machine drying.
Rinse away cleaner residue and return the tent to the drying setup. Do not scrub waterproof coatings, seam tape, mesh, or printed areas aggressively.
Note: Always check the care label or manufacturer instructions for your exact tent. Coatings, fabrics, printed graphics, and integrated lighting systems can require different cleaning methods.
How to Tell When a Tent Is Completely Dry
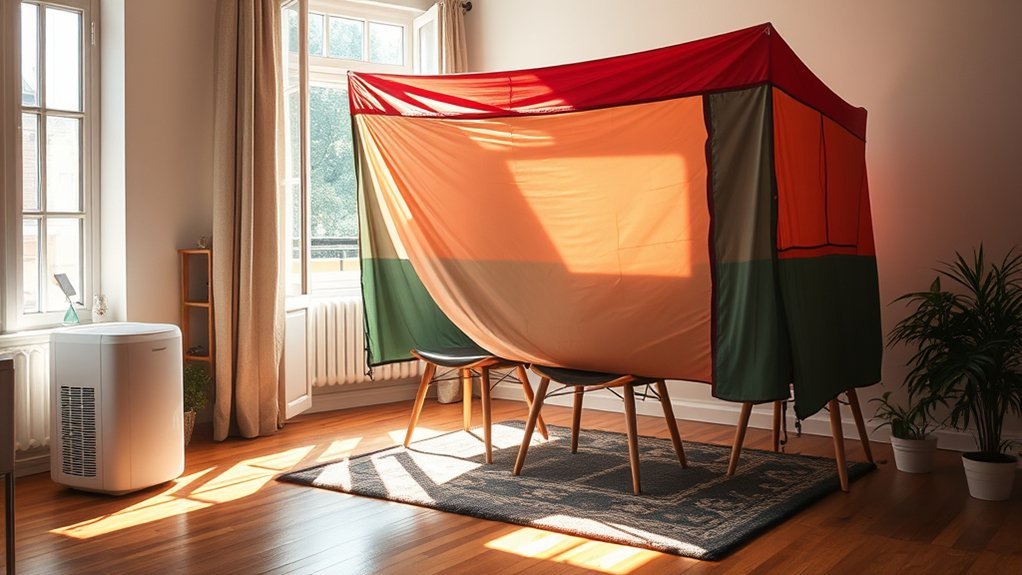
Do not rely only on elapsed time. Drying may take a few hours or longer depending on tent size, fabric thickness, how soaked it was, room temperature, airflow, and humidity. The tent is ready to store only when all of the following are true:
- No surface feels cool, clammy, or tacky from moisture.
- A dry cloth pressed into floor corners and seams comes away dry.
- Pockets, sleeves, webbing, guylines, and zipper flaps are dry.
- The underside of the rainfly and footprint are dry.
- Poles, stakes, repair sleeves, and hardware are dry.
- The stuff sack and any accessory bags are dry inside and out.
After the first inspection, refold the tent loosely in a different direction and check again. Moisture hidden between layers may appear after the fabric is moved.
Drying Poles, Stakes, the Footprint, and the Stuff Sack
Wipe poles and stakes with a clean cloth. Pay attention to pole joints, ferrules, shock cord openings, and stake grooves. If the gear was exposed to saltwater or road salt, rinse it with fresh water first, then dry it thoroughly. Spread the footprint flat or hang it separately because its coated underside often dries more slowly than the tent body.
Turn the stuff sack inside out so seams and the drawcord channel can dry. A damp sack can transfer moisture back to an otherwise dry tent.
Troubleshooting Slow Indoor Drying
The Tent Is Still Damp After Several Hours
Separate overlapping layers, open every zipper and vent, rotate the fabric, and add cross-ventilation. If the room feels muggy or windows are fogging, use a dehumidifier, air conditioner, or bathroom exhaust fan instead of adding more warm air.
Condensation Is Forming on Windows or Walls
The room is holding too much moisture. Move the tent to a bathroom with an exhaust fan, run a dehumidifier, or open windows only when the outdoor air is drier. Wipe condensation promptly so the apartment itself does not develop a moisture problem.
The Tent Smells Musty
First confirm that it is fully dry. If the smell remains, clean it according to the manufacturer’s instructions with a tent-safe cleaner. For stubborn organic odors, some manufacturers recommend a gear-specific enzyme cleaner used exactly as directed. Do not automatically use household vinegar, bleach, scented detergent, or stain remover because these products may damage coatings or leave residue.
There Is Visible Mold or Coating Damage
Move the tent outdoors or to a well-ventilated work area and avoid spreading spores through the apartment. Follow the tent maker’s cleaning instructions. If the coating is sticky, flaky, or peeling, or if seam tape is lifting, contact the manufacturer about repair or replacement. Drying alone will not restore a failed coating.
Maintaining and Storing Your Tent for Longevity
Once every part is completely dry, store the tent loosely in a cool, dry location. The small carry sack is convenient for travel but can trap folds and limit airflow during long-term storage. An oversized mesh bag, cotton pillowcase, or other breathable storage bag is usually a better choice. Avoid hot car trunks, attics, damp basements, and locations next to heaters or plumbing leaks.
Keep poles and stakes dry and clean. If space allows, store pole sections partly assembled to reduce long-term tension on the shock cord; otherwise, collapse them from the middle toward the ends so tension is distributed more evenly. Inspect seams, coatings, zippers, and repair patches before the next trip.
Routine care does not require frequent deep washing. Shake out dirt after trips, spot-clean when needed, dry the tent after every use, and limit prolonged UV exposure. These habits help preserve waterproofing and reduce odors, mildew, abrasion, and corrosion.
Frequently Asked Questions
Can I use a hairdryer to dry my tent?
It is better not to. Concentrated heat can damage fabric, seam tape, elastic, and waterproof coatings. Use room-temperature airflow from a fan, exhaust ventilation, air conditioning, or a dehumidifier instead.
How long does it take for a tent to dry indoors?
There is no reliable fixed time. A lightly damp backpacking tent may dry within several hours, while a large or soaked tent can take overnight or longer. Airflow, humidity, tent size, fabric thickness, and hidden wet seams matter more than the clock.
What should I do if my tent smells musty after drying?
Check again for hidden dampness, then follow the manufacturer’s cleaning instructions. Use a tent-safe or gear-specific cleaner and rinse thoroughly. A persistent musty smell, sticky coating, or peeling seam tape can indicate mildew or coating breakdown that may need professional repair or replacement.
Is it safe to dry my tent near a heat source?
No. Keep the tent away from radiators, space heaters, fireplaces, heating vents, and clothes dryers. High heat can distort synthetic fabric and damage waterproof coatings, seam tape, and elastic components.
Can I dry my tent in a small bathroom?
Yes, provided the bathroom has good ventilation and the shower rod or rack can hold the wet weight. Drape the tent so it does not block the exhaust fan, touch a heater, or bunch into wet folds. Keep the fan running until the room and tent are dry.
Should I dry the rainfly and inner tent separately?
Yes. The rainfly is often much wetter than the inner tent. Separating them improves airflow and prevents moisture from transferring between layers. Dry the footprint and stuff sack separately as well.
Can I dry a tent in direct sunlight?
Brief outdoor drying can help, but prolonged direct sunlight exposes fabric and waterproof coatings to damaging ultraviolet radiation. A shaded, breezy area is safer for routine drying.
Conclusion
Drying a tent indoors does not have to soak your apartment or damage your gear. Remove water and dirt before coming inside, protect the floor, separate every component, and use steady airflow with low humidity. Check seams, corners, pockets, poles, stakes, and storage bags before packing anything away. Once the entire tent is dry, store it loosely in a cool, dry place so it is ready for the next trip.
Sources
- REI Co-op: How to Store a Tent — supports complete drying and loose, cool, dry storage.
- Big Agnes: How to Wash Your Tent — supports tent-safe cleaning, complete air drying, and limiting prolonged UV exposure.
- MSR: Tent Cleaning and Care Guidance — supports hand cleaning, line drying, and avoiding detergent, bleach, dry cleaning, and machine drying.
- Coleman: Tent Care Guide — supports shaded air drying and avoiding high heat.
- U.S. Environmental Protection Agency: Mold and Moisture Guide — supports ventilation and indoor humidity control.
