
Last Updated on July 29, 2026 by Mason Reed
Wet hiking shoes can make a tent vestibule damp and unpleasant, but the solution is not high heat or heavy deodorizer. The safest approach is to remove trapped water, expose every removable part, increase airflow, and keep the footwear separated from your sleeping area while it dries.
Quick Answer
Remove the insoles and laces, drain and blot the shoes, then stuff them loosely with newspaper or paper towels. Place them upright in a ventilated vestibule, change damp paper often, and use cool airflow if available. Avoid direct heat, seal wet shoes only for transport, and expect soaked boots to need overnight or longer.
Key Takeaways
- Remove laces and removable insoles so air can reach the lining, tongue, and toe box.
- Use absorbent paper for soaked footwear and replace it whenever it becomes damp.
- Open tent vents and use sheltered cross-ventilation without allowing rain to enter.
- Never dry hiking footwear beside a flame, heater, hot rock, radiator, or other direct heat source.
- Use silica, clay, or charcoal inserts for residual dampness and odor, not as the main method for drying waterlogged shoes.
At a Glance
| Time Required | About 10 minutes to set up; several hours to overnight or longer for drying |
| Difficulty | Easy |
| Tools Needed | Newspaper or paper towels, a dry cloth, and optional fan or reusable drying inserts |
| Cost | Usually no cost with supplies already on hand; optional inserts or a boot dryer cost extra |
Disclosure: As an Amazon Associate I earn from qualifying purchases. Some links on this page are affiliate links, at no extra cost to you.
Best Practices for Drying Wet Shoes in a Tent
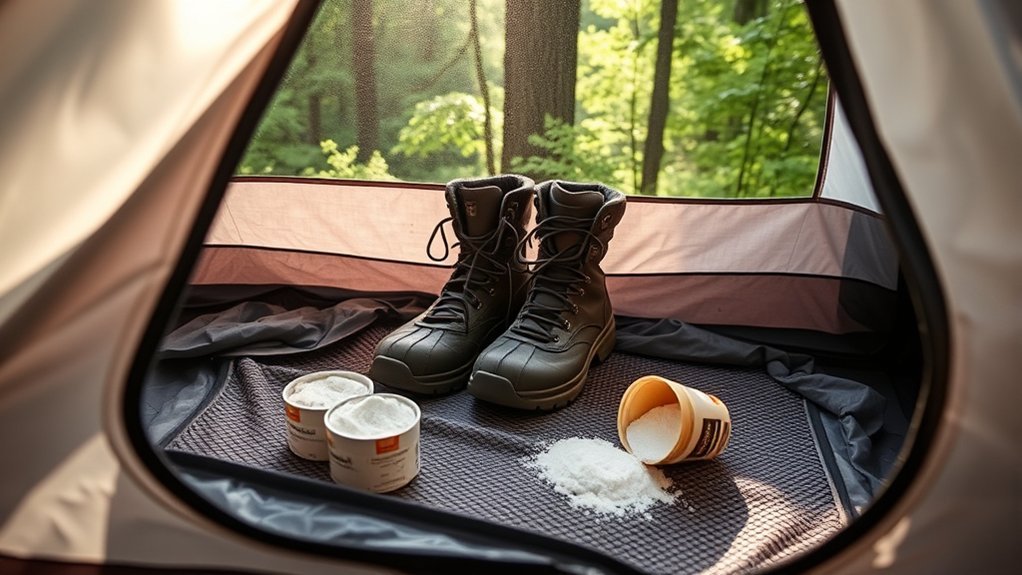
Act as soon as you reach camp. Water held beneath an insole or deep in the toe box can remain long after the upper feels dry. The following process works for hiking shoes, trail runners, and many boots, although you should always follow the footwear manufacturer’s care instructions.
- Move the shoes to a sheltered area. Use the vestibule, a covered porch, or a spot beneath a securely pitched tarp. Keep the shoes off your sleeping bag and away from the inner tent wall.
- Remove the laces and insoles. Open the tongue as far as it will comfortably go. Dry the laces and insoles separately where air can reach both sides.
- Drain and blot excess water. Turn the shoes opening-down briefly, then use a clean cloth or paper towel to remove standing water. Brush or wipe away mud that could block airflow.
- Stuff the toe box loosely. Newspaper or paper towels can pull moisture from the lining. Do not pack the paper so tightly that it blocks air. Replace it whenever it becomes saturated.
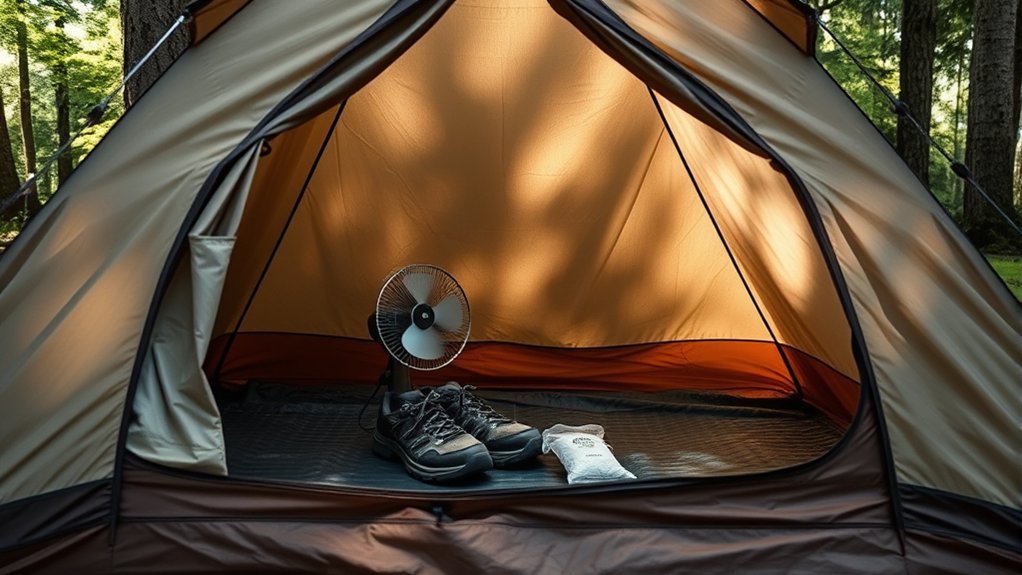
- Increase cool airflow. Set the shoes upright or on their sides with the openings facing moving air. A battery-powered fan can help. REI recommends normal temperatures, low humidity, a fan, and frequently changed newspaper rather than a heat source in its hiking-boot drying guidance.
- Add a drying insert near the end. Once the shoes are damp rather than soaked, reusable silica, clay, or charcoal inserts may help remove residual moisture and odor.
- Check before wearing. Press a dry finger or cloth into the toe box, heel lining, seams, and area beneath the insole. Reinstall the insoles only after both the shoes and footbeds feel dry.
Warning: Do not place wet shoes beside a campfire, stove, heater, radiator, hot rock, vehicle vent, or other direct heat source. High heat can crack leather, distort synthetic materials, damage waterproof membranes, and weaken the adhesives that bond the sole.
Airflow at a moderate temperature is safer for hiking footwear than trying to force a quick dry with intense heat.
How Long Will Wet Shoes Take to Dry?
There is no dependable universal drying time. Lightly damp trail shoes may dry in several hours under warm, breezy conditions. Waterlogged leather boots, insulated footwear, and shoes with waterproof membranes may need overnight or longer, especially in cold or humid weather.
Use touch rather than the clock. A shoe is not fully dry if the toe box, heel lining, seams, insole, or padding still feels cool and clammy. Waterproof boots may also hold water inside longer than breathable mesh footwear.
Importance of Ventilation in Preventing Odors
Wet footwear releases moisture into the vestibule and can increase the humidity around the inner tent. Use the tent’s built-in vents first, and create cross-ventilation when weather conditions allow. REI’s tent-condensation guidance recommends opening rainfly vents and doors, especially opposing vents, while closing them as needed when rain begins.
| Action | Purpose | Best Use |
|---|---|---|
| Open built-in rainfly vents | Releases humid air | Use whenever the tent design and weather permit |
| Crack the leeward vestibule door | Creates sheltered airflow | Use when rain is not blowing toward the opening |
| Elevate or tilt the shoes | Exposes the soles and openings to air | Use a dry rock, rack, or stable gear platform |
| Keep shoes away from the inner wall | Prevents moisture transfer | Leave space around each shoe instead of stacking them |
| Air the vestibule during dry periods | Replaces damp air with drier outside air | Open the door more fully after rain stops |
Pro Tip: Point the shoe openings toward the moving air and turn the shoes after an hour or two. Air must reach the toe box, not just pass over the outer fabric.
What to Do When the Rain Continues
Keep the shoes under the rainfly rather than exposing them to more water. Open sheltered vents and crack the vestibule on the side facing away from wind-driven rain. Place the shoes on a dry groundsheet corner, shallow gear tray, or stable raised surface so water cannot pool around the soles.
If the air is extremely humid, the goal may be moisture reduction rather than complete overnight drying. Replace wet paper, keep dry socks protected, and continue drying the shoes during the next dry or breezy period.
Moisture-Absorbing Solutions for Shoes
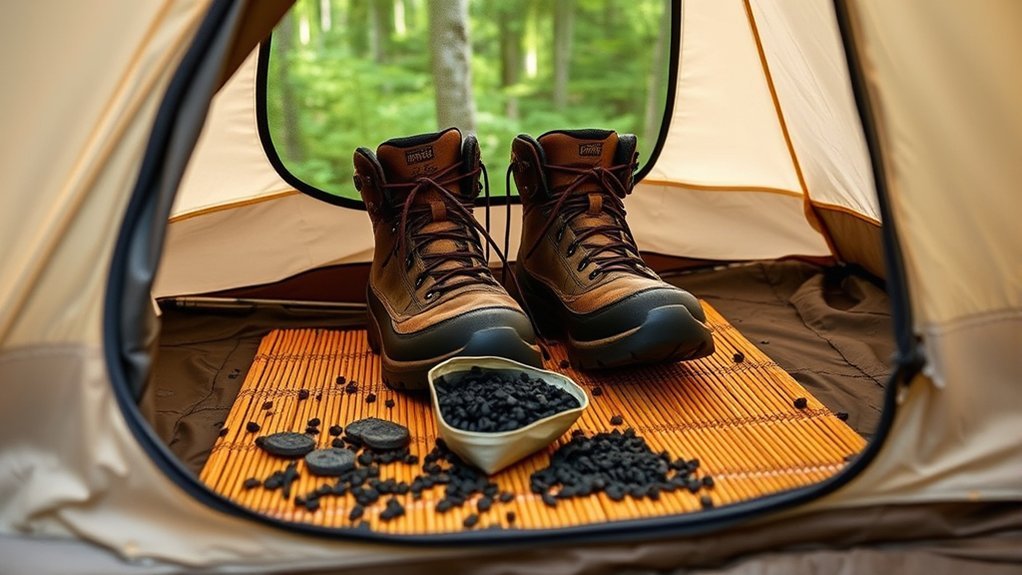
Absorbent materials work best when matched to the amount of water in the footwear. A small desiccant packet cannot handle the same amount of moisture as several sheets of replaceable paper.
- Newspaper or paper towels: Best for shoes that are soaked. Stuff them loosely, remove them when wet, and repeat as needed.
- Clean, dry cloth: Useful when paper is unavailable. Wring it out away from the tent and replace it with another dry cloth if possible.
- Silica-gel packets: Better for residual humidity than standing water. Use intact packets and keep them away from children and pets.
- Reusable clay or charcoal inserts: These may help with remaining dampness and odor after the first drying stage.
- Specialized inserts such as KickDry: These are optional moisture-and-odor products, not replacements for drainage, absorbent paper, and airflow.
Note: Rice-filled socks are sometimes suggested as a home drying method, but rice is inefficient for waterlogged footwear and is food. Do not leave rice or other food unsecured in a vestibule, especially where wildlife food-storage rules apply.
What If the Shoes Still Smell After Drying?
Dry the shoes fully before treating odor. Odor-control products cannot correct moisture that remains trapped under the insole or inside thick padding.
- Remove and inspect the insoles.
- Brush away dried mud and debris.
- Clean the footwear and insoles according to the manufacturer’s instructions.
- Allow every part to dry separately at a moderate temperature.
- Use a manufacturer-approved odor insert or treatment only after the shoes are dry.
Activated-charcoal, clay, or silica inserts can help control residual odor and humidity. Baking soda is also used in some footwear-care routines, but loose powder can be messy and may be unsuitable for certain linings or membranes. Keep it inside a breathable pouch and check the shoe manufacturer’s instructions before use.
Tips for Maintaining Foot Hygiene While Camping
Foot odor often begins with sweat and moisture trapped against the skin. The CDC’s foot-hygiene guidance recommends washing and completely drying the feet, changing socks at least daily, and changing shoes regularly when possible.
- Wash your feet: Clean them after hiking when water and campsite rules allow. Remove grit that could rub the skin inside damp socks.
- Dry between the toes: Pay special attention to areas where moisture remains trapped.
- Change wet socks promptly: Keep at least one dry pair protected in a waterproof inner bag.
- Choose quick-drying socks: Wool and synthetic hiking socks generally manage moisture better than slow-drying cotton.
- Air your feet at camp: Change into dry camp shoes or sandals when conditions are safe.
- Inspect for trouble: Check for hot spots, blisters, cuts, cracking, redness, or swelling before the next day’s hike.
Warning: Wet shoes and socks can increase heat loss in cold weather. Change into dry socks, protect your feet from wind and cold, and seek shelter if your feet become persistently numb, unusually pale, or painful. OSHA advises staying dry because moisture can increase heat loss during cold exposure.
Persistent itching, scaling, drainage, spreading redness, severe pain, or a wound that is not healing should not be treated as a simple shoe-odor problem. Seek appropriate medical care, particularly if you have diabetes, reduced circulation, or decreased sensation in your feet.
Strategies for Rotating Shoe Usage
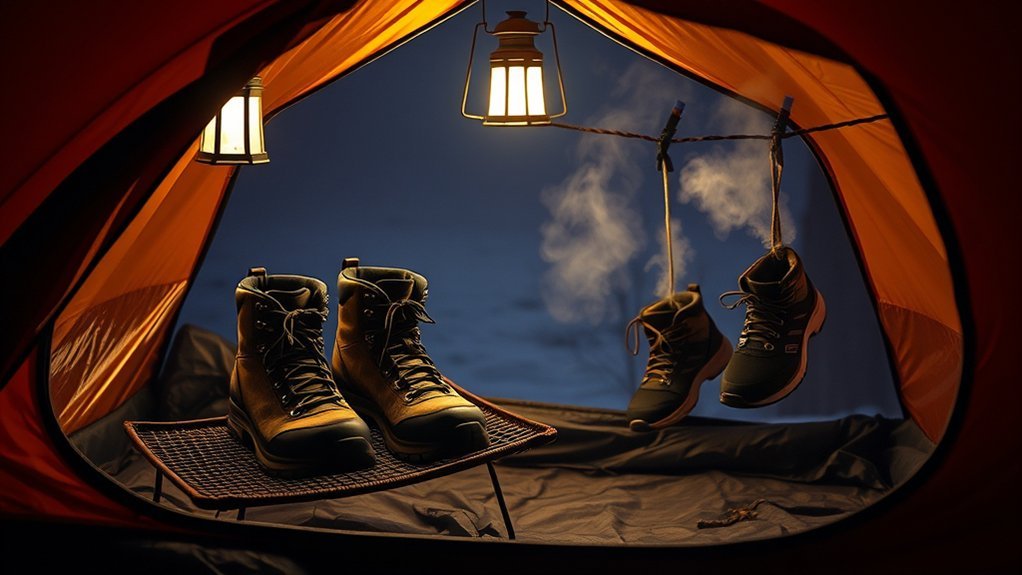
Rotating footwear gives a damp pair more time to dry, but carrying several full pairs is not essential for every trip. Choose a strategy that matches your camping style.
Car Camping
Pack a second pair of walking shoes or sandals if space allows. After reaching camp, remove the wet hiking shoes, take out the insoles, and start the drying process while wearing the dry pair around the campsite.
Backpacking
Weight matters more when every item must be carried. A lightweight pair of camp sandals may be practical, but extra dry socks often provide more value than a second pair of hiking shoes. Protect the dry socks in a waterproof bag and use them only after cleaning and drying your feet.
Simple Evening Routine
- Remove the hiking shoes as soon as camp is established.
- Take out the insoles and loosen or remove the laces.
- Put on dry socks and camp footwear.
- Dry the hiking shoes in the ventilated vestibule.
- Turn the shoes and replace wet paper before sleeping.
- Check the lining and insoles again in the morning.
Special Care for Different Shoe Materials
Leather and Suede Footwear
Dry leather and suede slowly at room temperature. Keep them away from direct sunlight, flames, heaters, and other intense heat. Paper can help absorb water and support the shape, but it should not be packed tightly. Apply conditioner or waterproofing only when the product and footwear manufacturer recommend it.
Waterproof-Membrane Footwear
Remove the laces and footbeds, then dry the shoes naturally at moderate temperatures. GORE-TEX advises avoiding direct heat and notes that convection-style boot dryers can work well. Follow its current footwear care instructions and the shoe manufacturer’s label.
Insulated Boots
Insulated padding can hold water deep inside the boot. Remove any detachable liner and dry it separately. Expect the process to take longer than it would for an uninsulated trail shoe.
Mesh Trail Runners
Breathable trail runners often dry faster because air moves through the upper more easily. Remove the insoles, open the tongue, and use airflow. Avoid twisting or aggressively wringing the shoes, which can damage their shape.
Transporting Wet Shoes Without Soaking Your Gear
A waterproof sack or plastic bag can isolate wet shoes from clothing and sleeping gear, but it should be treated as temporary transport rather than storage.
- Drain and blot the shoes before packing them.
- Remove the insoles and carry them separately when practical.
- Place the shoes in an outside backpack pocket if the design allows.
- If you must seal them in a bag, unpack and ventilate them at the next stop.
- Keep muddy footwear away from food, cookware, and clean water containers.
Note: A waterproof bag protects the rest of your pack, but it also traps humid air around the shoes. Do not leave wet footwear sealed longer than necessary.
Troubleshooting Wet Camping Shoes
The Shoes Are Still Wet in the Morning
Remove any paper that became saturated overnight. Blot the lining again, reinstall only dry insoles, and wear dry socks. Continue airing the shoes during breaks when weather permits. Do not use a fire or stove to rush the process.
Only the Toe Box Remains Damp
Turn the shoes so their openings face the breeze or fan. Use smaller, loosely rolled pieces of absorbent paper that reach the toe without completely filling the airspace.
The Vestibule Smells Musty
Remove wet paper, socks, towels, and other damp gear. Open the vents, wipe any pooled water from the groundsheet, and air the vestibule during the next dry period. Do not try to cover the odor with heavy fragrance while moisture remains.
The Shoes Were Soaked by Dirty Water
Rinse or clean them according to the manufacturer’s directions before drying. Mud, organic debris, and sweat left in the lining can continue to produce odor after the water evaporates.
Frequently Asked Questions
Can I use newspaper to dry my wet shoes?
Yes. Stuff the shoes loosely so the paper touches the wet lining without blocking all airflow. Replace the newspaper whenever it becomes damp. Paper works best alongside ventilation rather than as the only drying method.
How long does it take for shoes to dry?
Lightly damp shoes may dry in several hours, while soaked leather, insulated, or waterproof footwear can need overnight or longer. Humidity, temperature, airflow, and construction all affect the result. Check the toe box, lining, seams, and insoles instead of relying on a fixed number of hours.
What if my shoes are leather?
Remove the laces and insoles, blot the water, and let the leather dry slowly at room temperature. Avoid fires, heaters, radiators, and intense sunlight because excess heat can crack leather and weaken adhesives. Use leather conditioner only when the manufacturer recommends it.
Are there specific products for shoe odor prevention?
Reusable charcoal, clay, or silica inserts may help control residual moisture and odor. Products such as KickDry are one optional example. Dry and clean the shoes first, follow the care label, and avoid pouring loose powders into waterproof membranes or delicate linings.
Can I store wet shoes in my backpack?
You can isolate them in a waterproof bag for short transport, but sealing them traps moisture and slows drying. Drain and blot the shoes first, use an outside pocket when possible, and unpack them as soon as you reach a sheltered, ventilated location.
Can I dry shoes next to a campfire?
No. Even when the shoes do not burn, concentrated heat can shrink or harden materials, crack leather, damage membranes, and weaken glued areas. Use moderate-temperature airflow instead.
Should I put wet shoes inside the sleeping area?
Keep them in the vestibule or another sheltered area when possible. Wet footwear adds moisture near your sleeping gear and may increase condensation. Make sure the shoes remain protected from rain and do not touch the inner tent wall.
Conclusion
To keep wet shoes from making a tent vestibule smell, remove the laces and insoles, blot standing water, use replaceable absorbent paper, and maximize safe airflow. Open vents and a sheltered door when weather permits, but never use direct heat to force the process.
Expect drying time to vary. Soaked leather, insulated, and waterproof boots may need overnight or longer. Keep your feet and socks clean and dry, use odor-control inserts only after the main moisture is gone, and seal wet footwear only when temporary transport requires it.
Sources
- REI Co-op: How to Waterproof Boots for Hiking — supports room-temperature drying, fan use, newspaper, and avoiding heat sources.
- REI Co-op: How to Prevent Condensation in a Tent — supports opening rainfly doors and opposing vents for ventilation when conditions allow.
- GORE-TEX: Footwear Care Instructions — supports removing laces and footbeds, moderate-temperature drying, and avoiding direct heat.
- Centers for Disease Control and Prevention: Foot Hygiene — supports washing and fully drying feet and changing shoes and socks regularly.
- Occupational Safety and Health Administration: Cold Stress Guide — supports keeping clothing and footwear dry during cold exposure.
- National Park Service: Bear Safety and Food Storage — supports keeping food secured and away from the sleeping area in wildlife country.
