
Last Updated on July 29, 2026 by Mason Reed
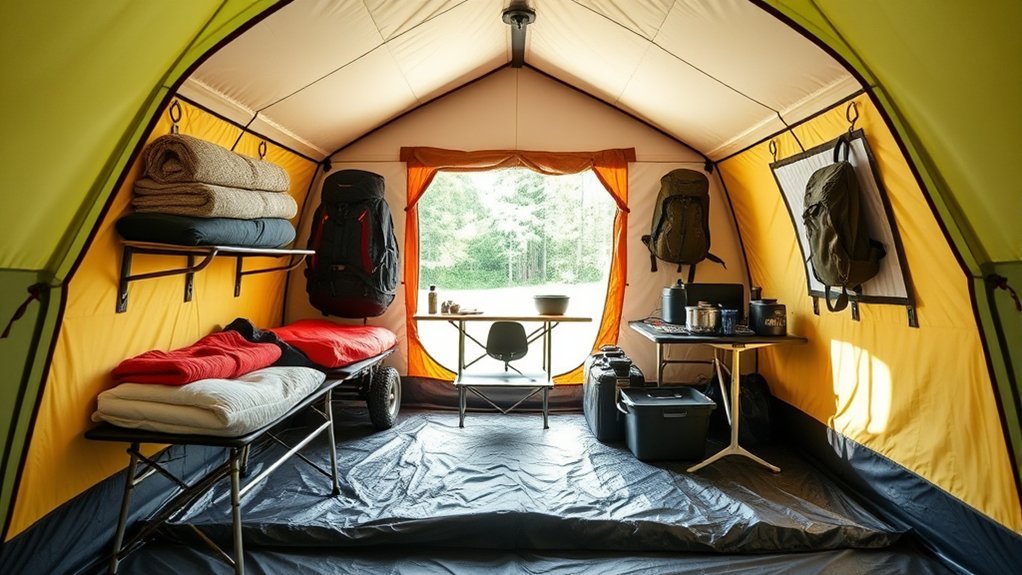
A tidy tent is safer, more comfortable, and much easier to use after dark. The goal is not to squeeze every item inside. It is to give each essential a reliable place, keep the sleeping area dry, preserve a clear path to the door, and move food, scented products, wet gear, and bulky equipment to more suitable storage areas.
Quick Answer
Divide the tent into sleeping, nighttime-essential, clothing, and wet-gear zones. Keep the center and doorway clear, place small items in pockets or labeled sacks, and use the vestibule for boots and packs. Store food, toiletries, trash, and cooking gear according to local wildlife rules—usually outside the tent.
Key Takeaways
- Build your layout around the sleeping pads, doors, and a clear nighttime exit route.
- Keep a headlamp, footwear, warm layer, and essential medication where you can reach them without searching.
- Use the vestibule for boots, a protected backpack, and wet gear without covering vents or blocking the door.
- Do not keep food, trash, toiletries, flavored drinks, or odorous cooking equipment in the sleeping tent where wildlife rules prohibit it.
- Use ordinary stuff sacks for organization and seam-taped roll-top dry bags when real water protection is needed.
At a Glance
| Time Required | About 10–15 minutes after pitching the tent |
| Difficulty | Easy |
| Tools Needed | Stuff sacks or packing cubes, one waterproof bag for wet gear, a small ground cloth or vestibule mat, and the tent’s built-in pockets |
| Cost | $0 with bags you already own; roughly $10–$40 for optional organizers or dry bags |
Disclosure: As an Amazon Associate I earn from qualifying purchases. Some links on this page are affiliate links, at no extra cost to you.
Why Tent Organization Matters
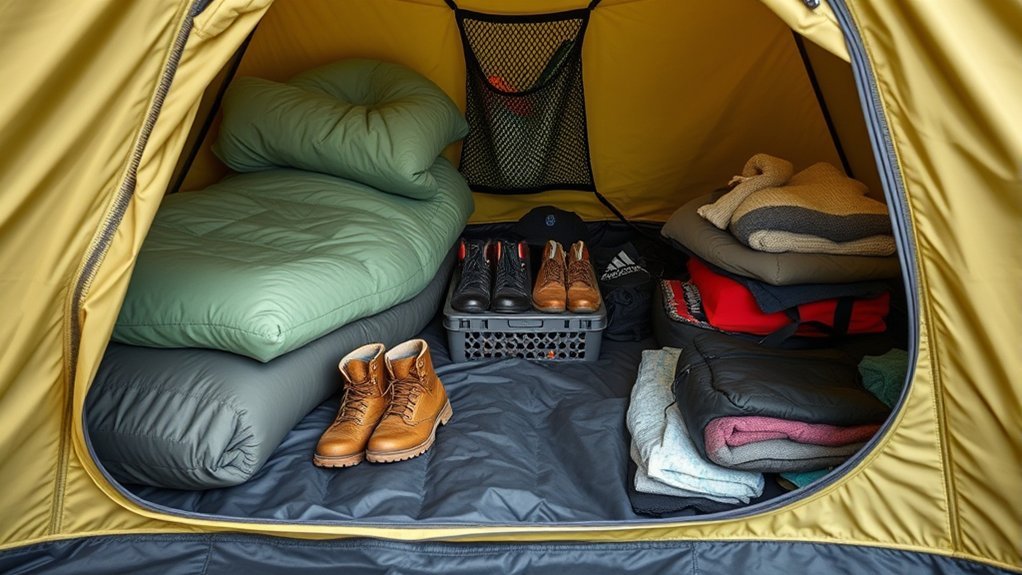
An organized tent gives you more than a neat-looking floor. It helps you find a headlamp, medication, rain jacket, or warm layer without emptying your backpack in the dark. It also reduces the chance of stepping on glasses, electronics, tent zippers, or sharp equipment.
Your layout should protect three things first: your sleeping insulation, your exit route, and your emergency essentials. Everything else can be placed around those priorities. The National Park Service recommends carrying illumination, insulation, first-aid supplies, water, and other trip-specific essentials. Keeping those items organized makes them easier to use when conditions change.
A well-organized tent keeps the sleeping area dry, the doorway open, and essential gear reachable with one hand.
Use a Five-Zone Tent Organization System
Instead of finding a separate place for every object, divide the tent and vestibule into five simple zones. The exact shape will change with the tent, but the system works for backpacking shelters and larger car-camping tents.
- Sleeping zone: Sleeping pads, sleeping bags or quilts, and pillows.
- Nighttime zone: Headlamp, glasses, medication, watch or travel clock, warm layer, and permitted emergency equipment.
- Clothing zone: Clean sleep clothes, next-day clothing, and spare insulation in one labeled bag.
- Wet and dirty zone: Boots, damp rain gear, gaiters, and muddy items in the vestibule or on a waterproof mat.
- Outside storage zone: Food, trash, toiletries, flavored drinks, cooking equipment with food residue, and other scented items stored as local rules require.
Warning: Never operate a fuel-burning stove, grill, heater, or lantern inside a tent. These devices can start a fire and produce deadly carbon monoxide. Keep food, trash, toiletries, flavored drinks, and odorous cookware out of the sleeping area and follow the campground’s wildlife-storage rules.
Sleeping Area Setup
Set up the sleeping area before bringing loose gear into the tent. Once the pads and bedding are in place, you can see how much floor space is truly available and where each person can enter or leave.
Sleeping Pad Positioning
Start by laying each sleeping pad along the tent’s longest practical dimension. Check that the pads do not cover the doorway, force another camper against the wall, or press bedding into damp fabric.
A diagonal pad can help in a tapered or asymmetrical tent, but it is not always the best arrangement. Test the layout before spreading the quilt or sleeping bag. You should be able to sit up, reach the door, and move past a tent partner without stepping on bedding.
- Keep the pillow at the head of the pad and inside the tent.
- Leave a small gap between lofty bedding and the tent walls when space permits.
- Spread a quilt or sleeping bag early so compressed insulation has time to regain loft.
- Keep sharp buckles, trekking-pole tips, knives, and tools away from the tent floor and walls.
Easy-Access Essentials
Place only the items you may need overnight beside your head or in a nearby wall pocket. Too many “essential” items recreate the clutter you are trying to remove.
| Item | Best Location |
|---|---|
| Headlamp | Wall pocket or small sack beside your head |
| Glasses and medication | Protective case in the same bedside pocket or sack |
| Warm layer | Beside the upper end of the sleeping pad |
| Footwear | Paired in the vestibule with the openings covered or facing down |
| Bear spray, where legal and recommended | Stable, instantly reachable location with the safety clip attached; follow the label and local rules |
Pro Tip: Use one brightly colored bedside sack for the headlamp, glasses, medication, earplugs, and travel clock. Put it in the same location every night so you can find it by touch.
Gear Placement Strategy
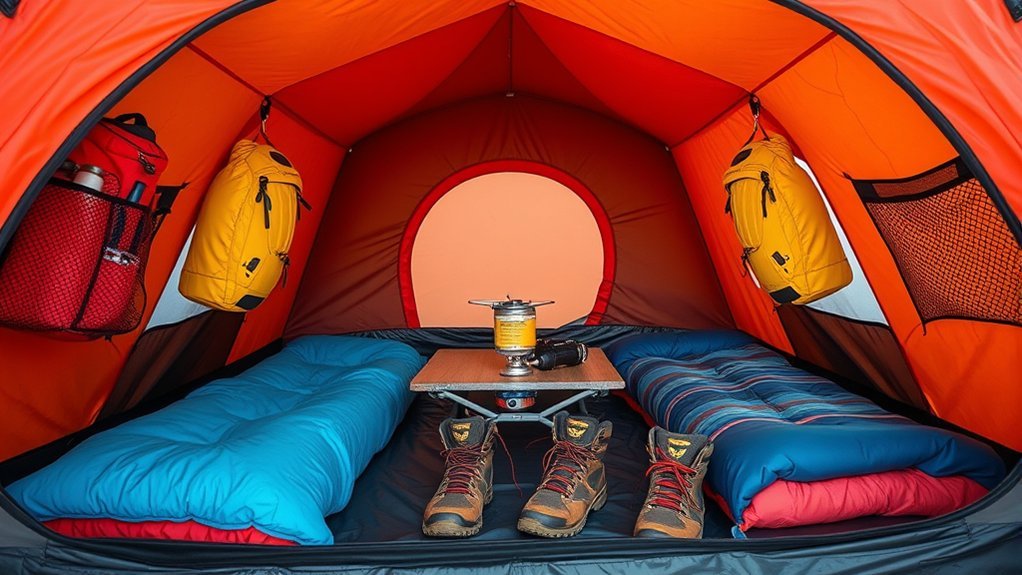
Prioritize gear by how quickly you might need it. Emergency and nighttime items should be reachable. Items that will not be used until morning can remain packed.
Use Pockets, Gear Lofts, and Sacks Safely
- Use wall pockets for light items such as a headlamp, map, gloves, or charging cable.
- Use a gear loft for soft, lightweight items only.
- Keep electronics together in a protective sack rather than scattered around the floor.
- Put repair items in one clearly marked bag.
- Keep a first-aid kit easy to locate instead of burying it in a corner.
- Check the tent manufacturer’s instructions before hanging anything heavy from a loop.
Do not hang a loaded backpack from a small fabric loop unless the manufacturer identifies it as a load-bearing attachment point. A heavy pack can stretch mesh, damage stitching, or pull the tent out of shape.
Keep the Door and Center Path Clear
The route from each sleeping pad to the door should remain open. Keep bottles, shoes, stakes, poles, and hard containers out of that path. In a multi-person tent, agree on which door each camper will use during the night.
Create a small “mudroom” at the entrance or in the vestibule. A cut-to-size ground cloth, closed-cell foam square, or durable plastic tray can hold dirty footwear and damp items without spreading grit across the tent floor.
What Should Stay Outside the Sleeping Tent?
The National Park Service advises campers not to store food in tents or backpacks in bear country. Local rules may also cover drinks, trash, toiletries, sunscreen, lip balm, pet food, cookware, and clothing that carries food odors. Use a provided food locker, a hard-sided locked vehicle where permitted, or an approved bear-resistant container as directed by the land manager.
Do not assume that a sealed plastic bag makes a scented item safe inside a tent. Wildlife can still investigate odors, and small animals may chew through tent fabric.
Clothing and Warmth Management
Clothing becomes easier to manage when you separate it by condition and purpose instead of placing every garment in one bag.
Easy-Access Clothing
- Keep clean sleep clothing in a dedicated bag.
- Roll or fold next-day hiking clothes together so you can dress without searching.
- Place a puffy jacket, fleece, hat, or other overnight insulation near the head of your pad.
- Keep rain gear near the entrance or at the top of the clothing bag when precipitation is possible.
- Put socks and other small garments in a mesh pocket or small labeled sack.
Quick Warmth Solutions
Temperatures often fall after sunset. Before going to sleep, loosen the puffy jacket or fleece from its compressed sack and keep it within reach. If conditions are cold, place the next layer inside the sleeping bag near your feet so it is warmer when you put it on.
Do not place wet clothing inside a sleeping bag. Moisture can reduce the warmth of down or synthetic insulation. If you need to protect damp clothing from freezing, isolate it in a separate waterproof bag and follow cold-weather practices appropriate to the trip.
Organized Clothing Storage
Use separate storage for four categories:
- Clean: Sleep clothes and unused layers
- Next: Clothing for the following morning
- Worn: Dry clothing that can be used again
- Wet or dirty: Rain gear, damp socks, and muddy clothing isolated from bedding
A bandana or small camp towel near the entrance can help remove dirt from your feet before you enter the sleeping area. Let the cloth dry outside the tent when conditions permit, and store it with scented items if it has soap, food, or personal-care residue.
Hydration and Pack Management
Organize Water Without Blocking the Door
Fill and treat your water before settling in so you do not have to search for equipment after dark. Keep permitted plain water in a tightly capped bottle that cannot roll into the doorway. A vertical tent pocket, stable corner, or vestibule pocket may work better than leaving bottles loose outside the mesh door.
Flavored drinks, drink powders, and bottles with food odors belong with scented-item storage. Some parks apply wildlife-storage rules to all beverages or water containers, so check the rules for the exact campground or backcountry area.
Store a Backpack Without Damaging the Tent
A vestibule is often the best place for a backpack because it preserves sleeping space. Set the pack upright or flat in a stable position rather than balancing it against a loose trekking pole. Keep it clear of the zipper, vents, and runoff from the rainfly.
Protect the contents with the pack’s internal liner, a pack cover, or individual dry bags. A pack cover helps with rain but may not protect the side resting on wet ground, so place the pack on a small ground cloth if space permits.
If severe weather forces the pack inside, place it near your feet or in an unused corner without pressing it against the tent wall. The doorway must remain clear.
Efficient Layout for Nighttime Access
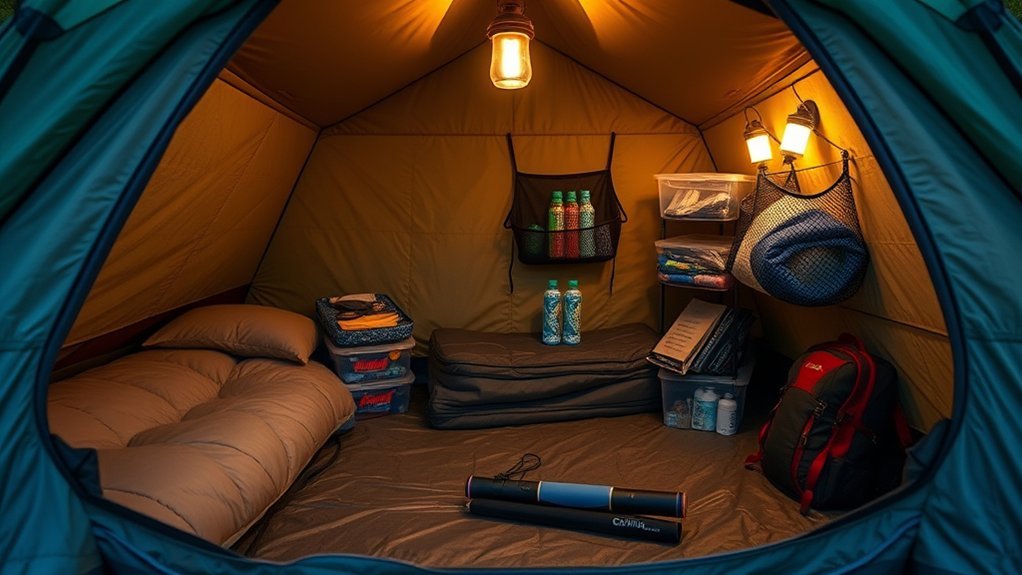
Test the nighttime layout before turning off the lights. Lie on your pad, reach for the headlamp, locate your footwear, and confirm that you can open the door without moving a backpack or stepping over loose gear.
One-Person Tent Layout
- Place the pad according to the floor’s widest usable area.
- Use the space beside your head for the nighttime sack.
- Keep spare clothing near your feet.
- Store the pack and footwear in the vestibule if the shelter provides one.
- Leave the door side free of bottles and hard objects.
Two-Person Tent Layout
- Assign each person a wall pocket or small organizer.
- Keep shared equipment in one agreed location rather than between the pads.
- Use separate doors and vestibules when the tent has them.
- Place one shared headlamp or lantern where either camper can reach it.
- Do not let one person’s pack block the other person’s exit.
Family or Large-Tent Layout
- Create one sleeping lane and one clear walking lane.
- Give each camper a labeled clothing bag or packing cube.
- Use a single entry mat for shoes and wet gear.
- Keep small objects, cords, and batteries above the floor and away from young children.
- Store bulky luggage along a wall without covering vents or emergency exits.
Note: Tent capacity ratings usually describe how many people can sleep inside, not how many people plus backpacks, pets, and loose gear will fit comfortably. Use vestibules or outside storage to protect usable floor space.
Bad-Weather and Condensation Management
Create a Wet-Dry Boundary
Keep boots, rain pants, a wet jacket, and muddy gear in the vestibule whenever conditions and tent design allow. Shake off loose water before opening the inner door. Place damp items in a waterproof bag or on a ground cloth so they cannot touch sleeping insulation.
Do not pile wet gear against the tent body. Moisture can transfer to other equipment, and pressure against the fabric can reduce airflow or encourage condensation to contact your belongings.
Maintain Ventilation
Open the tent’s roof vents, fly vents, or protected door openings when weather allows. Avoid covering mesh panels with packs or clothing. Ventilation helps move moisture created by breathing and damp equipment, although some condensation can still form in humid or cold conditions.
In the morning, inspect the fly, walls, and floor for moisture. Wipe heavy condensation with a camp towel and let the tent dry before packing whenever conditions permit.
Choosing Stuff Sacks and Dry Bags
Color-coded sacks make equipment easier to identify, but the closure and seam construction matter as much as the fabric.
- Drawcord stuff sack: Good for clothing, electronics organizers, and small gear inside a protected pack or tent. It is usually not waterproof.
- Mesh sack: Good for items that need ventilation, such as dry camp footwear. It offers little protection from water or dirt.
- Compression sack: Reduces the volume of a sleeping bag or clothing but may stress insulation if left compressed for long periods.
- Roll-top dry bag: Better for rain-sensitive equipment when it has waterproof fabric and sealed seams. Close it according to the manufacturer’s directions.
- Clear or labeled organizer: Useful for first-aid supplies, repair parts, batteries, and shared family items.
Nylon and polyester can both work well. A coated fabric may resist water, but an open drawcord top or untaped seams can still leak. Do not describe a sack as waterproof unless its construction and manufacturer specifications support that claim.
Streamlining Morning Pack-Up
A good nighttime layout should also make departure easier. Use this order to avoid mixing dry gear with wet equipment:
- Turn on your headlamp if visibility is low and account for medication, glasses, electronics, and other small essentials.
- Put on the clothing prepared the night before.
- Pack clean clothing and the bedside essentials sack.
- Check the sleeping bag or quilt for damp spots, then pack it in its liner or dry bag.
- Deflate and roll or fold the sleeping pad according to its instructions.
- Move packed items into the backpack while keeping wet gear separate.
- Collect footwear, bottles, stakes, and vestibule items.
- Inspect the tent floor, pockets, vestibule, and surrounding campsite for trash or forgotten equipment.
- Dry the tent and rainfly as much as conditions allow before packing them.
Pro Tip: Do a two-minute reset before bed. Return every item to its zone, pair your shoes, prepare the next day’s clothing, and confirm that the headlamp works. Morning pack-up will be faster and quieter.
Common Tent Organization Problems and Fixes
Everything Ends Up in the Middle
Reduce the number of loose objects. Put small gear into two or three category sacks and return each sack to the same wall or corner.
The Doorway Keeps Getting Blocked
Move footwear to one side of the vestibule, secure bottles in an upright position, and place the backpack on the side opposite the zipper opening. Recheck the route while lying on the sleeping pad.
Clothing Is Spread Across the Floor
Use separate bags for clean, worn, and wet clothing. Prepare only the next layer you expect to use instead of unpacking the entire clothing bag.
Gear Feels Damp in the Morning
Move equipment away from tent walls, open available vents, isolate wet clothing, and wipe condensation before it drips onto bedding. Dry the shelter before long-term storage.
Small Items Keep Getting Lost
Use one bedside sack and one repair or electronics sack. Avoid placing dark-colored items loose on a dark tent floor.
The Vestibule Is Too Small
Leave nonessential equipment packed, store food and scented items in their required outside location, and place the protected backpack near the foot of the sleeping pad only when it does not block the door or touch the wall.
Frequently Asked Questions
What items should I prioritize for easy access in my tent?
Keep your headlamp, glasses, essential medication, warm layer, and footwear easy to reach. A small first-aid kit should also be easy to locate. Food, trash, toiletries, fuel, and odorous cooking equipment should not be stored with bedside essentials.
How can I prevent my gear from getting wet inside the tent?
Keep sleeping insulation away from tent walls, maintain ventilation, and isolate damp clothing in a waterproof bag. Store boots and wet rain gear in the vestibule when possible. Use a pack liner or seam-taped roll-top dry bag for equipment that must remain dry.
What are the best materials for stuff sacks?
Lightweight nylon and polyester are common choices. Choose the denier and construction for the job: lighter fabric for clothing and small items, tougher fabric for tools or cookware, and sealed seams with a roll-top closure for water-sensitive equipment. A coated drawcord sack may be water-resistant without being waterproof.
How do I keep my tent organized during bad weather?
Set up a wet zone in the vestibule, keep rain gear near the door, and protect dry clothing and bedding in liners or dry bags. Avoid covering vents, keep the exit clear, and wipe condensation before it reaches your sleeping equipment.
Can I use my backpack as a storage solution inside the tent?
Yes. Keep small items organized inside the backpack and store it in the vestibule or near your feet. Do not hang a loaded pack from a lightweight tent loop unless the tent manufacturer approves that use. Make sure the pack does not block the door, vents, or another camper’s space.
Should I keep bear spray inside my tent at night?
Follow the rules and recommendations for the specific area. Where bear spray is legal and recommended, official guidance may call for it to be readily available in the sleeping area. Keep the safety clip attached, protect the canister from heat and damage, and never spray it on a tent or use it as a preventive repellent.
Can I keep water bottles inside the tent?
Plain water may be allowed in the tent in many locations, but rules vary. Keep any permitted bottle tightly capped and secured so it cannot roll into the doorway. Store flavored drinks and containers with food odors alongside other scented items, and follow all local wildlife-storage requirements.
Conclusion
Good tent organization begins with a clear sleeping area and an open path to the door. Keep nighttime essentials in one predictable place, separate clean gear from wet or dirty equipment, and use the vestibule without blocking ventilation or access. Most importantly, keep food, trash, toiletries, cooking odors, and fuel out of the sleeping space as local rules require. A short reset before bed will make the tent calmer at night and much faster to pack in the morning.
Sources
- National Park Service — Camping Safely: Before the Trip — essential illumination, insulation, first-aid, and preparation guidance
- National Park Service — Bear Safety: Storing Food — food, trash, and scented-item storage
- Grand Teton National Park — Carry Bear Spray, Know How to Use It — accessibility, safety-clip, storage, and use guidance
- Centers for Disease Control and Prevention — Carbon Monoxide Safety — prohibition on using portable camping stoves and similar fuel-burning equipment inside tents
- REI Expert Advice — How to Clean, Waterproof and Care for a Tent — boots, fragrant products, condensation, drying, and tent-care practices
- Sea to Summit — Lightweight Stuff Sack Specifications — distinction between water-resistant stuff sacks and waterproof storage
