
Last Updated on July 29, 2026 by Mason Reed
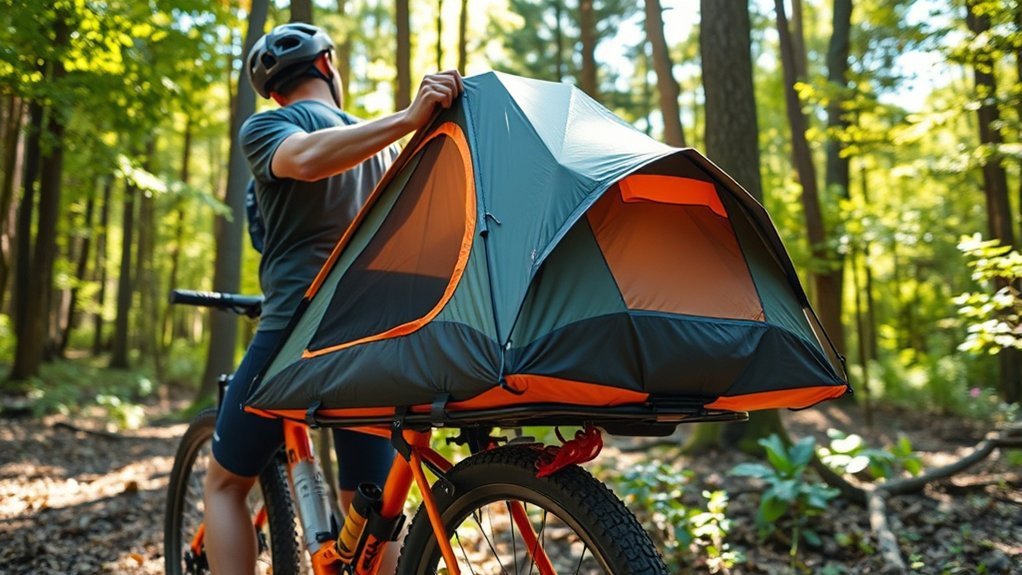
Packing a tent for bikepacking is less about forcing it into the smallest possible bundle and more about keeping the bicycle stable, the shelter dry, and every component away from tires, cables, and moving parts. A good setup separates sharp pieces from fabric, keeps heavy gear low, and lets you reach the shelter quickly when the weather changes.
Quick Answer
Pack the tent body and fly as a light, compact bundle in a handlebar or seat pack. Carry poles and stakes separately in protective sleeves. Keep heavier gear low in the frame bag, secure every load with reliable straps, and confirm that nothing touches the tires, cables, controls, crank, or legs.
Key Takeaways
- Dry the tent and separate the fabric, poles, stakes, and footprint before loading the bicycle.
- Use handlebar and seat packs for bulky, lightweight shelter pieces; keep dense equipment low in the frame triangle.
- Protect pole ends and stakes so they cannot puncture the tent, damage a bag, or scratch the frame.
- Check tire clearance, steering, brakes, shifters, cables, knees, pedals, and suspension movement before riding.
- Pack a wet rainfly separately from the dry inner tent, sleeping bag, and clothing.
- Follow the weight limits published for the bicycle, rack, bags, cages, and attachment hardware.
At a Glance
| Time Required | About 15–30 minutes, plus a short loaded test ride |
| Difficulty | Easy, but careful fit and clearance checks are required |
| Tools Needed | Bikepacking bags or harness, secure straps, dry bag, pole and stake sleeves, frame protection, and an optional scale |
| Cost | Usually $0 with existing bags; about $10–$50 for added straps, dry bags, sleeves, or frame protection |
Disclosure: As an Amazon Associate I earn from qualifying purchases. Some links on this page are affiliate links, at no extra cost to you.
Understanding Tent Options for Bikepacking
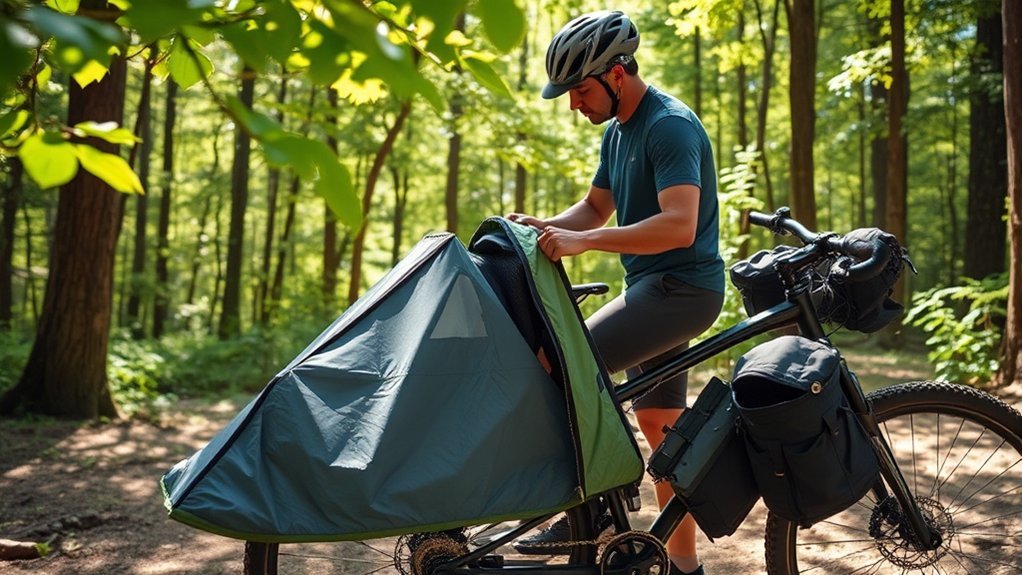
A bikepacking tent should fit the rider, route, weather, and available storage space. Weight matters, but it is only one part of the decision. Compare the tent’s packaged weight, minimum trail weight, packed diameter, folded pole length, floor dimensions, vestibule space, and setup requirements.
Traditional backpacking tents can work well on a bicycle. Purpose-built bikepacking tents often make loading easier by using shorter folded pole sections or stuff sacks with attachment loops. For example, some current Big Agnes bikepacking tents use 12-inch pole sections designed to fit more easily on handlebars, frames, or racks.
Freestanding, Semi-Freestanding, and Non-Freestanding Shelters
A freestanding tent can hold its basic shape before it is staked, which makes it easier to reposition on a campsite. It should still be staked and guyed when wind or weather is possible. A semi-freestanding tent needs one or more staked points to reach its full shape.
A non-freestanding tent, tarp, or shaped shelter relies more heavily on stakes, tension, and suitable ground. Some models also require trekking poles or dedicated support poles. Because many bikepackers do not carry trekking poles, confirm exactly how the shelter is pitched before choosing it.
A bivy bag is compact and quick to deploy, but it offers less living space and may have more condensation than a well-ventilated double-wall tent. A tarp can be very light, but it requires suitable anchor points, careful pitching, and a separate bug solution in many environments.
Choose the Tent for the Expected Weather
A typical three-season tent is designed for spring, summer, and fall conditions, including ordinary rain and moderate wind. It is not automatically suitable for heavy snow loading, severe winter storms, or exposed alpine conditions. Use a four-season or mountaineering shelter when the manufacturer rates it for the winter conditions on your route.
Do not rely on a “two-season” or “three-season” label alone. Examine the fly coverage, pole structure, ventilation, floor design, guy-out points, and manufacturer’s intended use. A high fabric waterproof rating cannot compensate for poor pitching, damaged seams, inadequate ventilation, or a low campsite where water collects.
Key Considerations Before Packing
Make Sure the Tent Is Clean and Dry
Shake out sand, pine needles, and grit before packing. Small debris can abrade lightweight fabric when it is compressed and vibrated over rough roads. If the tent is wet, separate the rainfly from dry equipment and plan to air it at the first suitable stop.
Deep cleaning is not required after every trip. When cleaning is necessary, follow the tent manufacturer’s instructions. General MSR tent-care guidance recommends hand washing with warm water, a sponge, and mild non-detergent soap rather than using harsh cleaners or machine washing.
Separate the Components
Most tents pack more efficiently when divided into four groups:
- Tent body and rainfly: Fold or stuff them into a dry bag, handlebar roll, or seat pack.
- Poles: Place them in a pole sleeve and carry them where they cannot bend, rattle, or contact moving parts.
- Stakes: Store them in a separate puncture-resistant sleeve so their points cannot reach the fabric.
- Footprint or groundsheet: Keep it with the tent unless it is wet or muddy, in which case isolate it from the inner tent.
Removing the original stuff sack can save a little space when the tent fabric is packed directly into a larger waterproof bag. Keep the manufacturer’s sack when it provides structural protection, attachment loops, or a waterproof closure.
Measure Before You Mount
Measure the folded poles and compare them with the usable width of the handlebars, frame bag, pannier, rack, or fork-mounted cage. On drop bars, leave room for hands, brake levers, shifters, and cables. On mountain bikes, account for the space the front tire needs when the fork moves through its travel.
Warning: Do not ride if a tent bag, strap, pole, or loose strap end can touch a tire, brake rotor, chain, crank, pedal, cable, or steering control. A shifting load can jam a wheel or affect control without warning.
Step-by-Step Guide to Packing a Tent for Bikepacking
- Dry and inspect the shelter. Check the body, fly, floor, zippers, pole joints, shock cord, stakes, guy lines, and stuff sacks. Repair damage before departure.
- Divide the tent into components. Separate the soft fabric from poles and stakes. This reduces the risk of punctures and lets each part fit into a better location.
- Protect hard and sharp pieces. Cap or sleeve pole ends. Place stakes in a durable pouch with the points covered. Do not allow either item to press directly against the tent fabric.
- Choose the mounting location. Put bulky, lightweight tent fabric in a handlebar or seat pack. Place poles in a frame bag, along the frame, on a rack, or inside a pannier if they fit without bending.
- Keep dense gear low. Tools, food, spare tubes, cooking equipment, and other heavy items usually belong low in the frame bag. This follows the weight-distribution principles in REI’s bikepacking packing guide.
- Secure the load. Tighten the bag’s mounting system and use two independent straps when externally attaching poles or a tent roll. Tuck away loose strap ends.
- Complete a clearance check. Turn the handlebars fully in both directions. Squeeze the brakes, operate the shifters, spin both wheels, rotate the cranks, and confirm that your knees and feet clear the load.
- Test the loaded bicycle. Ride slowly over smooth ground, make several turns, brake gently, and listen for movement. Repack anything that sways, rattles, slides, or changes the steering feel more than expected.
Pro Tip: Photograph the finished setup before your first trip. The image gives you a fast reference for strap routing and component placement when you repack at camp.
Packing Strategies for Your Tent
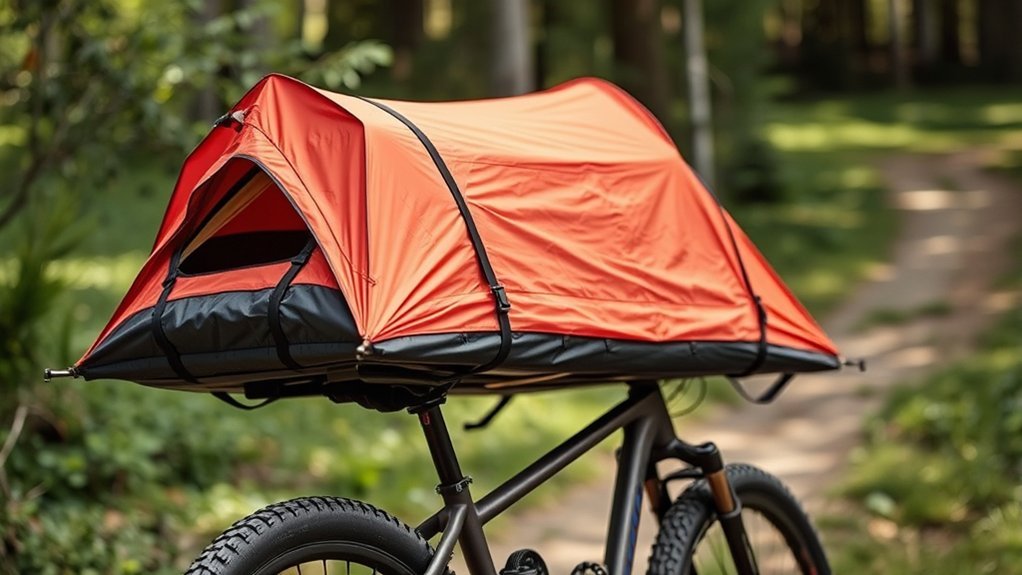
There is no single correct location for every tent. Bicycle size, handlebar shape, suspension, bag capacity, tent dimensions, and route surface all affect the best arrangement. The following methods preserve the original packing options while adding the checks each one needs.
| Method | Best Use | Main Benefit | Check Before Riding |
|---|---|---|---|
| Handlebar Harness | Tent body, fly, or a short cylindrical tent package | Easy access and efficient use of front storage | Tire, fork, cable, lever, light, and steering clearance |
| Seat-Pack Packing | Soft tent fabric without rigid poles or stakes | Good space use for bulky, lightweight material | Rear-tire clearance, bag sway, and dropper-post compatibility |
| Frame-Bag Use | Short poles, stakes, or less frequently used components | Central location and protection inside the frame | Cable routing, bottle access, suspension, and pressure on pole joints |
| Frame Strapping | Poles in a protective sleeve when no bag fits them | Preserves bag volume for other equipment | Knee, crank, tire, cable, frame-paint, and strap security |
| Rack or Pannier | Longer poles, larger tents, or trips with more equipment | Simple loading and dependable containment | Rack and pannier limits, heel clearance, and load symmetry |
| Partner Split | Two riders sharing one shelter | Distributes bulk and weight between bicycles | Each rider carries enough emergency shelter if separated |
Using a Handlebar Pack or Harness
A handlebar pack works well for a lightweight tent body, fly, or complete short-packed shelter. Keep the load close to the head tube and avoid making it wider than the usable space between controls. Too much front weight can make slow steering feel heavy and rough descents harder to control.
REI’s guide to choosing bikepacking bags recommends checking the gap between the pack and front tire, especially on bicycles with suspension forks. Drop bars also provide less side-to-side space than many flat bars.
Using a Seat Pack
A seat pack is well suited to the tent body and fly because they are bulky but relatively light. Pack dense items close to the seat post and softer items farther back. Compress the load evenly so the bag does not form a loose tail that sways from side to side.
Confirm that the bag cannot touch the rear tire when the bicycle is loaded. Check compatibility before using a large seat pack with a dropper post or rear suspension.
Using a Frame Bag
A frame bag can hold shorter pole sections, stakes, or a compact tent, but it is usually most valuable for dense gear such as tools, food, tubes, and cooking equipment. Do not force poles into a curve or place hard objects directly against delicate pole joints.
Position stakes where their points cannot wear through the bag. Make sure the bag and straps do not pinch exposed cables or interfere with rear suspension movement.
Strapping Poles to the Frame
Place poles in a closed sleeve before attaching them to the top tube, down tube, seat stays, rack, or another approved mounting point. Use frame-protection tape or a soft protective layer where straps and bags contact painted surfaces.
Secure the sleeve at two separated points. A single strap can act as a pivot, allowing the poles to rotate into a wheel, crank, or rider’s leg. Avoid mounting anything where it can obstruct bottle removal or prevent full steering movement.
A stable bikepacking load keeps dense gear low in the frame triangle and uses the handlebar and seat areas for bulky, lightweight items.
Weight Distribution and Access
Good weight distribution improves handling, but it does not make an overloaded bicycle safe. Add the rider, water, food, bags, camping equipment, and bicycle accessories when checking the manufacturer’s system-weight limit. Also follow the separate limits for racks, cages, handlebar harnesses, seat packs, and fork mounts.
Place heavy components low and near the center of the bicycle whenever possible. Avoid concentrating dense items high behind the saddle or far in front of the handlebars. If the front end feels slow or the rear bag sways, move weight toward the frame triangle rather than tightening an overloaded bag harder.
Organize the load by when each item will be used:
- Needed while riding: Rain jacket, snacks, water, navigation, sunscreen, and repair tools should remain easy to reach.
- Needed at the first camp stop: Tent, rainfly, poles, stakes, and groundsheet should not be buried under the entire load.
- Needed only at night: Sleeping bag and dry clothing can sit deeper in a waterproof compartment.
- Emergency equipment: First-aid and critical repair supplies should be accessible without fully unpacking the bicycle.
Protecting the Tent and Bicycle
Tent fabrics save weight by using thin materials. Repeated vibration against a pole end, buckle, bolt, frame joint, or stake point can cause damage even when the item did not feel sharp during packing.
- Use a separate sleeve for stakes and face their points inward or cover them.
- Keep poles straight and protect both ends.
- Do not pack cooking fuel, chain lubricant, sunscreen, insect repellent, or leaking food against the tent fabric.
- Use abrasion protection beneath straps and bags where needed.
- Keep loose webbing away from wheels, rotors, chainrings, and cassettes.
- Inspect contact points after the first few miles and after long rough descents.
- Replace damaged straps rather than tying unreliable knots around critical loads.
Note: “Waterproof fabric” does not always mean the complete bag is waterproof. Stitching, zippers, roll-top closure, wear, and seam construction affect whether water can enter. Use an internal dry bag for equipment that must remain dry.
How to Pack a Wet Tent
Rain and condensation sometimes make a dry pack impossible. The goal is to keep that moisture away from the inner tent, sleeping bag, insulated clothing, electronics, and food.
- Pack the sleeping bag and dry clothing first in a sealed dry bag.
- Shake or wipe excess water from the fly.
- Keep the inner tent separate if it remained mostly dry.
- Place the wet fly and muddy footprint in their own bag or an external compartment.
- Keep wet fabric away from sharp stakes and poles.
- Unpack and air the shelter during a dry break, lunch stop, or as soon as camp is reached.
- Dry the tent completely before long-term storage at home.
When breaking camp in active rain, leave the fly standing while packing dry equipment beneath it when the tent design allows. Pack the inner tent before removing the fly, then store the wet outer layer separately.
Choosing the Right Tent for Your Adventure
Selecting a tent for bikepacking requires a balance of packed size, weight, weather protection, interior space, setup needs, and durability. A very light tent is not automatically the best choice if its poles do not fit the bicycle or its pitch is poorly suited to the route.
Packed Size and Pole Length
Check the manufacturer’s packed dimensions rather than assuming every backpacking tent will fit between the handlebars. Shorter pole sections are easier to place inside a frame bag or across a rack. Longer poles may still work when carried along the frame in a protected sleeve.
Capacity and Livable Space
A one-person tent saves space for solo travel, but confirm that it has enough room for the rider, sleep system, and any equipment that must stay protected. A two-person model can provide more comfort for one rider or shelter two partners, although it usually adds packed volume.
Vestibules are useful for shoes, wet rain gear, helmets, and empty bags. Do not store food or scented products in the vestibule where wildlife regulations or local conditions require secure food storage elsewhere.
Weather Protection and Ventilation
Match the shelter to expected wind, rain, insects, temperature, snow, and campsite exposure. Look beyond a single waterproof number. Full fly coverage, sealed or sealable seams, bathtub-floor height, ventilation, pole support, and guy-out points all affect real-world performance.
Choose a tent that can be pitched with the stakes and support system you will carry. Practice pitching it before the trip, including in low light and rain.
Maintaining Your Gear
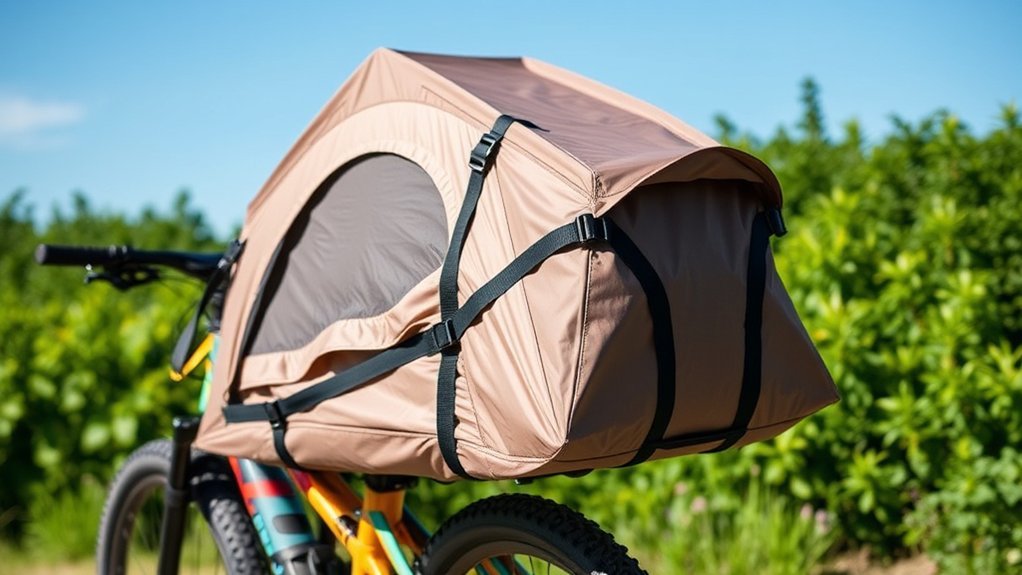
Regular inspection, careful cleaning, complete drying, and loose home storage can extend the useful life of the shelter and packing equipment. Deal with small holes, worn straps, and bent pole sections before they become field failures.
Regular Inspections and Cleaning
After each trip, shake out debris and inspect the floor, fly, mesh, seams, zippers, guy lines, stakes, pole ferrules, and shock cord. Check the bike bags for worn attachment points and abrasion where they contact the frame.
Spot-clean light dirt with water and a soft cloth. For deeper cleaning, follow the tent manufacturer’s instructions and use only products compatible with its fabric and coatings. Rinse thoroughly and air-dry the shelter. Do not use bleach, harsh detergent, dry cleaning, a hot dryer, or a washing machine unless the manufacturer specifically permits it.
Proper Storage Techniques
Short-term compression during a trip is different from storage between trips. Once home, unpack the tent and make sure every layer is dry. Store it loosely in a breathable sack or larger container in a cool, dry place away from direct sunlight, pests, fuel, and harsh chemicals.
MSR’s tent-storage guidance warns against packing or storing a tent while it is wet, damp, or dirty. Loose storage also prevents the shelter from remaining tightly folded along the same creases for months.
Repair Kit Essentials
A useful field kit should cover both the shelter and the bicycle. Choose products that are compatible with the exact materials and components you carry.
Tent-repair supplies:
- Adhesive fabric patches approved for the tent material
- Repair tape for temporary fabric or stuff-sack damage
- A pole-repair splint and tape
- Compatible seam sealer for the tent’s coating type
- Spare guy line and a few cord locks
- A spare stake or an approved alternative anchoring method
- A small cloth for drying and cleaning repair areas
Bicycle-repair supplies:
- A multi-tool with the correct Allen, Torx, and screwdriver bits
- A mini pump or inflator appropriate for the tires
- Tire levers, plugs for compatible tubeless tires, and a spare tube
- A chain tool and the correct reusable or replacement master link
- Patch material and boot material for tire damage
- Route-dependent spares such as a derailleur hanger, brake pads, bolts, or spokes
Master-link pliers, extra spokes, or larger tools may be valuable on remote routes but unnecessary on shorter trips near services. Test each tool at home and confirm that it fits the bicycle.
Shelter and Sleep System
The tent is only one part of a safe and comfortable sleep system. Choose the shelter, sleeping bag or quilt, sleeping pad, and clothing as a matched set for expected nighttime conditions.
- Ultralight tents: These can provide insect and weather protection at a low packed weight, but examine durability, interior room, and packed pole length rather than relying on the “ultralight” label.
- Bivy bags: These save space and setup time but provide less room for changing clothes, organizing gear, or waiting out prolonged bad weather.
- Sleeping bags or quilts: Select a temperature rating that suits the forecast, the rider’s sleep habits, clothing, shelter, and sleeping pad.
- Sleeping pads: Choose sufficient insulation from the ground. R-value measures resistance to heat loss, and standardized ASTM testing makes many current pad ratings easier to compare. Therm-a-Rest provides an explanation of ASTM sleeping-pad R-value testing.
Pack the sleeping bag or quilt in a dependable dry bag. A wet shelter can often be managed for a night, but wet insulation may be difficult to dry and can reduce warmth.
Camp Setup and Pack-Down Order
Pack placement should support a simple camp routine. When arriving, remove the shelter before unpacking dry clothing or the sleep system. Pitch on an established or durable surface and follow local rules. The National Park Service’s Leave No Trace guidance recommends durable surfaces such as designated campsites, rock, gravel, sand, dry grasses, or snow and advises protecting water-edge areas.
A practical setup order is:
- Select a legal, durable, well-drained site.
- Remove stakes, footprint, poles, tent body, and fly.
- Pitch and secure the shelter.
- Move the sleeping pad, sleeping bag, and dry clothing inside.
- Store empty bags where they will not blow away or collect rain.
In the morning, reverse the process. Pack the dry sleep system and clothing first, then the inner tent, poles, and stakes. Pack the fly and footprint last, especially if they are wet or muddy.
Troubleshooting Common Packing Problems
| Problem | Likely Cause | Fix |
|---|---|---|
| Handlebar pack touches the tire | Pack is too deep, mounted too low, or lacks suspension clearance | Reduce volume, remount higher, use a cradle, or move the tent to another location |
| Steering feels slow or unstable | Too much weight on the handlebars or load positioned too far forward | Move dense items to the frame bag and keep only lightweight shelter fabric up front |
| Seat pack sways | Loose compression, heavy items at the rear, or weak attachment | Repack tightly, move weight toward the seat post, and inspect the attachment system |
| Poles slide or rattle | Only one strap is used or the sleeve is too loose | Use a fitted sleeve and secure it at two separated points |
| Tent fabric develops small holes | Contact with stakes, pole ends, grit, buckles, or frame hardware | Separate sharp pieces, clean the fabric, add padding, and patch damage promptly |
| Dry equipment becomes damp | Wet fly or footprint packed with the sleep system | Use separate waterproof compartments and air the wet layers as soon as possible |
| Straps loosen on rough terrain | Load compressed after departure or strap routing is poor | Stop safely, retighten the load, tuck strap ends, and change the routing if movement continues |
Frequently Asked Questions
What materials are best for a lightweight bikepacking tent?
Ripstop nylon and polyester are common lightweight tent fabrics. Silicone, polyurethane, or other manufacturer-specific treatments may provide weather resistance. The best choice depends on weight, packed size, UV resistance, sag when wet, durability, repair requirements, and price—not fabric name alone.
How do I clean my tent before packing it?
Shake out loose debris and spot-clean dirt with water and a soft cloth. For a deeper cleaning, follow the manufacturer’s instructions and use mild non-detergent soap when approved. Rinse the fabric well and air-dry every layer completely before storage.
Can I pack a tent without a footprint?
Yes. A footprint is optional for many tents when the ground is smooth and the floor is in good condition. It is more useful on abrasive, rocky, muddy, or resin-covered surfaces. Use the correct size because a sheet extending beyond the tent floor can catch rain and direct water underneath.
What is the best way to dry a tent after rain?
Shake off surface water and hang or pitch the tent in moving air. Open doors and vents and separate the fly from the inner tent. If you must ride before it dries, pack wet layers separately and unpack them at the first dry opportunity.
How do I prevent damage to my tent while packing?
Separate stakes and poles from fabric, cover sharp ends, remove grit, avoid leaking chemicals, and pad contact points. Secure externally mounted parts at two points and inspect the load for rubbing after riding rough terrain.
Should I carry my tent on the handlebars or behind the saddle?
Either location can work. Use the handlebars when the package is light, short, and clear of the tire and controls. Use the seat pack when the soft tent fabric fits securely without causing sway or touching the rear tire. Move dense components to the frame bag.
Can I leave the poles inside the tent bag?
You can when the original bag protects the fabric and the complete package fits safely. Separating the poles often allows the soft tent body to fill a handlebar or seat bag more efficiently while the poles ride in a straighter, better-protected location.
Sources
- REI — How to Pack for Bikepacking — weight distribution, bag placement, access, and bicycle capacity
- REI — How to Choose Bikepacking Bags — handlebar, tire, suspension, cable, and frame-bag fit
- Big Agnes — Tiger Wall UL2 Bikepack Tent — current example of shortened bikepacking pole sections and an attachment-ready tent sack
- MSR/Cascade Designs — Cleaning an MSR Tent — hand cleaning, soap selection, rinsing, and drying
- MSR/Cascade Designs — Tent Storage — dry, clean, cool, and loose long-term storage
- National Park Service — Leave No Trace Seven Principles — durable campsite selection and low-impact camping
Conclusion
Packing a tent for bikepacking requires balance, protection, and a final safety check. Keep dense equipment low, place lightweight shelter fabric in a secure handlebar or seat bag, and carry poles and stakes in protective sleeves. Separate wet layers, stay within every equipment limit, and confirm that the load cannot contact the bicycle or restrict its controls.
Treat the tent, bags, straps, bicycle, and sleep system as connected parts of one setup. A few careful checks before departure can prevent damaged fabric, unstable handling, wet insulation, and avoidable repairs on the trail.
