Last Updated on July 30, 2026 by Caleb Warren
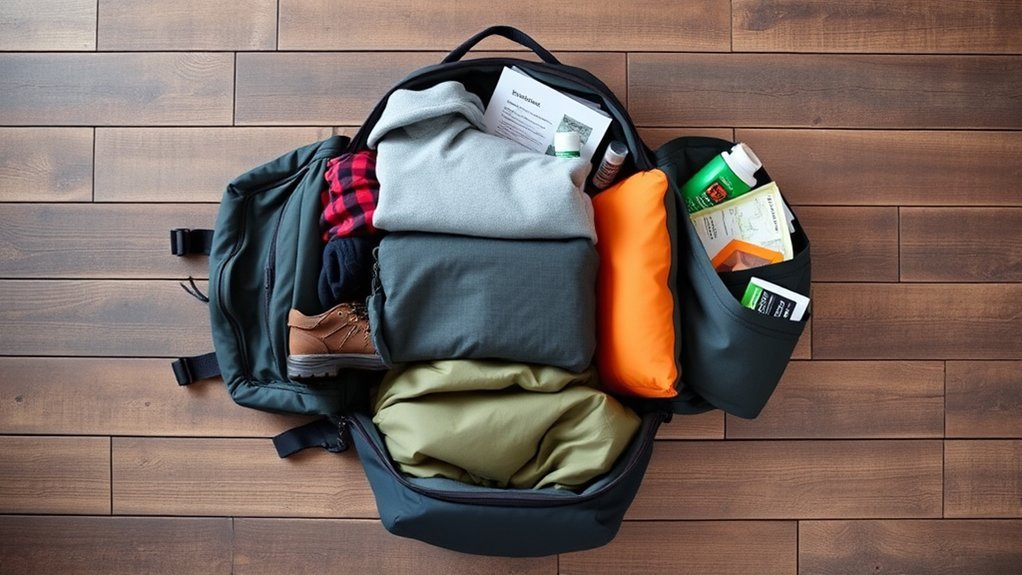
Packing a backpack for a weekend trip is easier when every item has a clear purpose. Start with the forecast and your itinerary, choose clothes that work together, and organize the bag around weight and access. A short checklist also helps you avoid carrying duplicate outfits while forgetting essentials such as medication, chargers, or travel documents.
Quick Answer
To pack a backpack for a weekend trip, plan one compact outfit for each day, add one warm or weatherproof layer, and separate toiletries, electronics, and small essentials into pouches. Place dense items close to your back, keep travel-day necessities near the top, and test the fully loaded backpack before leaving.
Key Takeaways
- Check the forecast, planned activities, dress expectations, and baggage restrictions before choosing what to pack.
- Build a small mix-and-match wardrobe instead of packing a separate outfit for every possible situation.
- Use packing cubes or pouches for organization, but do not treat them as a substitute for removing unnecessary items.
- Keep dense items close to your back and balance the load evenly from left to right.
- Pack medication, identification, valuables, and power banks where they remain accessible and under your control.
At a Glance
| Time Required | About 20–30 minutes, plus time to check the forecast and transportation rules |
| Difficulty | Easy |
| Tools Needed | Comfortable backpack, packing checklist, toiletry pouch, and optional packing cubes |
| Cost | $0 using supplies you own; approximately $10–$40 if you buy organizers or travel containers |
Disclosure: As an Amazon Associate I earn from qualifying purchases. Some links on this page are affiliate links, at no extra cost to you.
Choosing the Right Backpack for a Weekend Trip
The right backpack is large enough for your actual itinerary without encouraging you to fill unused space. A pack of approximately 20–35 liters works for many two-night trips, but there is no universal size. Cold-weather clothing, an extra pair of shoes, camera equipment, or a laptop may require more room. A warm-weather trip with access to toiletries and laundry may require less.
Look for padded shoulder straps, a comfortable back panel, sturdy zippers, and compartments that match what you carry. A sternum strap can help stabilize the bag during longer walks. A waist belt may be useful when the load is heavier, although it is less important for a lightly packed urban weekend.
When flying, check your airline’s current size, weight, and personal-item limits before packing. The U.S. Department of Transportation notes that there is no single federal carry-on-size standard, and restrictions can differ by airline or aircraft.
Note: A 22L backpack can be enough for a minimalist weekend, but it is not a rule. Choose capacity according to the weather, activities, transportation limits, and whether you must carry bulky footwear or equipment.
Assessing Your Destination and Weather
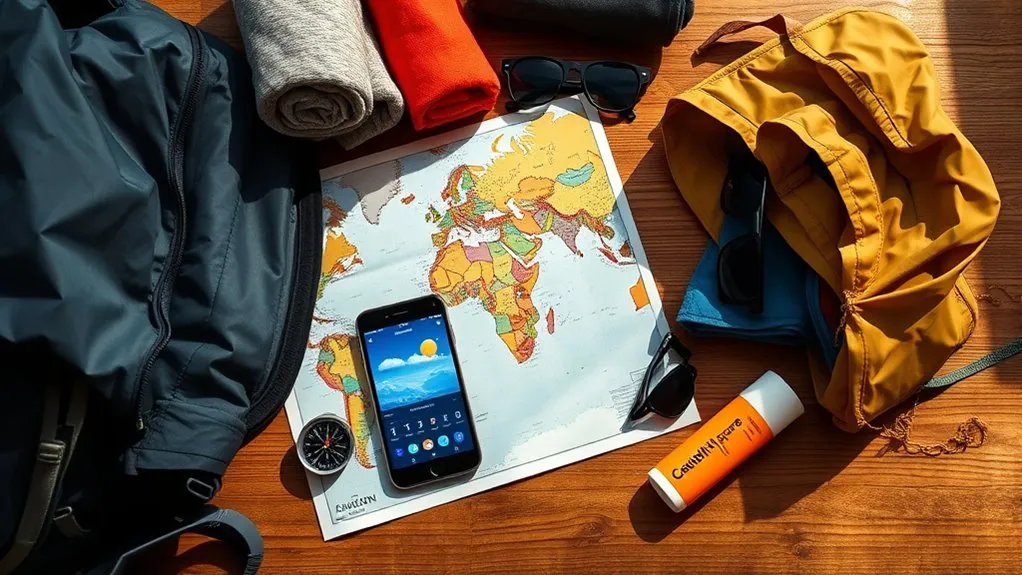
Check the destination’s forecast when you begin planning and again shortly before departure. Look beyond the daytime high. Overnight lows, rain, wind, humidity, and sudden temperature changes can determine whether you need a rain shell, warmer layer, sun protection, or different footwear.
Your itinerary matters just as much as the weather. Make a simple list of the main activities you expect to do:
- Sightseeing or long city walks
- Hiking, cycling, swimming, or another outdoor activity
- Dining at a restaurant with a dress code
- Attending a wedding, show, meeting, or special event
- Spending time in air-conditioned museums, trains, or buildings
Also check local customs and venue rules. Some religious sites, restaurants, clubs, or formal events may require covered shoulders, longer clothing, or smarter shoes. Packing one adaptable layer is usually more useful than adding several single-purpose outfits.
Pro Tip: Place every planned activity beside the clothing or equipment it requires. If an item does not support the forecast, an activity, personal care, safety, or travel logistics, reconsider packing it.
Choosing Versatile Clothing Options
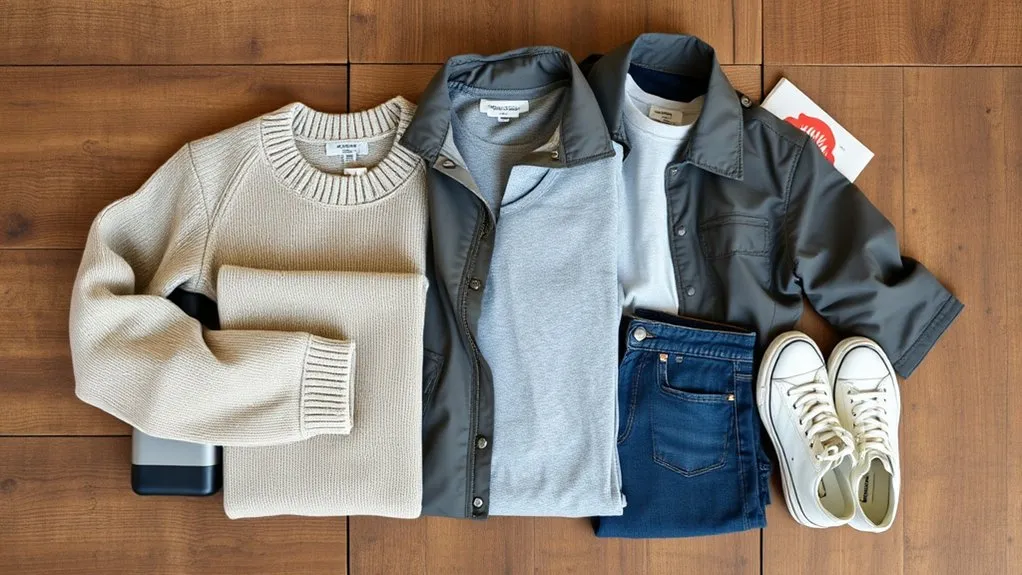
Choose clothing that can move between daytime activities and casual evening plans. A neutral cardigan, light sweater, overshirt, or jacket can change the look of an outfit without taking up as much room as a second coat. Select tops and bottoms that can be mixed rather than packing three unrelated outfits.
For a typical three-day, two-night trip, a practical starting point is:
- Two or three tops, including the one worn during travel
- One or two bottoms, including the travel-day pair
- One light sweater, cardigan, fleece, or jacket
- Underwear and socks for each day, plus one spare set
- Sleepwear
- One activity-specific item, such as swimwear or hiking clothes
- One compact rain layer when showers are possible
Adjust the quantities for heat, strenuous activity, formal events, access to laundry, and personal needs. Wearing a heavier pair of pants and the bulkiest outer layer during transit can save room, but only do so if you will remain comfortable.
Packing Efficiently With Cubes
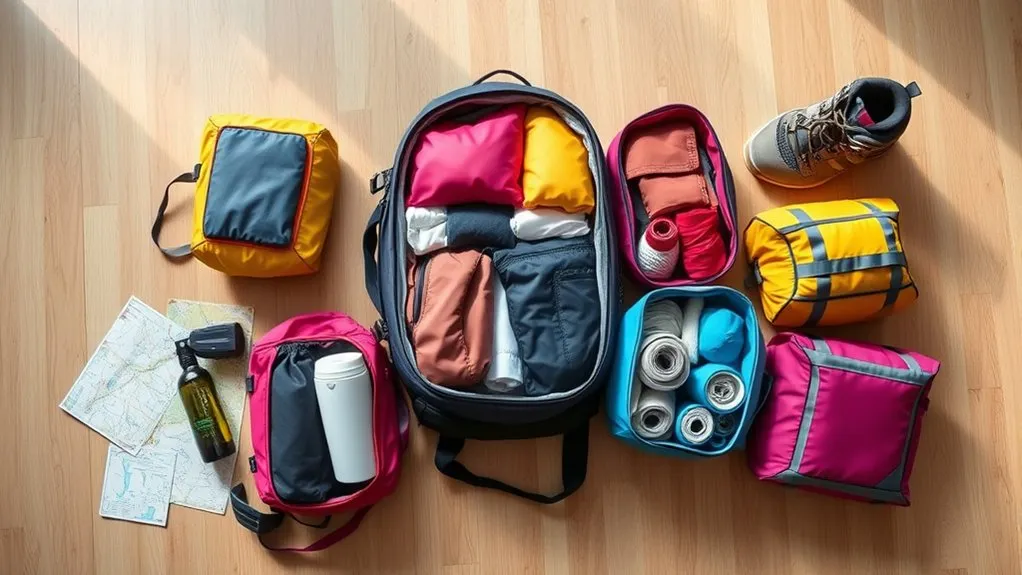
Packing cubes can make a weekend backpack easier to organize. They separate categories, reduce loose items, and allow you to remove one group of belongings without emptying the entire bag. However, ordinary cubes do not create extra baggage allowance, and they do not guarantee wrinkle-free clothing.
Benefits of Packing Cubes
Use cubes when they solve a specific organizational problem. For example, one cube can hold clean clothes, another can hold underwear and socks, and a small pouch can hold accessories. A separate washable or water-resistant bag can isolate damp swimwear, worn socks, or dirty clothing.
Compression cubes may reduce the volume of soft clothing, but compressed items still weigh the same. Overfilling them can also create a dense, awkward block or press wrinkles into garments. Leave enough space for the zipper to close without excessive force.
Organizing Your Essentials
Organize by function rather than placing every small object in a separate container. Too many pouches add weight and make items harder to track. A simple system is usually enough:
- Clothing cube: Folded or rolled clothes
- Small clothing pouch: Underwear and socks
- Toiletry pouch: Liquids, grooming items, and cosmetics
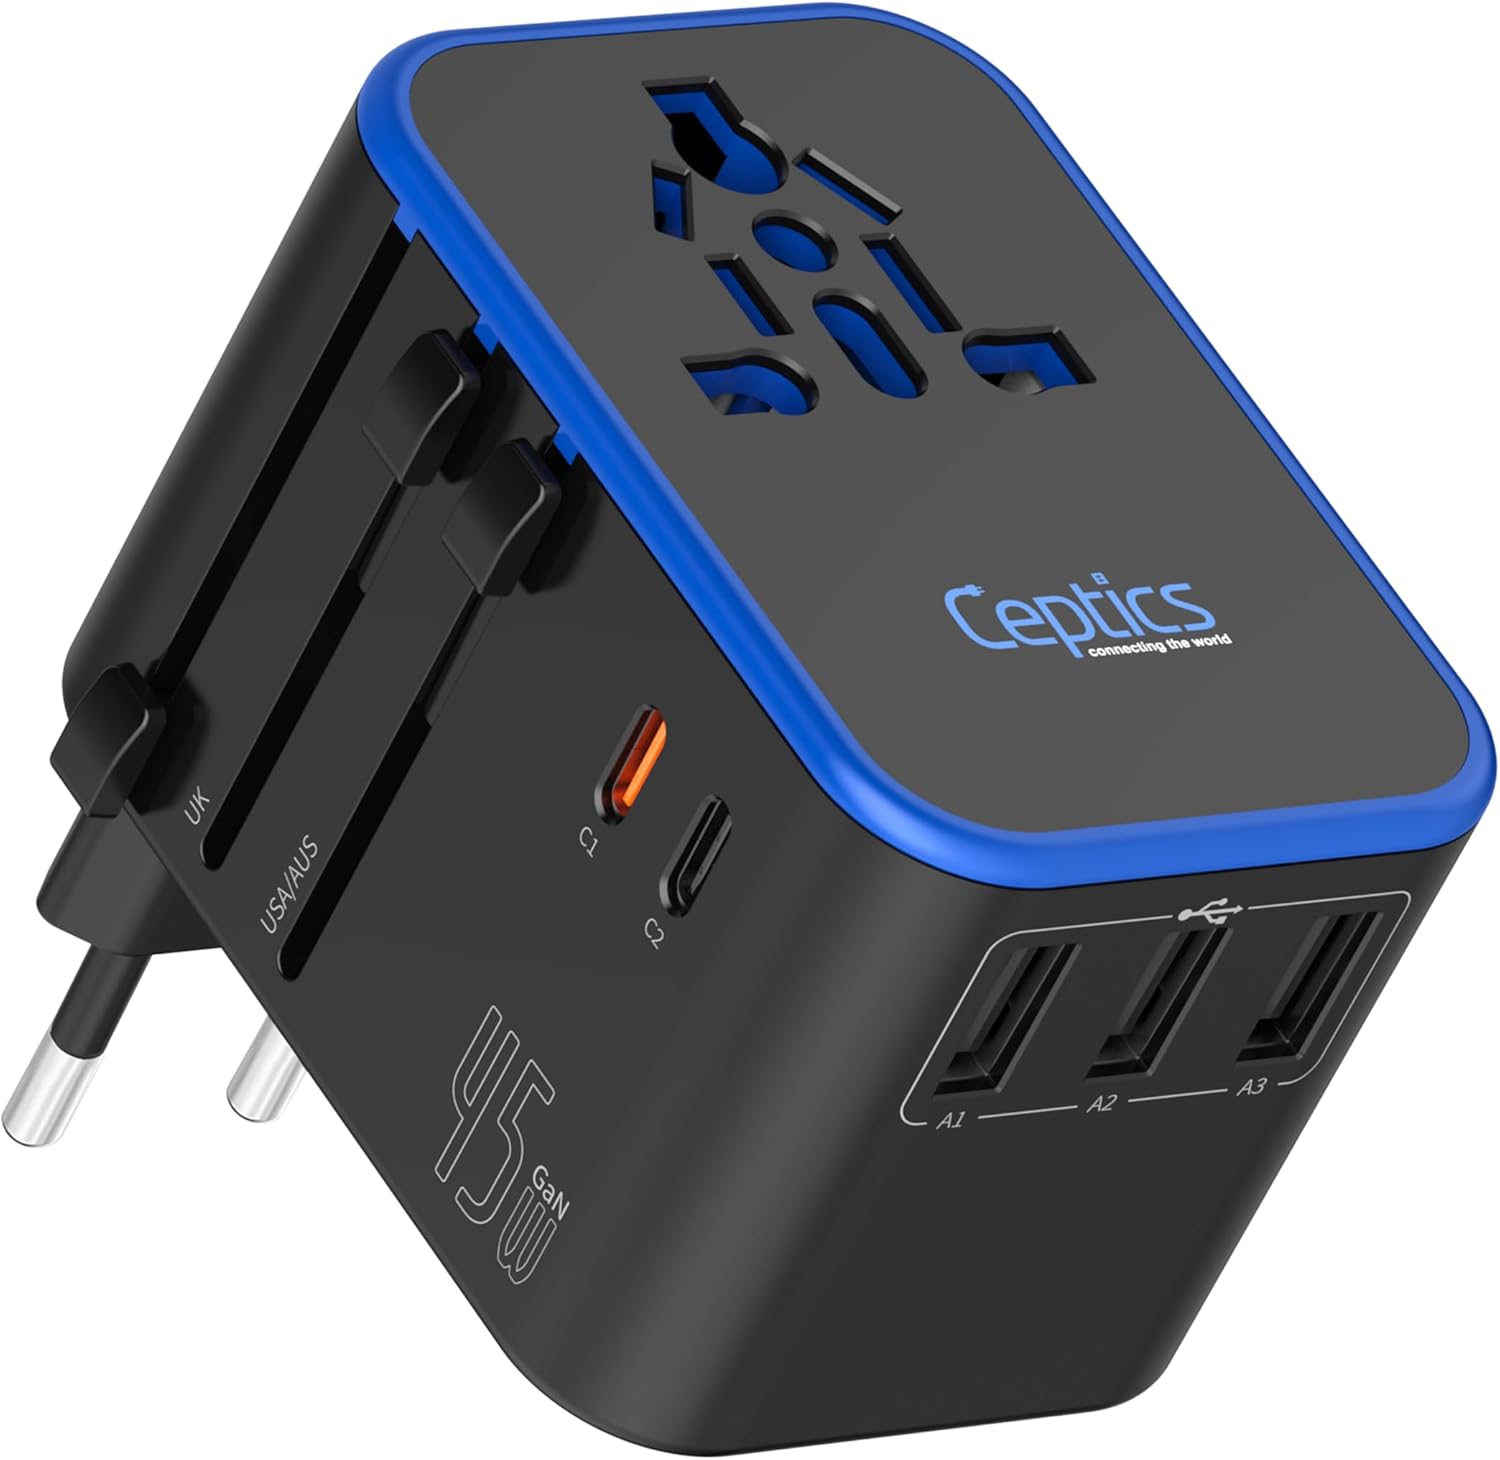
- Electronics pouch: Cables, adapter, earbuds, and chargers
- Wet or laundry bag: Damp and worn items
Color-coding can help, but labels or consistent placement work just as well. Keep frequently used items outside the main clothing cube so you do not have to unpack your bag at a station, airport, or roadside stop.
Prioritizing Comfort and Breathability
Select fabrics according to the climate and planned activity. Cotton can be comfortable for mild, dry city trips, but it may stay damp longer after rain or heavy sweating. Quick-drying synthetic fabrics can be useful for active trips. Merino wool garments are often chosen for layering and repeat wear, although they can cost more and still require proper care.
Lightweight layers are usually more adaptable than one bulky piece. A base layer, warm midlayer, and thin weather-resistant outer layer let you adjust as conditions change. Avoid packing several pieces that all perform the same job.
Try on the complete travel outfit before leaving. Sit, walk, bend, and wear the backpack for several minutes. Clothing that looks versatile but restricts movement, overheats easily, or rubs beneath the shoulder straps is unlikely to be useful during the trip.
Essentials for Your Toiletry Kit
Keep the toiletry kit small and focused on products you actually use. Common weekend essentials include a toothbrush, toothpaste, deodorant, cleanser, moisturizer, sunscreen, comb or brush, menstrual products, shaving supplies, and contact-lens items when needed.
For U.S. airport screening, ordinary carry-on liquids, aerosols, gels, creams, and pastes must follow the TSA liquids rule. Use containers of 3.4 ounces or 100 milliliters or less and follow the current bag requirements. Rules and exceptions can differ outside the United States, so check the authorities for every airport on an international itinerary.
A fully solid shampoo bar or bar of soap can reduce the number of liquids in your bag. Pack wet bars in a draining or leak-resistant container and allow them to dry when possible. Place all liquids in a sealed pouch even when you are not flying; pressure changes and loose caps can cause leaks.
Makeup users can pack a compact bag with their regular essentials, such as foundation, mascara, and lip balm. Avoid adding unfamiliar products for a short trip unless there is a clear reason to bring them.
A reusable bottle also reduces the need to buy disposable bottles. If flying from a U.S. airport, take the bottle through screening empty and fill it afterward. The TSA lists an empty water bottle as permitted. A self-cleaning bottle such as a LARQ model can serve as your reusable bottle if you already own one, but a standard bottle is sufficient, and no bottle should be treated as proof that an unsafe water source is drinkable.
Organizing Electronics and Accessories
Use one small cord organizer for charging cables, earbuds, adapters, and memory cards. Secure loose cables with reusable ties and pack only the connectors your devices require. Download tickets, maps, reservation details, and entertainment before departure in case mobile service is weak.
Place a laptop or tablet in a padded sleeve close to the back panel, where it is less likely to bend. Keep the phone, wallet, identification, and boarding documents in a secure pocket or small crossbody bag. Avoid placing valuables in an exposed outer pocket.
A power bank can be useful, but it must be packed correctly for air travel. Under current FAA lithium-battery guidance, power banks and other spare lithium batteries must be carried in the aircraft cabin. If the backpack is gate-checked, remove them and keep them with you. Protect exposed terminals from short circuits and check the airline’s capacity and quantity restrictions before travel.
Warning: Do not pack a damaged, swollen, overheating, or recalled power bank. During a flight, alert the cabin crew immediately if a battery becomes hot, expands, smokes, or burns.
Selecting the Right Footwear
Footwear should match the terrain and the amount of walking you expect to do. A shoe that works for a short dinner may not provide enough support for several hours of sightseeing. Whenever possible, choose one comfortable primary pair and add a second pair only when the itinerary clearly requires it.
Versatility for Day Events
Simple sneakers or walking shoes can work for sightseeing, transportation, and casual meals. Classic canvas shoes such as Converse may suit some travelers, but cushioning and support vary. Test the shoes on a walk before the trip rather than relying on appearance alone.
| Daytime Need | Possible Footwear |
|---|---|
| City sightseeing | Supportive walking shoes or sneakers |
| Wet forecast | Water-resistant shoes with reliable traction |
| Light trail or park visit | Trail shoes appropriate for the route |
Comfort for Travel Days
Choose footwear with enough room for your toes, suitable cushioning, and a secure heel. Breathable sneakers or trainers can help during long travel days, while ankle boots or flats may work when they are already broken in and appropriate for the terrain.
Wear the bulkiest practical pair during transit to save backpack space. Do not use the trip to break in stiff new shoes. Pack blister bandages if you expect extensive walking, even when your footwear normally feels comfortable.
Style for Evening Outings
For an evening meal or event, clean minimalist sneakers, flats, loafers, or ankle boots may transition well from daytime use. Pairing one versatile shoe with black or dark straight-leg pants can create a polished outfit without requiring formal footwear.
If a dress code requires a second pair, select a lightweight design and place the shoes heel-to-toe in a shoe bag. Fill clean shoes with socks or another small soft item to use the interior space. Keep soles away from clean clothing.
Weekend Backpack Packing List
Use this checklist as a starting point, then remove anything that does not fit your destination or plans.
Clothing
- Two or three coordinating tops
- One or two bottoms
- Underwear and socks for each day, plus one spare set
- Sleepwear
- Warm layer
- Rain shell or compact umbrella when needed
- Activity-specific clothing
- Primary walking shoes and an optional second pair
- Small laundry or wet-item bag
Toiletries and Health Items
- Toothbrush and toothpaste
- Deodorant
- Cleanser and moisturizer
- Sunscreen and insect repellent when appropriate
- Hair, shaving, menstrual, and contact-lens supplies as needed
- Prescription medication
- Basic first-aid supplies
- Hand sanitizer or wipes
Electronics
- Phone and charging cable
- Power adapter or international plug adapter
- Power bank packed according to airline rules
- Earbuds or headphones
- Laptop, tablet, camera, or e-reader only when needed
Travel Essentials
- Identification or passport
- Wallet, payment cards, and a small amount of appropriate cash
- Tickets, reservations, and lodging details
- Keys
- Reusable water bottle
- Snacks
- Glasses, sunglasses, or contact-lens supplies
- Emergency contact and insurance information
Packing Documents, Medication, and First Aid
Keep identification, payment methods, travel documents, medication, and valuable items in a secure, accessible part of the backpack. Do not bury them beneath the clothing cube. Save digital copies of important reservations, but keep printed or offline copies when a dead phone or poor connection could interrupt the trip.
The CDC recommends preparing a destination-appropriate travel health kit. For a short trip, this may include personal prescriptions, adhesive bandages, antiseptic wipes, pain relief you normally use, allergy medication, and any condition-specific supplies.
Keep prescriptions labeled and bring enough for the trip plus a reasonable allowance for disruption. Before international travel, check whether the destination or transit country restricts any medication. The rules for controlled drugs, injectable medication, and documentation can differ significantly by country.
Packing Food and Snacks
Nonperishable snacks such as nuts, dried fruit, crackers, or granola bars are convenient for a road, rail, or air journey. Check labels when food allergies are a concern, and avoid packing items that melt, crush easily, or leak onto electronics and clothing.
Place food in a sealed pouch near the top of the backpack. Keep it separate from toiletries and dirty shoes. Perishable food requires appropriate temperature control and should not be left in a hot vehicle or unrefrigerated bag for long periods.
When flying, solid foods are generally easier to carry than liquids or gels. Spreads, sauces, creamy foods, and similar items may be subject to liquid limits. International travelers should also check agricultural and customs restrictions for both the destination and the return journey.
How to Load a Weekend Backpack Step by Step
- Lay everything out. Group clothing, toiletries, electronics, documents, food, and activity gear so duplicates are easy to spot.
- Remove “just in case” items. Keep only items tied to the forecast, itinerary, personal care, safety, or required travel logistics.
- Pack soft, lower-priority items first. Sleepwear, a laundry bag, or clothing not needed until arrival can go near the bottom.
- Place dense items close to your back. Position a clothing cube, laptop, or other compact weight near the center of the back panel. The general loading guidance in REI’s backpack-packing guide also recommends keeping dense items in the core zone and balancing the load.
- Balance both sides. Avoid putting every charger, bottle, or shoe on one side. Fill gaps with soft clothing so objects do not shift.
- Keep essentials near the top. Place the toiletry liquids bag, weather layer, medication, snacks, and documents where you can reach them without unpacking.
- Use external pockets carefully. Store low-value quick-access items such as tissues or a compact umbrella outside. Keep passports, wallets, and phones in secure pockets.
- Close and test the backpack. Wear it for 10 minutes, walk around, use stairs, and adjust the straps. Remove items if the bag pulls backward, feels unbalanced, or becomes uncomfortable.
The best-packed weekend backpack is not the one that holds the most. It is the one that carries everything you will use without hiding essentials or becoming uncomfortable.
Finalizing Your Backpack Setup
Before closing the bag for the final time, check how each compartment supports the trip. A padded sleeve can protect electronics, a clothing cube can keep the main compartment orderly, and a small crossbody bag can provide secure access to your phone, wallet, and identification.
A 22L backpack may suit a light weekend, while a larger model may be more practical for cold weather or specialized equipment. Whatever size you use, leave a little free space. An overstuffed bag is harder to organize, places more strain on the zippers, and leaves no room for a small purchase or a layer removed during travel.
Final 10-Minute Check
- Confirm the forecast and transportation schedule.
- Check the airline or carrier’s current bag limits.
- Verify that identification, tickets, wallet, medication, and keys are packed.
- Make sure liquid containers are closed and isolated in a sealed pouch.
- Confirm that the water bottle is empty before U.S. airport screening.
- Keep the power bank in the cabin bag, not checked baggage.
- Charge devices and save important information for offline access.
- Wear the backpack and correct any pressure point or uneven weight.
- Lock the door, secure the home, and complete any pet or plant-care arrangements.
Frequently Asked Questions
What type of backpack is best for a weekend trip?
Choose a comfortable travel backpack or daypack with secure zippers, padded straps, and enough space for the forecast and itinerary. Approximately 20–35 liters works for many weekend trips, but the correct size depends on your clothing, equipment, and transportation limits.
Is a 22L backpack enough for a weekend?
A 22L backpack can be enough for a light two-night trip in mild weather, especially when you wear bulky clothing during transit. You may need more space for winter layers, a laptop, formal clothing, large toiletries, or specialized activity gear.
How do I prevent my clothes from wrinkling?
Fold structured garments along their seams and roll softer casual items when the fabric tolerates it. Do not overfill packing cubes. Place wrinkle-prone clothing near the top, unpack after arrival, and hang garments in a humid bathroom if the care label permits gentle steaming.
Can I pack food for my trip?
Yes. Pack sealed, nonperishable snacks that will not leak or crush easily. Liquid and gel foods may be subject to airport liquid limits, and international customs or agricultural rules can restrict foods carried across borders.
How do I balance weight in my backpack?
Keep dense items close to the back panel and near the middle of the bag. Distribute weight evenly from left to right, fill empty spaces so objects cannot shift, and keep lighter or frequently used items toward the top. Test the bag before departure.
What are some tips for packing a first-aid kit?
Pack supplies suited to your health and activities, such as adhesive bandages, antiseptic wipes, blister care, pain relief you normally use, allergy medication, and personal prescriptions. Protect the supplies from moisture and keep urgent medication easy to reach.
Where should I pack a power bank when flying?
Pack a power bank in your carry-on baggage, not in a checked bag. If the airline gate-checks your backpack, remove the power bank and keep it in the cabin. Protect its terminals and confirm the airline’s watt-hour and quantity limits.
Sources
- U.S. Department of Transportation — Avoiding Baggage Problems — confirms that carry-on size, weight, and quantity limits vary by airline and aircraft.
- Transportation Security Administration — Liquids, Aerosols, and Gels Rule — supports the U.S. carry-on liquid limits.
- Transportation Security Administration — Empty Water Bottle — confirms that an empty reusable bottle may pass through U.S. security screening.
- Federal Aviation Administration — PackSafe: Lithium Batteries — supports the carry-on, terminal-protection, and gate-check rules for power banks.
- Centers for Disease Control and Prevention — Pack Smart — supports carrying destination-appropriate health supplies, medication, and documents.
- REI Expert Advice — How to Pack and Hoist a Backpack — supports keeping dense items near the back and balancing the load.
Conclusion
A well-packed weekend backpack should support the trip rather than complicate it. Check the forecast and transportation rules, build a small mix-and-match wardrobe, separate important categories, and keep dense items close to your back. Place medication, documents, weather protection, and other travel-day essentials where you can reach them quickly.
Finish by wearing the loaded backpack for several minutes. When it feels balanced, closes without strain, and contains only items tied to your plans, you are ready to leave with less clutter and more attention for the weekend ahead.